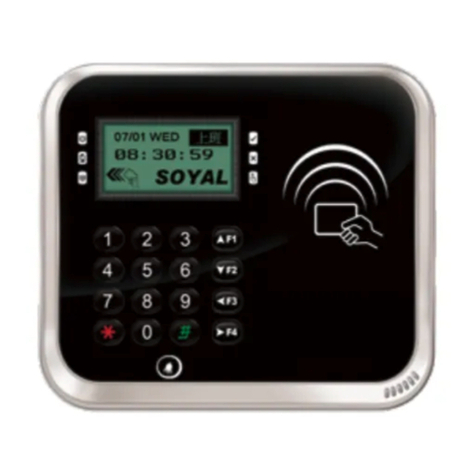
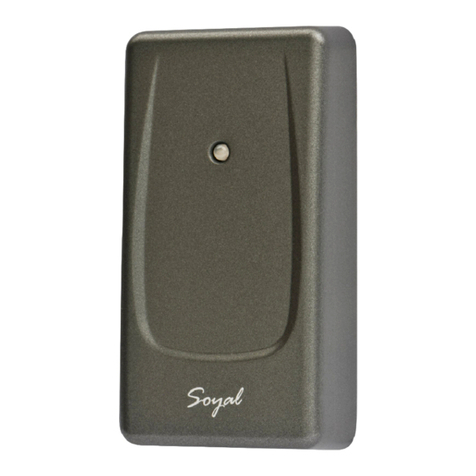
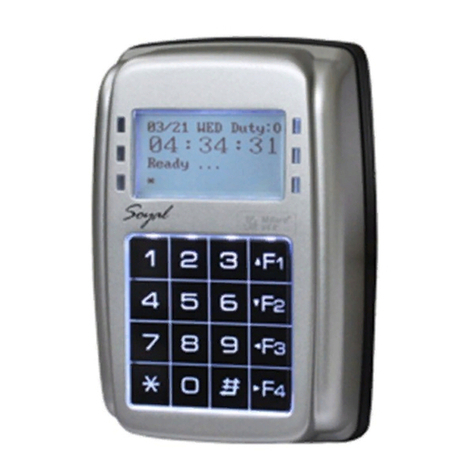
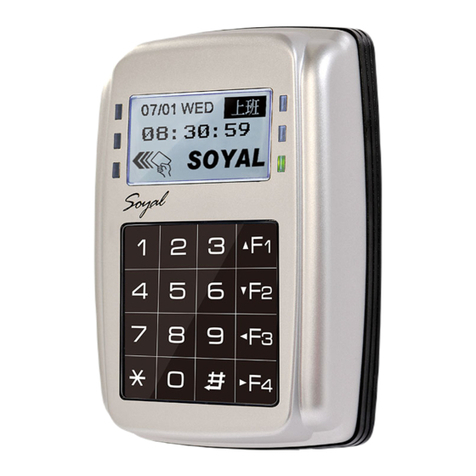
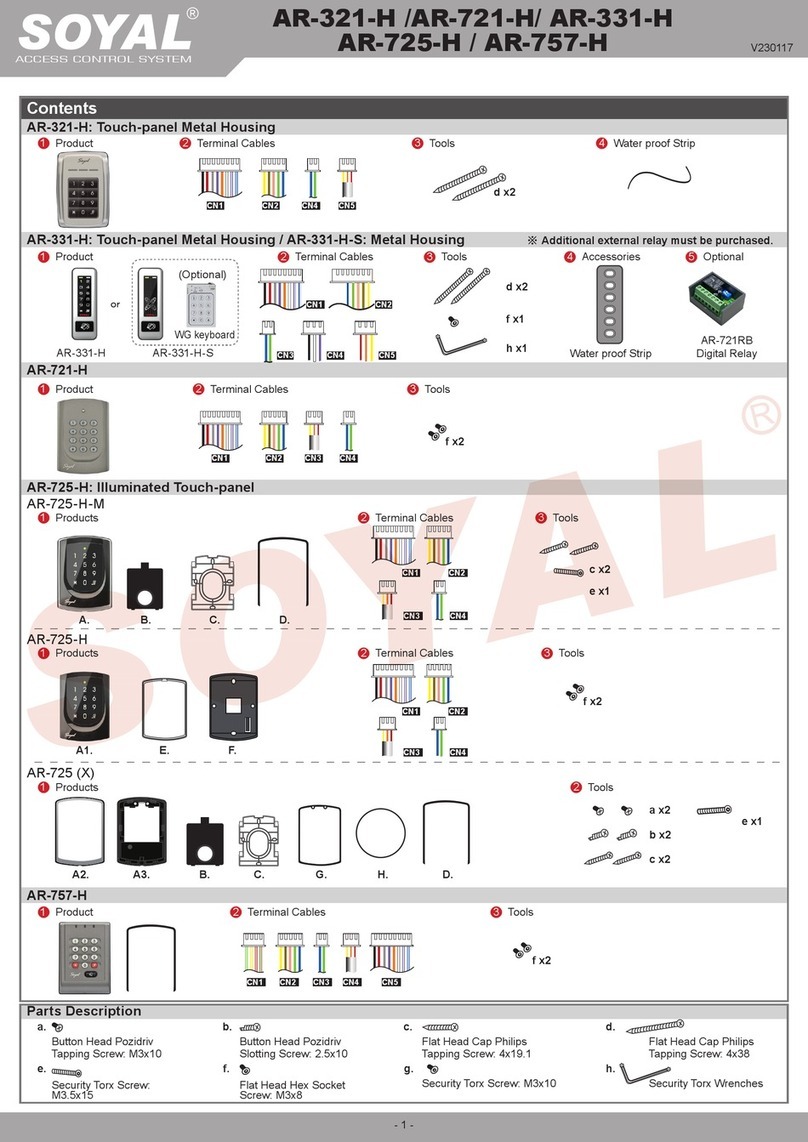
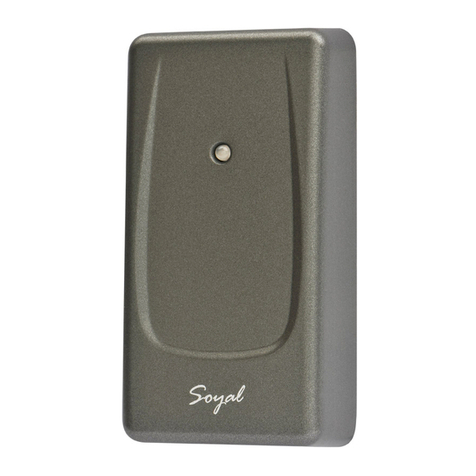
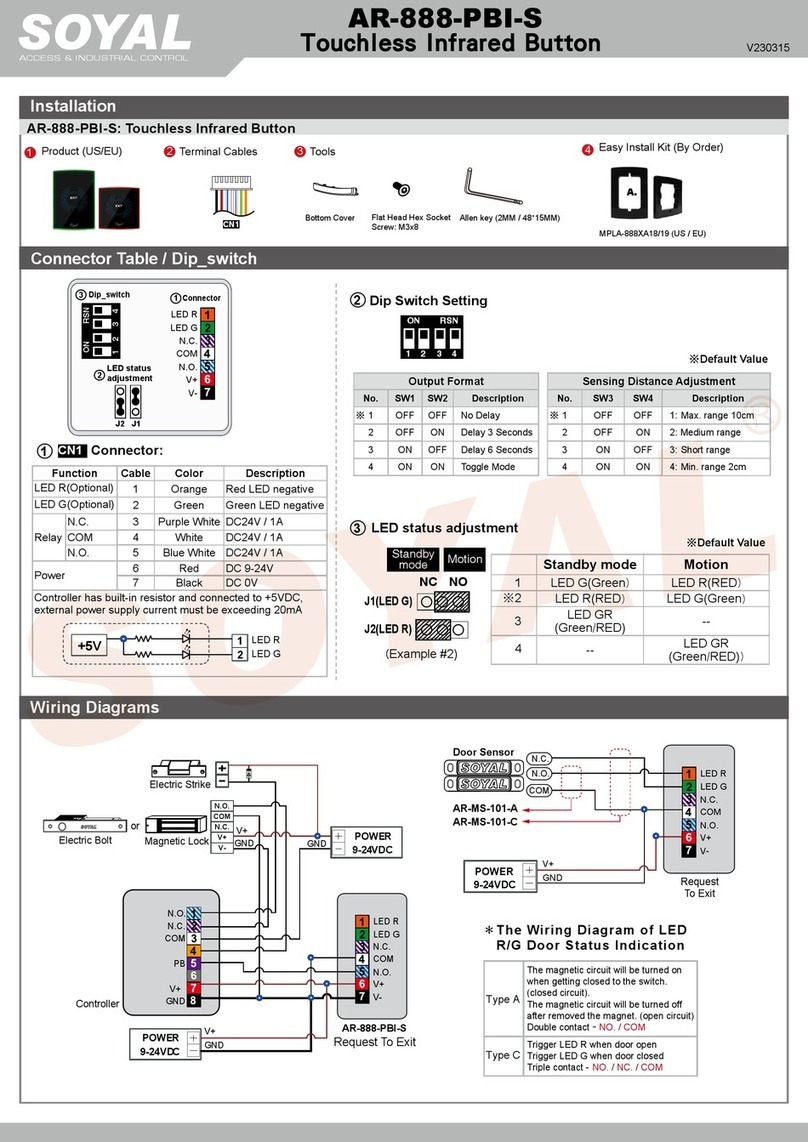
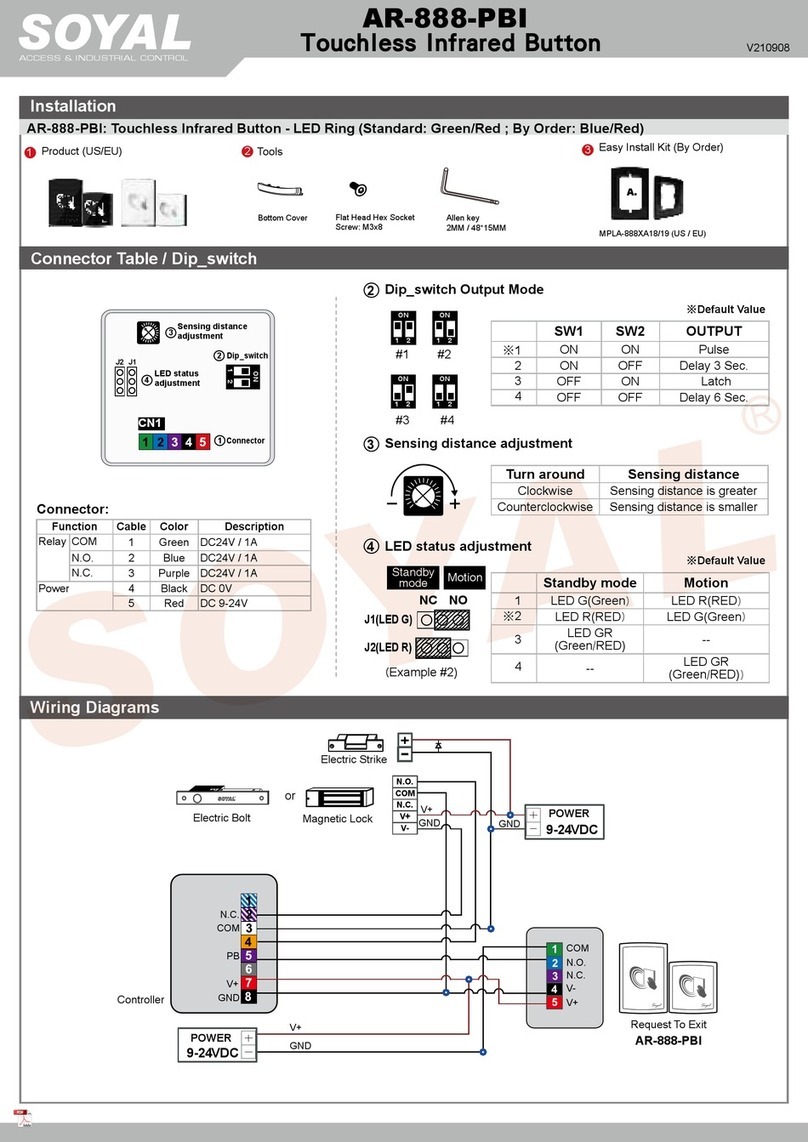
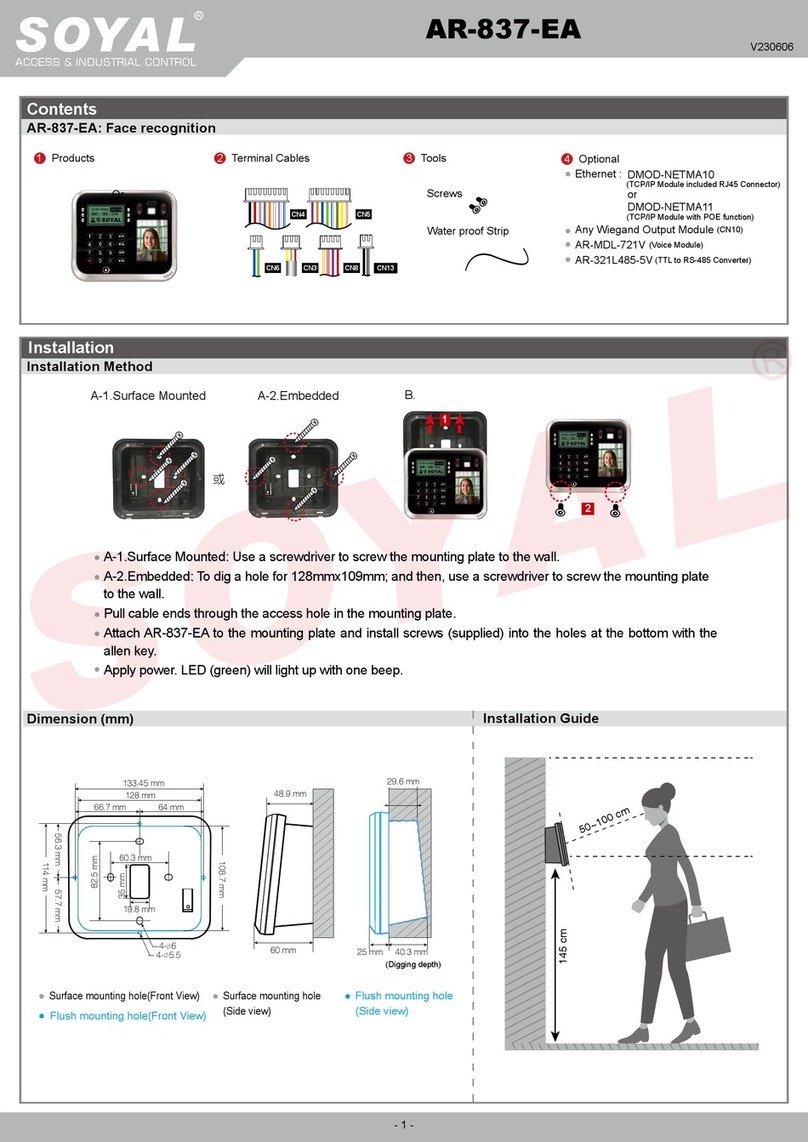
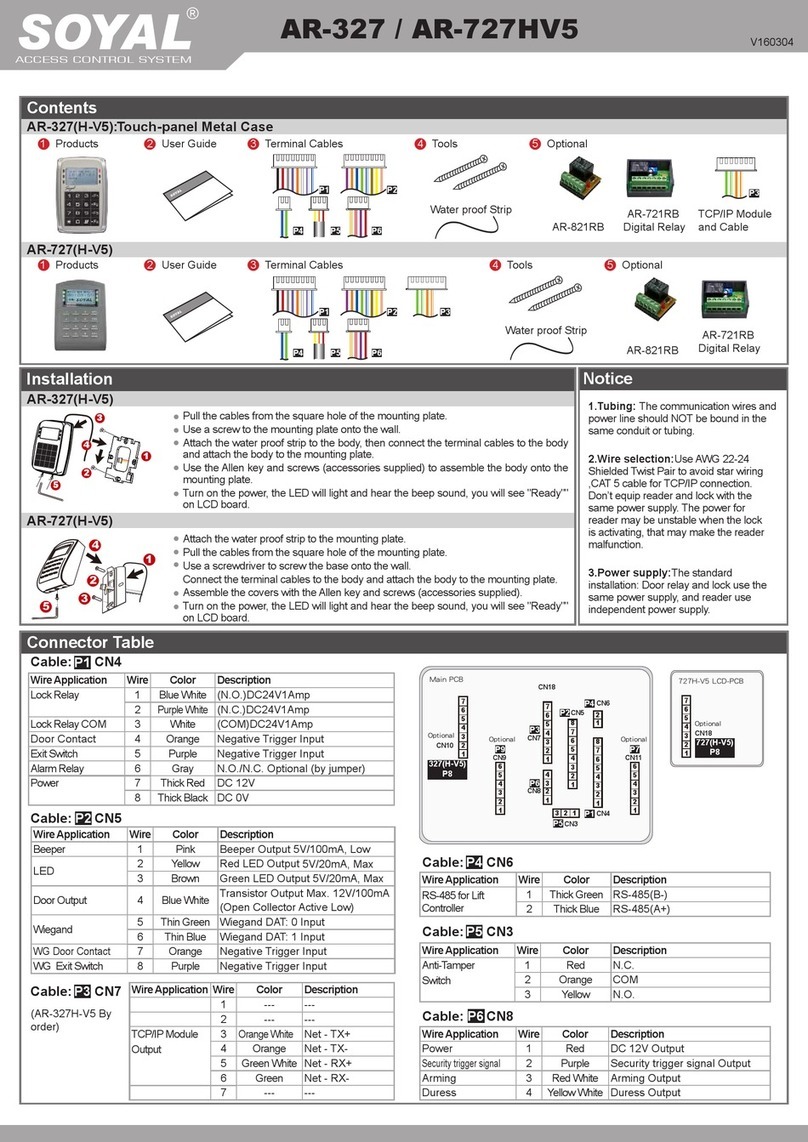
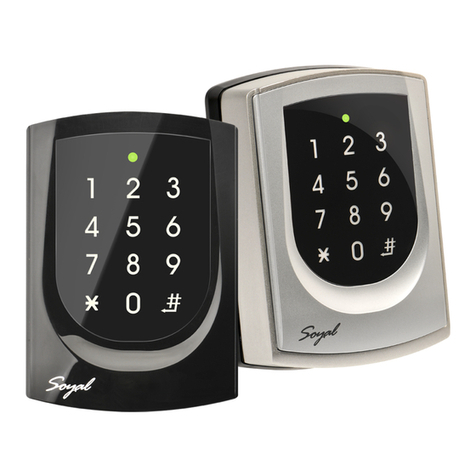
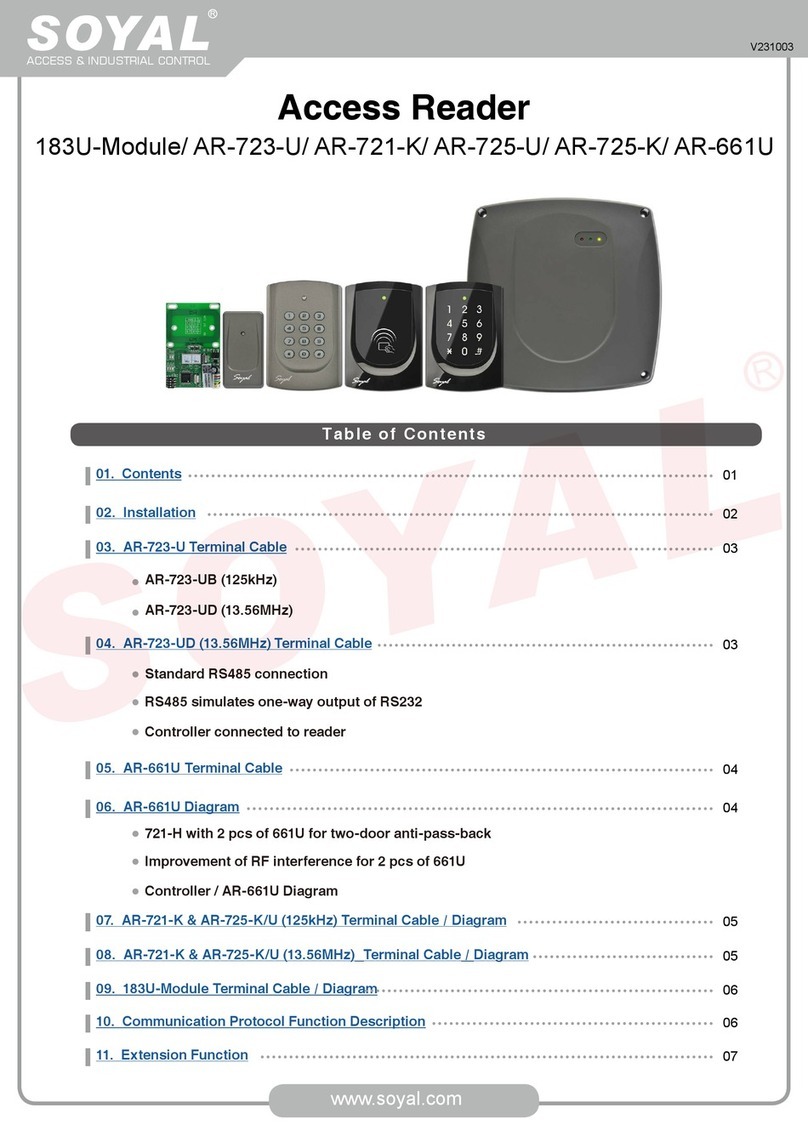
Soyal AR-821EF User manual

Operation ManualOperation Manual
Networking & Networking &
StSt
and-alone Controller/and-alone Controller/
Networking Reader/Networking Reader/
Fingerprint Identification DeviceFingerprint Identification Device
AR-821EFAR-821EF
2006/1/202006/1/20

Function MenuFunction Menu
1. Add - Card ID1. Add - Card ID
2. Add - RF-learn2. Add - RF-learn
3. Suspend - Addr3. Suspend - Addr
4. Suspend – ID #4. Suspend – ID #
5. Delete - Addr5. Delete - Addr
6. Delete – ID#6. Delete – ID#
7. Recover - Addr7. Recover - Addr
8. Recover –ID #8. Recover –ID #
9. Antipass Group9. Antipass Group
1. Node ID1. Node ID
2. Auto Open Zone2. Auto Open Zone
3. Door Relay Tm3. Door Relay Tm
4. Door Close Tm4. Door Close Tm
5. Alarm Relay Tm5. Alarm Relay Tm
6. Alarm Delay Tm6. Alarm Delay Tm
7. Arming Delay Tm7. Arming Delay Tm
8. Arming PWD8. Arming PWD
1. Password1. Password
2. Access Mode2. Access Mode
3. Extend Options3. Extend Options
4.4.
Single Floor (Single Floor (
**
))
5.5.
Multi Floors (Multi Floors (
**
))
6. Enroll FP6. Enroll FP
7. Delete FP7. Delete FP
1. Auto Relock1. Auto Relock
2. Egress (R.T.E.)2. Egress (R.T.E.)
3. Attendance3. Attendance
4. Master Node4. Master Node
5. Force Open…5. Force Open…
6. Close & Stop6. Close & Stop
7. Anti-passback7. Anti-passback
8. Duress Code8. Duress Code
9. Check User FP9. Check User FP
1.Add/Delete1.Add/Delete
2.User Setting2.User Setting
3.Parameters(1)3.Parameters(1)
4.Parameters(2)4.Parameters(2)
5.Tools5.Tools
6.Quit6.Quit
7.Quit & Arming7.Quit & Arming
1. Language1. Language
2. Master Code2. Master Code
3. Master Range3. Master Range
4.4.
Terminal Port (Terminal Port (
**
))
5.5.
AR721R32 Port (AR721R32 Port (
**
))
6. Open TimeZone6. Open TimeZone
7. Informations7. Informations
8. Clock Setting8. Clock Setting
(*) is a future function only for Mifare type.(*) is a future function only for Mifare type.
11

Table of ContentsTable of Contents
1 1
Main Main
Features Features
33
22
Notice 4Notice 4
3 3
Front Front
Panel Panel
& &
Functions Functions
66
4 4
Access Access
Mode Mode
88
4.1 4.1
Card Card
EditingEditing
4.2 4.2
Access Access
ModeMode
4.3 4.3
Duress Duress
functionfunction
4.4 4.4
PIN PIN
changeablechangeable
5 5
Fingerprint Fingerprint
settings settings
1313
5.1 5.1
Enroll Enroll
Fingerprint Fingerprint
to to
the the
systemsystem
5.2 5.2
Delete Delete
Fingerprint Fingerprint
from from
the the
systemsystem
5.3 5.3
StSt
art art
Fingerprint Fingerprint
operationoperation
5.4 5.4
User User
access access
mode(By mode(By
fingerprint)fingerprint)
6 6
Quick Quick
Guide Guide
(Function (Function
Menu) Menu)
1616
7 7
Function Function
description description
1717
8 8
Special Special
designed designed
1919
8.1 8.1
AR-821EFi AR-821EFi
connects connects
with with
two two
AR-661U AR-661U
at at
the the
same same
time time
whichwhich
can use in anti-pass back.can use in anti-pass back.
8.2 8.2
How How
to to
set set
AR-821EFi AR-821EFi
and and
one one
set set
of of
wiegand wiegand
readerreader
(AR-721U, AR-721K or AR-661U) for (AR-721U, AR-721K or AR-661U) for
anti-pass-back application?anti-pass-back application?
9 9
Installation Installation
2020
10 10
TT
erminal erminal
cable cable
2424
11 11
Installation Installation
diagram diagram
2525
11.1 11.1
Magnetic Magnetic
locklock
11.2 11.2
Electric Electric
bolt bolt
locklock
11.3 11.3
Electric Electric
strikestrike
11.4 11.4
Magnetic Magnetic
door door
contacts contacts
and and
alarm alarm
systemsystem
11.5 11.5
Wiegand Wiegand
readerreader
11.6 11.6
Networking Networking
installationinstallation
12 12
701Server 701Server
\ \
821e/829E 821e/829E
Parameter Parameter
setting setting
3232
12.112.1
Accompanied with 701 Server & 701 Client, SOYAL supplied endAccompanied with 701 Server & 701 Client, SOYAL supplied end
users to set up users to set up
advanced & convenient functions.advanced & convenient functions.
12.212.2
How to upload, download and delete the How to upload, download and delete the
FP databaseFP database
13 13
TroubleshootiTroubleshooti
ng ng
3939
14 14
Return Return
of of
Products Products
4040
15 15
Warranty Warranty
4040
1616
Transponder Transponder
Record Record
TT
able able
4141
17 17
Specification Specification
4242
18 18
Network Network
Module Module
4343
19 19
Software Software
configuration configuration
4444
22

1. 1.
Main Main
FeaturesFeatures
AR-821EF(i) is a smart single door controller. With a built-in reader and an externalAR-821EF(i) is a smart single door controller. With a built-in reader and an external
reader port, AR-821EF(i) could work for exit & reader port, AR-821EF(i) could work for exit &
anti-pass back function.anti-pass back function.
Built-in Network Module. (Optional)Built-in Network Module. (Optional)
Card capacity up to 10,000 Users.Card capacity up to 10,000 Users.
Fingerprint capacity up to 1,450.Fingerprint capacity up to 1,450.
Keypad will be locked for 30 Keypad will be locked for 30
seconds, while continuous error operation.seconds, while continuous error operation.
Dual function Dual function
for Access Control and Time & Attendance.for Access Control and Time & Attendance.
Alarm function available. Alarm function available.
(T(T
amperamper
, Force , Force
entrance, door open too entrance, door open too
long)long)
External reader port, 26/34 bit External reader port, 26/34 bit
wiegand format for Anti-pass back.wiegand format for Anti-pass back.
One RS-485 Port supported for One RS-485 Port supported for
networking.networking.
Master Cards range Master Cards range
assignable.assignable.
After flash Master Card and pressAfter flash Master Card and press
##
within 2 seconds can enter the within 2 seconds can enter the
“FUNCTION MENU”.“FUNCTION MENU”.
Support with keypad locks immd & all Support with keypad locks immd & all
cards entrance allowance before cards editingcards entrance allowance before cards editing
finished.finished.
SS
tandby screen editable via 701 Server software. (701 Server tandby screen editable via 701 Server software. (701 Server
\ 821E/829E Parameter\ 821E/829E Parameter
Setting \ Idle Screen)Setting \ Idle Screen)
33

2. Notice2. Notice
Keep AR-821EFKeep AR-821EF
(i) away (i) away
from the from the
followings:followings:
Keep away from moisture or waterKeep away from moisture or water
Keep away from magnets or any Keep away from magnets or any
magnetized items.magnetized items.
Do not apply strong shock to AR-821EF(i)Do not apply strong shock to AR-821EF(i)
Each card has 10 digits code, Each card has 10 digits code,
including Site code (5 digits) and Card including Site code (5 digits) and Card
code (5 digits).code (5 digits).
Neither the Site Code nor the Card Code numbers can be 0.Neither the Site Code nor the Card Code numbers can be 0.
After card editing finished, Site Code and Card Code is not important anymore.After card editing finished, Site Code and Card Code is not important anymore.
System will require System will require
a USER ADDRESS instead.a USER ADDRESS instead.
User can request to exit through the controlled door without using transponder (andUser can request to exit through the controlled door without using transponder (and
without causing an alarm condition), by pressing an exit button. This will operate thewithout causing an alarm condition), by pressing an exit button. This will operate the
door relay for the programmed door relay release time & door relay for the programmed door relay release time &
stop alarm.stop alarm.
How to start / suspend (auto open zone) ?How to start / suspend (auto open zone) ?
TwTw
o ways – one o ways – one
is by software setting; tis by software setting; t
he other is by he other is by
the device keypad. Here isthe device keypad. Here is
using device keypad setting.using device keypad setting.
Step1: FUNCTION MENUStep1: FUNCTION MENU
Step2Step2
: tools : tools
(Function 5)(Function 5)
Step3Step3
: setting : setting
Open Time Zone (Function 6)Open Time Zone (Function 6)
Step4Step4
: come back to : come back to
main manualmain manual
Step5Step5
: Parameters (1) : Parameters (1)
(Function 3)(Function 3)
Step6Step6
: start Auto open zone : start Auto open zone
function (Function 2)function (Function 2)
Step7: YStep7: Y
es / es /
NoNo
Note: The electronic lock would be locked until first one flash card on the readerNote: The electronic lock would be locked until first one flash card on the reader
when the system enter auto open time zone.when the system enter auto open time zone.
And electronic lock will be And electronic lock will be
locked that sensor feels door closed when locked that sensor feels door closed when
system exitsystem exit
auto open time zone.auto open time zone.
44

How to enroll fingerprint to two set of AR-821EF(i)?How to enroll fingerprint to two set of AR-821EF(i)?
Step1Step1
: Enroll : Enroll
fingerprint on the AR-821EF/EFi (Node 1)fingerprint on the AR-821EF/EFi (Node 1)
Step2Step2
: Upload fingerprint data to : Upload fingerprint data to
PC by 701 Server \ PC by 701 Server \
821E/829E Parameter Setting \821E/829E Parameter Setting \
Upload fingerprint data functionUpload fingerprint data function
Step3Step3
: Download fingerprint data to : Download fingerprint data to
the AR-821Ethe AR-821E
Fi /EFi (Node Fi /EFi (Node
2) by 701 Server 2) by 701 Server
\\
821E/829E Parameter Setting \ Download fingerprint data function (Reference821E/829E Parameter Setting \ Download fingerprint data function (Reference
page 34)page 34)
How to disarming?How to disarming?
(1) User can be (1) User can be
disarming by normal access mode oncedisarming by normal access mode once
violating anti-pass-back resulting in alarm.violating anti-pass-back resulting in alarm.
(2) (2)
User User
can can
be be
disarming disarming
by by
valid valid
card card
when when
alarm alarm
happen.happen.
(3)(3)
**
+ +
1 1
2 2
3 3
4 4
5 5
6 6
++
##
enter the “FUNCTION MENU”enter the “FUNCTION MENU”
Step1Step1
: FUNCTION : FUNCTION
MENUMENU
Step2: Parameters (2) (Function 4)Step2: Parameters (2) (Function 4)
Step3: Close Door Step3: Close Door
Stop Stop
Alarm (Function Alarm (Function
6)6)
Step4: Enter 1: YES.Step4: Enter 1: YES.
How to know how many users in tHow to know how many users in t
he system now? (Not including suspend card)he system now? (Not including suspend card)
Step1:Step1:
**
+ +
1 1
2 2
3 3
4 4
5 5
6 6
++
##
enter the “FUNCTION MENU”enter the “FUNCTION MENU”
Step2: Tools (Function 5)Step2: Tools (Function 5)
SS
tep3: Informations (tep3: Informations (
Function 7)Function 7)
AR-821EF(i) 6vxAR-821EF(i) 6vx
Users Users
: :
0000000000
Users Users
FPs FPs
: :
00000000
55

3. 3.
Front Front
Panel Panel
& &
FunctionsFunctions
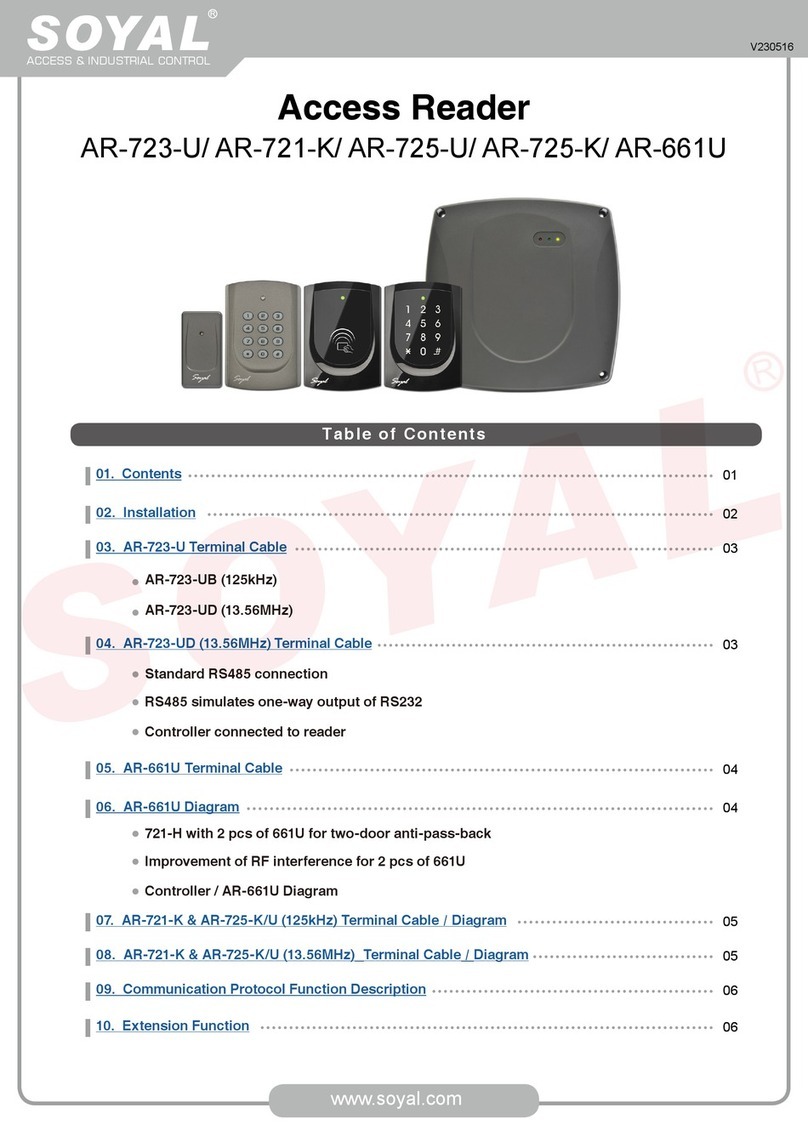
Power (Green)Power (Green)
Alarm (Green)Alarm (Green)
Arming (Red)Arming (Red)
OK (Green)OK (Green)
Busy (Green)Busy (Green)
AR-821EFAR-821EF
R-821EFR-821EF
AA
Error (Red)Error (Red)
KeypadKeypad
AttendanceAttendance
Press Press
1 1
time time
Press Press
2 2
timestimes
F1 F1
Up Up
Duty Duty
on on
Break Break
outout
F2 F2
Down Down
Duty Duty
off off
Break Break
RTNRTN
F3 F3
Correct Correct
Overtime Overtime
on on
GoGo
F4 F4
Overtime Overtime
off off
ReturnReturn
**
EscEsc
##
EnterEnter
Other:Other:
◎◎
PressPress
**
+ Master Code + Master Code
(default : 123456, changeable) +(default : 123456, changeable) +
##
, to enter “Function, to enter “Function
Menu”Menu”
◎◎
PressPress
**
++
##
to lock / to lock /
unlock keypad immed.unlock keypad immed.
66

Functions:Functions:
1. 1.
System will auSystem will au
tomatically exit from tomatically exit from
FUNCTION MENU, FUNCTION MENU,
if no key if no key
or card entry or card entry
isis
made within 30 seconds.made within 30 seconds.
2. 2.
In FUNCTION In FUNCTION
MENU, LED [BUMENU, LED [BU
SY] will flash SY] will flash
continuouslycontinuously
..
3. 3.
In card accIn card acc
ess mode, ess mode,
flashing valid flashing valid
card on the card on the
unitunit
LED [OK] will light up, a LED [OK] will light up, a
beep sound and LCD panel messagbeep sound and LCD panel messag
e shown [OK].e shown [OK].
4. 4.
Flashing inFlashing in
valid card valid card
on the on the
unit on unit on
the unitthe unit
LED [ERROR] light up, LED [ERROR] light up,
two beeps sound and LCD panel message shown [Cardtwo beeps sound and LCD panel message shown [Card
Number Err!].Number Err!].
5. 5.
In card learn mode, aIn card learn mode, a
fter flash card, red Lfter flash card, red L
ED [ERROR] light up, two ED [ERROR] light up, two
beeps and beeps and
LCDLCD
panel message shown [Same Card Existed] mean that same card panel message shown [Same Card Existed] mean that same card
have existed inhave existed in
controller.controller.
6. 6.
In anti-pass-back In anti-pass-back
access mode, access mode,
red LED [ERROR] light red LED [ERROR] light
up, a beep and up, a beep and
LCD panelLCD panel
message shown [Anti-pass Error ! ] mean that user violates access function.message shown [Anti-pass Error ! ] mean that user violates access function.
7. 7.
Green LED Green LED
[ARMING] light [ARMING] light
up in up in
“Arming On” “Arming On”
states.states.
8. 8.
Red LED Red LED
[ALARM] lights [ALARM] lights
up if any up if any
abnormal condabnormal cond
ition arisen.ition arisen.
9. 9.
Continuous wrong Continuous wrong
“PIN Code” or “Master Cod“PIN Code” or “Master Cod
e” will make keype” will make keyp
ad locked for 30ad locked for 30
seconds, LED [BUSY] light up, seconds, LED [BUSY] light up,
LED [POWER] light off, LED [POWER] light off,
and LCD panel shownand LCD panel shown
[keyboard Locked].[keyboard Locked].
10. 10.
With 701 Server, the master could set With 701 Server, the master could set
up “Max. Error Times” for PIN up “Max. Error Times” for PIN
Code & MasterCode & Master
Code himself. (Default: 3 times)Code himself. (Default: 3 times)
11. T11. T
ransmisransmis
sion:sion:
Receive (Green) lights up when it Receive (Green) lights up when it
receives message from PC or ireceives message from PC or i
ts external reader.ts external reader.
Send (Red) lights up when AR-821EFi sends data to PC.Send (Red) lights up when AR-821EFi sends data to PC.
77

4. 4.
Access Access
ModeMode
Pre-explanation:Pre-explanation:
Arming PWD (4 digits)Arming PWD (4 digits)
Default value: 1234Default value: 1234
Could be setup via Function Menu (Function 38)Could be setup via Function Menu (Function 38)
Or, via 701 Server\ 821E/821EF Parameter SettingOr, via 701 Server\ 821E/821EF Parameter Setting
Duress Code (4 sets, 4 digits)Duress Code (4 sets, 4 digits)
Default value: 1111 ; 2222 ; 3333 ; 4444Default value: 1111 ; 2222 ; 3333 ; 4444
Could be setup via Function Menu (Function 48)Could be setup via Function Menu (Function 48)
Or, via 701 Server\ 821E/821EF Parameter SettingOr, via 701 Server\ 821E/821EF Parameter Setting
PIN Code (4 digits)PIN Code (4 digits)
Could be setup via Function Menu (Function 21)Could be setup via Function Menu (Function 21)
Or, via 701 Client \ Setting \ User cardOr, via 701 Client \ Setting \ User card
Personal fingerprintPersonal fingerprint
Enroll (Function 26)Enroll (Function 26)
Delete (Function 27)Delete (Function 27)
Start (Function 49)Start (Function 49)
How to do when user does not use fingerprint access mode?How to do when user does not use fingerprint access mode?
Step1: 701 Client \ Setting \ User cardStep1: 701 Client \ Setting \ User card
Step2: Click “skip FP check” function.Step2: Click “skip FP check” function.
Step3: this user can access door by flash Step3: this user can access door by flash
card or PIN.card or PIN.
4.1 Card Editing4.1 Card Editing
After entering Function Mode, user uses following order to edit cards.After entering Function Mode, user uses following order to edit cards.
Function Nbr.Function Nbr.
AddAdd
→→
Card Card
ID ID
11
11
AddAdd
→→
RF RF
learn learn
1212
DeleteDelete
→→
Addr 15Addr 15
DeleteDelete
→→
ID# 16ID# 16
RecoverRecover
→→
Addr 17Addr 17
RecoverRecover
→→
ID# 18ID# 18
88

How to How to
edit ten edit ten
pcs sepcs se
quential cquential c
ards? ards?
( Default ( Default
access access
mode is mode is
Card onlyCard only
))
Step1:Step1:
**
+ +
1 1
2 2
3 3
4 4
5 5
6 6
++
##
enter the “FUNCTION MENU”enter the “FUNCTION MENU”
Step2Step2
: Add/Delete (Function : Add/Delete (Function
1)1)
Step3: AddStep3: Add
→→
RF learn (Function 2)RF learn (Function 2)
Step4Step4
: Then, LCD display will show : Then, LCD display will show
as follow:as follow:
Please follow LCD display indicator to edit cardPlease follow LCD display indicator to edit card
Step5Step5
: :
InputSInputS
tartAddr tartAddr
(0-00999)(0-00999)
Enter 1, start from user no. 1Enter 1, start from user no. 1
Step6: Step6:
TT
ag ag
Uints Uints
(pcs) (pcs)
Must Must
be be
Sequence Sequence
(1-0099(1-0099
9)9)
Enter 10Enter 10
Step7: Close Tag Into RF AreaStep7: Close Tag Into RF Area
Present the lowest card code of card to the unit.Present the lowest card code of card to the unit.
Users can select one of Users can select one of
the following access modesthe following access modes
4.2 Access Mode4.2 Access Mode
Users can select one of Users can select one of
the following access modesthe following access modes
4.2.1 4.2.1
Card Card
OnlyOnly
Access the door by flashing cardAccess the door by flashing card
Open door & turn Arming on / off: Flash card, then press Arming PWD + Open door & turn Arming on / off: Flash card, then press Arming PWD +
F1F1
Not open door & turn arming on / Not open door & turn arming on /
off: Pressoff: Press
**
+ Arming PWD, then flash card+ Arming PWD, then flash card
4.2.2 Card or PIN4.2.2 Card or PIN
Must in networking condition, running 701 Must in networking condition, running 701
ServerServer
..
(701 server \ (701 server \
821E / 829E Parameter 821E / 829E Parameter
Setting \ Open door Setting \ Open door
via Pvia P
.I.N. selection).I.N. selection)
4.2.2.1 4.2.2.1
Serial Serial
Num. Num.
+ +
PIN PIN
(Default)(Default)
Same as Card OnlySame as Card Only
Or, press keypadOr, press keypad
→→
User address (5 digit), then PIN code &User address (5 digit), then PIN code &
##
→→
Open door & turn Arming on / Open door & turn Arming on /
off:off:
User address, press PIN code &User address, press PIN code &
##
, then Arming PWD + F1, then Arming PWD + F1
→→
Not open door & turn arming on / Not open door & turn arming on /
off: Not availableoff: Not available
99

How to set access mode of user is card or How to set access mode of user is card or
PIN?PIN?
Step1:Step1:
**
+ +
1 1
2 2
3 3
4 4
5 5
6 6
++
##
enter the “FUNCTION MENU”enter the “FUNCTION MENU”
Step2Step2
: User Setting : User Setting
(Function 2)(Function 2)
StepStep
3: Access Mode (Function 3: Access Mode (Function
2)2)
StepStep
4: Enter user 4: Enter user
numbernumber
, Then, LCD display will , Then, LCD display will
show as follow:show as follow:
1:Card 1:Card
2:or 2:or
PIN PIN
3:& 3:&
PIN 4:Pause PIN 4:Pause
Data: Data:
11
Please select number 2:or PINPlease select number 2:or PIN
Step5Step5
: Return to : Return to
main menu to set main menu to set
the password of userthe password of user
Step6Step6
: User Setting : User Setting
(Function 2)(Function 2)
Step7Step7
: Password : Password
(Function 1)(Function 1)
Step8Step8
: Enter user : Enter user
numbernumber
, Then, LCD display will , Then, LCD display will
show as follow:show as follow:
Input Input
4 4
Digit Digit
No. No.
Range:0001~9999 Range:0001~9999
Data:Data:
4.2.2.2 4.2.2.2
PIN PIN
OnlyOnly
Same as Card OnlySame as Card Only
Or, press keypadOr, press keypad
→→
PIN code (4 digit)PIN code (4 digit)
→→
Open door & turn Arming on / off:Open door & turn Arming on / off:
PIN code &PIN code &
##
, then Arming PWD + F1, then Arming PWD + F1
→→
Not open door & turn arming on / Not open door & turn arming on /
off: Not availableoff: Not available
Under Fingerprint AccesUnder Fingerprint Acces
s mode, this mode s mode, this mode
won’t be available.won’t be available.
How to set access mode of user is PIN only?How to set access mode of user is PIN only?
Step1:Step1:
**
+ +
1 1
2 2
3 3
4 4
5 5
6 6
++
##
enter the “FUNCTION MENU”enter the “FUNCTION MENU”
Step2Step2
: User Setting : User Setting
(Function 2)(Function 2)
StepStep
3: Access Mode (Function 3: Access Mode (Function
2)2)
StepStep
4: Enter user 4: Enter user
numbernumber
, Then, LCD display will , Then, LCD display will
show as follow:show as follow:
1:Card 1:Card
2:or 2:or
PIN PIN
3:& 3:&
PIN 4:Pause PIN 4:Pause
Data: Data:
11
Please select number 2:or PINPlease select number 2:or PIN
1010

Step5Step5
: Return to : Return to
main menu to set main menu to set
the password of userthe password of user
Step6Step6
: User Setting : User Setting
(Function 2)(Function 2)
Step7Step7
: Password : Password
(Function 1)(Function 1)
Step8Step8
: Enter user : Enter user
numbernumber
, Then, LCD display will , Then, LCD display will
show as follow:show as follow:
Input Input
4 4
Digit Digit
No. No.
Range:0001~9999 Range:0001~9999
Data:Data:
4.2.3 Card and PIN4.2.3 Card and PIN
Flash card, then press PIN code &Flash card, then press PIN code &
##
Open door & turn Arming on / Open door & turn Arming on /
off:off:
Flash card, press PIN code &Flash card, press PIN code &
##
, then Arming PWD + F1, then Arming PWD + F1
Not open door & turn arming on / Not open door & turn arming on /
off: Not availableoff: Not available
How to set access mode of user is card and PIN?How to set access mode of user is card and PIN?
Step1:Step1:
**
+ +
1 1
2 2
3 3
4 4
5 5
6 6
++
##
enter the “FUNCTION MENU”enter the “FUNCTION MENU”
Step2Step2
: User Setting : User Setting
(Function 2)(Function 2)
StepStep
3: Access Mode (Function 3: Access Mode (Function
2)2)
StepStep
4: Enter user 4: Enter user
numbernumber
, Then, LCD display will , Then, LCD display will
show as follow:show as follow:
1:Card 1:Card
2:or 2:or
PIN PIN
3:& 3:&
PIN 4:Pause PIN 4:Pause
Data: Data:
11
Please select number 3: & PINPlease select number 3: & PIN
Step5Step5
: Return to : Return to
main menu to set main menu to set
the password of userthe password of user
Step6Step6
: User Setting : User Setting
(Function 2)(Function 2)
Step7Step7
: Password : Password
(Function 1)(Function 1)
StepStep
8: Enter user 8: Enter user
number . Then, LCD display will number . Then, LCD display will
show as follow:show as follow:
Input Input
4 4
Digit Digit
No. No.
Range:0001~999Range:0001~999
9 9
Data:Data:
11
11

4.2.4 Pause4.2.4 Pause
Sam as Card OnlySam as Card Only
Please notice that select will make the user invalidPlease notice that select will make the user invalid
4.3 4.3
Duress Duress
functionfunction
This function could help users to send a message to the computer asking for help.This function could help users to send a message to the computer asking for help.
Only available in networking state, running 701 Server Only available in networking state, running 701 Server
and setting 4 sets of Duressand setting 4 sets of Duress
code on PC. (Anyone of these 4 sets is workable.)code on PC. (Anyone of these 4 sets is workable.)
This function is not available for CARD ONLY and PIN ONLY access.This function is not available for CARD ONLY and PIN ONLY access.

Access Access
Mode Mode
Command Command
FormatFormat
Card OnlyCard Only
Not availableNot available
Card and PINCard and PIN
Flash card, then press Duress code &Flash card, then press Duress code &
##
PIN OnlyPIN Only
Not availableNot available
Users add and PINUsers add and PIN
Press user add., then Duress code &Press user add., then Duress code &
##
Note: User can access door by duress code instead of PIN under card or PINNote: User can access door by duress code instead of PIN under card or PIN
access mode, but it will be shown ask for help message in 701 Client \ Dailyaccess mode, but it will be shown ask for help message in 701 Client \ Daily
TransacTransac
tion tion
Record.Record.
4.4 4.4
PIN PIN
changeablechangeable
AR-821EFi connects with PC, running 701 client andAR-821EFi connects with PC, running 701 client and
set PIN code variable.set PIN code variable.
By user: Flash card, then press PIN code (4 digit) twice andBy user: Flash card, then press PIN code (4 digit) twice and
##
By 701 client \ setting \ By 701 client \ setting \
user carduser card
Not connecting with PCNot connecting with PC
Entering Function menu \ User setting \ PasswordEntering Function menu \ User setting \ Password
1212

5. 5.
Fingerprint Fingerprint
settingssettings
Feature description:Feature description:
Everybody can enroll one or two Everybody can enroll one or two
fingerprint to the AR-821EF(i).fingerprint to the AR-821EF(i).
At least 720 users and at most 1450 users can access door by fingerprint.At least 720 users and at most 1450 users can access door by fingerprint.
Users address don’t have any limitation that Users address don’t have any limitation that
the range from 00000 tthe range from 00000 t
o 09999.o 09999.
Users who enrolled fingerprint have to access door by their fingerprints but someUsers who enrolled fingerprint have to access door by their fingerprints but some
of the users who doesn’t want to use fingerprint that of the users who doesn’t want to use fingerprint that
have to change the setting,have to change the setting,
as follows:as follows:
701 client \ user card701 client \ user card
Mark “skip FP check”.Mark “skip FP check”.
Click “Save”Click “Save”
Click “Download” to Click “Download” to
download data to the AR-821EFi.download data to the AR-821EFi.
1313

5.1 5.1
Enroll Enroll
Fingerprint Fingerprint
to to
the the
systemsystem
1)1)
PressPress
**
+ +
Master Master
Code Code
++
##
, to enter “Function Menu”, to enter “Function Menu”
2)2)
Command: 26.Command: 26.
3)3)
Enter 5-digit User Address .Enter 5-digit User Address .
4)4)
Operation as follows:Operation as follows:
You must put your fingerprint on the unit according to the indication of the unit panel.You must put your fingerprint on the unit according to the indication of the unit panel.
a. a.
LCD panel LCD panel
message is message is
[Put 1st [Put 1st
finger! Keep finger! Keep
CCD clean!] and CCD clean!] and
then enroll then enroll
same fingersame finger
in 3 times.in 3 times.
PP
.S.: .S.:
If you If you
want to want to
enroll only enroll only
one fingerprint, please one fingerprint, please
press any press any
key unless key unless
F1~F4 toF1~F4 to
quit the function.quit the function.
b. b.
LCD panel message LCD panel message
is [Put is [Put
2nd finger! Keep 2nd finger! Keep
CCD clean!] and CCD clean!] and
then enroll same then enroll same
fingerfinger
in 3 times.in 3 times.
c. c.
LCD panel LCD panel
message is message is
[Succeeded] means that [Succeeded] means that
2 fingerprints of 2 fingerprints of
the user the user
address wereaddress were
accepted.accepted.
Note:Note:
1. Put fingerprint into fixed position before collection sensor1. Put fingerprint into fixed position before collection sensor
light up red for enhancing successful rate of enrollinglight up red for enhancing successful rate of enrolling
fingerprint.fingerprint.
2. Please clean CCD mirror before putting another fingerprint.2. Please clean CCD mirror before putting another fingerprint.
3. User can register one or two fi3. User can register one or two fi
ngerprint up to their choices,ngerprint up to their choices,
howeverhowever
, we usually suggest user , we usually suggest user
to register twoto register two
fingerprints. (If the registered finger get hurt, fingerprints. (If the registered finger get hurt,
he can still usehe can still use
the 2nd fingerprint).the 2nd fingerprint).
4. If user just want 4. If user just want
to enroll one fingerprint, user can directlyto enroll one fingerprint, user can directly
exit enroll picture after user enroll first exit enroll picture after user enroll first
fingerprint.fingerprint.
5.2 5.2
Delete Delete
Fingerprint from Fingerprint from
the the
systemsystem
1)1)
PressPress
**
+ Master Code ++ Master Code +
##
, to enter “Function Menu”, to enter “Function Menu”
2)2)
Command: 27.Command: 27.
3)3)
Enter 5-digit User Address +Enter 5-digit User Address +
#,#,
and LCD will show success which meansand LCD will show success which means
only delete one fingerprint record.only delete one fingerprint record.
4)4)
if you want to delete all if you want to delete all
fingerprint records that you have tofingerprint records that you have to
input user addressinput user address
::
9999 +9999 +
##
1414

5.3 5.3
Start Start
Fingerprint Fingerprint
operationoperation
1)1)
PressPress
**
+ Master Code ++ Master Code +
##
, to enter “Function Menu”, to enter “Function Menu”
2)2)
Command: 49.Command: 49.
3)3)
1.YES 1.YES
2. 2.
NONO
5.4 5.4
User User
Access Access
mode (By mode (By
fingerprint):fingerprint):
5.4.15.4.1
card + fingerprintcard + fingerprint
User can access door by flUser can access door by fl
ash card and put fiash card and put fi
ngerprint on the sensor.ngerprint on the sensor.
5.4.25.4.2
card + PIN +fingerprintcard + PIN +fingerprint
User User
can can
access access
door door
by by
flash flash
card, card,
4-digit 4-digit
PIN + PIN +
# #
and and
put put
fingerprint fingerprint
on on
thethe
sensor.sensor.
Please note that use the Please note that use the
following access mode must recover user address in advancefollowing access mode must recover user address in advance
by using Function 17)by using Function 17)
5.4.35.4.3
user address + fingerprintuser address + fingerprint
4-digit 4-digit
users users
address address
+ +
F4 F4
+ +
fingerprintfingerprint
User User
can can
access access
door door
by by
enter enter
4-digit 4-digit
users users
address address
+ +
F4 F4
and and
putput
fingerprint on the fingerprint on the
sensorsensor
..
Ex: if user address is 00001 then his fingerprint address is 0001.Ex: if user address is 00001 then his fingerprint address is 0001.
1515

6 6
Quick Quick
Guide Guide
(Function (Function
Menu)Menu)
Under Function Menu, you could just press the indicative nbr. to get into concerningUnder Function Menu, you could just press the indicative nbr. to get into concerning
set-up screen directly.set-up screen directly.
Function Function
Nbr. Nbr.
Function Function
Nbr.Nbr.
AddAdd
→→
Card Card
ID ID
11
→→
11
Alarm Delay TmAlarm Delay Tm
33
→→
66
AddAdd
→→
RF RF
– –
learn learn
11
→→
22
Arming Delay TmArming Delay Tm
33
→→
77
SuspendSuspend
→→
Addr 1Addr 1
→→
33
Arming PWDArming PWD
33
→→
88
SuspendSuspend
→→
ID ID
# #
11
→→
44
DeleteDelete
→→
Addr 1Addr 1
→→
55
DeleteDelete
→→
ID ID
# #
11
→→
66
Auto RelockAuto Relock
44
→→
11
RecoverRecover
→→
Addr 1Addr 1
→→
77
Egress (R.T.E.)Egress (R.T.E.)
44
→→
22
RecoverRecover
→→
ID ID
# #
11
→→
88
AttendanceAttendance
44
→→
33
Antipass GroupAntipass Group
11
→→
99
Master NodeMaster Node
44
→→
44
Force Open..Force Open..
44
→→
55
PasswordPassword
22
→→
11
Close & StopClose & Stop
44
→→
66
Access ModeAccess Mode
22
→→
22
Anti-pass backAnti-pass back
44
→→
77
Extend OptionsExtend Options
22
→→
33
Duress CodeDuress Code
44
→→
88
Single FloorSingle Floor
22
→→
44
Check User FPCheck User FP
44
→→
99
Multi FloorsMulti Floors
22
→→
55
Enroll FPEnroll FP
22
→→
66
Language (English)Language (English)
55
→→
11
→→
11
Delete FPDelete FP
22
→→
77
Language (Chinese)Language (Chinese)
55
→→
11
→→
22
Master CodeMaster Code
55
→→
22
Master RangeMaster Range
55
→→
33
Terminal PortTerminal Port
55
→→
44
Node IDNode ID
33
→→
11
AR721R32 NodeAR721R32 Node
55
→→
55
Auto Open ZoneAuto Open Zone
33
→→
22
Open Time ZoneOpen Time Zone
55
→→
66
Door Relay TmDoor Relay Tm
33
→→
33
InformationInformation
55
→→
77
Door Close TmDoor Close Tm
33
→→
44
Clock SettingClock Setting
55
→→
88
Alarm Relay TmAlarm Relay Tm
33
→→
55
1616

7. 7.
Function Function
descriptiondescription
3131
Node Node
ID ID
TT
o o
setup setup
Node Node
ID ID
(default: (default:
001), 001),
range range
from from
001 001
to to
254254
3333
Door Door
Relay Relay
Tm Tm
TT
o o
setup setup
how how
long long
the the
time time
will will
be be
that that
door door
close close
after after
a a
cardcard
flashing.flashing.
Range: 0 ~ 600 (sec.)Range: 0 ~ 600 (sec.)
To set value “0” will make door keep opening, after 2To set value “0” will make door keep opening, after 2
ndnd
cardcard
flashing, then door close. (Default value: 7 sec.)flashing, then door close. (Default value: 7 sec.)
3434
Door Door
Close Close
Tm Tm
Extended Extended
time time
for for
door door
opening opening
time.time.
(Default value: 15 sec.)(Default value: 15 sec.)
3535
Alarm Alarm
Relay Relay
Tm Tm
When When
abnormal abnormal
condition condition
arisen, arisen,
how how
long long
the the
alarm alarm
will will
taketake
place.place.
Range: 0 ~ 600 (sec.)Range: 0 ~ 600 (sec.)
To set value “0” will make alarm relay keep on until disarming,To set value “0” will make alarm relay keep on until disarming,
then alarm relay off. (Default value: 7 sec.)then alarm relay off. (Default value: 7 sec.)
3636
Alarm Alarm
Delay Delay
Tm Tm
The The
time time
between between
setting setting
Alarm Alarm
on on
and and
its its
real real
starting starting
workingworking
time. time.
(Default (Default
value: value:
1 1
sec.)sec.)
3737
Arming Delay Arming Delay
Tm Tm
The time The time
between sbetween s
etting Arming etting Arming
on and on and
its real its real
startingstarting
working time.working time.
Range: 0 ~ 600 (sec.)Range: 0 ~ 600 (sec.)
(Default value: 1 sec.)(Default value: 1 sec.)
5656
Open Open
TimeZone TimeZone
Set Set
door door
open open
/ /
close close
automatautomat
ically.ically.
Details:Details:
1. Enter “Function Menu”1. Enter “Function Menu”
2. Setup opening time first, Function no. 562. Setup opening time first, Function no. 56
3. Auto Open Zone, Function no. 323. Auto Open Zone, Function no. 32
1: 1:
YY
es es
2: 2:
NoNo
1717

Drawing explanation:Drawing explanation:
1. Time schedule for Door 1. Time schedule for Door
RelayRelay
, Wait Delay , Wait Delay
(Door Close Tm),(Door Close Tm),
Alarm Delay, Alarm RelayAlarm Delay, Alarm Relay
Door RelayDoor Relay
AlarmAlarm
RelayRelay
AlarmAlarm
DelayDelay
DoorDoor
Close TmClose Tm
Flashing card OKFlashing card OK
2. Arming Delay, Arming on2. Arming Delay, Arming on
ArmingArming
DelayDelay
ArmingArming
RelayRelay
Flashing card OK and set Arming onFlashing card OK and set Arming on
If abnormal conditions arisen, will If abnormal conditions arisen, will
cause Alarmcause Alarm
E.g. Door open too long (over allowed time)E.g. Door open too long (over allowed time)
Force openForce open
Violating anti-pass back regulationViolating anti-pass back regulation
1818

8. 8.
Special Special
designeddesigned
8.1 AR-821EF(i) connected with 2 pcs of AR-661U long-range reader 8.1 AR-821EF(i) connected with 2 pcs of AR-661U long-range reader
(Set one(Set one
AR-661U being Exit reader and the other one being Entry reader) to AR-661U being Exit reader and the other one being Entry reader) to
apply toapply to
Anti-pass back.Anti-pass back.
CPU version must be at least 5.4 or up.CPU version must be at least 5.4 or up.
No special setting No special setting
up necessary for AR-821EF(i).up necessary for AR-821EF(i).
◎◎
Set one AR-66Set one AR-66
1U with wiegand 34 bit format output and the other one wit1U with wiegand 34 bit format output and the other one wit
h 38 bit.h 38 bit.
(Please refer to (Please refer to
manual of AR-661U to have details.)manual of AR-661U to have details.)
◎◎
Set card to have anti-pass back checking. (Order no. 19)Set card to have anti-pass back checking. (Order no. 19)
This design is especially suitable for car This design is especially suitable for car
parking control.parking control.
The special design is The special design is
only workable with AR-661U, not available only workable with AR-661U, not available
with AR-721U,with AR-721U,
AR-721K. (wiegand reader)AR-721K. (wiegand reader)
Soyal Product AR-727Soyal Product AR-727
H (CPU version at H (CPU version at
least 3.2), AR-721H4 (CPU version at leastleast 3.2), AR-721H4 (CPU version at least
3.1V) also has this 3.1V) also has this
special design.special design.
User need to put fingerprint from AR-821EF(i) entry but don’t need to put fingerprintUser need to put fingerprint from AR-821EF(i) entry but don’t need to put fingerprint
from auxiliary WG reader from auxiliary WG reader
exit in anti-pass-back access mode.exit in anti-pass-back access mode.
8.2 How to set AR-821EF(i) and one set of wiegand reader (AR-721U, AR-721K or8.2 How to set AR-821EF(i) and one set of wiegand reader (AR-721U, AR-721K or
AR-661U) for anti-pass-back application?AR-661U) for anti-pass-back application?
Step1Step1
: Either way : Either way
to set networking controllerto set networking controller
’sparamete’sparamete
r settingr setting
By keypad: go to “Function Menu” By keypad: go to “Function Menu”
and enter command 47and enter command 47
By 701 Server \ By 701 Server \
821E / 829E Parameter Setting 821E / 829E Parameter Setting
\ Enable Anti-passb\ Enable Anti-passb
ackack
Step2: Either way to set card Step2: Either way to set card
anti-pass-back functionanti-pass-back function
By keypad: go to “Function Menu” By keypad: go to “Function Menu”
and enter command 19and enter command 19
By 701 client \ setting \ By 701 client \ setting \
user card \ mark Anti-passbauser card \ mark Anti-passba
ckck
1919
Other manuals for AR-821EF
3
Table of contents
Other Soyal IP Access Controllers manuals

Soyal
Soyal AR-101-H User manual

Soyal
Soyal AR-888U User manual

Soyal
Soyal AR-721K User manual

Soyal
Soyal AR-723 H User manual

Soyal
Soyal AR-327-E User manual

Soyal
Soyal AR-725E User manual

Soyal
Soyal AR-881-EF9DO User manual

Soyal
Soyal AR-837-EA-T User manual

Soyal
Soyal AR-363-E User manual

Soyal
Soyal AR-327-E User manual

Soyal
Soyal AR-888-PBI-S User manual

Soyal
Soyal AR-331-E User manual

Soyal
Soyal AR-837-E User manual

Soyal
Soyal AR-327-E User manual

Soyal
Soyal AR-888-PBI User manual

Soyal
Soyal AR-331-E User manual

Soyal
Soyal AR-837-E User manual

Soyal
Soyal AR-327H User manual

Soyal
Soyal AR-725E User manual

Soyal
Soyal AR-327 User manual