Warning!!
Do not use incompatible connectors with
any Miller Grip Anchorage. Refer to separate instructions
supplied with your anchorage connectors.
1”
Miller Grip
Use for Fall
Protection Only
Batch # 001
Manufactured on
00/00/0000
Model Miller Grip #499
Tested
ANSI Z359.1
WARNING!
You must read the
operations manual
before using this
product. Only qualified
fall protection
personnel should use
this product.
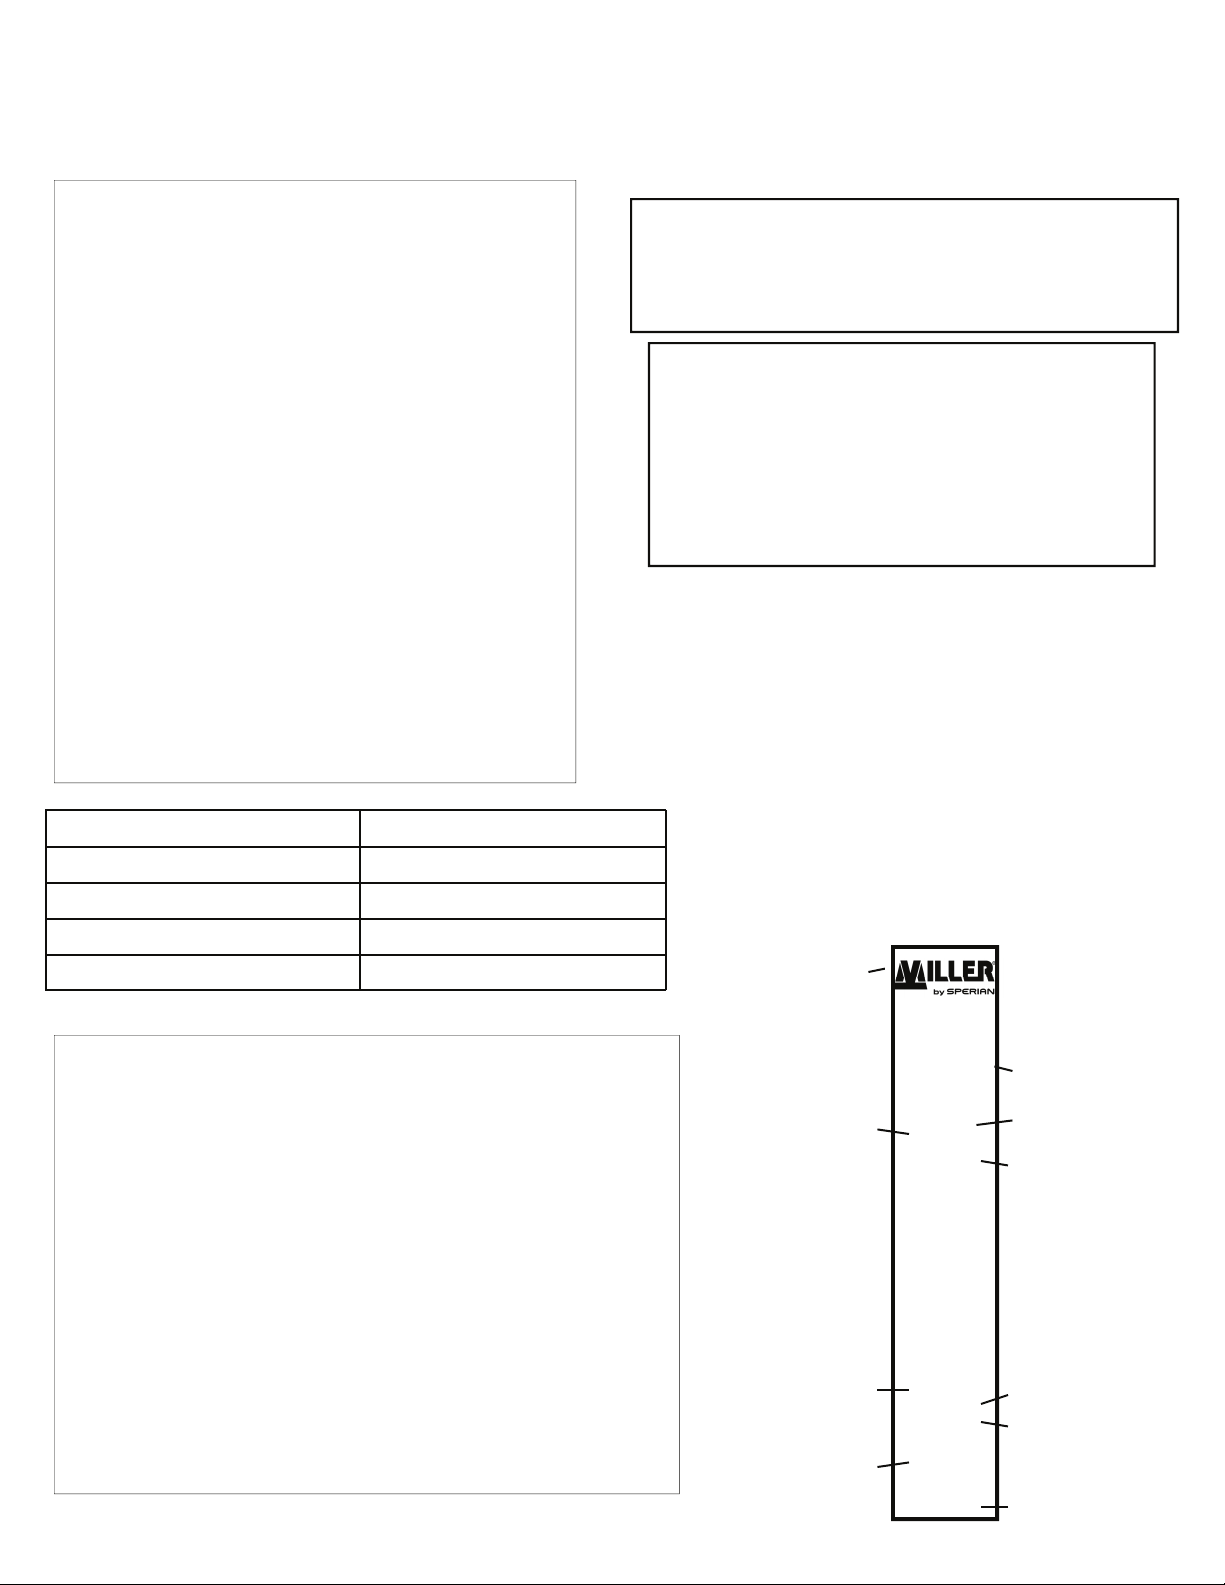
Company Logo
Hole Diameter/Size
Model Number
Manufactured Date
Product Use
Batch Number
Product Name
ANSI Z359.1 Mark
Warning Instructions
Test Statement
IMPORTANT!!!
Do not drill a hole closer then 10” from any corner.
The concrete substrate must be at least 20” wide and 10” thick.
Main Cable
7x 19 Galvanized Cable Return Wire 1x19 Galvanized Cable
Rotary Swage 304 Stainless Steel Trigger 6061 T6 Aluminum
Spoons 304 Stainless Steel Spring Zinc Coated Spring Steel
Cleaning Bushing 304 Stainless Steel Swage Zinc Coated Copper
Stop Sleeve 304 Stainless Steel Thimble Color Coded Green
• Drill a 1” diameter hole at least 4-1/2” deep.
• Use recommended drill type and size.
• Blow hole clean with compressed air.
• Drill hole straight into substrate.
• When reusing a previously drilled hole always inspect the hole carefully.
• Insert unit 4-1/2 inches deep into hole.
• Set the unit with a slight tug on the anchor loop.
• The stop sleeve must always be partially inserted into the hole.
• Always inspect a previously drilled hole for deformation. Drill another
proper hole if needed.
• Inspect the unit for damage each time you use it. If damage has occurred,
dispose of unit.
• Always dispose of unit after a fall has occurred.
• Never lend your unit to other workers.
• Never rely on a unit placed by unqualified workers.
• Remove your unit at the end of each day.
• Never leave a unit inserted in a hole overnight.
• Never drill hole closer than 10” to any edge or corner.
Only use industrial grade rotary hammer
drills and drill bits.
DO NOT USE masonry drill bits
Inspection:
1. Make sure unit is straight and operates smoothly.
2. Make sure the label is affixed to unit.
3. Make sure trigger stop is not bent or damaged.
4. Make sure cables are not kinked, frayed or damaged.
5. Make sure metal components are not damaged.
6. Make sure metal spoons and conical end fitting operate
smoothly and no metal burrs have occurred.
7. When reusing a previously drilled hole, always inspect the
hole carefully.
Storage and Cleaning:
1. Blow off unit after each use with compressed air.
2. Store in clean dry environment.
3. Store in secure locked area.
4. Store and put away at the end of each day’s work.
5. Do not pile any objects on top of unit during storage.
6. Keep unit free of grease, oils and dirt.
7. Never lend your unit to other workers.
Disposal:
1. Dispose of unit after any fall has occurred.
2. Dispose of unit if cable becomes kinked or bent.
3. Dispose of unit if trigger stop is bent or damaged.
4. Dispose of unit if trigger action is rough or sticky.
5. Dispose of unit if return wire becomes bent or frayed.
6. Proper disposal requires the unit’s spoons be cut off the
return wires and thrown away.
It is important that you drill your Miller Grip hole to the
manufacturer’s required depth and hole structure. All
holes must be 1” in diameter and drilled at least 4-1/2”
into the substrate and the bored hole walls must be
straight and parallel. NOTE: The bored hole must be of
uniform diameter and free of peaks and valleys on the
inner wall surfaces. Only use quality industrial grade
rotary hammers and rotary hammer drill bits.
NEVER USE A BENT DRILL BIT!!


