manuals.online logo
Brands
  1. Home
  2. •
  3. Brands
  4. •
  5. Staubli
  6. •
  7. Crimping Tools
  8. •
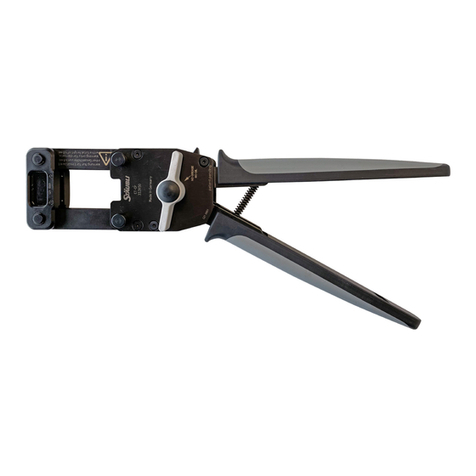
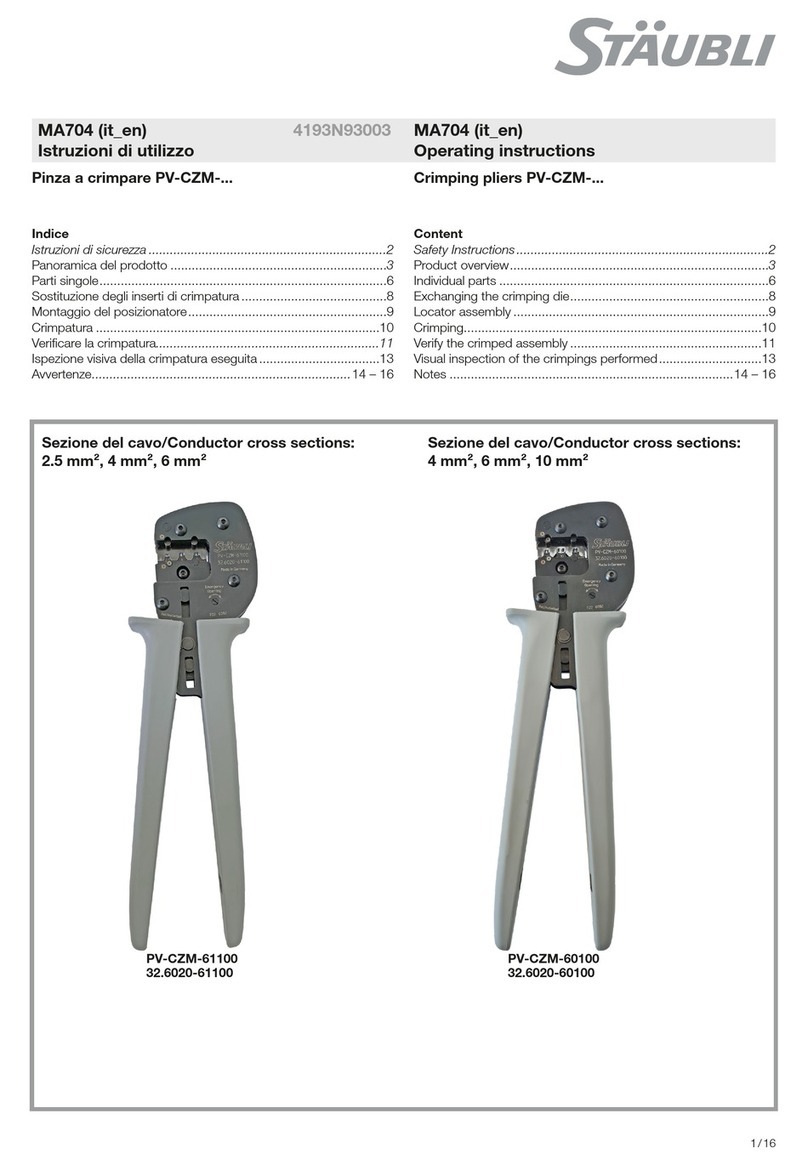
  9. Staubli CTD-M-CZ User manual

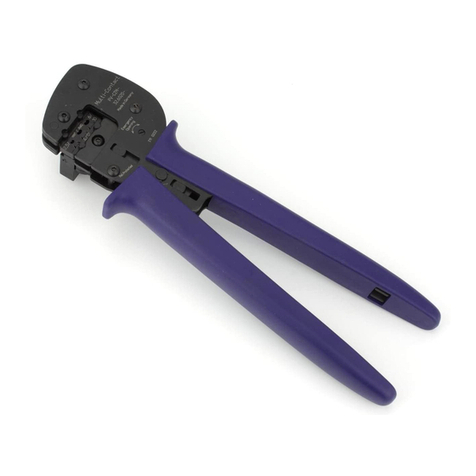
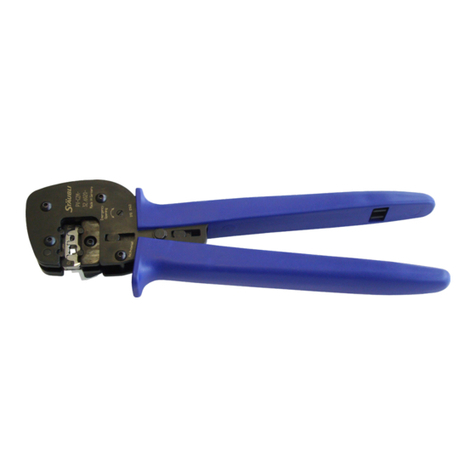
Staubli CTD-M-CZ User manual

1 / 4
MES-CZ-CTD1 MES-CZ-CTD1,5 MES-CZ-CTD3
CTD-M-CZ
MA076 (de_en)
Montageanleitung
MA076 (de_en)
Assembly instructions
MA419 (pt_en)
Instruções de utilização
MA419 (pt_en)
Operating instructions
Alicate de cravação CTD-M-CZ Crimping pliers CTD-M-CZ
Índice
Instruções de segurança �������������������������������������������������������������2
Utilização��������������������������������������������������������������������������������� 3-4
Content
Safety Instructions �����������������������������������������������������������������������2
Operating �������������������������������������������������������������������������������� 3-4
Tipo
Type
N.° de encomenda
Order No.
Descrição
Description
Secção transversal dos cabos
Conductor cross section
mm² AWG
CTD-M-CZ 33.3900 Alicate de cravação
Crimping pliers
MES-CZ-CTD1 33.3910 Fixadores
Locator
0,14 26
0,25 24
0,5 20
0,75 18
MES-CZ-CTD1,5 33.3911 Fixadores
Locator
0,75 18
1 18
1,5 16
MES-CZ-CTD3 33.3912 Fixadores
Locator
2,5 14
4 12
2 / 4
Instruções de segurança Safety instructions
Utilize apenas os componentes e ferramentas indicados pela
Stäubli� Respeite os procedimentos de preparação e montagem
aqui descritos, caso contrário, a segurança e a conformidade
dos dados técnicos não estarão asseguradas� Não altere o pro-
duto de nenhuma forma�
Use only the components and tools specified by Stäubli� In case
of self-assembly, do not deviate from the preparation and assem-
bly instructions as stated herein, otherwise Stäubli cannot give
any guarantee as to safety or conformity with the technical data�
Do not modify the product in any way�
Os conectores de encaixe que não são fabricados pela Stäubli e
que podem ser encaixados nos produtos da Stäubli, sendo, por
vezes, descritos como compatíveis com os produtos Stäubli pe-
los fabricantes, não estão em conformidade com os requisitos de
uma ligação elétrica segura e estável a longo prazo, não devendo
ser encaixados nos elementos Stäubli por razões de segurança�
Desta forma, a Stäubli não assume qualquer res-ponsabilidade
pela combinação dos conectores de encaixe não autorizados
pela Stäubli com os elementos Stäubli, bem como pelos danos
daí decorrentes�
Connectors not originally manufactured by Stäubli which can be
mated with Stäubli elements and in some cases are even de-
scribed as ”Stäubli-compatible” by certain manufacturers do not
conform to the requirements for safe electrical connection with
long-term stability, and for safety reasons must not be plugged
together with Stäubli elements� Stäubli therefore does not ac-
cept any liability for any damages resulting from mating such
connectors (i�e� lacking Stäubli approval) with Stäubli elements�
A Stäubli Electrical Connectors (Stäubli) exclui qualquer respons-
abilidade na sequência do incumprimento destas instruções�
Stäubli Electrical Connectors (Stäubli) does not accept any
liability in the event of failure to observe these warnings�
IEC 60417-6182
Instalação, Conhecimento electrotécnico Installation, electrotechnical expertise
Os produtos só devem ser montados e instalados por pessoal
qualificado e instruído, tendo em consideração o cumprimen-
to das normas e regulamentações de segurança legalmente
aplicáveis�
The products may be assembled and installed by electrically
skilled or instructed persons duly observing all applicable safety
regulations�
IEC 60417-6042
Cuidado, risco de choque eléctrico Caution, risk of electric shock
Trabalhar sem tensão
Ao trabalhar com instalações elétricas, devem ser respeitadas as
cinco regras de segurança�
Depois de identificados os componentes do sistema em causa,
é obrigatório cumprir os cinco seguintes requisitos essenciais
pela ordem indicada, a menos que existam razões válidas para o
seu não cumprimento:
■desligar;
■proteger contra o restabelecimento da ligação;
■verificar a ausência de tensão;
■ligação à terra e em curto-circuito;
■cobrir ou isolar as peças adjacentes sob tensão�
Todas as pessoas envolvidas no trabalho têm de ser técnicos
eletricistas ou pessoas qualificadas ou estar sob a supervisão de
uma destas pessoas�
Fonte: EN 50110-1:2013 (DIN EN 50110-1, VDE 0105-1)
Work in a de-energized state
Follow the five safety rules, when working on electrical installa-
tions�
After the respective electrical installations have been identified,
the following five essential requirements shall be undertaken in
the specified order unless there are essential reasons for doing
otherwise:
■disconnect completely;
■secure against re-connection;
■verify absence of operating voltage;
■carry out grounding and short-circuiting;
■provide protection against adjacent live parts�
Any person engaged in this work activity shall be electrically
skilled or instructed, or shall be supervised by such a person�
Source: EN 50110-1:2013
Proteção contra choque eléctrico, também deve ser verificado
na aplicação final
Protection against electric shock shall be checked in the end-use
applications too�
ISO 7000-0434B
Cuidado Caution
Cada vez que se usar um conector deve-se proceder a uma
verificação prévia da existência de defeitos exteriores (principal-
mente o isolamento)� Se existirem algumas dúvidas sobre a sua
segurança, deve-se consultar um especialista ou substituir o
conector�
Each time the connector is used, it should previously be inspected
for external defects (particularly the insulation)� If there are any
safety concerns, an electrically skilled person must be consulted
or the connector must be replaced�
Alerta ou conselho útil Useful hint or tip
Encontrará mais dados técnicos no catálogo de produtos,
www�staubli�com/electrical
For further technical data please see the product catalog,
www�staubli�com/electrical
3 / 4
1
2
(fig. 1)
Selecione o fixador
■Instale o fixador no alicate
■Coloque o parafuso móvel na posição adequada
■Aperte-o
(ill. 1)
Select the locator
■Install the locator in the pliers
■Move the slide screw into position
■Tighten it
Matriz / Die
Escala / Scale
Amplitude do seletor / Selector range
Parafuso móvel / Slide screw
(fig. 2)
Ajuste o seletor�
(ill. 2)
Set the selector�
Nota:
Utilize a escala "M22520/1-01"!
Note:
Use scale “M22520/1-01”!
4 / 4
4
3
Fabricante/Producer:
Stäubli Electrical Connectors AG
Stockbrunnenrain 8
4123 Allschwil/Switzerland
Tel. +41 61 306 55 55
Fax +41 61 306 55 56
mail [email protected]
www.staubli.com/electrical
© by Stäubli Electrical Connectors AG, Switzerland – MA419 – 07.2020, Index a, Marketing Communications – Sujeito à alteraçoes / Subject to alterations

(fig. 3)
Introduza a bucha de cravação no alicate� Feche até se encontrar
bem fixa�
(ill. 3)
Insert the crimping sleeve into the pliers� Close until fixed�
(fig. 4)
■Introduza, tanto quanto possível, o cabo na bucha de cravação
(ill. 4)
■Insert the wire in the crimping sleeve as far as possible
Nota:
(Para contactos com nominais de Ø 1mm, 1,5mm e 3mm)�
Os cabos inseridos devem encontrar-se visíveis através do
orifício de observação tanto antes como após o cravação�
Note:
(For contacts with nominal Ø 1mm, 1,5mm and 3mm)�
Inserted wires must be visible through the sight hole, before and
after crimping�
■Feche completamente o alicate�
■O alicate solta-se automaticamente�
■Close the pliers completely�
■The pliers release automatically�
Nota:
Assim que tiver início, o processo de cravação não pode ser
interrompido� O alicate de cravação só pode ser solto depois
de o processo de cravação estar concluído�
Note:
Once the crimping process has started, it cannot be in-
terrupted� The crimping pliers can only be released once the
crimping process is complete�
Nota:
Feche ligeiramente o alicate para fixar!
Note:
Slightly close the pliers to lock!
Colocação do entalhe de 4/8 do alicate de cra-
vação (tubo de cravação fechado):
Positioning of the 4/8 indent crimping pliers
(closed crimp barrel):
O entalhe deve ser colocado entre a extremidade do tubo de cra-
vação e o fim do orifício de observação� O melhor posicionamen-
to deve ser centrado entre a extremidade do tubo de cravação e
o início do orifício de observação�
The indent must be placed between the edge of the crimp barrel
and the end of the sight hole� The optimal positioning is centered
between the edge of the crimp barrel and the beginning of the
sight hole�
Para mais informações e manutenção, consulte também as ins-
truções do fabricante�
For information and maintenance, see also the manufacturer
instructions�

Other Staubli Crimping Tools manuals

Staubli PV-CZM Series User manual

Staubli

Staubli PV-CZM Series User manual

Staubli M-PZ-T2600 User manual

Staubli

Staubli M-PZ-T2600 User manual

Staubli PV-CZM-61100 User manual

Staubli

Staubli PV-CZM-61100 User manual

Staubli PV-CZM User manual

Staubli

Staubli PV-CZM User manual

Staubli PV-CZM Series User manual

Staubli

Staubli PV-CZM Series User manual

Staubli PV-CZM Series User manual

Staubli

Staubli PV-CZM Series User manual

Staubli PV-CZM User manual

Staubli

Staubli PV-CZM User manual

Staubli PV-AZM Series User manual

Staubli

Staubli PV-AZM Series User manual

Staubli MA251 User manual

Staubli

Staubli MA251 User manual

Staubli PV-CZM Series User manual

Staubli

Staubli PV-CZM Series User manual

Staubli CT-CZ/POF User manual

Staubli

Staubli CT-CZ/POF User manual

Staubli PV-CZM User manual

Staubli

Staubli PV-CZM User manual

Staubli CT-CZ/POF User manual

Staubli

Staubli CT-CZ/POF User manual

Staubli PV-AZM Series User manual

Staubli

Staubli PV-AZM Series User manual

Staubli PV-CZM Series User manual

Staubli

Staubli PV-CZM Series User manual

Staubli PV-CZM Series User manual

Staubli

Staubli PV-CZM Series User manual

Staubli CT-CP User manual

Staubli

Staubli CT-CP User manual

Staubli PV-CZM Series User manual

Staubli

Staubli PV-CZM Series User manual

Staubli PV-CZM Series User manual

Staubli

Staubli PV-CZM Series User manual

Staubli CT-CP User manual

Staubli

Staubli CT-CP User manual

Staubli PV-CZM Series User manual

Staubli

Staubli PV-CZM Series User manual

Staubli PV-CZM Series User manual

Staubli

Staubli PV-CZM Series User manual

Staubli CT-CP User manual

Staubli

Staubli CT-CP User manual

Staubli PV-CZM-61100 User manual

Staubli

Staubli PV-CZM-61100 User manual

Popular Crimping Tools manuals by other brands

Emerson Klauke MAPAX325CFM manual

Emerson

Emerson Klauke MAPAX325CFM manual

Emerson Klauke ES 105CFM manual

Emerson

Emerson Klauke ES 105CFM manual

Milwaukee M18 Operator's manual

Milwaukee

Milwaukee M18 Operator's manual

Emerson Klauke ESG 25CFB manual

Emerson

Emerson Klauke ESG 25CFB manual

molex MTA-100 Setup instructions

molex

molex MTA-100 Setup instructions

TE Connectivity SDE-SA instruction sheet

TE Connectivity

TE Connectivity SDE-SA instruction sheet

HARTING 09 99 000 0664 instructions

HARTING

HARTING 09 99 000 0664 instructions

Legend MSS-KREC-54AC SAFE OPERATION & MAINTENANCE INSTRUCTIONS

Legend

Legend MSS-KREC-54AC SAFE OPERATION & MAINTENANCE INSTRUCTIONS

Tyco Electronics ROTA-CRIMP 68321-1 instruction sheet

Tyco Electronics

Tyco Electronics ROTA-CRIMP 68321-1 instruction sheet

molex 63827-5470 Specification sheet

molex

molex 63827-5470 Specification sheet

Textron Klauke K 14 instruction manual

Textron

Textron Klauke K 14 instruction manual

molex 63825-1900 Specification sheet

molex

molex 63825-1900 Specification sheet

Continental Refrigerator PC125-RCD quick start guide

Continental Refrigerator

Continental Refrigerator PC125-RCD quick start guide

HRS HT601/TM21P-88P operating instructions

HRS

HRS HT601/TM21P-88P operating instructions

RYCO MINI CRIMPER Series Operation manual

RYCO

RYCO MINI CRIMPER Series Operation manual

molex 35745 Series Specification sheet

molex

molex 35745 Series Specification sheet

Temper Koban KCB-240 instruction manual

Temper

Temper Koban KCB-240 instruction manual

HARTING 09 69 82 5140 Series Assembly instructions

HARTING

HARTING 09 69 82 5140 Series Assembly instructions

manuals.online logo
manuals.online logoBrands
  • About & Mission
  • Contact us
  • Privacy Policy
  • Terms and Conditions

Copyright 2025 Manuals.Online. All Rights Reserved.