manuals.online logo
Brands
  1. Home
  2. •
  3. Brands
  4. •
  5. Steelcase
  6. •
  7. Indoor Furnishing
  8. •
  9. Steelcase Convene User manual

Steelcase Convene User manual

N9501959 Rev. F
Page1of11
TOOLS
Steelcase, Inc.
Grand Rapids, MI 49501
U.S.A.
1-888-783-3522
Assembly Directions Printed in U.S.A.
1/8"
Drill Bit 7/16” Wrench
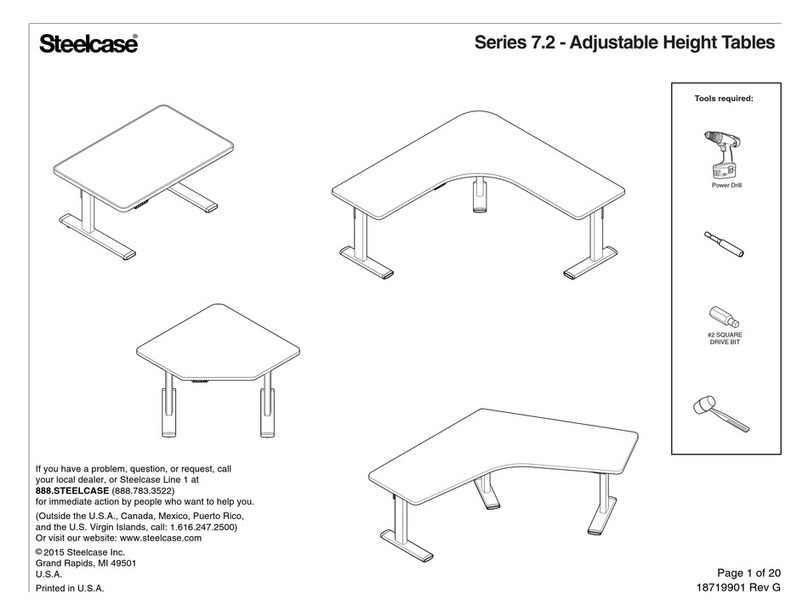
Convene - Sectional Table Top Assembly
and Table Base Installation
Lufkin
R
478086489
3m/10'
Tape Measure Screw Driver
POWER UNIT
POWER CHANNEL
OVAL TOP WITH
POWER UNIT/CHANNEL
RACETRACK TOP WITH ROUND
AND OVAL POWER PORTS
Install Power Unit/Power Channel before base.
(See Assembly Direction N9501956)
IMPORTANT NOTE
ROUND
POWER PORT
OVAL
POWER PORT
Power Driver
w/square tip
SHIM
Page2of11
N9501959 REV. F Steelcase
Check content of order to ensure all parts are accounted for
and components match.
Make sure you have the tools identified on front cover.
Setup
Ensure adequate work space is available for performing this
assembly and that table top surfaces are protected with clean
padded material such as shipping blankets.
PACKING
BLANKET
2.
To ensure a uniform finish match, align
table top sections referring to match
marks on inside edge of top sections.
Sectional Top Assembly
1.
TIP: Shims can be made
from the packing material
to elevate one edge of table
top and will allow for a finger
hold when assembly is
complete and top is
ready to upright.
Insert spacers into machine slot along top edge,
spacing them equally along length.
Push table top sections together and check alignment.
DO NOT GLUE.
2.
SPACER
Install optional Power Unit/Power Channel to tops before
installing bases. (See Assembly Direction N9501956)
1.
Page3of11
N9501959 REV. F Steelcase
7/16” WRENCH
3.
4.
4.
Put ‘T’ bolt connectors in each of the
machined ‘T’ bolt slots. Tighten
bolts finger tight.
3.
Using a 7/16” wrench, tighten ‘T’ bolts
starting with bolts located closest to the
center of top and work outward. Continue
to repeat this process until all bolts are tight.
Attach hanger brackets (2) per section with
#10 X 7/8” screws, (9) per bracket. Evenly
space brackets to the outside edge of top.
Do not cover T-Bolt slots or table base locations.
5.
‘T’ BOLT
‘T’ BOLT
SLOT
‘T’ BOLT
‘T’ BOLT
SLOT
HANGER
BRACKET
HANGER
BRACKET
#10 x 7/8”
SCREW
5. A
B
TOP SHOWN IN
UPRIGHT POSITION
NOTE: When assembling tops having three or more sections,
completely assemble two sections separately. Attach hanger brackets
to one of the completed sections (see figure B), then upright assembled
sections to complete assembly.
Page4of11
N9501959 REV. F Steelcase
SPIDER
BRACKET
Positioning And Attachment Of
Table Bases With Spider Bracket
SPIDER BRACKET
Locate 45 hole pattern on bottom
of table top, then position spider
bracket base as shown.
1.
2.
2.
Secure table base with screws
(#10 X 1- 3/4”, 3 per foot).
3.
3.
#10 x 1-3/4”
Install (2) screws into pilot
holes, then drill pilot holes
for the other (10) screws.
TWO PIECE RACETRACK TOP
(LOOKING DOWN AT BOTTOM)
1.
45 hole pattern
Align pilot holes with
this hole in bracket.
Install screws into
these pilot holes.
Steelcase Page5of11
N9501959 REV. F
For Bases with Legs:
A. Use the protruding bosses in the bottom
of the plate to locate on leg.
BASE
LEG
A
B
B
C
BASE SUB-ASSEMBLY PLATE ATTACHMENT
A. Slide in position, mark and drill
pilot holes for attaching to base.
plate
plate
B plate
plate
. Slide in position and align with
pilot holes for attaching to base.
B. Attach to base with #10
counter sink screws (shipped with
base). Ensure screw heads are flush
with .
plate
plate
C plate
plate
. Attach to base with #10 counter
sink screws (shipped with base).
Ensure screw heads are flush
with .
PLATE LOCATOR
BOSSES
For Drum Bases:
MACHINE
RECESS
REMOVABLE BASE
ACCESS DOOR
#10 COUNTER SINK
SCREWS
#10 COUNTERSINK
SCREWS
A
DRUM BASE
1.
2.
3.
4.
Align holes in bracket with holes in
plate. The wider end of the bracket
mounts to the worksurface through
the base plate holes, the narrow
end mounts to the base leg.
Secure the plate to the worksurface.
Secure the narrow end of the
bracket to leg.
Attach the base bracket to the
worksurface through the holes
in the plate.
REINFORCEMENT BASE BRACKET ATTACHMENT
Conference Table with
RECTANGULAR BASES
Conference Table with
U-BASES
Follow these steps to attach reinforcement brackets to Rectangular and
U-Bases on your Convene conference table. It’s important that you
install four brackets per base, one bracket on front and back of each leg.
3
1
4
2
#10 x 1.075”
screws, (3)
per bracket
#8 x 5/8” screws,
(3) per bracket
#10 x 7/8” screws
Install a reinforcement bracket
on front and back of each leg.
U-Base is shown,
also applies to
Rectangular Base.
Page6of11
N9501959 REV. F Steelcase
Page7of11
N9501959 REV. F Steelcase
Positioning And Attachment Of
Table Bases With Bracket Plates
Install optional Power Channel/Units
(See Assembly Direction N9501956)
Measure the distance between the
base mounting brackets. Then find
the matching hole pattern on bottom
of the top. Check that dimensions
between mounting brackets and
locating holes on top are
the same.
(refer to pages 8, 9,
or 10 for locating
dimensions)
1.
2.
OPTIONAL POWER
CHANNEL/UNIT
CUTOUT
1.
REMOVABLE BASE
ACCESS DOOR
ELLIPTICAL DRUM
BASE OUTLINE
Position the base with base access door or wire
management cutouts facing toward the center of
top. Base access door can be removed for ease
of base installation.
3.
4.Align base bracket with predrilled pilot holes.
Mark and drill additional pilot holes, then secure
with screws provided (#10 X 7/8”).
2.
2.
IMPORTANT: When installing
a base that spans a joint, it must
be centered
and the mounting plate must
be centered on the joint.
side to side on the
top
#10 x 7/8”
SCREWS
BASE
BRACKET
PILOT
HOLE
4.
CENTERED
SIDE TO SIDE
Page8of11
N9501959 REV. F Steelcase
LOCATE TABLE BASES TO
HOLES IN UNDERSIDE OF TOP
DISK BASES
T-FLEX BASE X-FLEX BASE
U - BASE
X - BASE
ELLIPTICAL
BASE
RECTANGULAR
BASE
CIRCULAR
DRUM BASE
HALF DRUM
BASE
BASES USING BASE BRACKETS
BASES USING SPIDER BRACKETS
Locate Spider Bracket with 45° hole
pattern, then install with (12) screws.
Locate Base Brackets with
either inside or outside
set of holes, then install
with (12) screws.
Page9of11
N9501959 REV. F Steelcase
ALL DIMENSIONS ARE IN INCHES, TO THE CENTER OF BASE
Use the chart on this page
to help locate bases on
TWO PIECE TABLE TOPS.
Table Size Base
DIMA DIMB DIMC DIMD
54 X 144 Drum 27 72 36 N/A
XFlex 27 72 27 72
TFlex 27 72 27 72
Half Drum 27 72 N/A N/A
Rectangle 27 72 N/A N/A
XBase 27 72 36 72
UBase 27 72 N/A N/A
Elliptical Drum 27 72 36 N/A
54 X 168 Drum 27 84 N/A N/A
XFlex 27 84 N/A N/A
TFlex 27 84 N/A N/A
Half Drum 27 84 N/A N/A
Rectangle 27 84 N/A N/A
XBase 27 84 N/A N/A
UBase 27 84 N/A N/A
Elliptical Drum 27 84 N/A N/A
60 X 144 Drum 30 72 32 N/A
Half Drum 30 72 N/A N/A
Rectangle 30 72 N/A N/A
XBase 30 72 32 N/A
UBase 30 72 N/A N/A
Elliptical Drum 30 72 32 N/A
60 X 168 Drum 30 84 36 84
Half Drum 30 84 N/A N/A
Rectangle 30 84 N/A N/A
XBase 30 84 36 84
UBase 30 84 N/A N/A
Elliptical Drum 30 84 36 84
60 X 192 Drum 30 96 N/A N/A
Half Drum 30 74 N/A N/A
Rectangle 30 74 N/A N/A
XBase 30 96 N/A N/A
UBase 30 74 N/A N/A
Elliptical Drum 30 96 N/A N/A
60 X 216 Drum 30 108 N/A N/A
Half Drum 30 82 N/A N/A
Rectangle 30 82 N/A N/A
X Base 30 108 N/A N/A
UBase 30 82 N/A N/A
Elliptical Drum 30 108 N/A N/A
Boat, Racetrack, Rectangular Oval
A
B
BOAT, RACETRACK,
and RECTANGULAR
C
D
OVAL
Page 10 of 11
N9501959 REV. F Steelcase
Table Size Base
DIM A DIM B DIM C DIM D
66 X 144 Drum 33 N/A 38 N/A
Half Drum 33 72 N/A N/A
Rectangle 24 72 N/A N/A
X Base 33 N/A 38 N/A
UBase 24 72 N/A N/A
Elliptical Drum 33 72 27 72
66 X 168 Drum 36 N/A 41 N/A
Half Drum 36 84 N/A N/A
Rectangle 28 84 N/A N/A
X Base 36 N/A 41 N/A
UBase 28 84 N/A N/A
Elliptical Drum 36 84 28 84
72 X 168 Drum 36 N/A 37 N/A
Half Drum 36 84 N/A N/A
Rectangle 28 84 N/A N/A
X Base 36 N/A 37 N/A
UBase 28 84 N/A N/A
Elliptical Drum 36 84 31 84
Boat, Racetrack, Rectangular Oval
ALL DIMENSIONS ARE IN INCHES, TO THE CENTER OF BASE
A
C
B
D
BOAT, RACETRACK,and RECTANGULAR
OVAL
Use the chart on this page
to help locate bases on
THREE PIECE TABLE TOPS.
Page 11 of 11
N9501959 REV. F Steelcase
Use the chart on this page
to help locate bases on
FOUR PIECE TABLE TOPS.
Table Size Base
DIM A DIM B DIM C DIM D
66 X 192 Drum 36 96 46 96
Half Drum 36 72 N/A N/A
Rectangle 24 72 N/A N/A
XBase 36 96 46 96
UBase 24 72 N/A N/A
Elliptical Drum 36 96 31 75.5
66 X 216 Drum 36 108 N/A N/A
Half Drum 36 81 N/A N/A
Rectangle 27 81 N/A N/A
X Base 36 108 N/A N/A
UBase 27 81 N/A N/A
Elliptical Drum 36 81 N/A N/A
72 X 192 Drum 36 96 42 96
Half Drum 36 72 N/A N/A
Rectangle 24 72 N/A N/A
XBase 36 96 42 96
UBase 24 72 N/A N/A
Elliptical Drum 36 96 31 75.5
72 X 216 Drum 36 108 46 108
Half Drum 36 81 N/A N/A
Rectangle 27 81 N/A N/A
X Base 36 108 46 108
UBase 27 81 N/A N/A
Elliptical Drum 36 81 31 83
Boat, Racetrack, Rectangular Oval
A
B
C
D
OVAL
BOAT, RACETRACK,and RECTANGULAR
ALL DIMENSIONS ARE IN INCHES, TO THE CENTER OF BASE

Other manuals for Convene

1

Other Steelcase Indoor Furnishing manuals

Steelcase Migration SE Desk User manual

Steelcase

Steelcase Migration SE Desk User manual

Steelcase Manifesto Airtouch Height Adjustable Desk User manual

Steelcase

Steelcase Manifesto Airtouch Height Adjustable Desk User manual

Steelcase Elective Elements Storage Firmware update

Steelcase

Steelcase Elective Elements Storage Firmware update

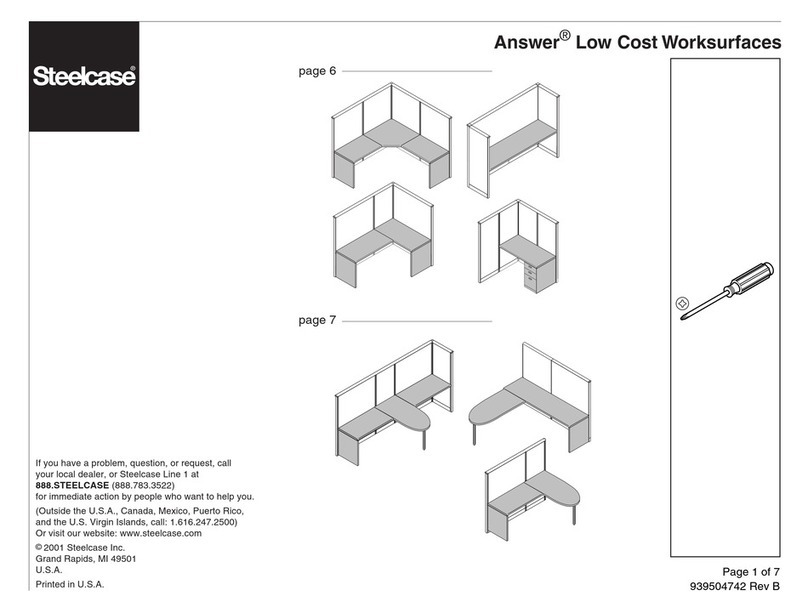
Steelcase Answer Low Cost Worksurfaces User manual

Steelcase

Steelcase Answer Low Cost Worksurfaces User manual

Steelcase ap40 User manual

Steelcase

Steelcase ap40 User manual

Steelcase Pathways User manual

Steelcase

Steelcase Pathways User manual

Steelcase Turnstone Scoop Chair User manual

Steelcase

Steelcase Turnstone Scoop Chair User manual

Steelcase TS Storage User manual

Steelcase

Steelcase TS Storage User manual

Steelcase Universal Storage User manual

Steelcase

Steelcase Universal Storage User manual

Steelcase Flex 120 Corner User manual

Steelcase

Steelcase Flex 120 Corner User manual

Steelcase 464 Leap User manual

Steelcase

Steelcase 464 Leap User manual

Steelcase Reply User manual

Steelcase

Steelcase Reply User manual

Steelcase Kickplate Onto A 2” Panel Firmware update

Steelcase

Steelcase Kickplate Onto A 2” Panel Firmware update

Steelcase Migration SE User manual

Steelcase

Steelcase Migration SE User manual
Steelcase Cobi User manual

Steelcase

Steelcase Cobi User manual

Steelcase Turnstone Campfire Screen User manual

Steelcase

Steelcase Turnstone Campfire Screen User manual

Steelcase 462 Leap V2 User manual

Steelcase

Steelcase 462 Leap V2 User manual

Steelcase 9000 Overhead Storage Bin Series User manual

Steelcase

Steelcase 9000 Overhead Storage Bin Series User manual

Steelcase FlexFrame User manual

Steelcase

Steelcase FlexFrame User manual

Steelcase Cura II User manual

Steelcase

Steelcase Cura II User manual

Steelcase 800 Series User manual

Steelcase

Steelcase 800 Series User manual

Steelcase 2300 Series User manual

Steelcase

Steelcase 2300 Series User manual

Steelcase UPV Series User manual

Steelcase

Steelcase UPV Series User manual

Steelcase Regard Booth with Table User manual

Steelcase

Steelcase Regard Booth with Table User manual

Popular Indoor Furnishing manuals by other brands

Caribou Streamline OV1020 Series manual

Caribou

Caribou Streamline OV1020 Series manual

Jensen AQTIVE II Assembly and instructions for use

Jensen

Jensen AQTIVE II Assembly and instructions for use

Acme Furniture Malai 81705 Assembly instructions

Acme Furniture

Acme Furniture Malai 81705 Assembly instructions

KROKWOOD Alice A Assembly instructions

KROKWOOD

KROKWOOD Alice A Assembly instructions

Rauch M2625 Assembly instructions

Rauch

Rauch M2625 Assembly instructions

DHP 4370429N manual

DHP

DHP 4370429N manual

Next 651823 Assembly instructions

Next

Next 651823 Assembly instructions

Union Home LVR00631 manual

Union Home

Union Home LVR00631 manual

Forte SPRB01 Assembling Instruction

Forte

Forte SPRB01 Assembling Instruction

Friant MY-HITE quick start guide

Friant

Friant MY-HITE quick start guide

Suncast MTL6804 owner's manual

Suncast

Suncast MTL6804 owner's manual

Ballard Designs WS994 quick start guide

Ballard Designs

Ballard Designs WS994 quick start guide

Naterial ORIS 2021R09P07-0422 Assemby - Use - Maintenance Manual

Naterial

Naterial ORIS 2021R09P07-0422 Assemby - Use - Maintenance Manual

Argos Adult Malibu 532/8038 Assembly instructions

Argos

Argos Adult Malibu 532/8038 Assembly instructions

aidapt VM938 Usage and maintenance instructions

aidapt

aidapt VM938 Usage and maintenance instructions

Coaster 115158 Assembly instructions

Coaster

Coaster 115158 Assembly instructions

Style selections 36BV90194-PW07 Assebly instructions

Style selections

Style selections 36BV90194-PW07 Assebly instructions

HoMedics WRF-COL Instruction manual and warranty

HoMedics

HoMedics WRF-COL Instruction manual and warranty

manuals.online logo
manuals.online logoBrands
  • About & Mission
  • Contact us
  • Privacy Policy
  • Terms and Conditions

Copyright 2025 Manuals.Online. All Rights Reserved.