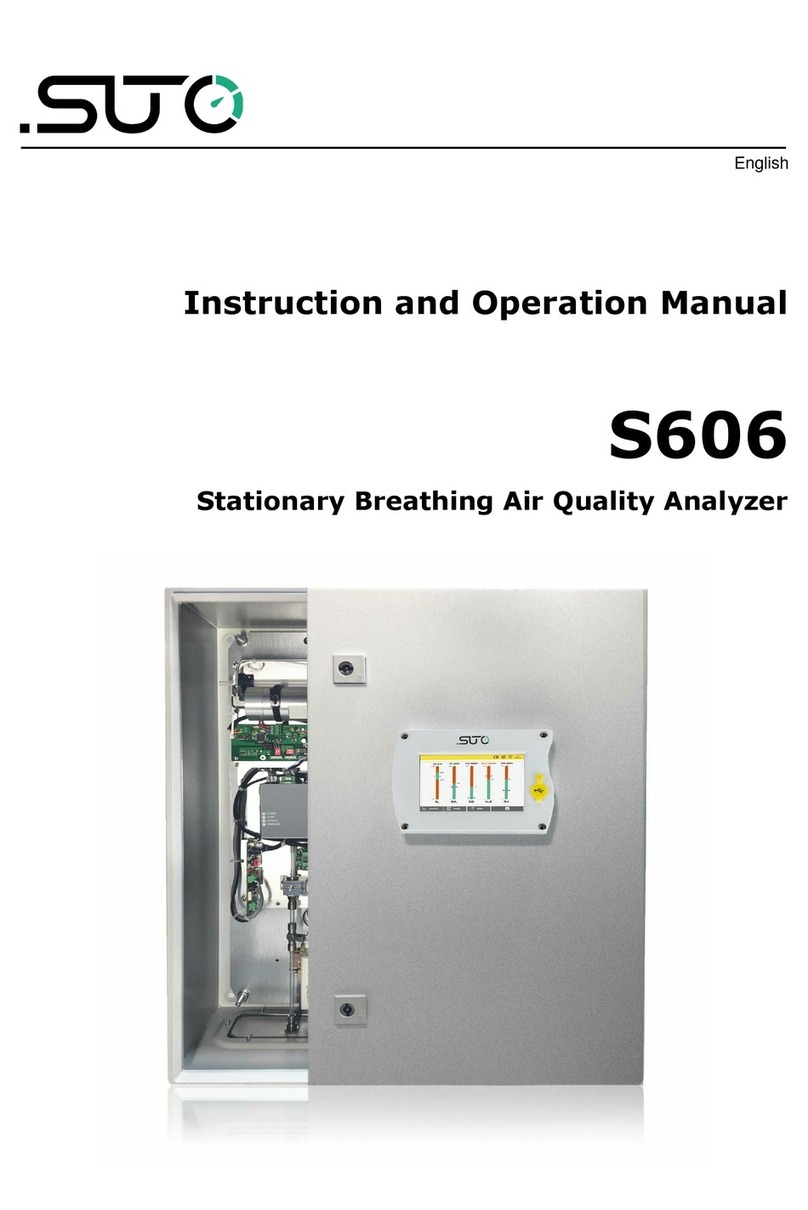
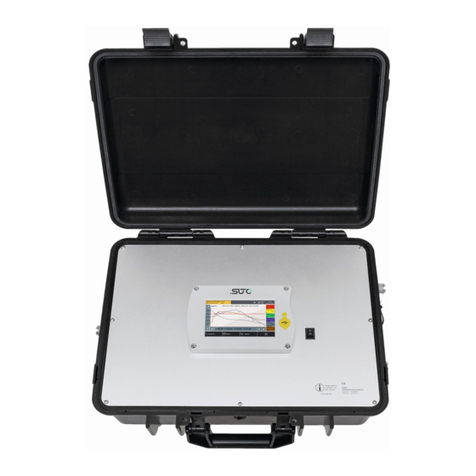
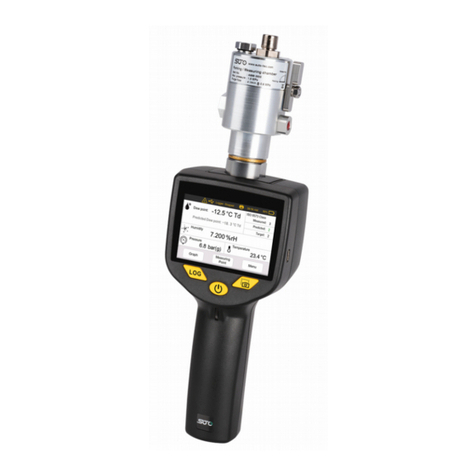
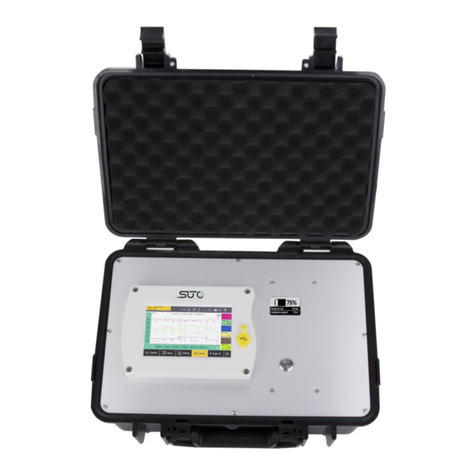
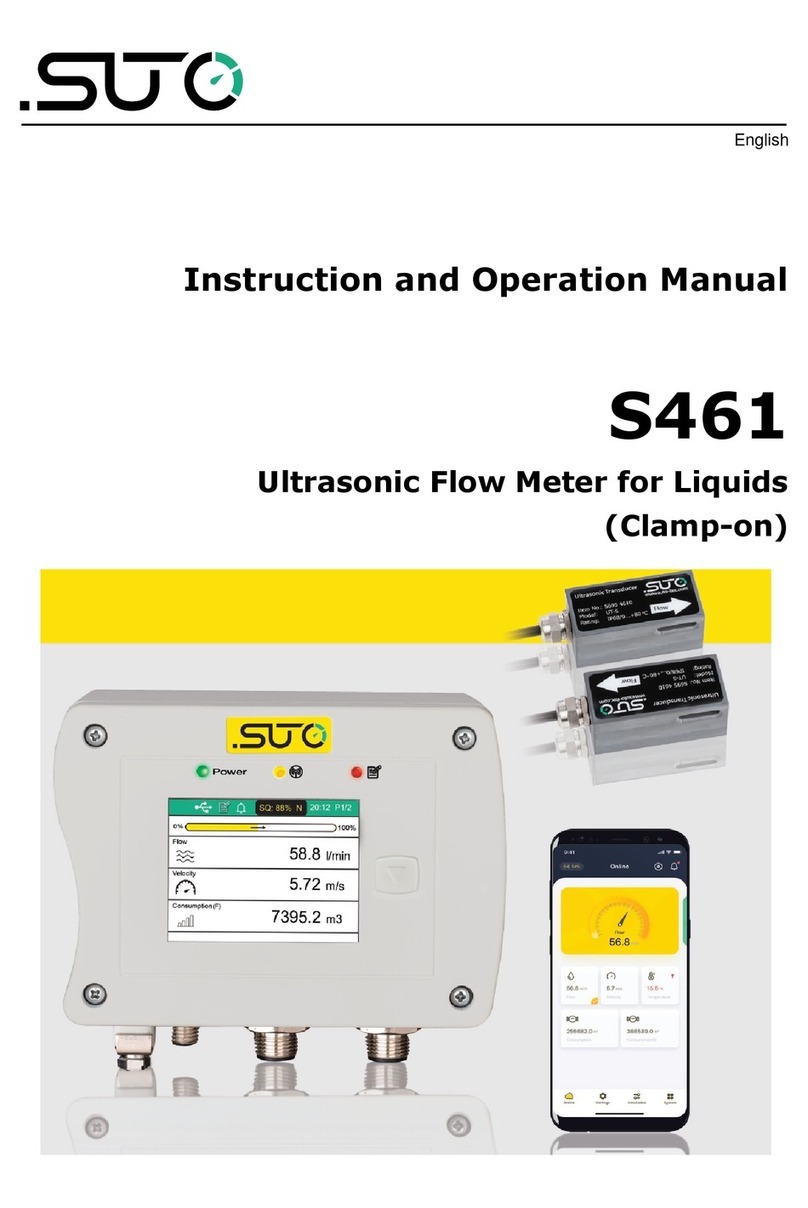
SUTO S 600 Manual

English
Instruction and operation manual
S 600
Portable compressed air purity analyzer

Dear Customer,
thank you for choosing our product.
The operating instructions must be read in full and carefully observed
before starting up the device. The manufacturer cannot be held liable
for any damage which occurs as a result of non-observance or non-
compliance with this manual.
Should the device be tampered with in any manner other than a
procedure which is described and specified in the manual, the warranty
is cancelled and the manufacturer is exempt from liability.
The device is destined exclusively for the described application.
S TO iTEC GmbH offers no guarantee for the suitability for any other
purpose. S TO iTEC GmbH is also not liable for consequential damage
resulting from the delivery, capability or use of this device.
2 S 600

Table of contents
1. Safety instructions.......................................................................4
2. Application.................................................................................8
3. Features.....................................................................................8
4. Technical Data............................................................................9
4.1 General.................................................................................9
4.2 Electrical data .....................................................................10
4.3 Accuracy..............................................................................10
5. Dimensions...............................................................................11
6. Installation on site.....................................................................14
6.1 Installation requirements.......................................................14
6.2 Connecting the isokinetic sampling device to the S 600 analyzer
(Option)....................................................................................17
6.3 sing the S 600 without the isokinetic sampling device..............19
6.4 Electrical connections on the S 600.........................................19
6.5 Compressed air connections (In and outlet).............................20
7. Setup and configuration.............................................................21
8. Operation.................................................................................22
8.1 Value screen........................................................................23
8.2 The menu............................................................................24
8.3 Symbol description in the status bar........................................24
8.4 Graphic view........................................................................25
8.6 Files....................................................................................25
8.7 Service Info ........................................................................26
8.8 System Setting.....................................................................26
8.9 Report menu........................................................................27
9. Guided measurement.................................................................28
9.1 Guided measurement............................................................29
10. Optional accessories.................................................................34
11. Maintenance............................................................................34
12. Disposal or waste.....................................................................34
13. Warranty................................................................................35
S 600 3

1. Safety instructions
Please check if this instruction manual accords to the
product type.
Please observe all notes and instructions indicated in this
manual. It contains essential information which have to be
observed before and during installation, operation and
maintenance. Therefore this instruction manual has to be read carefully
by the technician as well as by the responsible user / qualified
personnel.
This instruction manual has to be available at the operation site of the
flow sensor at any time. In case of any obscurities or questions,
regarding this manual or the product, please contact the manufacturer.
WA NING!
Compressed air!
Any contact with quickly escaping air or bursting
parts of the compressed air system can lead to
serious injuries or even death!
•Do not exceed the maximum permitted pressure range (see
sensors label).
•Only use pressure tight installation material.
•Avoid that persons get hit escaping air or bursting parts of the
instrument.
•The system must be pressure less during maintenance work.
•WA NING!
•Voltage used for supply!
•Any contact with energized parts of the
product, may lead to a electrical shock which
can lead to serious injuries or even death!
•Consider all regulations for electrical installations.
•The system must be disconnected from any power supply during
maintenance work.
4 S 600

1. Safety instructions
WA NING!
Permitted operating parameters!
Observe the permitted operating parameters, any
operation exceeding this parameters can lead to
malfunctions and may lead to damage on the
instrument or the system.
•Do not exceed the permitted operating parameters.
•Make sure the product is operated in its permitted limitations.
•Do not exceed or undercut the permitted storage and operation
temperature and pressure.
The product should be maintained and calibrated frequently, at least
annually.
General safety instructions
•It is not allowed to use the product in explosive areas.
•Please observe the national regulations before/during installation
and operation.
emarks
•It is not allowed to disassemble the product.
•Always check the compressed air connectors in terms of stability
and tightness.
ATTENTION!
Measurement values can be affected by malfunction!
The product must be installed properly and
frequently maintained, otherwise it may lead to
wrong measurement values, which can lead to
wrong results.
•Always observe the direction of the flow when installing the
sensor. The direction is indicated on the housing.
•Do not exceed the maximum operation temperature at the sensors
tip.
•Avoid condensation on the sensor element as this will affect the
accuracy enormously.
S 600 5

1. Safety instructions
Storage and transportation
•Make sure that the transportation temperature is between
-10°C... 70°C.
•For transportation it is recommended to use the packaging which
comes with the sensor.
•Please make sure that the storage temperature of the sensor is
between -10°C... 50°C.
•Avoid direct V and solar radiation during storage.
•For the storage the humidity has to be <90%, no condensation.
6 S 600

1. Safety instructions
ATTENTION!
Equipment may get damaged!
Please make sure, that your measuring point is free
of excessive contamination/dirt. This should
maintained before every measurement.
•Observe the measuring point always before measurement if it is
free of contamination like water drops, oil drops or other rough
contaminations.
•Should water hit the inner electronics, the senors could be
seriously damaged.
•Check your measurement point with the enclosed test kit.
ATTENTION!
Overpressure!
emove always all protection caps before connecting
the compressed air to the inlet.
S 600 7

2. Application
2. Application
The portable compressed air purity analyzer S 600 is able to measure,
record and verify the quality parameters (particle quantity, dew point,
temperature, pressure, oil vapor content) of a compressed air system.
The S 600 is not developed to be used in explosive areas. For the use in
such areas, please contact the manufacturer.
The S 600 is mainly used in compressed air system as they are found in
industrial environments.
3. Features
•High resolution 5” color touchscreen display and interface.
•SB port for coping the data to a memory stick.
•Ethernet (Modbus/TCP, S TO-Bus) interface for transferring the
data to SCADA systems.
•Data logger: 100 million values.
•Integrated report generator for compressed air audits (generates
PDF files and copies them to a SB memory stick).
•All in one portable hand carried measurement device.
•TÜV approved measurement technology and quality assurance.
•Multi dew point measurement system for a big range of
measurement beside a very high accuracy.
•Latest PID sensor technology for oil vapor measurement.
•Five values in a single device: Particle counter, dew point/humidity,
oil vapor, temperature and pressure (flow measurement as
option).
•Isokinetic sampling tube for particle measurement as option.
8 S 600

4. Technical Data
4. Technical Data
4.1 General
Data logger Internal, 100 million values
Parameter Measuring
parameter
Range Reference
Particle 0,3... 0,5 µm
0,5... 1,0 µm
1,0... 5,0 µm
Annex 1 /
DIN 14644
(with isokinetic
sampling device
DIN 8573)
Dew point -100°... +20°C DIN 8573
Oil vapor 0,003... 10
mg/m3
ZLG/
AIM 07120604
Pressure 0...15 barg DIN 1301
Temperature 0... 50°C DIN 60751
Reference settings ISO 1217, 20°C 1000 mbar
DIN 1343, 0°C 1013 mbar
Measurement
principle Parameter Principle
Particle
quantity
Laser optical detection
Dew point Ceramic humidity sensor,
oscillating crystal
Oil vapor PID
Volume flow Thermal mass flow (Anemometer)
Medium Compressed air, non corrosive components
Humidity of the
medium
< 40%, not condensing
Temp. of the
medium
0°C... 50°C
S 600 9

4. Technical Data
Operation pressure 3... 15 barg
Housing material PC + ABS, Aluminum
Protection class IP 65 (cover closed)
Dimension Please observe the drawings on the next page
Display 5” graphics color display, 800 x 4800 Pixel with
touch screen interface
Weight 6,80 kg
4.2 Electrical data
Power supply Mains supply adaptor (AC/DC)
Input: 100... 240 VAC, 50/60 Hz, 1.4 A
Output: 24 VDC, 2.5 A, 60 Watt max.
4.3 Accuracy
Accuracy Parameter Accuracy
Particle
quantity
50% @ 0,3... 0,4 µm (per JIS)
100% @ 0,4... 5,0 µm (per JIS)
Dew point ± 2°
Oil vapor 5% of value ± 0,003 mg/m3
Volume flow ± 2 % of value ± 0,3 % of range
Temperature ± 0,1 K
Pressure ± 0,08 bar
10 S 600

5. Dimensions
5. Dimensions
Dimensions S 600 in mm (cover closed):
S 600 11

5. Dimensions
Dimensions isokinetic sampling device (option) in mm:
12 S 600

5. Dimensions
3D view of the S 600 and the isokinetic sampling device:
S 600 13

6. Installation on site
Please make sure that all components listed below are included in your
package.
Qty. Description Item No.
1 S 600 portable compressed air analyzer in a hand
carry case with handle and shoulder belt
0560 0600
1 SB OTG memory stick 0554 0087
1 Operation and instruction manual PDF no P/N
1 Purge filter for pre-measurement (test kit) 0554 0604
5 6mm Teflon hose adapter, stainless steal 0219 0197
1 Power supply, 230 VAC / 24 VDC 0554 0086
1 2 m Teflon hose, 6 OD x 4 ID mm, free adjustable 0193 0002
1 1.5 m Teflon hose with quick connector 0554 0003
The below items only apply if you have the
isokinetic sampling device 0554 0600 as option
1 Isokinetic sampling device, incl. flow sensor 0554 0600
1 M12 connection cable for isokinetic sampling device 0553 0134
If you need replacement materials from the list above or if you need
further useful accessories please contact the manufacturer or your local
distributor.
6.1 Installation requirements
The device needs to be set up next the measuring point. Please make
sure that the device is standing on a flat surface. In case you are using
the additional isokinetic sampling device you must make sure that they
also stand on a flat surface next to the S 600.
The tubes should be not bended to strong and be installed with a big
curve radius to avoid turbulences in the air flow.
The isokinetic sampling device must be set up next to the S 600 to get
a straight and short connection. Please observe the following chapter,
connecting the isokinetic sampling device to the S 600.
14 S 600

6. Installation on site
The S 600 must be connected to the power during the measurement,
please make sure that the device is not turned off or plugged of during
the measurement, since the data will then be lost and not saved.
ATTENTION!
If the device is not installed properly it could lead to
wrong measurement results.
•The device is designed to be operated indoors only. If you want to
use the device outdoors, direct sunlight and rain must be avoided.
ATTENTION!
Before you connect the device to your point of
measurement, you have to make sure that there is
no rough contamination like water/oil drops or
heavy dust. This could damage the sensor units.
For this please use the purge filter test kit.
To check your point of measurement connect the purge filter test it onto
your measuring point first. Open the purge valve on the test kit and
purge some air for a short period. Afterwards check the filter in the test
kit, if it shows high contamination of water, oil or dust. Should the filter
be contaminated to high do not continue to measure with the S 600 as
this may lead to serious damage. In case you are not sure, please
contact the manufacturer.
S 600 15

6. Installation on site
ATTENTION!
Before connecting the
compressed air, make
sure that all protection
caps are
opened/removed!
Remove the protection caps from all parts of both sides of the
instrument. If not removed the device may get damaged and its the risk
of bursting parts under high pressure, this can lead to a damage or to
personal injuries. All exhaust outlets will pass air during the
measurement, if not, please contact the manufacturer.
ATTENTION!
Always use the 6 mm Teflon hose adapter to
connect the teflon hoses to the S 600 and to the
isokinetic sampling device! You may damage the
device if not used.
sing a quick connector more than once may lead to particle
contamination which can affect the measurement. For this please use
the included adapter plugs and keep them on your tubes.
16 S 600

6. Installation on site
6.2 Connecting the isokinetic sampling device to the S 600
analyzer (Option)
The picture above shows the setup together with the isokinetic sampling
device connected to the S 600. Please connect the isokinetic sampling
device using the teflon hose which came with the device. On the next
page you will find a detailed description of the sampling device. Also
you will find which outlets of the sampling device need to be connected
to which input at the S 600.
Below you find it as a graphic for better understanding.
S 600 17

6. Installation on site
Before connecting you compressed air, make sure ball valve 2 and 4
are closed properly.
Close the needle valve 3 properly.
The connection to you compressed air system is achieved through the
correct fitting (quick connector, teflon hose, etc.). Connect your
compressed air system using the correct fitting to the inlet 1.
Connect the outlet valve 2 to the inlet for dew point and oil vapor
measurement at the S 600 using a teflon hose.
18 S 600
1
2
3
4

6. Installation on site
Connect the isokinetic outlet 4 with the inlet for the particle counting
at the S 600.
Now open outlet valve 2 and 4 to start your measurement. Follow the
instructions on the screen.
6.3 Using the S 600 without the isokinetic sampling device
Connect your compressed air system using two teflon hoses to the
corresponding inlets at the S 600. They are marked: Gas inlet Oil / Dew
point measu ement and Gas inlet Pa ticle measu ement.
6.4 Electrical connections on the S 600
The S 600 offers three types of electrical connections. The power
supply connector 1, the communication port for the isokinetic
sampling device 2 and a ethernet port 3 to communicate with
network devices.
ATTENTION!
Only use the power supply which came with the
S 600!
S 600 19
1 2 3

6. Installation on site
6.5 Compressed air connections (In and outlet)
The S 600 offers two compressed air inputs on the right side of the
housing. The inlets are shown on the picture above and are marked
respectively to their functions: Gas inlet Oil / Dew point measu ement
and Gas inlet Pa ticle measu ement.
ATTENTION!
Permissible pressure!
Please observe the maximum permissible ingoing
pressure. It must be in between 3 and 15 bar
overpressure. If the pressure is exceeded it will
damage the device, if the pressure is to low, the
volume flow will not be high enough which will lead
to wrong results.
In the picture below the left side of the housing is shown where the gas
outlets can be found. The calibration outlets Gas outlet Dew point
measu ement and Gas outlet Oil vapo measu ement, which are used to
connect the internal sensors to references. These calibration outlets
must be opened all the time during compressed air is connected. Also
the two other ports need to be opened before connecting the
compressed air.
20 S 600
Other manuals for S 600
3
Table of contents
Other SUTO Measuring Instrument manuals