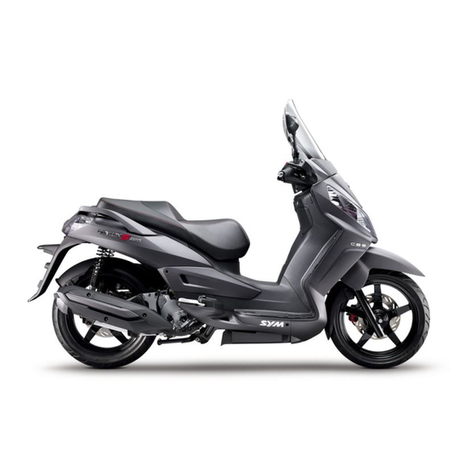
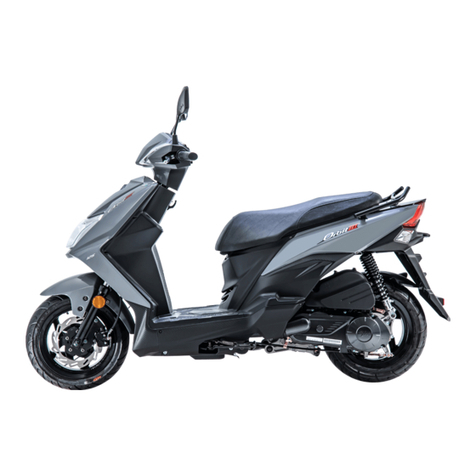
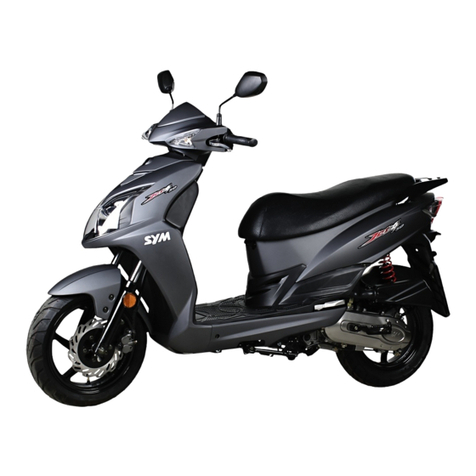
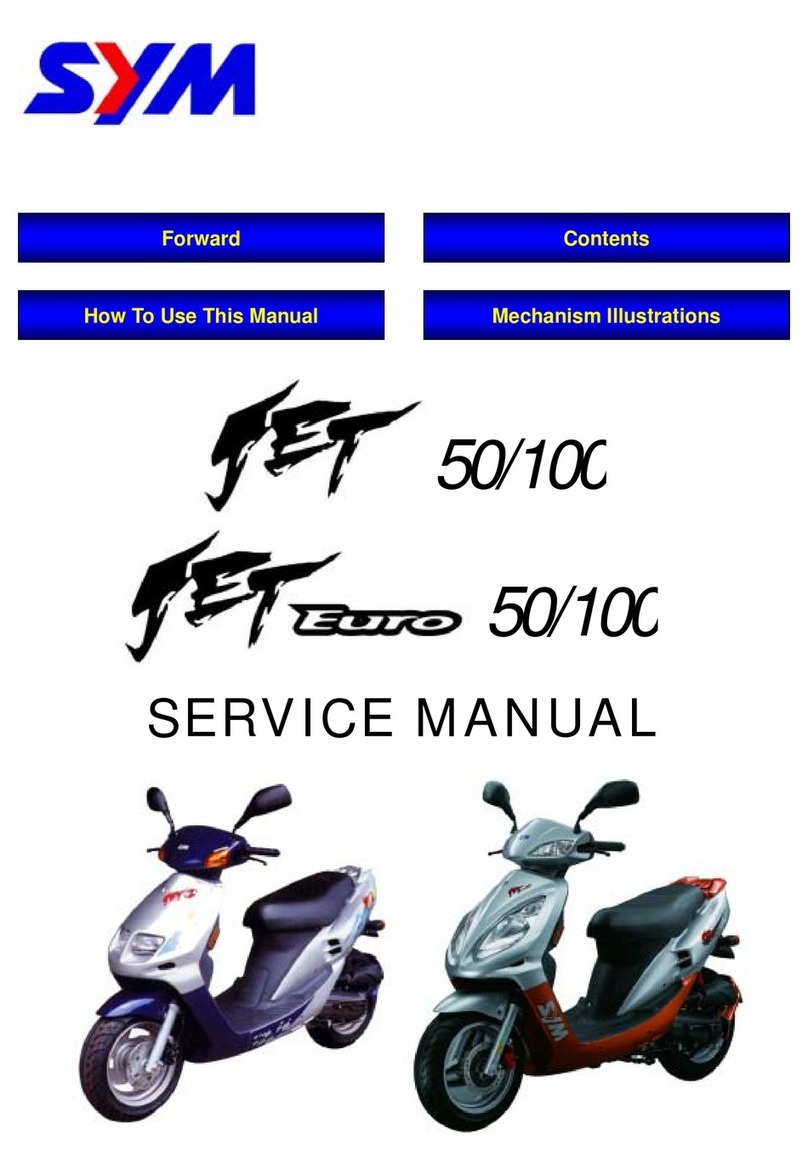
Sym Jet Euro X 50 User manual

1
1. CONTENTS
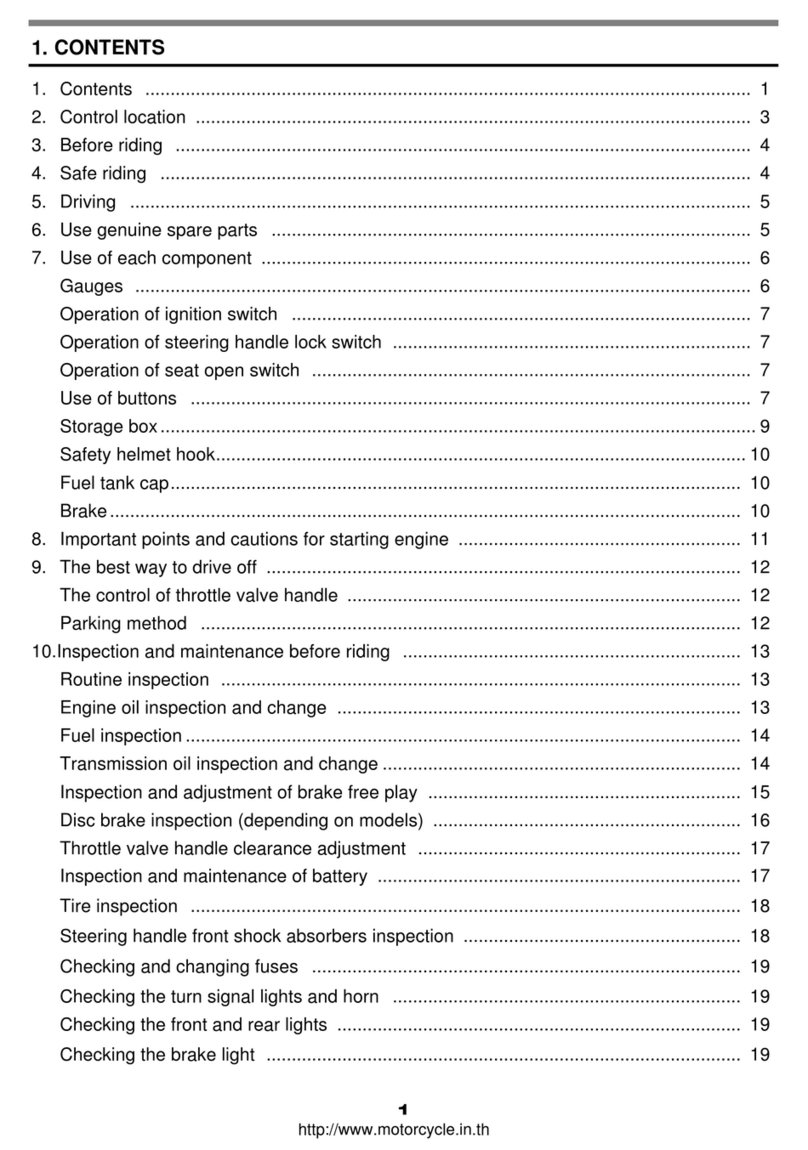
1. Contents ...........................................................................................................1
2. Location of the safety label.............................................................................3
3. Control location ...............................................................................................5
4. Before riding ..................................................................................................10
5. Safe riding ......................................................................................................10
6. Riding..............................................................................................................11
7. Use genuine spare parts ..............................................................................11
8. Use of each component ................................................................................12
Gauges ...........................................................................................................12
Operation of ignition switch ........................................................................13
Use of buttons ...............................................................................................14
Seat lock ........................................................................................................16
Safety helmet hook .......................................................................................16
Luggage box...................................................................................................16
Fuel tank cap .................................................................................................17
Side stand.......................................................................................................18
Brake ..............................................................................................................18
Parking method .............................................................................................18
9. Important points and cautions for starting engine ....................................19
10.The best way to ride off ................................................................................20
The control of throttle valve handle ............................................................20
11.Inspection and maintenance before riding .................................................20
Routine inspection ........................................................................................20
Inspection of fuel level .................................................................................20
Inspection and replenishment of engine oil ...............................................21
Transmission oil inspection and change ...................................................21
Inspection and adjustment of brake free play ............................................22
Disc brake inspection [Depending on models] ..........................................23

2
1. CONTENTS
Throttle valve handle clearance adjustment...............................................24
Tire inspection ..............................................................................................24
Steering handle front shock absorbers inspection ...................................25
Checking for fuel leakage ............................................................................25
Checking the lubrication of body’s various mechanisms ........................25
Inspection and maintenance of battery ......................................................26
Checking and changing fuses .....................................................................27
Checking the turn signal lights and horn ...................................................27
Checking the front and rear lights ..............................................................27
Checking the brake light ..............................................................................27
Checking the spark plug ..............................................................................28
Checking the air cleaner ..............................................................................28
12.When there is an abnormal condition or a trouble ....................................29
Diagnosis when engine does not start .......................................................29
13.Periodical Maintenance Schedule ...............................................................30
14.Specification ..................................................................................................31
SYM USA200310

3
2. LOCATION OF THE SAFETY LABEL
Frame NO. cover
Fuel tank cap
Handle rear cover

4
2. LOCATION OF THE SAFETY LABEL
R Body cover
Luggage box
MASK 50
JET 50
RS-21 50
DD 50

5
3. CONTROL LOCATION
MODE:JET EURO 50 SERIES
Head light
Front brake
lever Rear brake
lever
Tail light
Helmet hook
Fuel tank cap
Engine number
Luggage box
Muffler
Fuses / C.D.I.
Eng. Oil tank cap
Eng. stop / Starter switch
High & Low beam /
Turn signal / Horn switch
Air cleaner
Front turn signal
Ignition switch
Rear turn
signal
Seat lock
Rear turn
signal
Frame number

6
3. CONTROL LOCATION
MODE:JET 50 SERIES
Head light
Front brake
lever Rear brake
lever
Tail light
Helmet hook
Fuel tank cap
Engine number
Luggage box
Muffler
Fuses / C.D.I.
Eng. Oil tank cap
Eng. stop / Starter switch
High & Low beam /
Turn signal / Horn switch
Air cleaner
Front turn signal
Ignition switch
Rear turn
signal
Seat lock
Rear turn
signal
Frame number

7
3. CONTROL LOCATION
MODE:MASK 50 SERIES
Head light
Tail light
Rear turn signal
Fuel tank cap
Engine number
Luggage box
Muffler
Eng. stop / Starter switch
High & Low beam /
Turn signal / Horn switch
Helmet hook
Fuses / C.D.I.
Eng. Oil tank cap
Air cleaner
Front turn signal
Ignition switch
Rear brake
lever
Front brake
lever
Seat lock
Frame number

8
3. CONTROL LOCATION
MODE:RS21 50 SERIES
Head light
Fuel tank cap
Engine number
Luggage box
Eng. stop / Starter switch
Tail light
High & Low beam /
Turn signal / Horn switch
Helmet hook
Fuses / C.D.I.
Eng. Oil tank cap
Front turn signal
Ignition switch
Muffler
Rear brake
lever
Front brake
lever
Rear turn
signal
Air cleaner
Seat lock
Frame number

9
3. CONTROL LOCATION
MODE:D.D 50 SERIES
Front brake
lever Rear brake
lever
Ignition/
Fuel tank cap open/
Seat open switch
Helmet hook
Eng. stop / Starter switch
Engine number
High & Low beam /
Turn signal / Horn switch
Muffler
Head light
Tail light /
Rear turn
signal
Fuel tank cap
Fuses / C.D.I.
Eng. Oil tank cap
Luggage box
Frame number
Air cleaner
Front turn signal Rear turn
signal

10
4. BEFORE RIDING
This manual describes the correct usage of this scooter including safety riding, simple inspection
methods and so on.
For a more comfortable and safety riding, please read this manual carefully.
yIn case the scooter’s specifications and construction are modified and different from the photos and
diagrams on the owner’s manual/catalogues, the specifications and construction of the actual
scooter shall prevail.
5. SAFE RIDING
It is very important to be relax and clothe properly when driving, observe traffic regulations, do not rush,
always drive carefully and relaxed.
Usually, most people would ride their newly bought scooter very carefully, but after they became familiar
with their scooter, they tended to become reckless which may result in an accident.
Thank you very much for choosing a SANYANG scooter:
yIn order to maximize your scooter’s performance, a periodic inspections and regular
maintenance should be performed. We recommend that after riding your new scooter for the
first 300 kilometers that you take your scooter to an Authorized SANYANG scooter dealer for an
inspection. Thereafter, we recommend that you take your scooter to an Authorized SANYANG
scooter dealer for an inspection every 1000 kilometers.
CAUTION:
yDo not modify your scooter! Modifying the scooter will void the warranty. Modifying the scooter
may be illegal. Modification will affect the performance of the scooter. Engine modification
could cause poor engine performance, engine damage, excessive exhaust noise, and could
shorten the life of the scooter.
To remind you:
yAlways wear your safety helmet when riding your scooter. Use care to properly tighten the chin
strap.
yWear close fitting clothes. Open or loose clothing may be blown by the wind and cause clothing
to get caught on the steering handle or other scooter parts and could affect riding safety.
yHold the steering handle with both hands when riding. Never ride with only one hand.
yAlways observe the speed limit.
WARNING!!
yWhile riding, the exhaust muffler is extremely hot. A passenger must use care and place his/her
feet on the foot pegs to avoid being burned by the exhaust muffler.
yAfter riding, the exhaust muffler is extremely hot. Be careful not to get burned when conducting
an inspection or maintenance.
yAfter riding, the exhaust muffler is extremely hot. Select a suitable location to park your scooter
to help others avoid getting burned by the exhaust muffler.

11
6. RIDING
Keep the related parts of your body such as arms, palms, lumbar, and toes relax and ride with the most
comfortable posture in order to be able to react quickly whenever it is necessary.
yRider’s posture will greatly affect riding safety. Always keep your body’s gravity in the center of
the seat, if your body’s gravity is on the rear part of saddle, the front wheel load will be reduced,
and this will cause the steering handle shaking. It is dangerous to ride a scooter with an unstable
handle.
yIt will be much easier to make a turn if rider inclines his body inward when turning. On the other
hand, the rider will feel unstable if his body and the scooter do not incline.
yThe scooter is hard to control on a bumpy, unleveled, unpaved road, try to know the road
conditions in advance, slow down and use your shoulder’s force to control the handle.
ySuggestion: Do not load objects on the front pedals unnecessarily, to avoid affecting the riding
safety and the operation of steering handle.
7. USE GENUINE SPARE PARTS
In order to maintain the scooter’s best performance, each part’s quality, material, and machined
precision must conform with the design requirements. “SYM Genuine Spare Parts” were made from
the same high quality materials used for the original scooter. No parts would be sold to the market until
they could meet the designed specifications through sophisticated engineering and stringent quality
control. Therefore, it is necessary to purchase “SYM Genuine Spare Parts” from “SYM Authorized
Dealers or Franchised Dealers” when replacing spare parts. If you buy cheap, or fake substitute
parts from the market, no guarantee can be provided either for the quality or durability. Also, it may
result in unexpected troubles and lower the motorcycle’s performance.
yAlways use SYM Genuine Spare Parts to keep your scooter pure blood and to ensure its long
service life.
WARNING:
yBe aware of the weight load on the scooter. The scooter will handle different depending on its
load. Over loading the scooter will cause the scooter to become unstable and hard to
maneuver, which could result in an accident that could cause injury or death.
CAUTION:
yOnly carry cargo or luggage in/on places that are specifically designed for carrying cargo or
luggage.
yDo not place flammable objects, such as rags, paper, plastic, etc. or other objects between
body covers and the engine. Placing objects in these areas could cause a fire or other
damage to the scooter.
Suggestion:
To maximize the scooter performance and prolong its life:
yThe first month or first 1000km is the wear- in period for the engine and components. Avoid rapid
acceleration, and keep the speed below 60km/hr.

12
8. USE OF EACH COMPONENT
Gauges
c. Fuel Gauge
The pointer in this gauge shows how much fuel remains in the tank.
The pointer stays in “E” position when key switch is turned to “OFF.”
When key switch is turned to “ON”, and the “pointer” also in “E” position (red area). Refuel
immediately.
d. Turn Signal Indicator
The left or right Indicator will be flashing according to the operated directions of turn signal light
switch when it is turned on.
e. High Beam Indicator
This indicator comes on with high beam headlight is turned on.
f. Engine Oil Warning Light
Turn the main switch to the “ON” position, if the oil warning light comes on continuously, this
indicates the engine oil level is too low, add oil as required.
Model : D.D. 50 SERIES
CAUTION:
yDo not wipe plastic components, such as the instrument panel, the headlight, body covers, etc.
with solvents, such as gasoline, etc. Wiping plastic components with solvents can damage
these components.
Model : MASK 50 SERIES
Model : JET 50 SERIES
Model :RS-21 50 SERIES
h
gc
ef
d
d
i
c
h
g
d
f
e
g
hc
f
dehec
d
g
f

13
8. USE OF EACH COMPONENT
g. Speedometer
This shows your speed in kilometers per hour
(km/h) and in mileage per hour(mph).
h. Odometer
This odometer shows the total kilometers this
motor has been driven.
i. Clock
Set time in 24 hour mode.
“M” – mode bottom: Press the “M’ bottom, the clock order shows “Time mode”, “Hour setting mode”,
“Minute setting mode”, ”Second setting mode”. Final back to the “time mode”.
“S” – set bottom: At “Hour setting mode” or “Minute setting mode” or ”Second setting mode”. Press
the “S” bottom once, numerical can be increase. If keeping on pressing for 2
seconds can accelerate the adjustment. Until to set free the bottom. (At “Second
setting mode”, the colon ”:” in the center will be flash for 1 seconds.
OPERATION OF IGNITION SWITCH (JET 50 . MASK 50. R-S21 50)
“ON” position:
yEngine can be started in this position.
yIgnition switch key can not be removed.
“OFF” position:
yEngine is shut off and can not be started in
this position.
yIgnition switch key can be removed.
“LOCK” position:
yTurn the handle all the way to left, then
press down the key and turn the key to the
“LOCK” position on the left.
yIn this position, the handle is locked and the
key can be removed.
yTo unlock, simply turn the key from “LOCK”
to “OFF”.
IGNITION SWITCH
WARNING:
yRiding the scooter under low oil level condition could result in severe engine damage. If the
Engine Oil Warning Light comes on, this indicates that the engine oil pressure is low.
yIf the warning light comes on while riding.
1)Ride safety to the side of the road and stop.
2)With the engine off, check the engine oil level. If the level is low, add oil as required.
If the warning light remains on after adding oil or if oil is not available, call an Authorized
SANYANG Dealer or other competent repair shop.
yUse only 2-cycle engine oil meeting Japanese Automobile Standard Organization FC
specifications. SANYANG will not assume responsibility for damages caused from using
substandard engine oil.
※Recommended oil: SYM EXTRA 2X oil.
WARNING:
To ensure safe riding always observe the
speed limit.

14
8. USE OF EACH COMPONENT
OPERATION OF IGNITION SWITCH (D.D. 50)
“ON” position
yEngine can be started in this position.
yIgnition switch key can not be removed.
“OFF” position
yEngine is shut off and can not be started in this position.
yIgnition switch key can be removed.
“FUEL CAP OPEN” position
yTo unlock, simply turn the key from “OFF” to “FUEL
CAP OPEN”.
“LOCK” position
yTurn the handle all the way to left, then press down the key and turn the key to the “LOCK”
position on the left.
yIn this position, the handle is locked and the key can be removed.
yTo unlock, simply turn the key from “LOCK” to “OFF”.
“SEAT OPEN” position
yWhen engine stop: Without taking out the key from ignition switch, push down the key and
turn right.
yWhen engine running: Without taking out the key from ignition switch, turn the key to right.
USE OF BUTTONS
CAUTION:
yNever turn the ignition switch key when the scooter is running. Turning the key to either “OFF”
or “LOCK” position will shut off the electrical system and could result in an accident.
yOnly turn the ignition switch key to the “OFF” position after the scooter has been completely
stopped.
yIf the ignition switch key remains in the “ON” position for a prolonged period after the engine
has been stopped, the battery capacity will be reduced and this may affect the engines ability to
start.
yLock the steering handle and remove the key before leaving the scooter. Do not leave the key
in the ignition switch when leaving the scooter.
IGNITION SWITCH
SEAT
OPEN
Engine Stop switch
Electrical
Starter Button
Horn Switch
High / Low
Beam Switch
Turn Signal
Switch

15
8. USE OF EACH COMPONENT
•Engine Stop Switch
“ON”: Switch to this position and the engine can be started.
“OFF”: Switch to this position to turn off the engine when a state of emergency.
yElectrical Starter Button
This is the electrical starter button, it is used for starting the engine.
When the ignition switch key turns to “ON” and brake lever hold, and then press this button
down to start engine.
《This mechanism is designed for safety. Thus, the front or rear brake lever must be hold
before using this button so that engine can be started.》
yHigh/Low Beam Switch
This is the high and low beam of headlight switching switch. Press this switch to switch between high
and low beams.
This is for high beam.
This is for low beam. (Please turn to low beam when riding in city)
yTurn Signal Switch
Turn signal lights are used when turning left/right or changing lane.
Turn ignition switch to “ON”, and slide the turn signal switch to left or right. Then, the turn signal lights
will flash.
Right-side turn signal light flashing means you intend to make a right turn.
Left-side turn signal light flashing means you intend to make a left turn.
yHorn Switch
Press this button down when ignition switch is in the “ON” position, the horn will sound.
CAUTION:
yRelease the starter button immediately after engine has been started. Do not press the starter
button while engine is running. Doing so could cause serious engine damage.
yMake sure the headlight and turn signal light are in the “OFF” position when starting the
engine.
NOTICE:
yDo not press the horn button when you are in the no horn area.
CAUTION:
yIf the scooter is stopped with the ignition switch in the ”ON” position and the engine stop switch
in the “OFF” position, the taillight will still be on, resulting in battery discharge.

16
8. USE OF EACH COMPONENT
SEAT LOCK
yUnlock:(JET 50)
Insert your ignition switch key into the lock on
the center rear of the seat, and turn the key to
the right. Then, the seat can be lifted up.
yUnlock:( MASK 50. RS-21 50)
Insert your ignition switch key into the lock on
the lower left of the seat, and turn the key to
the right. Then, the seat can be lifted up.
yUnlock:(DD 50)
Engine stopping condition:
Insert your key into the ignition switch push the key, and turn it to the right. Then, the seat can be
lifted up.
Engine running condition:
Just turn it to the right then the seat can be lifted up.
yLock:
Press the seat down and push it locks automatically.
SAFETY HELMET HOOK
yOpen the seat, and hook the safety helmet chin belt onto the hook, and then lock the seat.
LUGGAGE BOX
yThis box is located under the saddle.
yMaximum load capacity: 10kg.
yDo not store valuables in the box.
yPlease make sure that seat cushion had been
locked completely after it was down.
yTake out valuables before washing to avoid
wetting these objects.
yDo not place thermal sensitive objects in the
box because of engine’s heat and high
temperature.
CAUTION:
yDo not put the scooter key in the luggage co
m
after seat has been unlocked. This will pre
v
key from being locked inside the luggage co
m
if the seat should be unintentionally closed.
yBe sure to remove the key after the seat
has been locked.
CAUTION:
yDo not hang your safety helmet on the helmet hook while riding. Doing so could interfere with
your riding safety and could damage the scooter.
Seat lock
Helmet hook
Luggage box

17
8. USE OF EACH COMPONENT
FUEL TANK CAP
Mode: JET 50 . MASK 50
1. Insert ignition switch key into the lock on the fuel
tank cap cover, and turn the key to the right, then the
cover can be removed.
2. Turn the fuel tank cap to the left, then the cap can be
removed.
3. Do not fill above the fuel upper limit when refueling.
4. Align the “ ” mark△:
On the cap with the “ ” mark on the body△pinpoint,
and turn the cap to the right. That means the cap is
locked.
5. Close the fuel tank cap cover, and turn the ignition
key to the left, then the cover can be locked.
Mode: RS-21 50
1. Insert ignition switch key into the lock on the fuel
tank cap, and turn the key to the right, then the cap
can be removed.
2. Do not fill above the fuel upper limit when refueling.
3. Align the “△” mark
4. on the cap with the “△” mark on the body, and press
down the cap in parallel until a “click” sound is heard.
That means the cap is locked (the ignition key now
turns back to the left slightly). To remove the ignition
key, simply turn the key to the left and then remove
it.
Mode: DD 50
1. Insert your key into the ignition switch, turn it to the
left, the fuel tank cap can be lifted up.
2. Press the fuel tank cap down and push it locks
automatically.
WARNING:
yUse caution when refueling! Keep lit cigarettes and other flames away from the scooter
and fuel source!
yTo refuel: 1) Shut off engine, 2) Set scooter up on main stand, 3) Open fuel tank cap by turning
cap counter clockwise, 4) Fill fuel tank.
yDo not fill fuel tank above upper limit of fuel tank when refueling. If fuel tank is overfilled, fuel will
flow out through a hole on the fuel tank cap. This could result in a fire and/or damage to the
scooter.
yMake sure the fuel tank cap has been properly tightened after refueling and before riding the
scooter.
Pinpoint
“”mark△
Pinpoint
“”mark△
Ignition switch
Fuel tank cap

18
8. USE OF EACH COMPONENT
SIDE STAND
ySide stand is used for temporary parking, If you are going to park your scooter for a long while, please
use, the main stand,
BRAKE
yUse front and rear wheel brakes simultaneously
when braking.
yAvoid unnecessary sudden braking.
yUsing only the front brake or the rear brake
increases the risk of falling because the scooter
is tend to pulled to one side.
yAvoid brake continuously for a long period of
time because that may overheat the brakes
and reduce its braking efficiency.
ySlow down and brake early when riding in rainy days on slippery roads. Never apply the brakes
suddenly to prevent skidding and falling.
PARKING METHOD
yWhen approaching the parking lot:
1. Turn on the turn signal light early, and pay attention to the vehicles in front, from rear, left and
right, then take the inner lane and approach slowly.
2. Return the throttle valve handle back to its original position, and apply brakes in advance. (Brake
light comes on when braking to warn drivers of vehicles behind.)
yWhen stop completely:
1. Press the turn signal switch back to its original position, and turn the ignition switch key to “OFF”
position to shut off the engine.
2. Get off the scooter from left side after the engine has been stopped, and select a parking place
where the scooter will not interfere with traffic and the ground is level, then put down scooter main
parking stand.
3. Hold the steering handle with your left hand, and hold down the front end of seat or hold the parking
handle on the lower-left side of seat with your right hand.
4. Press the main parking stand with your right foot, put down the main parking stand firmly on the
ground.
For Rear Wheel For Front Wheel
CAUTION:
yAlways park your scooter in a safe place where it will not interfere with traffic.
WARNING:
yThe scooters side stand is equipped with Auto-Return
device. When you raise the scooter upright to the
riding position, the side stand will raise up
automatically.
yWhen using the side stand to park, make sure the side
stand is properly engaged and that the scooter is
stable. If the scooter is left in an unstable condition it
may fall and cause damage to the scooter or injury to
people.
yWhen it is necessary to park on hill or slope, park your
scooter in an uphill direction.
To remind you:
yLock the steering handle and remove the key after parking to prevent the scooter from being stolen
.

19
9. IMPORTANT POINTS AND CAUTIONS FOR STARTING ENGINE
Turn ignition switch key to the “ON” position.
1. Apply hand (foot) rear wheel brake.
2. Do not accelerate, press starter button
when the brake is applied.
[We care for you! Before drive off, keep the
hand (foot) brake applied on the rear wheel.]
【When starting engine with starting lever】
yTurn the main switch to ON, press the starting lever forcefully by foot with the throttle valve handle at
the close position.
yIf engine is difficult to start with the starting lever when the engine is cold, rotating the throttle valve
1/8~1/4 turns will make the start easier.
yPut the starting lever back to its original position after the engine has been started.
1/41/8
CAUTION:
yCheck that the engine and fuel volumes are at adequate levels before starting the engine.
yWhen starting the engine the main stand must be firmly on the ground and the rear brake must be
engaged. This will prevent the scooter from suddenly jerking forward.
CAUTION:
yIf the engine does not start after the starter button has been pressed for 3~5 seconds rotate the
throttle 1/8th to1/4th open and press the starter button again.
yTo avoid damage the starter, do not continuously press the starter button for more than 15
seconds.
yIt is harder to start the engine after the scooter has not been used for a long period of time or after
the fuel tank has been run dry. In these situations it may be necessary to press the starter button
several times. When do so keep the throttle in the closed position.
yThe engine may need several minutes to warm up if the scooter has not been used for a long
period of time.
yExhaust contains harmful gas (CO), always start the engine at a well ventilated area.
CAUTION:
yWhen starting the scooter with the kick starter lever, the main stand must be firmly on the ground
and the rear brake must be engaged.
yPeriodically starting the engine with the kick starter lever will keep the kick starter lever in good
working condition.

20
10.THE BEST WAY TO RIDE OFF
THE CONTROL OF THROTTLE VALVE HANDLE
yTurn on the turn signal light before moving,
and make sure no vehicle is coming from
behind. Then, drive off.
yDuring driving, attention should be paid to
vehicles ahead and behind and keep highly
alert at all times.
11.INSPECTION AND MAINTENANCE BEFORE RIDING
ROUTINE INSPECTION
Check Items Check Key Points
Engine oil Is there enough engine oil?
Fuel Is it enough? Is it Octane 90 or above
Front Braking condition? [Brake lever free play: 10~20mm]
Brake Rear Braking condition? [Brake lever free play: 10~20mm]
Front Is tire pressure normal? [Standard: 1.75g/cm2
Tires Rear Is tire pressure normal? [Standard: 2kg/cm2
Steering handle Does the handle vibrate abnormally or is difficult to turn?
Speedometer, lights, and
rearview mirror
Is it operated properly? Do lights come on? Can it be seen clearly from
behind?
Tightness of main
components Are screws, nuts loosen?
Abnormal points Do the previous troubles still exist?
IPECTION OF FUEL LEVEL
yFirmly support the scoter with its main stand on a leveled ground, turn the main switch to “ON” position,
check if the fuel meter needle moves.
yFuel gauge may be defective or electric circuit disconnected if there is some fuel in the tank, but the
needle does not move. Please ride slowly to an authorized service station to have your scooter
checked.
Deceleration
Acceleration
CAUTION:
yIf any problem are found during routine inspections always correct the problem before riding the
scooter. If necessary, have the scooter inspected and repaired by an Authorized SANYANG dealer.
CAUTION:
yDo not check the fuel level or refuel while the engine is running. It is not necessary to start engine to
check the fuel level.
Table of contents
Other Sym Scooter manuals

Sym
Sym FS05W1-EU Series User manual

Sym
Sym GTS 250 User manual

Sym
Sym ORBIT III XE05W2-EU Series User manual

Sym
Sym 2009 FIDDLE II 125 User manual

Sym
Sym Maxsym TL TL 500 User manual

Sym
Sym MIO ELECTRIC User manual

Sym
Sym CRUiSYM A User manual

Sym
Sym TUSCANY 150 User manual

Sym
Sym JOYRIDE 300 2022 User manual

Sym
Sym Jet 4 125 User manual