manuals.online logo
Brands
  1. Home
  2. •
  3. Brands
  4. •
  5. Target
  6. •
  7. Indoor Furnishing
  8. •
  9. Target Wiley TGZLCB2DWH User manual

Target Wiley TGZLCB2DWH User manual

>>
© 2019 Target. The Bullseye Design is a trademark of Target Brands, Inc. All rights reserved.
wiley
2 door accent cabinet
assembly instructions
style # TGZLCB2DWH (true white)
dpci # 249-17-0498
tcin # 53546378
style # TGZLCB2DBL (orion blue)
dpci # 249-17-0339
tcin # 53546380
style # TGZLCB2DGY (gray)
dpci # 249-17-0499
tcin # 53546381
2
Congratulations on your latest Target purchase.
Now what? Don’t start sweating over this box of parts. This will be easy. We did the hard work for you.
All you need to do is follow our simple instructions and you’ll be on your way to transforming your
room in no time. Good luck—though we’re condent you won’t need it.
before you begin
1. Check for damaged or missing parts. Call 1-855-MYTGTHOME (855-698-4846) to order missing supplies.
2. Use the carton as a working surface to prevent product damage during assembly.
3. Read through and review assembly steps.
4. Gather all tools prior to assembly.
tools needed
3
table of contents
introduction 2
hardware 4
parts list 5
how to use the cam lock system 6
assembly 7-19
hinge adjustment 20
QUESTIONS? Just call 1-855-MYTGTHOME (855-698-4846) for parts and service. For faster service, have the style number and dpci number ready when calling.
4
hardware
(H1) x 27
wooden dowel
(H2) x 22
cam bolt
(H3) x 22
cam
(H4) x 2
knob
(H5) x 2
knob bolt
(H6) x 4
door hinge
(H7) x 16
at head screw
(H8) x 16
bolt
(H9) x 16
lock washer
(H10) x 18
washer
(H11) x 1
allen wrench
(H12) x 4
long pan head screw
(H13) x 8
conrmat screw
(H14) x 1
wall anchor
(H15) x 1
wall screw
(H16) x 1
wall strap
(H17) x 1
short pan head screw
(H18) x 4
mounting plate
5
exploded diagram
ITEM DESCRIPTION QUANTITY
1 top panel 1
2 left side panel 1
3 right side panel 1
4 bottom panel 1
5 upper back rail 1
6 back panel 1
7 lower back rail 1
8 upper front rail 1
9xed shelf 1
10 door 2
11 foot 4
how to use the cam lock system
1.
Screw cam bolt into panel
2.
Align cam bolt(s) with cam(s)
and insert all the way into
cross-bored hole(s)
3.
Push cam into panel - arrow feature
on cam top points to panel edge
4.
Rotate cam(s) clockwise 180° to
lock panels together
5.
Panels should be tight against each
other and connection should be rigid
6
1. 3.
4. 5.
2.
step 1: attach bottom panel to lower back rail
(H1) x 2
wooden dowel
(H2) x 3
cam bolt
(H3) x 3
cam
1.1. Carefully tap small wooden dowels into place. Leave 1/2” of the dowels sticking out.
1.2. Screw-In cam bolts must be screwed down ush.
1.3. Refer to page 6 for instructions on how to use the cam lock system.
1.4. Do not over tighten bolts.
7
Carefully tap small wooden dowels into place. Leave 1/2” of the dowels sticking out.
8
step 2: attach upper front rail to top panel
(H1) x 3
wooden dowel
(H12) x 4
long pan head
screw
2.1. Carefully tap small wooden dowels into place. Leave 1/2” of the dowels sticking out.
2.2. Align screws with pre-drilled holes.
2.3. Do not over tighten screws.
step 3: attach upper back rail
(H1) x 2
wooden dowel
(H2) x 3
cam bolt
(H3) x 3
cam
3.1. Carefully tap small wooden dowels into place. Leave 1/2” of the dowels sticking out.
3.2. Screw-In cam bolts must be screwed down ush.
3.3. Refer to page 6 for instructions on how to use the cam lock system.
3.4. Do not over tighten bolts.
9
Carefully tap small wooden dowels into place. Leave 1/2” of the dowels sticking out.
step 4: attach left side panel
(H1)
x 4
wooden dowel
(H2) x 8
cam bolt
(H3) x 3
cam
4.1. Carefully tap small wooden dowels into place. Leave 1/2” of the dowels sticking out.
4.2. Screw-In cam bolts must be screwed down ush.
4.3. Refer to page 6 for instructions on how to use the cam lock system.
4.4. Do not over tighten bolts.
10
Carefully tap small wooden dowels into place. Leave 1/2” of the dowels sticking out.
Screw-In cam bolts must be screwed down ush.
Refer to page 6 for instructions on how to use the cam lock system.
step 5: attach xed shelf
(H1)
x 2
wooden dowel
(H3)
x 2
cam
5.1. Carefully tap small wooden dowels into place. Leave 1/2” of the dowels sticking out.
5.2. Screw-In cam bolts must be screwed down ush.
5.3. Refer to page 6 for instructions on how to use the cam lock system.
5.4. Do not over tighten bolts.
11
nished edge
12
step 6: attach bottom panel and lower back rail
(H1)
x 4
wooden dowel
(H3)
x 3
cam
6.1. Carefully tap small wooden dowels into place. Leave 1/2” of the dowels sticking out.
6.2. Screw-In cam bolts must be screwed down ush.
6.3. Refer to page 6 for instructions on how to use the cam lock system.
6.4. Do not over tighten bolts.
13
step 7: install back panel
step 8: attach right side panel
(H1) x 10
wooden dowel
(H2) x 8
cam bolt
(H3) x 8
cam
8.1. Carefully tap small wooden dowels into place. Leave 1/2” of the dowels sticking out.
8.2. Screw-In cam bolts must be screwed down ush.
8.3. Refer to page 6 for instructions on how to use the cam lock system.
8.4. Do not over tighten bolts.
14
Carefully tap small wooden dowels into place. Leave 1/2” of the dowels sticking out.
Screw-In cam bolts must be screwed down ush.
Refer to page 6 for instructions on how to use the cam lock system.
(H3) x 8
cam
step 9: attach hinges to door
(H6) x 4
hinge
(H7) x 8
at head screw
9.1. Align screws with pre-drilled holes.
9.2. Do not over tighten screws.
15
16
step 10: attach doors and knobs
(H7)
x 8
at head screw
(H4) x 2
knob
(H5) x 2
knob bolt
10.1. Align screws with pre-drilled holes.
10.2. Do not over tighten screws.
step 11: attach mounting plates to feet
(H18) x 4
mounting plate
(H13) x 8
conrmat screw
11.1. Align screws with pre-drilled holes.
11.2. Do not over tighten screws.
17
18
step 12: attach feet
(H8) x 16
bolt
(H9) x 16
lock washer
(H10) x 16
washer
(H11) x 1
allen wrench
12.1. Align bolts with pre-drilled holes.
12.2. Do not over tighten bolts.
step 13: install anti-tip kit
(H17) x 1
short pan head
screw
(H16) x 1
wall strap
(H14) x 1
wall anchor
(H15) x 1
wall screw
(H10) x 2
washer
Position against wall
Mark position of strap hole on wall
Drill 1/4” hole
Tap in wall anchor
Fasten anti-tip strap with wall screw
provided
19
(H15)
(H14)
(H10)
(H16)
(H10)
(H17)
hinge adjustment
To correct the right door as shown above:
Tighten the front adjustment screw on the top
hinge by turning it counter clockwise. Loosen
the front adjustment screw on the lower hinge
by turning it clockwise.
To correct the right door as shown above:
Loosen the top rear adjustment screw and
push the top of the door toward the back of
the unit. Loosen the bottom rear adjustment
screw and slide the bottom of the door to the
front. Tighten both screws once adjusted.
To correct the right door as shown above:
Loosen the screws from the slotted holes.
Slide the door down and tighten the screws
securely.
Slotted Hole
Rear Adjustment
Front Adjustment
Slotted Hole
20

This manual suits for next models

2

Other Target Indoor Furnishing manuals

Target wiley TGZLMEDXWH User manual

Target

Target wiley TGZLMEDXWH User manual

Target Hadley FKVS1DCBGY User manual

Target

Target Hadley FKVS1DCBGY User manual

Target BALI SINGLE SEATER User manual

Target

Target BALI SINGLE SEATER User manual

Target Mulberry FRS60721-2 User manual

Target

Target Mulberry FRS60721-2 User manual

Target Berkshire FWS80605A User manual

Target

Target Berkshire FWS80605A User manual

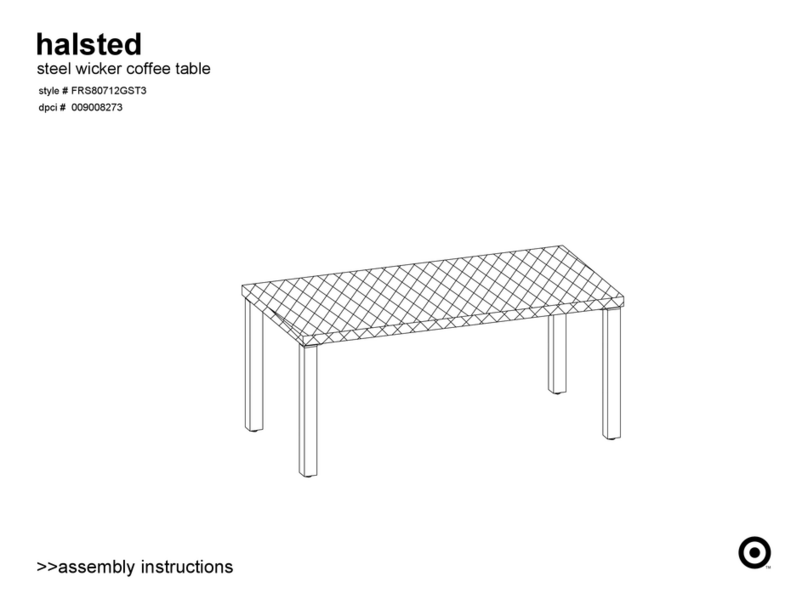
Target Halsted FRS80712GST3 User manual

Target

Target Halsted FRS80712GST3 User manual

Target WINDHAM WNBENCHXBK User manual

Target

Target WINDHAM WNBENCHXBK User manual

Target 3-2-1 Cube User manual

Target

Target 3-2-1 Cube User manual

Target Halsted FRS80921B User manual

Target

Target Halsted FRS80921B User manual

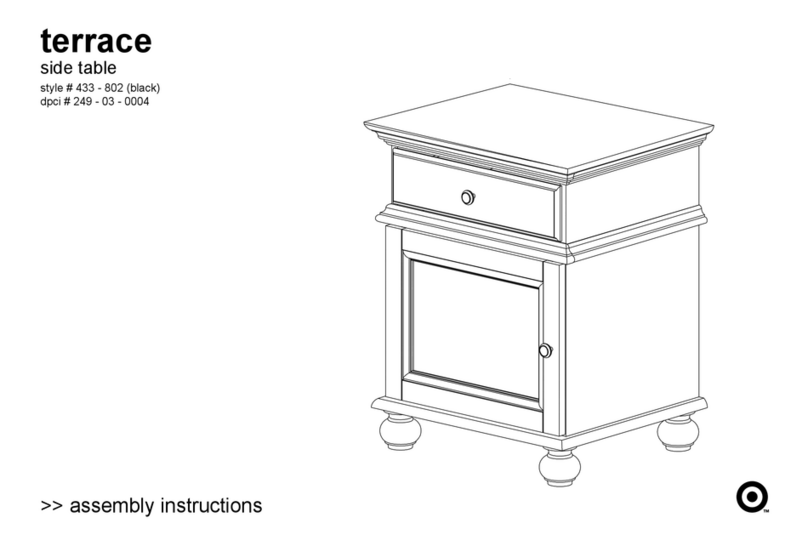
Target Terrace Installation guide

Target

Target Terrace Installation guide

Target warwick 249-10-0090 User manual

Target

Target warwick 249-10-0090 User manual

Target fairfax TGCRCNTB01 User manual

Target

Target fairfax TGCRCNTB01 User manual

Target fairglen TGFGCFTBWH User manual

Target

Target fairglen TGFGCFTBWH User manual

Target Warwick FKWWCB2DBR User manual

Target

Target Warwick FKWWCB2DBR User manual

Target windham 249-16-0731 User manual

Target

Target windham 249-16-0731 User manual

Target Eldridge FRA81031ST-2 User manual

Target

Target Eldridge FRA81031ST-2 User manual

Target new bedford TGNWBD2DBK User manual

Target

Target new bedford TGNWBD2DBK User manual

Target fairfax TGCRSTKD01 User manual

Target

Target fairfax TGCRSTKD01 User manual

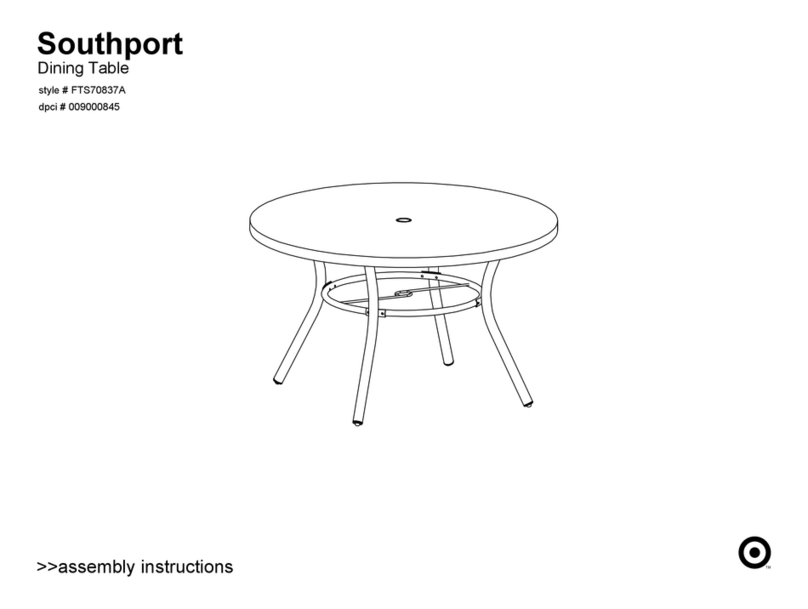
Target Southport FTS70837A User manual

Target

Target Southport FTS70837A User manual

Target 5948307T User manual

Target

Target 5948307T User manual

Target 4274 User manual

Target

Target 4274 User manual

Target CAHRZLBKES User manual

Target

Target CAHRZLBKES User manual

Target 4273 Installation guide

Target

Target 4273 Installation guide

Target CAPRI 1800 User manual

Target

Target CAPRI 1800 User manual
Popular Indoor Furnishing manuals by other brands

BLACK RED WHITE BROOKLYN B172-KOM1D3S Assembly

BLACK RED WHITE

BLACK RED WHITE BROOKLYN B172-KOM1D3S Assembly

ROOMS TO GO HLVN 6941-19 Assembly instruction

ROOMS TO GO

ROOMS TO GO HLVN 6941-19 Assembly instruction

Bonaldo MELLOW quick start guide

Bonaldo

Bonaldo MELLOW quick start guide

Techni Mobili RTA-8336 Assembly instruction

Techni Mobili

Techni Mobili RTA-8336 Assembly instruction

Royale Utility Days S2282 user manual

Royale

Royale Utility Days S2282 user manual

Mercado Medic SCRIBA manual

Mercado Medic

Mercado Medic SCRIBA manual

MAJA Möbel K412 Assembling instructions

MAJA Möbel

MAJA Möbel K412 Assembling instructions

Homelegance Aveline 1428BKK-1/-2/-3 Assembly instruction

Homelegance

Homelegance Aveline 1428BKK-1/-2/-3 Assembly instruction

Murphy WallBed Systems SBF Assembly instructions

Murphy WallBed Systems

Murphy WallBed Systems SBF Assembly instructions

Article FANTOL Assembly instructions

Article

Article FANTOL Assembly instructions

Birlea 150CM STOCKWELL BED Assembly instructions

Birlea

Birlea 150CM STOCKWELL BED Assembly instructions

Mikado CB/4728-V 120 manual

Mikado

Mikado CB/4728-V 120 manual

Night & Day Furniture Ginger Full Loft Bunk Bed Assembly instructions

Night & Day Furniture

Night & Day Furniture Ginger Full Loft Bunk Bed Assembly instructions

Walker Edison BTOTMPBL Assembly instructions

Walker Edison

Walker Edison BTOTMPBL Assembly instructions

Mäusbacher Mister 0546/140-90 P1Mister 0533 SW102 P2 Assembly instructions

Mäusbacher

Mäusbacher Mister 0546/140-90 P1Mister 0533 SW102 P2 Assembly instructions

Seconique Furniture CHARLES 3 DRAWER BEDSIDE CHEST Assembly instructions

Seconique Furniture

Seconique Furniture CHARLES 3 DRAWER BEDSIDE CHEST Assembly instructions

burgbad Vry M1300 FITTING INSTRUCTIONS AND OPERATING MANUAL

burgbad

burgbad Vry M1300 FITTING INSTRUCTIONS AND OPERATING MANUAL

Accentrics Home D004-250-485 quick start guide

Accentrics Home

Accentrics Home D004-250-485 quick start guide

manuals.online logo
manuals.online logoBrands
  • About & Mission
  • Contact us
  • Privacy Policy
  • Terms and Conditions

Copyright 2025 Manuals.Online. All Rights Reserved.