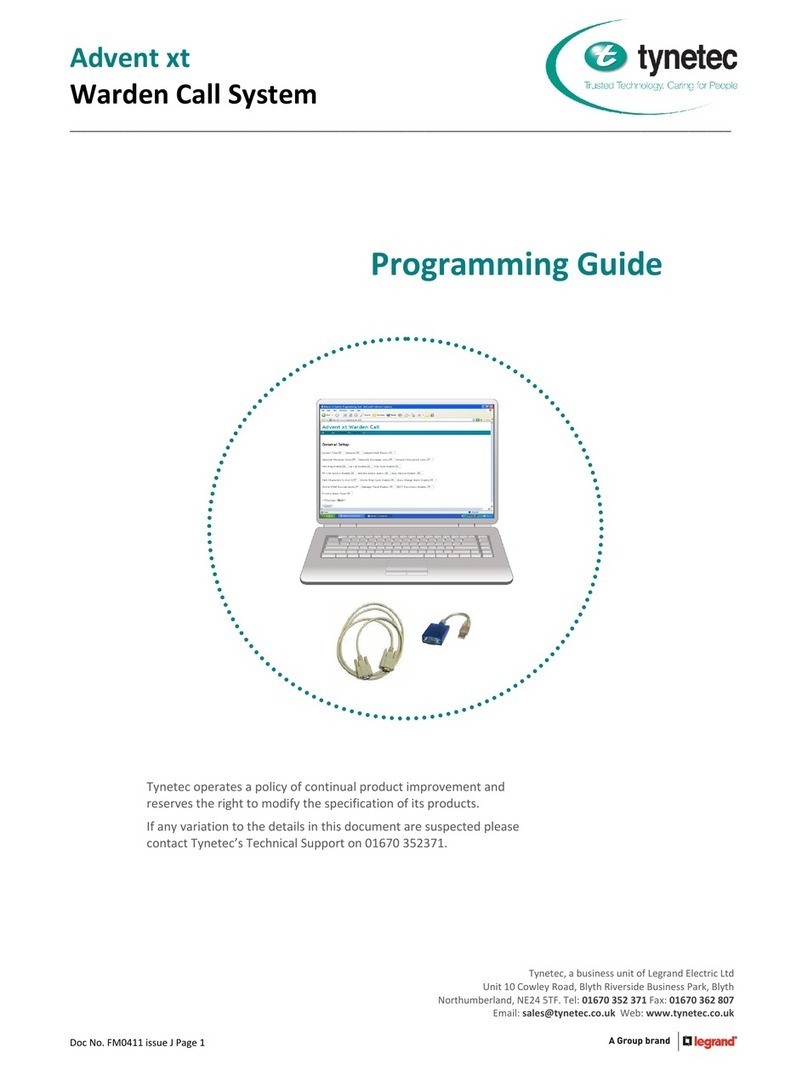
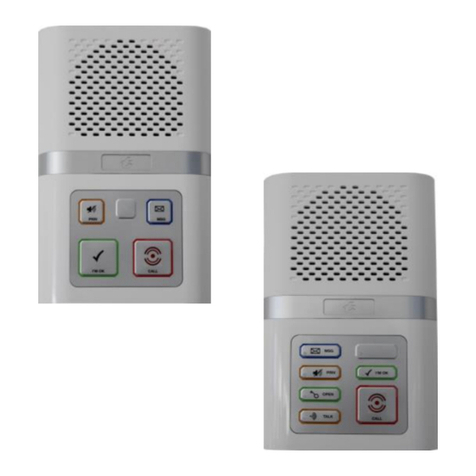
Tynetec Aidcall ZXT434 User manual

DocNo.FM0465issueEPage1
ZXT444 DOOR CONTACT
Freq. 169.48125MHz
Environmental Group II
Made in UK
tynetec
169MHzTelecareDevices
AlarmDoorContact
__________________________________________________________________________________________________________
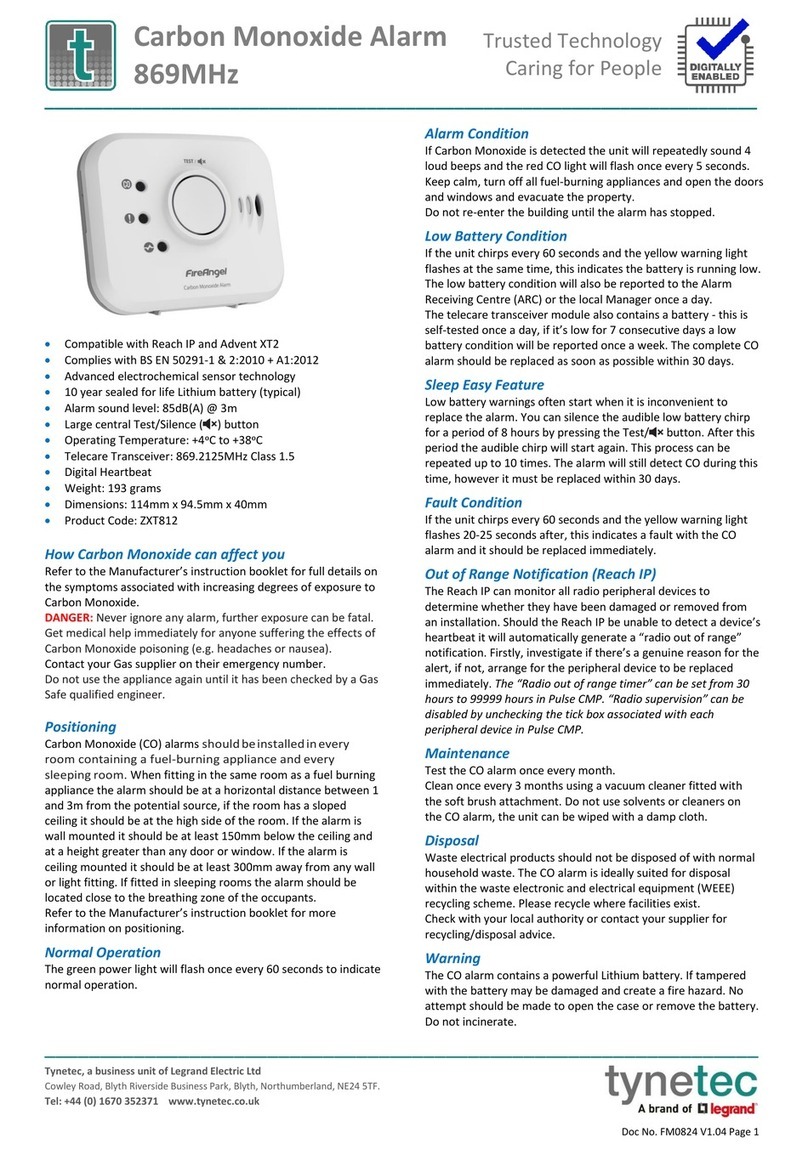
CompatiblewithReachat‐homealarms,
AdventxtwardencallandAltecResponsecareralarms
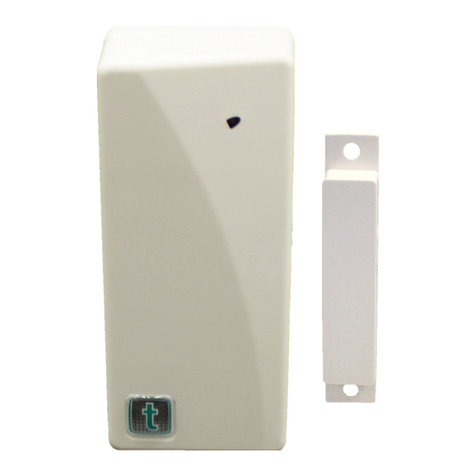
Selfadhesivecontact&transmitterunit
Suppliedwithsurfacemountdoormagnet
Lowbatterywarning
Dimensions:80mmx40mmx20mm(HxWxD)
Weight:49grams
ProductCode:ZXT434
WhatistheAlarmDoorContactusedfor?
Thealarmdoorcontactisusedtoraiseadoorexit(clientwandering)alarmeverytimeadoorisopened.
Note:thereisnofacilitytooverridethealarm.
WhereshouldtheAlarmDoorContactbefitted?
Themagnetwillusuallybescrewfixedtothedoorwiththetransmitterunitfixedalongsideascloseaspossibleonthedoorframe
usingtheselfadhesivefoampad.Thesepartscanbereversedifitismoreconvenienttofit.
FittingtheAlarmDoorContact
Thetransmitterunitandamagnetwillbeheldtogetherwithan
elasticbandtopreventthebatterybeingdrainedintransit.
Removetheelasticbandandfixthetransmitterunittothe
doorframeusingtheselfadhesivefoampadprovided.
Fixthemagnettothedooralongsidethe“CONTACTSIDE”label
onthetransmitterunitusingthescrewsprovided.
Note:thereshouldbenomorethan10mmgapbetweenthe
transmitterunitandthemagnetwhenthedoorisclosed.
Whenthedoorisopenedthemagnetmustmoveaway
fromthetransmitterunit.
Testing&RegisteringtheAlarmDoorContact
AtestcallisnecessarytolearnthedoorcontactontotheReachat‐homealarm,AdventxtwardencallorAltecResponselocal
careralarm.Seethefollowingpagesforhowtoputeachoftheseproductsinto“LearnMode”.
Toperformatestcallsimplyopenandclosethedoor.
Therangeofallradiodevicescanbeaffectedbytheworkingenvironment‐alwaystakecareduringinstallationand
performseveraltestcalls.
BatteryLife
WARNING:Ifthedoorisleftopenforanextendedperiodthiswillcauseunnecessarydrainonthebatteryand
mayreduceitslifeconsiderably.
Thetransmitterbatteryischeckedonceaday,ifthevoltagefallsandstaysbelowapresetlevelfor7consecutivedaysalow
batteryalertisautomaticallytransmitted.Oncealowbatterycallisreceivedthedoorcontactshouldbereplacedwithin7days.
DoorContactsmustbereturnedtoTynetec/Aidcallforbatteryreplacement.
DetailedinformationonbatterymanagementforallTynetec/Aidcallproductsisavailable‐requestDocNo.FM0630.
DOORFRAME
DOOR
MAGNET
TRANSMITTERUNIT
Tynetec andAidcallare businessunitsofLegrandElectricLtd
Unit10CowleyRoad,BlythRiversideBusinessPark,Blyth
Northumberland,NE245TF.Tel:01670352371Fax:01670362807
Email:[email protected]Web:www.tynetec.co.uk

DocNo.FM0465issueEPage2
RegisteringanAlarmDoorContactontoaReachat‐homealarmunit
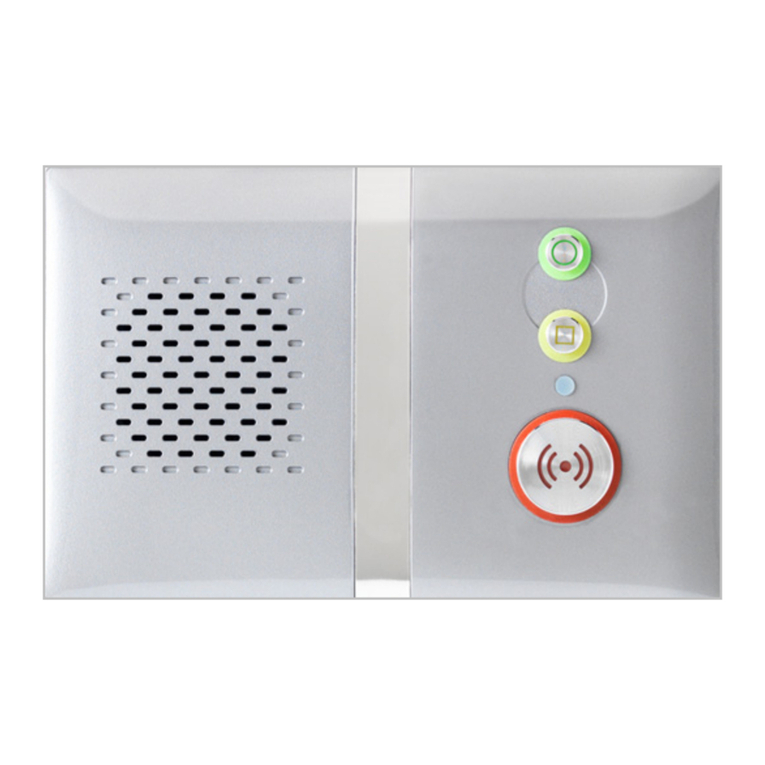
1.PuttheReachunitintoradiodevicelearnmode…
2.Activatethedoorcontact…
3.Exitradiodevicelearnmode…
4.CheckwiththeControlCentrethatitisconvenienttoperformatestcall,openthedoorandconfirmtheyreceiveadoorexit
alarmcall.
DeletinganAlarmDoorContactfromaReachat‐homealarmunit
Enter1670usingthekeypadontherearoftheReachunit–thefrontlightwillFLASHFASTGREENandtheunitwillannounce
“ProgramMode‐Ready”.
Enter#041andtheReachwillannounce“DeleteRadioDevice”followedbya“Beep”.
Enterthe8digitalarmdoorcontactIDtobedeleted;afterthe“Beep”press#toexit.
PressthekeytoexitProgramMode;theunitwillsounda“Double‐Beep”andthefrontlightwillreturntoSTEADYGREEN.
The8digitIDcanbefoundonalabelonthedoorcontact–itwillalwaysstartwith34xxxxxx
TheinstructionsgivenaboveforthestandardReachproductalsoappliestotheReachPlus,ReachPlusGSM
andReachUltramodels.Refertotheinstructionbookletsprovidedwiththeseproductsformoreinformation
onprogrammingandtestingradiodevices.
OpenthedoorandtheReachwillannounce“DoorExit”.
“Trigger
Radio
Device”
PressandHOLDtheGREENbuttonontheReachunit.
WhenthefrontlightFLASHESFASTGREENreleasethe
buttonandtheReachwillannounce“TriggerRadioDevice”.
Younowhave1minutetoactivatethedoorcontact.
PresstheGREENbuttonontheReachunit.
ThefrontlightwillreturntoSTEADYGREENandtheReach
isbackinnormaloperatingmode.

DocNo.FM0465issueEPage3
RegisteringanAlarmDoorContactontoanAdventxtwardencallsystem
1.PuttheAdventxtsystemintoradiodevicelearnmode…
2.Activatethedoorcontact…
3.ExittheAdventxtsystemradiodevicelearnmode…
4.Activatethedoorcontactandcheckaclientwanderingalarmcallisreportedonthewardencallsystem.
DeletinganAlarmDoorContactfromanAdventxtwardencallsystem
PresstheLINEkeyandwaitforthe“Ready”prompt.
Enter5001followedbythekey.
Entertheflatnumberthealarmdoorcontactisbeingdeletedfromfollowedbythekey.
Activatethedoorcontacttobedeleted.
Waitforthe“PendantDisabled–EnterFlat”prompt.
Pressthe#keyandwaitforthe“Ready”prompt,thenpresstheLINEkeytocleartheconnection.
RefertotheAdventxtoperatorsmanual(DocNo.FM0420)providedwiththewardencallsystemformore
informationonprogrammingandtestingradiodevices.
UsingtheManager’sDECTtelephone;
PresstheLINEkeyandwaitforthe“Ready”prompt.
Enter5000followedbythekey.
Entertheflatnumberthealarmdoorcontactisbeinginstalledin
followedbythekey.
Younowhave1minutetoactivatethedoorcontact.
“Ready”
UsingtheManager’sDECTtelephone;
Pressthe#keyandwaitforthe“Ready”prompt.
PresstheLINEkeytocleartheconnectionandthewardencallsystemis
nowbackinnormaloperatingmode.
Openthedoor.
Waitforthe“EnterLocationCode”promptthenpress0(nolocation)
followedbythekey.
Waitforthe“PendantEnabled–EnterFlat”prompt.
“Ready”

DocNo.FM0465issueEPage4
RegisteringanAlarmDoorContactontoanAltecResponselocalcareralarmunit
1.PuttheAltecResponseunitintoradiodevicelearnmode…
2.Activatethedoorcontact…
3.ExittheAltecResponseradiodevicelearnmode…
4.ActivatethedoorcontactandcheckaclientwanderingalarmcallisdisplayedontheAltecResponseunit.
DeletinganAlarmDoorContactfromanAltecResponselocalcareralarmunit
PressENTERtoactivatethewake‐updisplaythenENTERagaintodisplaythemainmenu
PressENTERtoselectRadioDevices
PressthekeytoselectDeleteDevicethenpressENTER
Thedisplaywillpromptyouto“TriggertheSensor”
Activatethealarmdoorcontacttobedeleted‐thedisplaywillshowthedevicetypeandits8digitIDnumber
IfthisisthedeviceyouactivatedpressthekeytoselectDeletethenpressENTER
Ifit’sNOTthedeviceyouactivatedpresstheENTERkeytoselectRejectthentryagain
ToexitthemodeselectExitthenpresstheENTERkey.
RefertotheAltecResponseinstallationguide(DocNo.FM0548)providedwiththeportablealarmunitfor
moreinformationonprogrammingandtestingradiodevices.
TynetecandAidcalloperateapolicyofcontinuousimprovementandreservetherighttochangeproductspecificationswithoutnotice.
IfanyvariationtothedetailscontainedinthisdocumentaresuspectedpleasecontactTynetec’scustomersupportdepton01670352371.
Openthedoor.
ThedisplaywillshowClientWanderingandthedoorcontact8digitIDnumber.
ChecktheIDiscorrect,pressthekeytoselectAcceptthenpressENTER.
Note:ifanotherdevicehasbeenpicked‐uppressENTERtoRejectandtryagain.
ThedisplaywillshowFlat,usethe&keystochoosethedwellingtype.
PressthekeytoselectNo:000000thenpresstheENTERkey.
Usethe&keystoselecteachdigitoftheflatnumberandthe&keys
tomovebetweendigitsthenpresstheENTERkey.
PresskeyseveraltimestoselectExitthenpresstheENTERkey.
Thedisplaywillpromptyouto“TriggertheSensor”again.
PressENTERtoactivatethewake‐updisplaythenENTERagaintodisplay
themainmenu.
PressENTERtoselectRadioDevices
PressENTERtoselectLearnDevice
Thedisplaywillpromptyouto“TriggertheSensor”.
Younowhave20secondstoactivatethedoorcontact.
FromtheLearnDevicemenuselectExitthenpressENTER.
FromtheRadioDevicesmenuselectExitthenpressENTER.
Thedisplaywillreturntothewake‐upscreenandgoblankafter10seconds.
TheAltecResponseisnowbackinnormaloperatingmode.
tynetec
tynetec
Table of contents
Other Tynetec Security System manuals

Tynetec
Tynetec Aidcall User manual

Tynetec
Tynetec ZXT830 User manual

Tynetec
Tynetec Reach Plus Troubleshooting guide

Tynetec
Tynetec reach ultra Manual

Tynetec
Tynetec Advent XT2 User manual

Tynetec
Tynetec Advent xt Operating instructions

Tynetec
Tynetec Reach User manual

Tynetec
Tynetec Altec Response User manual

Tynetec
Tynetec ZXT812 User manual

Tynetec
Tynetec Reach Troubleshooting guide
Popular Security System manuals by other brands

C & K Systems
C & K Systems SpreadNet SN962-PENDANT installation instructions

Lifemax
Lifemax 1603 quick start guide

ABLE2
ABLE2 SHO-ME 30.2515 installation manual

Checkpoint
Checkpoint 61000 Getting started guide

HIK VISION
HIK VISION DS-PK-LRT Product information

Sonic Alert
Sonic Alert DS 800 Installation directions