manuals.online logo
Brands
  1. Home
  2. •
  3. Brands
  4. •
  5. U-Line
  6. •
  7. Power Tools
  8. •
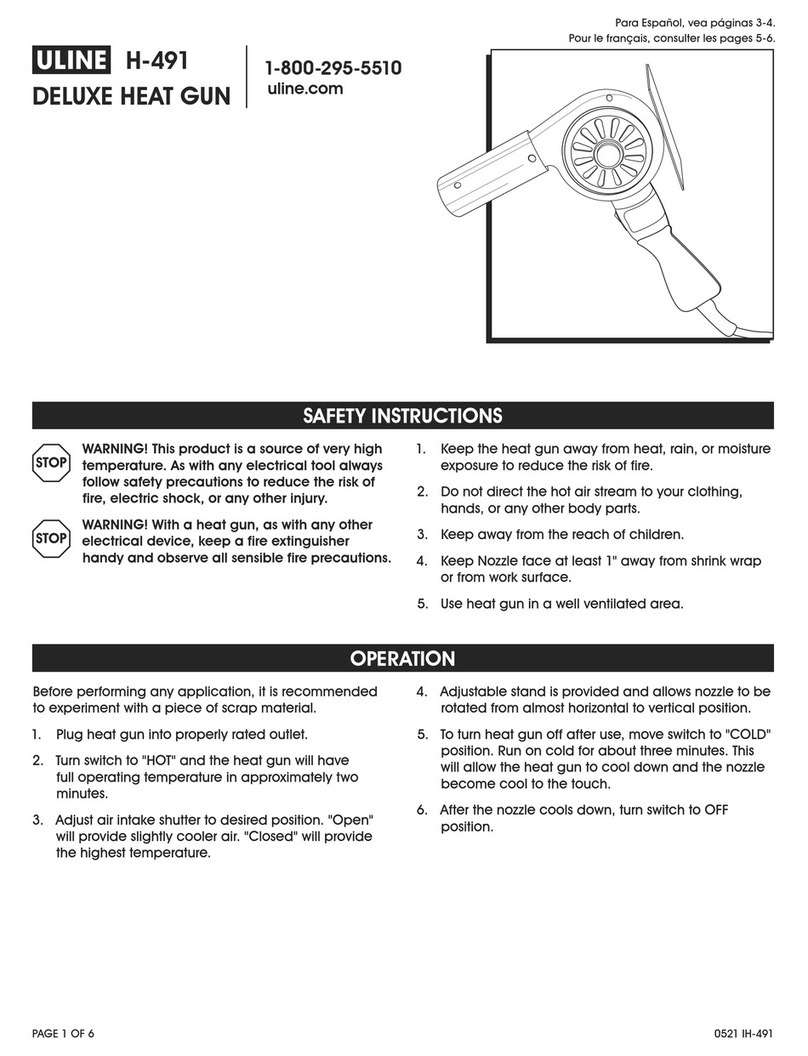
  9. U-Line H-491 User manual

U-Line H-491 User manual

Other U-Line Power Tools manuals

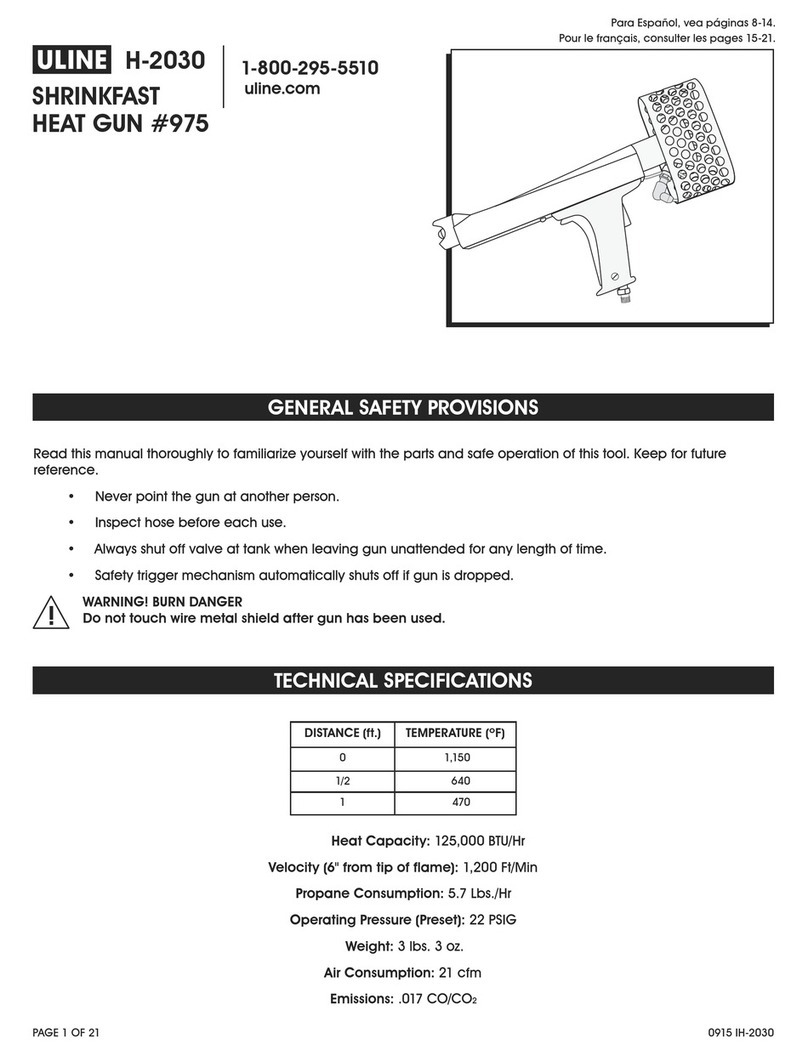
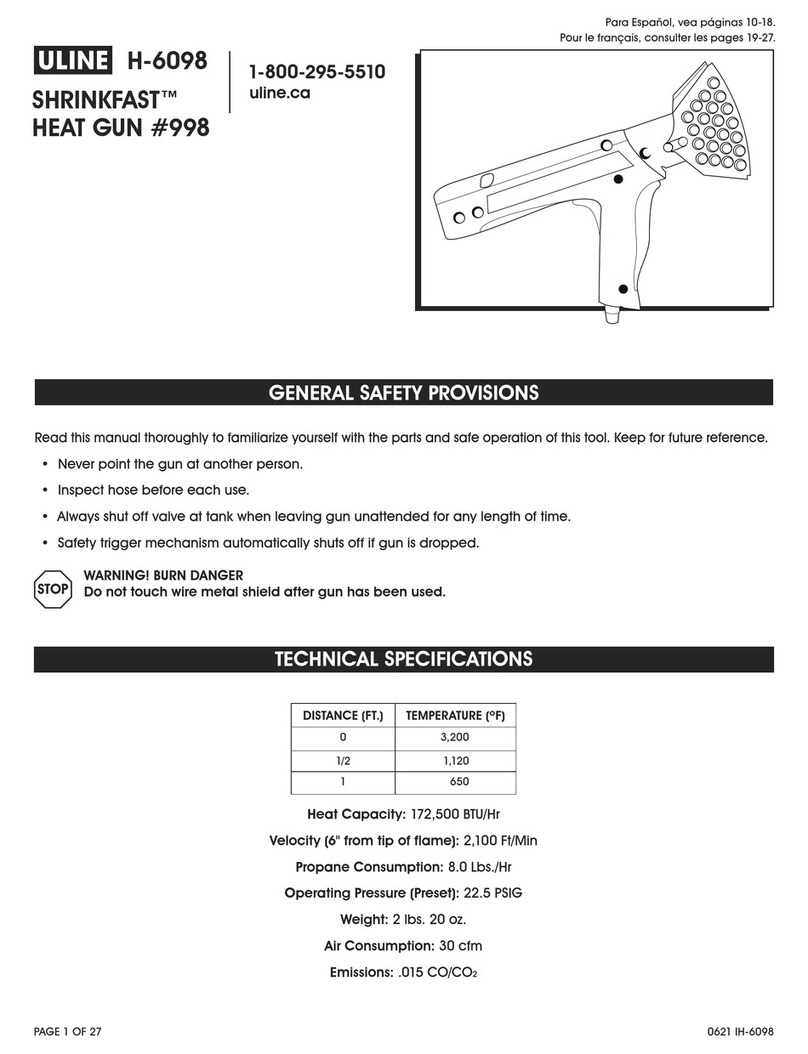
U-Line SHRINKFAST H-6098 User manual

U-Line

U-Line SHRINKFAST H-6098 User manual

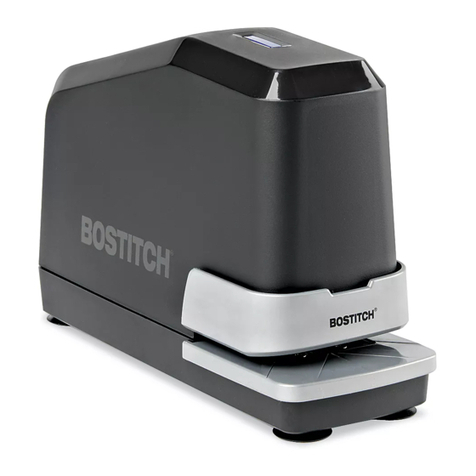
U-Line H-8094 User manual

U-Line

U-Line H-8094 User manual

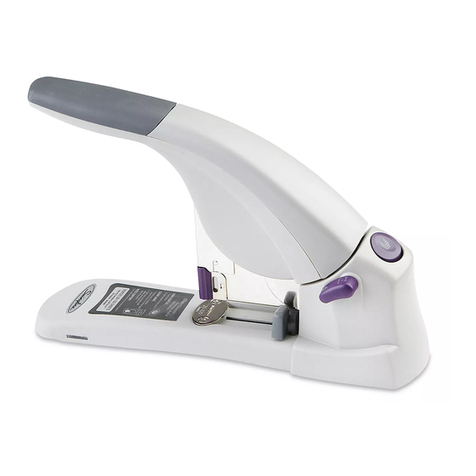
U-Line H-3070 User manual

U-Line

U-Line H-3070 User manual

U-Line Swingline Light Touch H-2323 Instruction Manual

U-Line

U-Line Swingline Light Touch H-2323 Instruction Manual

U-Line H-1993 User manual

U-Line

U-Line H-1993 User manual

U-Line H-1030 User manual

U-Line

U-Line H-1030 User manual

U-Line H-1026 User manual

U-Line

U-Line H-1026 User manual

U-Line H-1028 User manual

U-Line

U-Line H-1028 User manual

U-Line H-1440 User manual

U-Line

U-Line H-1440 User manual

U-Line H-3070 User manual

U-Line

U-Line H-3070 User manual

U-Line SHRINKFAST 998 User manual

U-Line

U-Line SHRINKFAST 998 User manual

U-Line Н-863 User manual

U-Line

U-Line Н-863 User manual

U-Line H-1024 User manual

U-Line

U-Line H-1024 User manual

U-Line H-1024 User manual

U-Line

U-Line H-1024 User manual

U-Line H-738 User manual

U-Line

U-Line H-738 User manual

U-Line H-1302 User manual

U-Line

U-Line H-1302 User manual

U-Line H-1481 User manual

U-Line

U-Line H-1481 User manual

U-Line H-10157 User manual

U-Line

U-Line H-10157 User manual

U-Line H-1980 User manual

U-Line

U-Line H-1980 User manual

U-Line SWINGLINE LIGHT TOUCH H-2323 User manual

U-Line

U-Line SWINGLINE LIGHT TOUCH H-2323 User manual

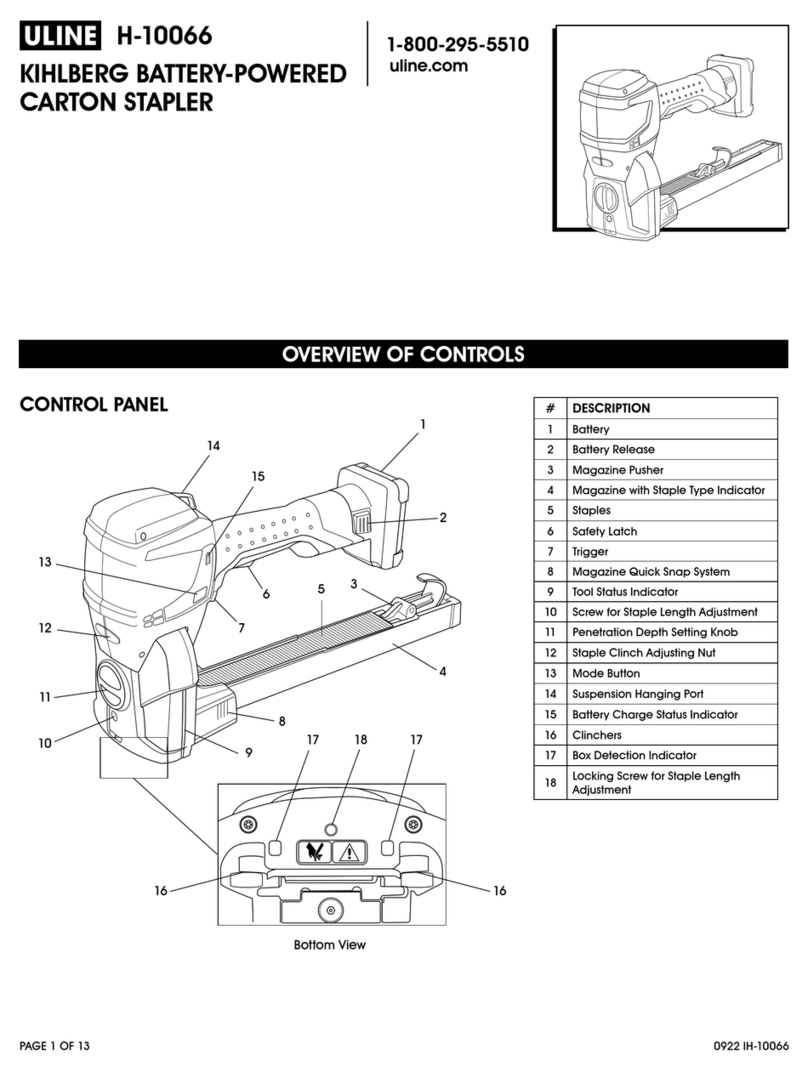
U-Line H-10066 User manual

U-Line

U-Line H-10066 User manual

U-Line H-1993 User manual

U-Line

U-Line H-1993 User manual

U-Line H-8094 User manual

U-Line

U-Line H-8094 User manual

U-Line SWINGLINE H-3067 User manual

U-Line

U-Line SWINGLINE H-3067 User manual

Popular Power Tools manuals by other brands

ISLAND HOPPER Power Egg HT-309 operating instructions

ISLAND HOPPER

ISLAND HOPPER Power Egg HT-309 operating instructions

Sioux Tools SSR6P25 Instructions-parts list

Sioux Tools

Sioux Tools SSR6P25 Instructions-parts list

Makita HM1317C technical information

Makita

Makita HM1317C technical information

ABB Smart Tool + quick start guide

ABB

ABB Smart Tool + quick start guide

Baumr-AG BMJK-24S user manual

Baumr-AG

Baumr-AG BMJK-24S user manual

Bosch Professional GST 18 V-LI S Original instructions

Bosch

Bosch Professional GST 18 V-LI S Original instructions

Ronix RA-2702 quick start guide

Ronix

Ronix RA-2702 quick start guide

Nordson ProBlue user guide

Nordson

Nordson ProBlue user guide

aoyue int6028 instruction manual

aoyue

aoyue int6028 instruction manual

Hitachi CJ 65VA2 Instruction manual and safety instructions

Hitachi

Hitachi CJ 65VA2 Instruction manual and safety instructions

Makita HM1304 instruction manual

Makita

Makita HM1304 instruction manual

Kurtz Ersa Ersa X-TOOL VARIO operating instructions

Kurtz Ersa

Kurtz Ersa Ersa X-TOOL VARIO operating instructions

SCHUNK KSO 65 Installation and operating instruction

SCHUNK

SCHUNK KSO 65 Installation and operating instruction

Harken LokHead 500 user manual

Harken

Harken LokHead 500 user manual

Senco DuraSpin ExTPro installation instructions

Senco

Senco DuraSpin ExTPro installation instructions

Ferm JSM1020 Original instructions

Ferm

Ferm JSM1020 Original instructions

Milwaukee M12 FUEL 2559-20 Operator's manual

Milwaukee

Milwaukee M12 FUEL 2559-20 Operator's manual

EINHELL BT-CD 12/2 operating instructions

EINHELL

EINHELL BT-CD 12/2 operating instructions

manuals.online logo
manuals.online logoBrands
  • About & Mission
  • Contact us
  • Privacy Policy
  • Terms and Conditions

Copyright 2025 Manuals.Online. All Rights Reserved.

PAGE 1 OF 2 0315 IH-491
πH-491
Deluxe Heat gun
1-800-295-5510
uline.com

Before performing any application, it is recommended
to experiment with a piece of scrap material.
1. Plug heat gun into properly rated outlet.
2. Turn switch to "HOT"and the heat gun will have
full operating temperature in approximately two
minutes.
3. Adjust air intake shutter to desired position. "Open"
will provide slightly cooler air. "Closed"will provide
the highest temperature.
4. Adjustable stand is provided and allows nozzle to be
rotated from almost horizontal to vertical position.
5. To turn heat gun off after use, move switch to "COLD"
position. Run on cold for about three minutes. This
will allow the heat gun to cool down and the nozzle
become cool to the touch.
6. After the nozzle cools down, turn switch to OFF
position.
WARNING! This product is a source of very high
temperature. As with any electrical tool always
follow safety precautions to reduce the risk of
fire, electric shock, or any other injury.
WARNING! With a heat gun, as with any other
electrical device, keep a fire extinguisher
handy and observe all sensible fire precautions.
1. Keep the heat gun away from heat, rain, or moisture
exposure to reduce the risk of fire.
2. Do not direct the hot air stream to your clothing,
hands, or any other body parts.
3. Keep away from the reach of children.
4. Keep Nozzle face at least 1"away from shrink wrap
or from work surface.
5. Use heat gun in a well ventilated area.
SAFETY INSTRUCTIONS
OPERATION
PAGE 2 OF 2 0315 IH-491
A qualified repair technician who is experienced with
the repair of electric tools must perform all repairs and
maintenance recommended in these instructions.
WARNING! Always unplug the gun before
performing any maintenance or repairs. Use
only the same brand replacement parts.
LUBRICATION
The bearings are lubricated at the factory and require
no further lubrication.
CLEANING
Unplug heat gun before cleaning!
To clean the outside of the tool, use only mild soap and
a damp cloth.
NOTE: DO NOT use other cleaning agents,
turpentine, gasoline, lacquer or paint thinner,
or other solvents that may contain chemicals
which are harmful to plastics and other
insulating materials.
NOTE: NEVER immerse tool in liquid or allow
liquid to get inside the tool. Make sure all vents
and openings are free and clear from debris.
MOTOR BRUSHES
1. Unplug tool before removing brushes.
2. Inspect brushes regularly (at least every 100 hours
of running time). If brushes are less than 1/8"long,
replace them immediately.
3. Remove brushes one at a time.
4. Always replace brushes in sets (2 brushes and 2
springs) to ensure equal tension.
5. To replace: drop new brush in hole, drop in new
spring and screw on the brush cap.
6. After the second set of brushes is worn down, return
the tool to a qualified repair technician who is
familiar with the repair of electric tools or a qualified
service organization.
7. Use only the same brand replacement parts.
MAINTENANCE
π CHICAGO • ATLANTA • DALLAS • LOS ANGELES • MINNEAPOLIS • NYC/PHILA • SEATTLE • MEXICO • CANADA
1-800-295-5510
uline.com