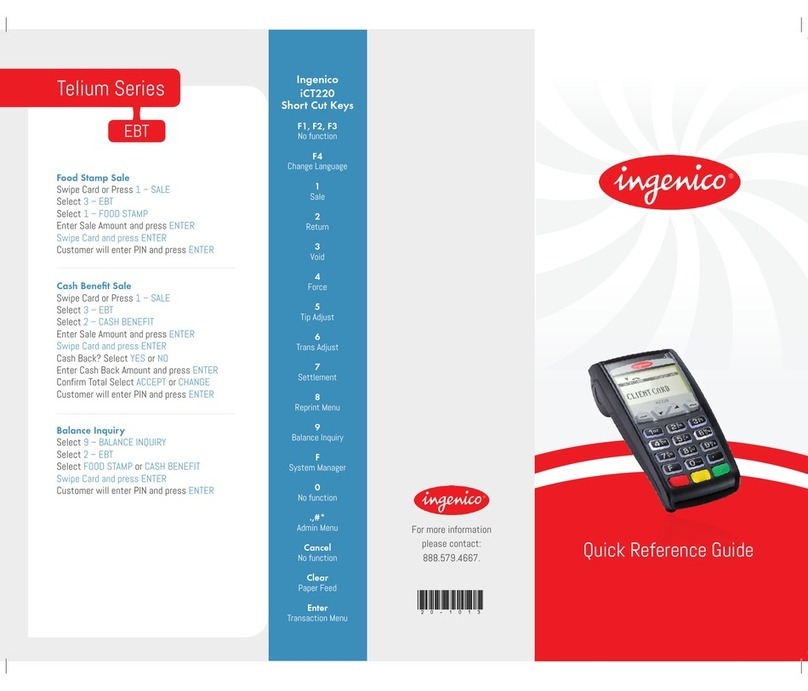
REVERSAL (FULL/PARTIAL)
Reversals may only be processed on sales
within the current batch.
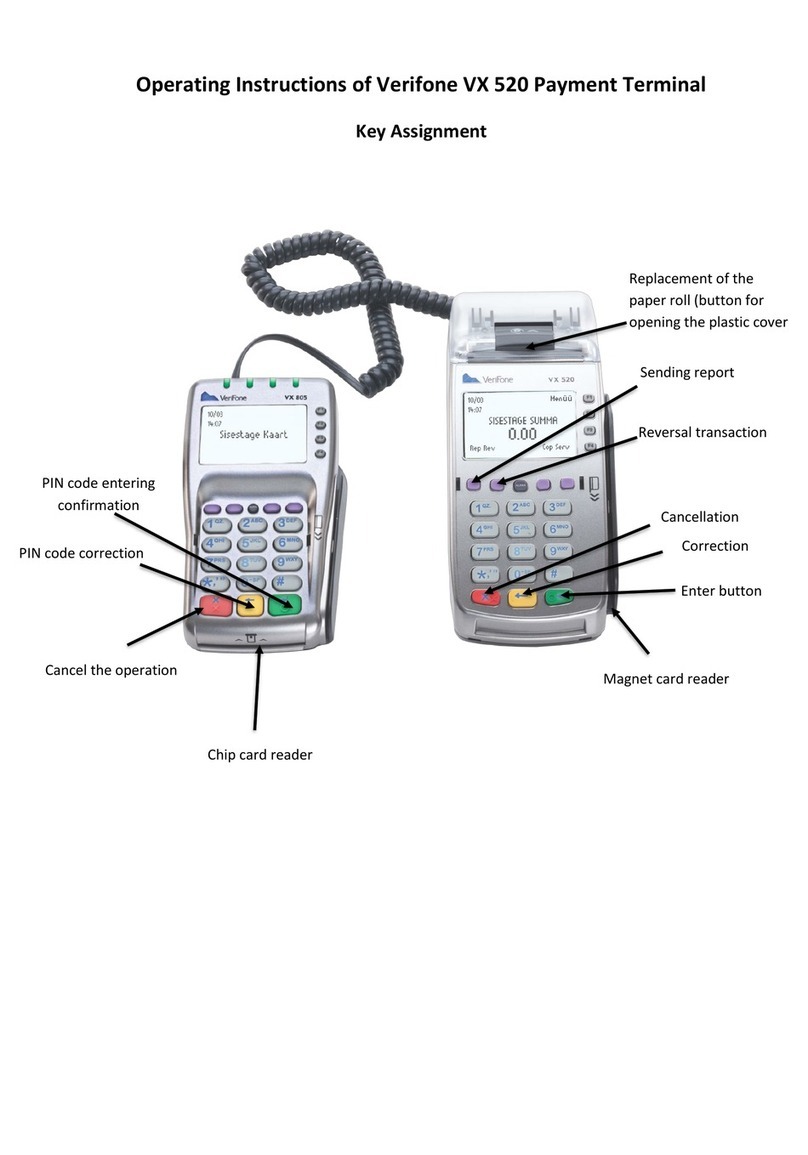
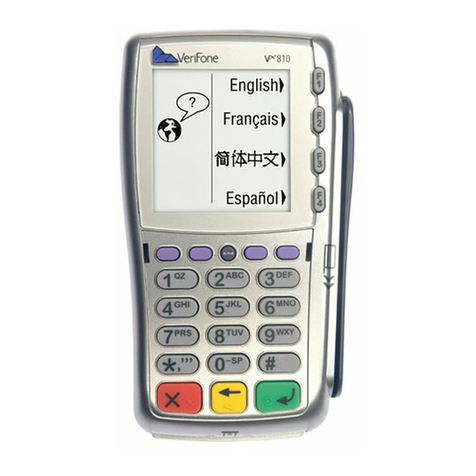
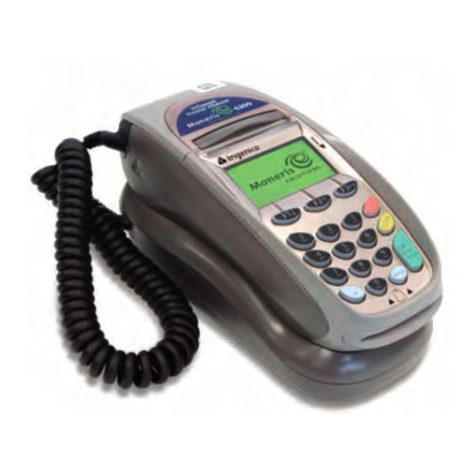
• Press the purple DOWN ARROW key until
Reversal displays
• Select REVERSAL
• Select FULL (full amount reversed) or PARTIAL
(partial amount reversed)
• Select retrieval method:
INV# (invoice #) or AMT (amount)
• Enter retrieval information, and press ENTER
• Transaction displays on screen; select YES
(reverses trans), NO (returns to last screen),
or NEXT (scrolls to next trans)
– If No or Next, follow prompts.
– If partial reversal, enter the dollar amount to
be reversed and press ENTER
• Terminal dials out, receipt prints
DEBIT RE-ENTER
• Press the purple DOWN ARROW key
until Offline displays
• Select OFFLINE
• Enter sale amount and press ENTER
• Select YES
• Swipe customer card or manually enter
account number and press ENTER
• Select DEBIT
• Select type: SALE or REFUND
• Enter network ID (three digits),
and press ENTER
• Enter settlement date (MMDD),
and press ENTER
• Enter original transaction date (MMDDYY),
and press ENTER
• Enter original time (HHMMSS), and press ENTER
• Enter original trace number (six digits),
and press ENTER
• Enter retrieval reference number (12 digits),
and press ENTER
• Enter approval code (six digits),
and press ENTER
– Enter cash back amount and press ENTER
• Receipt prints
CREDIT OFFLINE ENTRY
• Press the purple DOWN ARROW key
until Offline displays
• Select OFFLINE
• Enter sale amount and press ENTER
• Enter tip amount and press ENTER,
or press ENTER to bypass.
• Select YES
• Swipe customer card, insert customer card,
or manually enter account number and press
ENTER
• Select CREDIT
– Enter expiration date (MMYY) and press ENTER
– Imprint the card and press ENTER
• Enter transaction ID (15 characters),
and press ENTER
• Enter approval code (six digits),
and press ENTER
• Receipt prints
AUTHORIZATION ONLY
• Press the purple DOWN ARROW key
• Select AUTH ONLY
• Enter sale amount and press ENTER
• Select YES
• Swipe customer card, insert customer card,
or manually enter account number
and press ENTER
– Select the desired language
– Select CREDIT
– Enter expiration date (MMYY) and press ENTER
– Imprint the card and press ENTER
• Terminal dials out
– Remove the card
• Receipt prints
TIP ADJUST
NOTE: Adjustments are not allowed on Smart/
Chip card sales. Tip must be added at time of
sale.
• Press the purple TIP key
• Select retrieval method: CLRK (clerk ID), AMT
(amount), ACCT (last 4 digits), or INV# (invoice
#)
• Enter retrieval information, and press ENTER
• Transaction displays, select option ADJ (adjust
tip), PREV (previous trans), NEXT (next trans),
or INV# (retrieve another invoice #)
• Enter the tip amount and press ENTER
• Terminal displays ‘Approved XXXXXX’,
press ENTER
• Select PREV, NEXT, or INV# to retrieve another
transaction
BALANCE INQUIRY
• Press the purple DOWN ARROW key until
Balance Inq. displays
• Select BALANCE INQ.
• Swipe customer card, insert customer card,
or manually enter account number and press
ENTER
– Select the desired language
– Choose card? Select CREDIT or EBT
– If Credit, enter expiration date (MMYY) and
press ENTER
– If EBT, select type: FOOD or CASH
– If EBT, have customer enter PIN on PIN pad
and press ENTER
• Terminal dials out
– Remove the card
• Receipt prints
OPEN TAB
• Press the purple DOWN ARROW key until Tab
displays
• Select TAB
• Select OPEN TAB
• Enter tab amount, and press ENTER
• Swipe customer card, insert customer card,
or manually enter account number and press
ENTER
– Select the desired language
– Select CREDIT
– Enter expiration date (MMYY)
and press ENTER
– Imprint the card and press ENTER
– Enter server ID and press ENTER
– Enter Zip Code and press ENTER
• Terminal dials out
– Remove the card
• Receipt prints
CLOSE TAB
• Press the purple DOWN ARROW key
until Tab displays
• Select TAB
• Select CLOSE TAB
• Select retrieval method: INV# (invoice #)
or AMT (amount)
• Enter retrieval information, and press ENTER
• Transaction displays, select option:
YES (close tab), NO (exit), NEXT (next trans)
• Use same card? Select YES or NO
– If No, swipe customer card, insert customer
card, or manually enter account number and
press ENTER
– Select the desired language
– Select CREDIT
– Enter expiration date (MMYY)
and press ENTER
– Card present? Select YES
(if No, see Mail/Phone prompts)
– Imprint the card and press ENTER
– Enter server ID and press ENTER
– Enter tab amount, and press ENTER
• Select YES
– Enter Zip Code and press ENTER
– Remove the card
• Receipt prints
DELETE TAB
• Press the purple DOWN ARROW key
until Tab displays
• Select TAB
• Select Del TAB
• Select retrieval method: INV# (invoice #)
or AMT (amount)
• Enter retrieval information, and press ENTER
• Transaction displays, select option:
YES (delete tab), NO (exit), NEXT (next trans)
• If Yes, terminal displays ‘Tab deleted’ and
returns to idle prompt
ADD SERVER
• Press ENTER
• Select SERVERS
• Select ADD SERVER
– Enter password and press ENTER
• Enter clerk ID (1-4 characters), and press ENTER
• Enter clerk password (5-10 characters),
and press ENTER
• Re-enter the clerk password, and press ENTER
• Repeat steps to add another clerk
REPRINT A RECEIPT
• Press the purple REPRINT key
• Select reprint option: LAST RECEIPT
(last transaction in batch) or ANY RECEIPT
(desired transaction in batch)
– If Any Receipt , enter invoice number
and press ENTER
• Receipt prints
REPORTS
• Press the purple REPORTS key
• Choose report: TOTALS (total amounts),
DETAIL (each transaction),
or CLERK/SERVER (clerk totals/detail)
– If Clerk/Server, select option: TOTALS or DETAIL
– If Clerk/Server Detail , select ONE (one clerk)
or ALL (all clerks)
– If One clerk, enter the Clerk ID,
and press ENTER
• Report prints
TRANSACTION REVIEW
• Press the purple DOWN ARROW key until Batch
Review displays
• Select BATCH REVIEW
• Select retrieval method: CLRK (clerk ID),
AMT (amount), ACCT (last 4 digits),
or INV# (invoice #)
• Enter retrieval information, and press ENTER
• Transaction displays, select PREV or NEXT to
scroll transactions
VIEW TOTALS
• Press the purple DOWN ARROW key until Batch
Totals displays
• Select BATCH TOTALS
– Press PREV or NEXT to scroll hosts,
then press SLCT to select host
• Batch totals display, press ENTER to exit
BATCH SETTLEMENT
• Press the purple DOWN ARROW key
• Select SETTLEMENT
• Sale and refund totals display,
press ENTER to confirm
– Or key in the sale and refund totals
and press ENTER
• Terminal dials out, and displays GB XXXX
ACCEPTED
• Press ENTER
• Settlement report prints
FAILED SETTLEMENT
RB or QD response
• Terminal will display RB [NUMBER]
or QD [NUMBER]
• DO NOT delete batch or continue
without Help Desk verification
• Call Help Desk
AUTHENTICATE THE TERMINAL
• Press ENTER
• Select SETUP
– Enter password and press ENTER
• Select AUTHENTICATION
• Enter the Authentication Code and press ENTER
• Enter your Zip Code and press ENTER
• Terminal dials out, then displays ACTIVATED
DEACTIVATE THE TERMINAL
• Press ENTER
• Select SETUP
– Enter password and press ENTER
• Select DEACTIVATION
• Terminal dials out, then displays DEACTIVATED
• More merchants? Select NO
• The screen then displays Authentication Code.
The terminal must be authenticated before
transaction can be processed
ALPHA CHARACTERS
• Press key corresponding with desired letter
• Press ALPHA until desired letter appears
[Number + ALPHA = Letter]
CARD TYPES ACCEPTED
• Visa
• MasterCard
• Debit Cards
• American Express
• Discover
• PayPal
• Carte Blanche
• Diners Club
• JCB
• EBT
