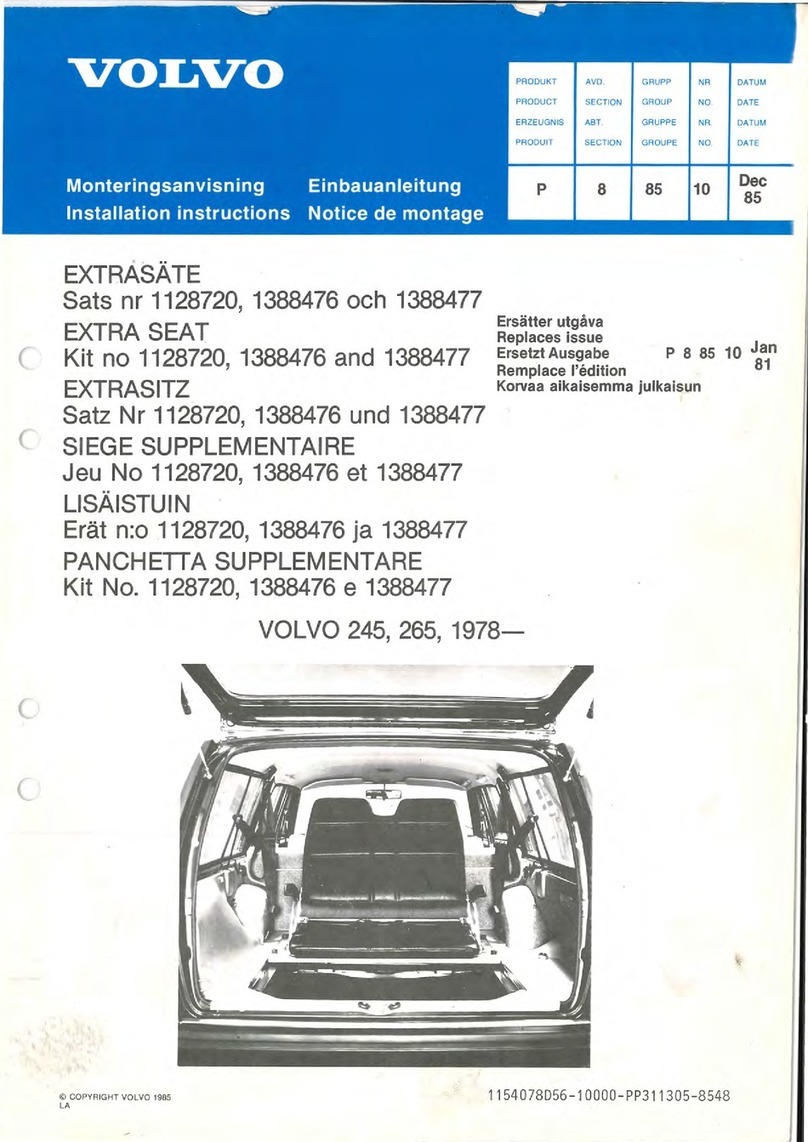
Volvo 10 CD User manual

5
5
Instruction No Version Part. No.
30730089 1.0
CD changer 10 CD
D3903690
5
5
Instruction No Version Part. No.
30730089 1.0
CD changer 10 CD
D3903690
Installation instructions, accessories
Volvo Car Corporation Gothenburg, Sweden
©
Volvo Car Corporation CD changer 10 CD
-
30730089
-
V1.0
Page 1 / 17

Equipment
A0000162 A0000161 A0801178
D8802049
Installation instructions, accessories
Volvo Car Corporation Gothenburg, Sweden
©
Volvo Car Corporation CD changer 10 CD
-
30730089
-
V1.0
Page 2 / 17

D3904947
Installation instructions, accessories
Volvo Car Corporation Gothenburg, Sweden
©
Volvo Car Corporation CD changer 10 CD
-
30730089
-
V1.0
Page 3 / 17

INTRODUCTION
Read through all of the instructions before starting installation.
Notifications and warning texts are for your safety and to
minimise the risk of something breaking during installation.
Ensure that all tools stated in the instructions are available
before starting installation.
Certain steps in the instructions are only presented in the form
of images. Explanatory text is also given for more complicated
steps.
In the event of any problems with the instructions or the
accessory, contact your local Volvo dealer.
Note!
This accessory requires software unique to the car.
Applies to cars with RTI (road traffic information)
For cars with RTI, the required cable harnesses are already
routed except for a DIN cable which must be connected
between the CD changer and the DVD reader or the TV
receiver.
This DIN cable must be purchased separately
Only the following points apply to cars with RTI: row 1, , , , , , ,
.
Preparations
1
Preparations
Applies to cars with power seats
Move the left front seat to its rearmost position.
2
Turn the ignition key to position 0
Remove the key from the ignition switch (does not apply to cars
with automatic gearboxes)
Installation instructions, accessories
Volvo Car Corporation Gothenburg, Sweden
©
Volvo Car Corporation CD changer 10 CD
-
30730089
-
V1.0
Page 4 / 17

A8800136
Disconnect the battery negative lead.
Note!
Wait at least five minutes before disconnecting the connectors
or removing other electrical equipment.
3
D8502224
Detach the panel (1) and gear selector lever boot. Use a
weatherstrip tool.
4
M8503890
Move the gear selector lever to its rearmost position
Pull the panel (1) and the boot backwards. Turn the panel as
illustrated
Remove the screws (2) from the dashboard environment panel.
5
Angle the dashboard environment panel outwards so that it is
possible to insert a couple of fingers between the centre
Installation instructions, accessories
Volvo Car Corporation Gothenburg, Sweden
©
Volvo Car Corporation CD changer 10 CD
-
30730089
-
V1.0
Page 5 / 17

D8703527
console and the reverse of the panel
Detach the dashboard environment panel by pulling it
downwards while maintaining the same angle. Some force is
required because the panel is tightly installed
Disconnect the connectors on the reverse of the dashboard
environment panel. Place the dashboard environment panel to
one side.
Note!
If any of the outer hooks break off, these must be repaired. The
method for this can be found in the Workshop Manual in the
section about the dashboard.
6
D8503946
Remove the screws (1) from the radio bracket
Pull out the bracket with the radio. Pull the lower corner while
pressing downwards
Disconnect the connectors on the radio. Place the bracket and
the radio to one side.
7
D8502410
Move the left front seat to its rearmost position.
Remove:
the left-hand side panel (1) from the centre console. First turn
the clip. Pull the panel outwards and backwards
the sill trim panel (2) at the left front door
the cover (3) and the screws (4) for the front mountings in the
left-hand front seat.
Installation instructions, accessories
Volvo Car Corporation Gothenburg, Sweden
©
Volvo Car Corporation CD changer 10 CD
-
30730089
-
V1.0
Page 6 / 17

8
D8502411
Tip the left
-hand front seat backwards
Push the floor carpet to one side so that the air ducts (1) are
accessible.
9
D8502766
Remove the seat cushion from the left-hand rear seat(1). Lift the
front edge of the cushion and then pull forwards
Remove the sill trim panel (2) at the left
-hand rear door.
10
Remove the seat belts from the guide (1) on the left-hand side
cushion
Insert a hand down the side of the lower section of the left-hand
side cushion. Release the catches. At the same time lift the side
cushion. Place the cushion to one side
Fold the backrest forward.
Installation instructions, accessories
Volvo Car Corporation Gothenburg, Sweden
©
Volvo Car Corporation CD changer 10 CD
-
30730089
-
V1.0
Page 7 / 17

D8502761
11
M8902133
Lift out the cargo compartment carpet
Press the centres of the clips at the bottom of the folding side
panel on the left-hand side. Press the clips until a click is heard
Remove the two clips
Remove the plastic nut at the front edge of the side panel.
12
D8504070
Applies to all cars
Turn the knob (1) on the left-hand side a quarter turn
Fold down the side panel.
Only applies to cars without RTI
Lift out and place the side panel to one side. A new panel is in
the kit.
13
Remove the clips (1) and the plastic nut in the left front side
panel in the cargo compartment. It is easiest to access the front
upper clip from the side of the rear seat
Remove the front side panel.
Installation instructions, accessories
Volvo Car Corporation Gothenburg, Sweden
©
Volvo Car Corporation CD changer 10 CD
-
30730089
-
V1.0
Page 8 / 17

M8503515
Cable routing
14
D3701510
Cable routing
Route the DIN cable for the CD changer up between the front air
duct (1) and the bulkhead stay (2)
Route the cable through the radio compartment
Clamp the cable to the stay. Use the clamp (3) from the kit
Route the cable above and along the front air duct to the seat
mounting member (4)
Clamp the cable to the existing cable harness (5).
15
D3702872
Continue to route the DIN cable under the carpet along the door
sills to the rear seat
Install the protective caps on the lugs (1) for the cable ducts.
16A Illustration A applies to cars up to and including -
2004 (CH
-389999)
Take the power supply cable for the CD-changer from the kit.
Connect the ground lead to the front ground terminal (1) in the
rear seat
Installation instructions, accessories
Volvo Car Corporation Gothenburg, Sweden
©
Volvo Car Corporation CD changer 10 CD
-
30730089
-
V1.0
Page 9 / 17

D3702873
16B
M3703304
Route the power supply cable and the DIN cable on the right-
hand side of the air duct (2) and under the wiring. Continue out
through the hole in the car body behind the left-hand backrest
and along the left-hand side of the cable duct (3). Position the
single pre-routed red/white (R/W) cables by the rear fuse holder.
Illustration B applies to cars from model year 2005-(
CH
390000-)
Route the DIN cable (1) along the two cable ducts (2) under the
insulation panel and out through the hole in the bodywork to the
engine compartment
Route the DIN cable under the four connectors in the front cable
duct.
17
M3703375
Applies to cars from model year 2005-(
CH 390000
-)
Take the cable (1) for power supply from the kit. Connect the
ground lead to the existing ground terminal behind the battery.
Tighten the screw. Tighten to 10 Nm (7 lbf.ft.). Position the
red/white (R/W) single cables (2) by the rear fuse holder
Route the cable harness on the left-hand side of the cable duct.
The cable with the blue connector (3) must be routed to the pre-
routed connector for the DIN cable.
18 Applies to all models
Install the small bracket (1) (for the CD ROM reader bracket) in
the rear crossmember under the left tail lamp. Use the screw (2)
from the kit.
Installation instructions, accessories
Volvo Car Corporation Gothenburg, Sweden
©
Volvo Car Corporation CD changer 10 CD
-
30730089
-
V1.0
Page 10 / 17

D8100982
Connection in the fuse holder
19
M3702263
Connection in the fuse holder
Applies to cars up to and including model year -
2004 (CH
-389999)
Remove the rear electronic module (REM). First open the catch
(1) on the top of the module. Fold the module forward. Lift the
module from the mountings (2).
20
J3703418
Position the red/white (R/W) single cable with the smaller cable
terminal facing backwards along the cable. Insulate the cable.
Secure the cable using the foam tape from the kit. It must
not
come into contact with the chassis.
21
Installation instructions, accessories
Volvo Car Corporation Gothenburg, Sweden
©
Volvo Car Corporation CD changer 10 CD
-
30730089
-
V1.0
Page 11 / 17

M3702808
Connect the red/white (R/W) cable with the large cable outer
terminal to the outer position (1) on the reverse of fuse socket
number 10 on the fuse holder. Remove the decal (2). Carefully
pry up the red secondary locking on the face in the end nearest
terminal 10. At the same time press the cable into position.
Hint
If there is a problem inserting the cable, the fuses on the outer
side must be removed so that the red secondary locking can be
opened wider.
Reinstall the decal
Install a 10A fuse in fuse socket 10 on the fuse holder.
22
D3903661
Secure the cable harness at the cable duct. Use two tie straps
(1)
Secure the cable (which was connected to the fuse holder) at
the cable harness for the fuse holder. Use a tie strap (2).
Connection in the fuse holder
23
Connection in the fuse holder
Applies to cars from model year 2005-(
CH 390000
-)
Press in the catches on the rear brown connector in the fuse
holder in the cargo compartment. Turn up the lock arm as far as
possible. Pull out the connector.
Installation instructions, accessories
Volvo Car Corporation Gothenburg, Sweden
©
Volvo Car Corporation CD changer 10 CD
-
30730089
-
V1.0
Page 12 / 17

M3703306
24
M3703307
Carefully pull apart the sides of the holder for the connector at
the ends so that the connector can pass by the catches
Pull the connector out.
25
J3703418
Position the red/white (R/W) single cable with the larger cable
terminal facing backwards along the cable. Insulate the cable.
Secure the cable using the foam tape from the kit. It must
not
come into contact with the chassis.
26
Connect the red/white (R/W) cable with the smaller cable
terminal to position 8 in the connector
Reinstall the connector in the holder. Reinstall the entire unit in
the fuse holder.
Installation instructions, accessories
Volvo Car Corporation Gothenburg, Sweden
©
Volvo Car Corporation CD changer 10 CD
-
30730089
-
V1.0
Page 13 / 17

M3703482
Installing and connecting the CD changer
27
D3903698
Installing and connecting the CD changer
Move the levers (1.2) to the point marked H.
28
A3902617
Remove the transport screws (1, 2)
Install the dust cover (3) over the holes for the transport
screws.
29
Take four screws, the bracket and the CD changer from the kit.
Tighten the CD changer at the bracket.
Installation instructions, accessories
Volvo Car Corporation Gothenburg, Sweden
©
Volvo Car Corporation CD changer 10 CD
-
30730089
-
V1.0
Page 14 / 17

D3903662
30
D3903667
Install the bracket with the CD changer behind the wheel arch.
Use four screws (1) from the kit. See the illustration. Tighten the
screws
Applies to cars with rear acceleration sensors:
Remove the acceleration sensor behind the left-hand wheel arch
Install the CD changer as above. At the same time, reinstall the
acceleration sensor in the same rivet nut as before. The sensor
must be above the bracket for the CD changer. Use the same
screw as before. Tighten to 24 Nm (18 lbf.ft.).
Note!
The acceleration sensor must be securely installed with the
connector turned upwards. If the sensor is not secure,
movement may result in false values. This could result in poor
system performance when cornering for example.
31
D3903699
Connect cable (1) to the power supply
Connect the cable (2) to the radio
Secure the cable harness at the cable duct. Use a tie strap (3)
as illustrated
Clamp any cable excess to the cable harness.
Installation instructions, accessories
Volvo Car Corporation Gothenburg, Sweden
©
Volvo Car Corporation CD changer 10 CD
-
30730089
-
V1.0
Page 15 / 17

32
D3903731
Applies to cars with RTI (road traffic information)
Remove the four screws (1) holding the bracket with the DVD
reader and TV receiver (if applicable)
Pull out the bracket. Place the bracket to one side.
33
D3903732
Applies to cars with RTI (road traffic information)
Take the new CD changer from the kit. Prepare the CD changer
according to points and
Slide the CD changer into the bracket. Secure the CD changer
using the four screws from the kit. See the illustration
Connect the blue pre
-routed connector for power supply to the
CD changer. The connector is taped at the left-
hand tail lamp
Connect the new short DIN cable according to the installation
instructions supplied with the DIN cable
Position the pre
-routed cable under the bracket. Screw the
bracket into position using the four screws
Fold the side panel back into position.
Finishing work
34 Finishing work
Applies to cars without RTI (road traffic information)
Connect the new routed DIN cable to the radio
Connect the other connectors which were disconnected from
the radio
Reinstall the radio
Connect the connectors to the dashboard environment panel.
Reinstall the dashboard environment panel
Installation instructions, accessories
Volvo Car Corporation Gothenburg, Sweden
©
Volvo Car Corporation CD changer 10 CD
-
30730089
-
V1.0
Page 16 / 17

Reinstall the panel and gear selector lever boot around the gear
selector lever
Fold the carpet at the left-hand front seat back into position
Reinstall the side panel on the centre console
Reinstall the sill trim panel in the left
-hand front and rear doors
Fold the left
-hand front seat back into position
Tighten the screws in the front edge of the seat. Use new
screws from the kit. Tighten to 40 Nm (30 lbf. ft.). Reinstall the
covers over the screws
Reinstall the left
-hand front side panel in the cargo compartment
Install the new left-
hand side folding panel from the kit
Reinstall the side cushion
Fold the backrest back into place
Reinstall the seat cushion.
35
A8800137
Turn the ignition key to position II
Reconnect the battery negative lead
Reinstall the carpet in the cargo compartment
Program the software according to the service information in
VIDA.
Installation instructions, accessories
Volvo Car Corporation Gothenburg, Sweden
©
Volvo Car Corporation CD changer 10 CD
-
30730089
-
V1.0
Page 17 / 17
Other Volvo Automobile Accessories manuals

Volvo
Volvo TRAVEL ACTIVE 500 User manual

Volvo
Volvo Ski box User manual

Volvo
Volvo S60 - ANNEXE 931 User manual

Volvo
Volvo VIDA User manual

Volvo
Volvo M3602654 User manual

Volvo
Volvo 31359397 User manual

Volvo
Volvo 31664710 User manual

Volvo
Volvo 1324 User manual

Volvo
Volvo 31285547 User manual
Volvo
Volvo 30756129 User manual

Volvo
Volvo BICYCLE HOLDER User manual

Volvo
Volvo MY18 User manual

Volvo
Volvo RTI S6 User manual

Volvo
Volvo 1281842 User manual

Volvo
Volvo Dynamic 65 User manual

Volvo
Volvo 283283-0 User manual

Volvo
Volvo 281350 User manual

Volvo
Volvo Autoplugin RCP-V2 User manual

Volvo
Volvo 31334457 User manual

Volvo
Volvo TRM User manual