Read the Safety & Warranty instrucons before proceeding.
Congratulaons on your purchase of a Vuzix® CamAR™ for the iWear® VR920 virtual reality
system.
The CamAR ulizes a Dynex™ 1.3 MP Webcam (DX-WEB1C) housed in a custom enclosure that
mounts to the face of an iWear VR920 or AV920 video display and connects to a computer
through a dedicated USB connecon.
A Dynex CD accompanies your CamAR. It contains drivers and other soware for Windows XP,
Windows Vista and Windows 7. The Dynex webcam is also compable with the Mac OS 10.4.9
and higher but uses the funconality provided by the Mac OS and no addional Mac soware is
provided.
System Requirements:
• Windows XP SP2, Windows Vista, Windows 7 or Mac OS X v10.4.9 or higher
• USB 2.0 port
To Install the Webcam Soware: (Windows)
1. DO NOT connect the CamAR unl directed, during the soware installaon.
2. Insert the Vuzix CamAR CD into your CD or DVD drive.
The installer applicaon should launch automacally. If it does not, access the CD’s contents,
open the “WebCam” folder and run the “Setup.exe” applicaon.
3. When prompted, connect the CamAR to your computer.
If the Found New Hardware Wizard opens, select “Not at this me,” then click “Next”.
To Install the Webcam Soware: (Mac)
• Connect the CamAR to your computer. The Mac OS automacally recognizes the connecon
of the CamAR as an external camera.
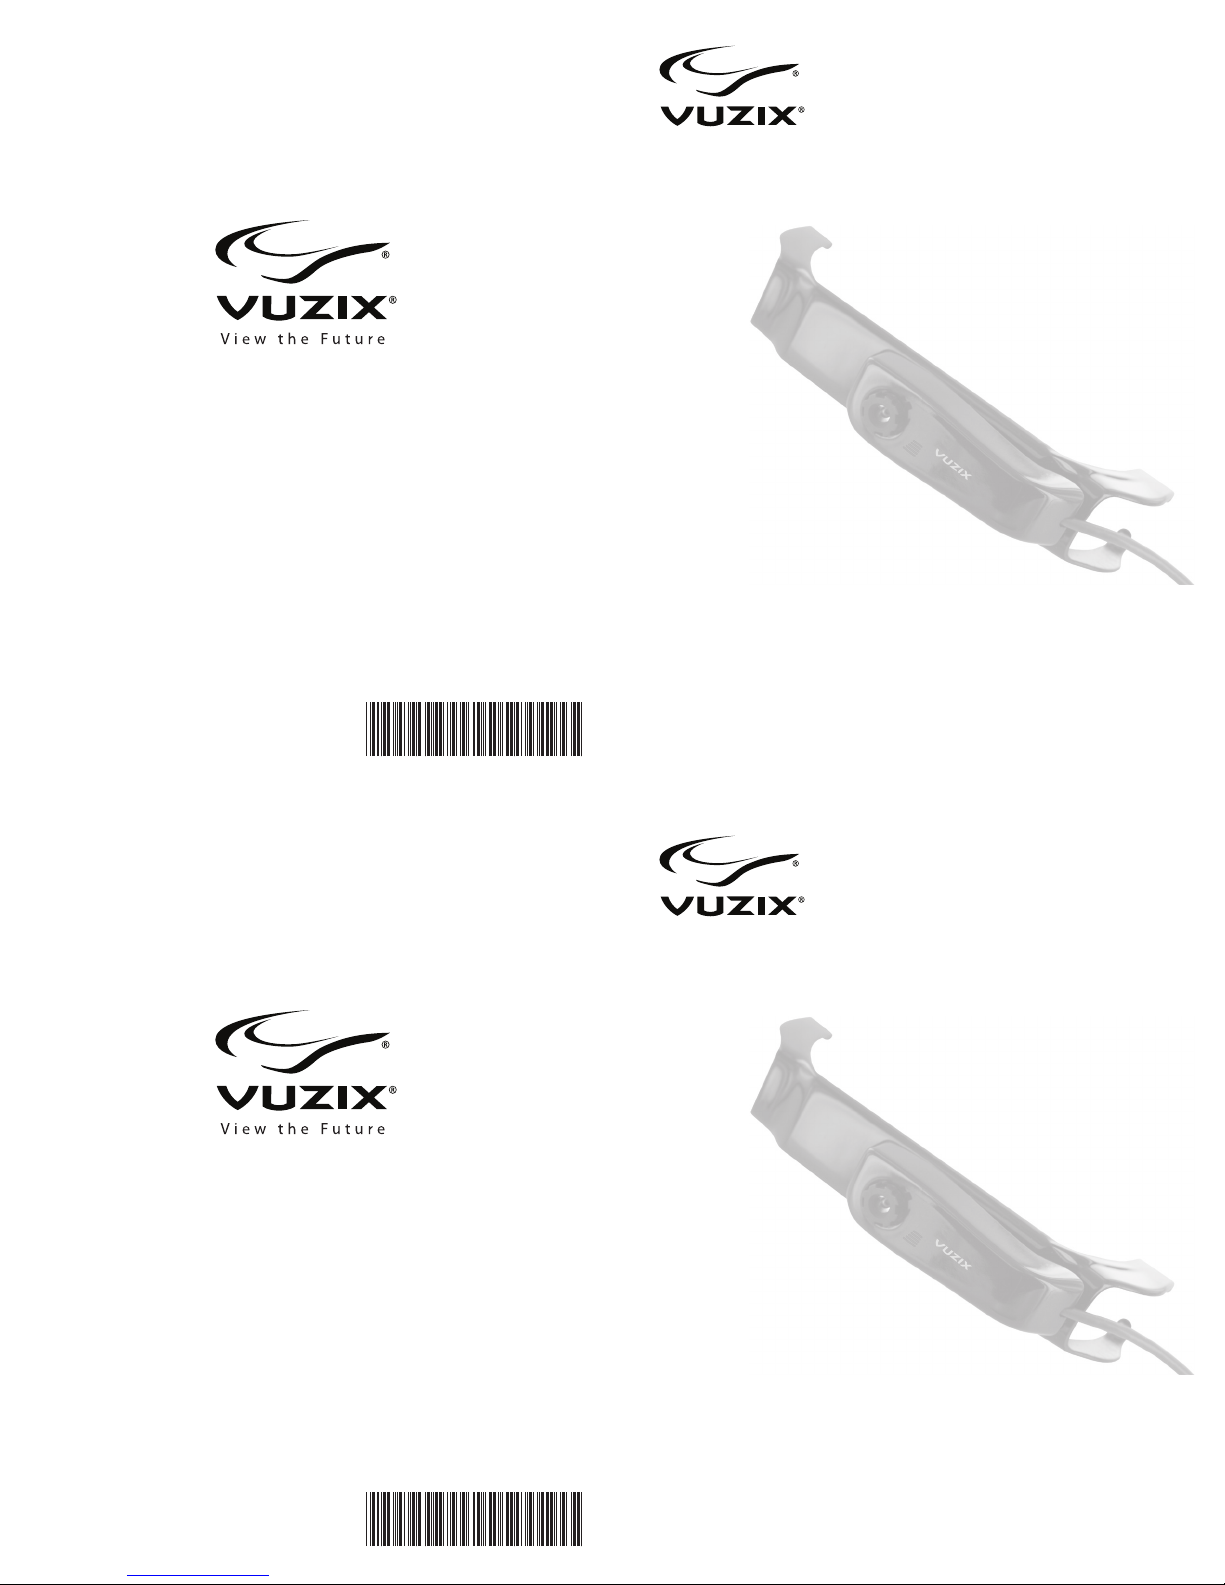
Connecng CamAR to VR920:
The CamAR slips over the front of iWear VR920 or AV920 display and is held in place by two black
rubber retainer rings. A cable clip is also provided to route the CamAR’s cable along the temple of
the iWear display.
1. Slide CamAR over the face of iWear’s
display.
2. Stretch a retainer ring over the studs on
each end of the CamAR.
Dynex Soware: (Windows only)
During the Dynex soware installaon a
number of ulity applicaons are installed
as well as documentaon on their use.
These can be accessed through the Windows Start menu:
Start > Programs > Dynex > Live! Cam >
Frame Rate:
The Dynex Webcam provides automac exposure control. In some lighng condions this may
slow the frame rate of video capture. For a consistent 30 FPS, turn o Auto Exposure through the
Live! Cam Console, under the Live! View opons.
FCC Statement
This device complies with part 15 of the FCC Rules. Operaon is subject to the following two
condions:
1. This device may not cause harmful interference, and
2. This device must accept any interference received, including interference that may cause
undesirable operaon.
Canadian ICES-003 Statement
This Class B digital apparatus complies with Canadian ICES-003.
Read the Safety & Warranty instrucons before proceeding.
Congratulaons on your purchase of a Vuzix® CamAR™ for the iWear® VR920 virtual reality
system.
The CamAR ulizes a Dynex™ 1.3 MP Webcam (DX-WEB1C) housed in a custom enclosure that
mounts to the face of an iWear VR920 or AV920 video display and connects to a computer
through a dedicated USB connecon.
A Dynex CD accompanies your CamAR. It contains drivers and other soware for Windows XP,
Windows Vista and Windows 7. The Dynex webcam is also compable with the Mac OS 10.4.9
and higher but uses the funconality provided by the Mac OS and no addional Mac soware is
provided.
System Requirements:
• Windows XP SP2, Windows Vista, Windows 7 or Mac OS X v10.4.9 or higher
• USB 2.0 port
To Install the Webcam Soware: (Windows)
1. DO NOT connect the CamAR unl directed, during the soware installaon.
2. Insert the Vuzix CamAR CD into your CD or DVD drive.
The installer applicaon should launch automacally. If it does not, access the CD’s contents,
open the “WebCam” folder and run the “Setup.exe” applicaon.
3. When prompted, connect the CamAR to your computer.
If the Found New Hardware Wizard opens, select “Not at this me,” then click “Next”.
To Install the Webcam Soware: (Mac)
• Connect the CamAR to your computer. The Mac OS automacally recognizes the connecon
of the CamAR as an external camera.
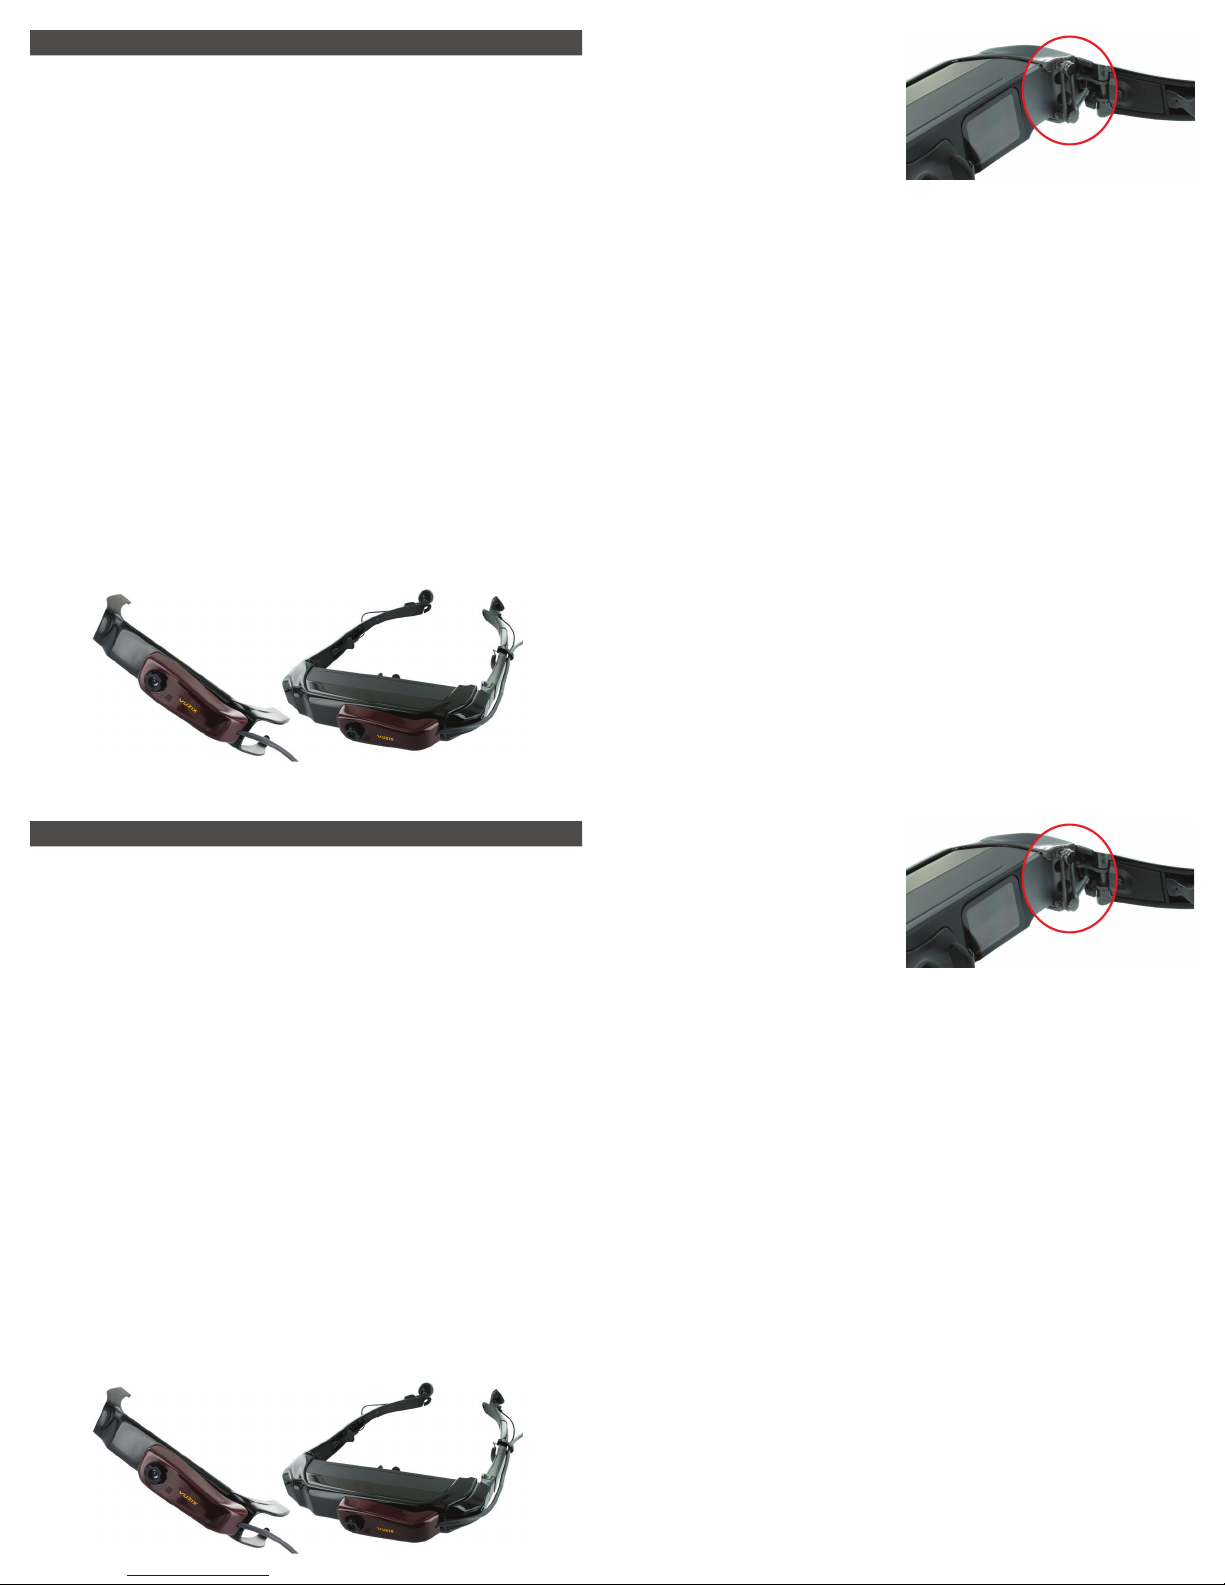
Connecng CamAR to VR920:
The CamAR slips over the front of iWear VR920 or AV920 display and is held in place by two black
rubber retainer rings. A cable clip is also provided to route the CamAR’s cable along the temple of
the iWear display.
1. Slide CamAR over the face of iWear’s
display.
2. Stretch a retainer ring over the studs on
each end of the CamAR.
Dynex Soware: (Windows only)
During the Dynex soware installaon a
number of ulity applicaons are installed
as well as documentaon on their use.
These can be accessed through the Windows Start menu:
Start > Programs > Dynex > Live! Cam >
Frame Rate:
The Dynex Webcam provides automac exposure control. In some lighng condions this may
slow the frame rate of video capture. For a consistent 30 FPS, turn o Auto Exposure through the
Live! Cam Console, under the Live! View opons.
FCC Statement
This device complies with part 15 of the FCC Rules. Operaon is subject to the following two
condions:
1. This device may not cause harmful interference, and
2. This device must accept any interference received, including interference that may cause
undesirable operaon.
Canadian ICES-003 Statement
This Class B digital apparatus complies with Canadian ICES-003.