Ninja™System Quick Setup Guide
Before you read the owner’s manual for the Ninja system it is recommended that you
follow the steps below to give the system a quick try. Later you can read the owner’s
manual to see how to connect the camera’s cord inside the top of the Ninja so you only
need one power supply.
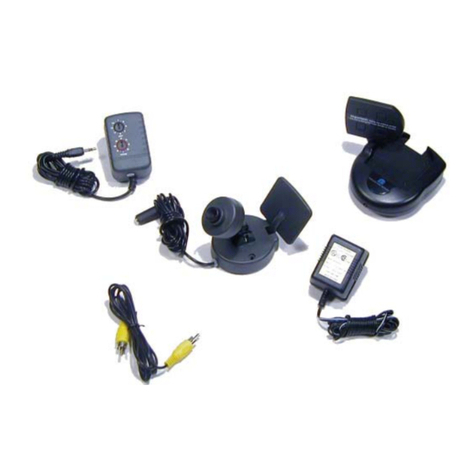
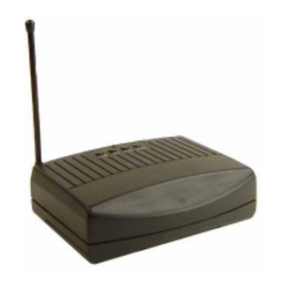
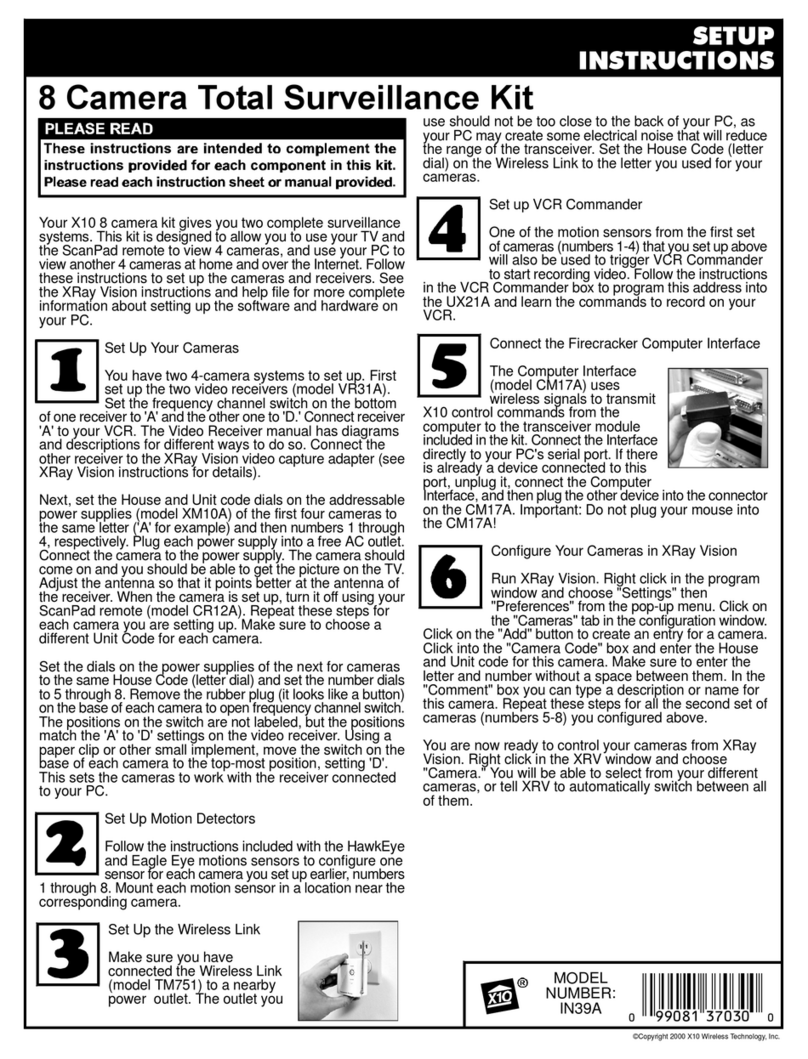
Now connect the Receiver to your TV
●ConnecttheVideo Receiver to its power supply and plug
thepowersupplyintoanACoutlet near your TV.
●ConnecttheReceivertoyourTVusingtheRCAcablesupplied.
●Setthe switch on theside of the Video Receiver toON.
●TurnyourTVonandselectVideomode.TheNinja’s power supply powers up in
theonstatewhenyoufirstplugitin,soyouwillnowseeapictureonyourTV.
●Pointthe“pip”ontheCamera’santennaandthe“squares”ontheReceiver’s
antennatowardseach other for the bestreception.
●Ifyouexperienceinterference,trysettingtheCameraandReceiver to a different
letterchannel (A, B, C, orD)- use the sameletteron each (see instructions
includedwiththemformoreinformation).
Now try it out!
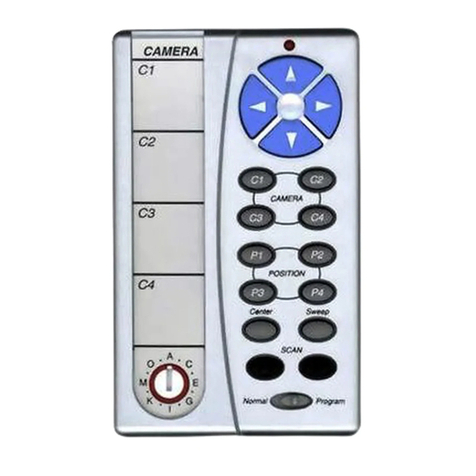
●Insert4 AAA alkaline batteries(notincluded)intheRemote Control.
●Presstheblue buttons at thetopof the remote to panthecamera left and right,
andtiltitupanddown.
Plugcamera into power
supplyincludedwithit,and
plugpower supplyintoan
ACoutlet.
Squares
Pip
Wireless Technology, Inc.
Formoreinformation orhelpsettingup yoursystem,
pleasevisitwww.x10.com/support
ModelVK74A
PlugNinja intopower
supplyincludedwithit,and
plugpower supplyintoan
ACoutlet.
Attachcamera to top of
Ninjawith screws provided.
!
"
#
Pr o
ram
SC A N
Sw eepCenter
Nor mal
AC
E
G
I
K
M
O
.
..
.
..
..
CAMERA
C2
C4
POSITION
P3
P2
C3
C1
P1
P4
ModelXM14A*
ModelXM10A
or XM13A*
*IMPORTANT!Do notinterchange power
supplies. Model XM14A must be used only for the
NinjaPan‘n Tiltbase.


