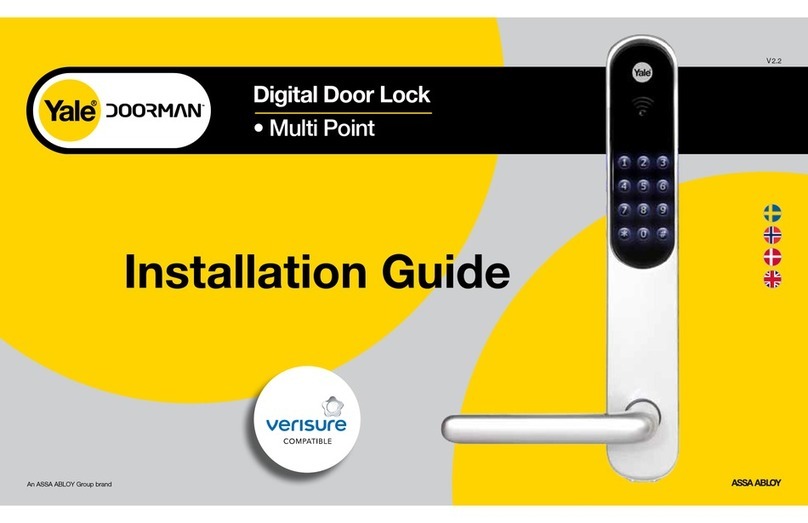
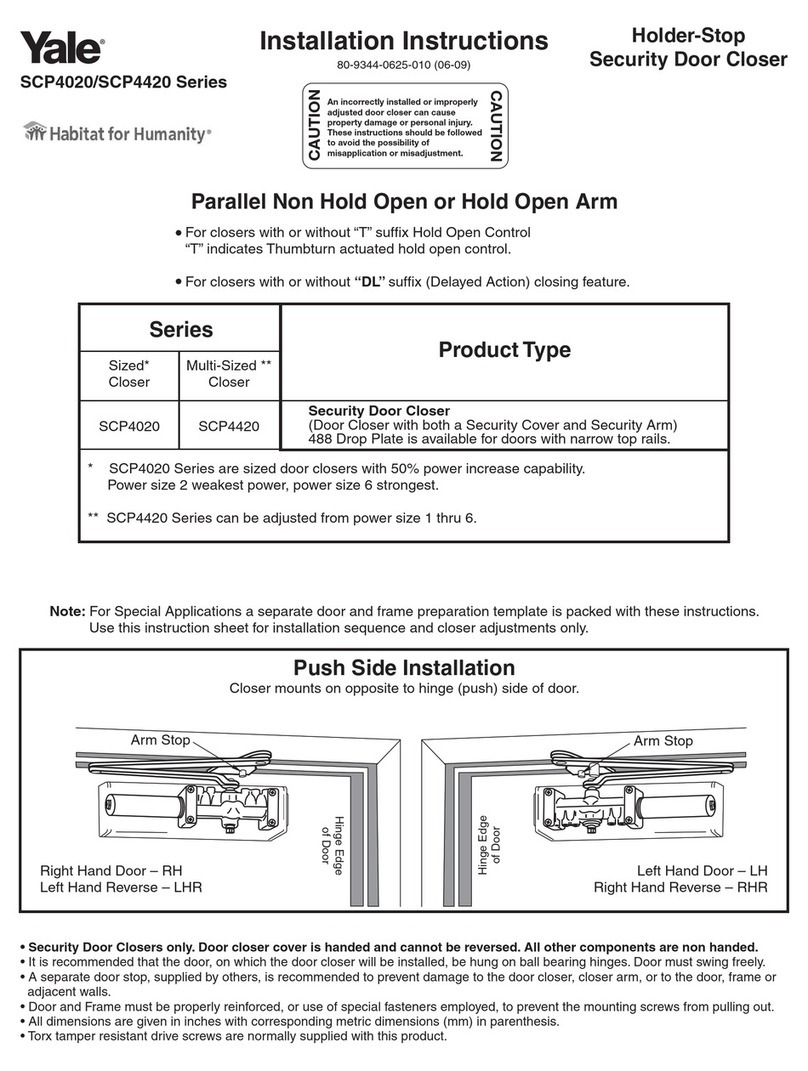
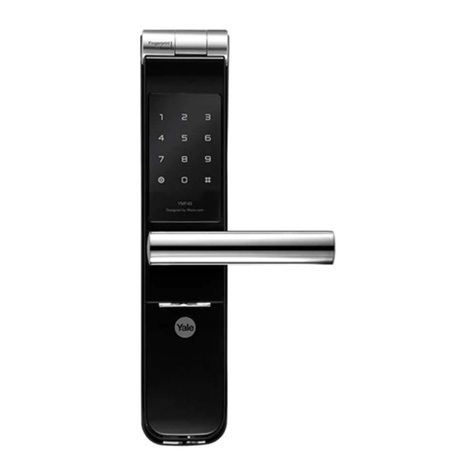
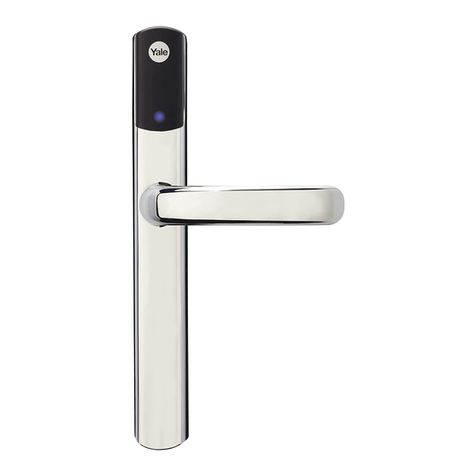
Yale 680F User manual
Other Yale Door Lock manuals
Yale
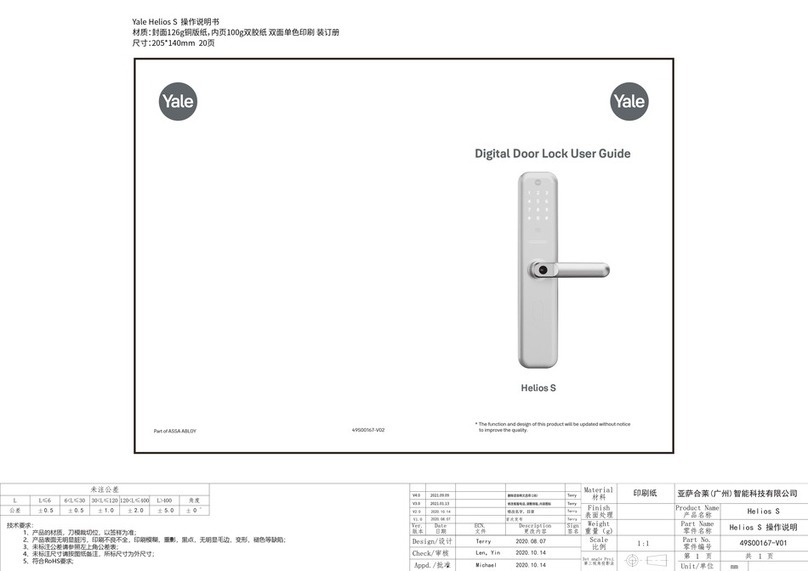
Yale Helios S User manual
Yale
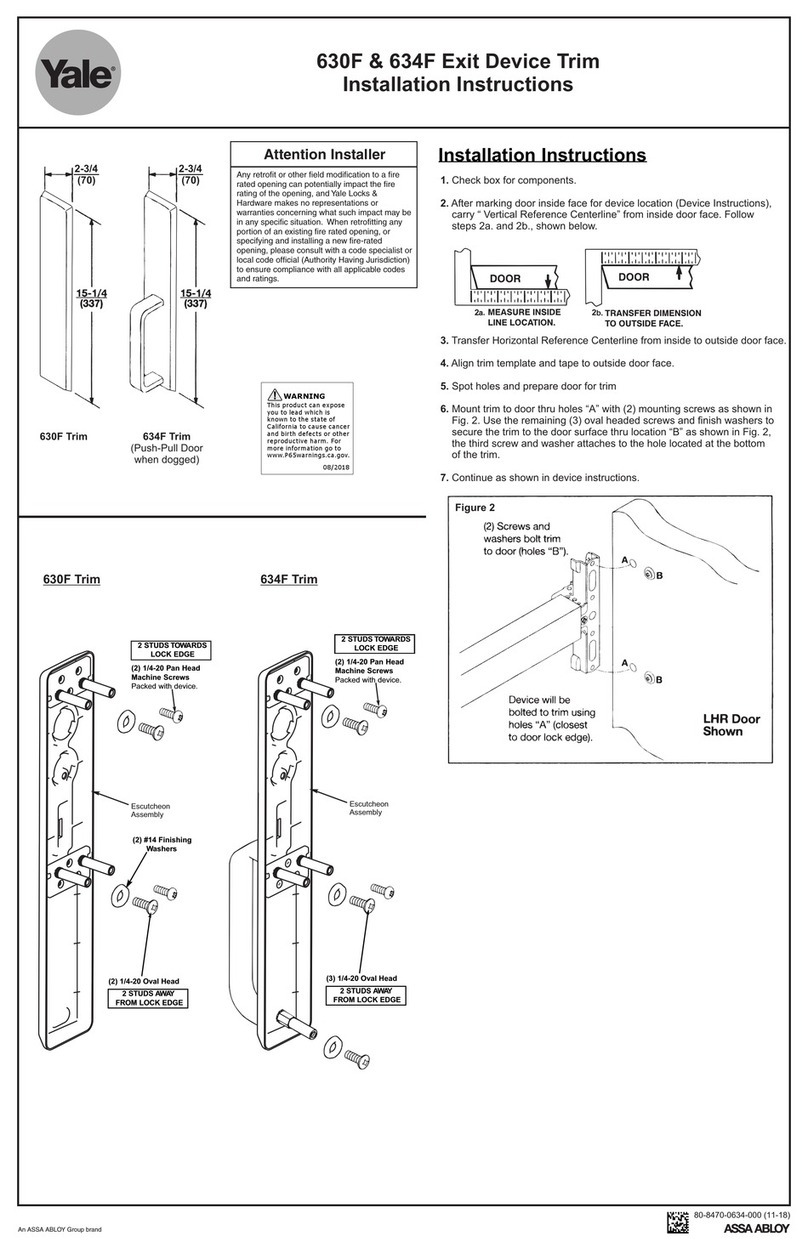
Yale 630F User manual
Yale
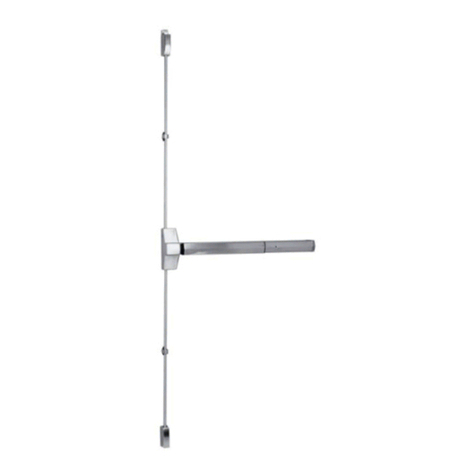
Yale 7110 User manual
Yale
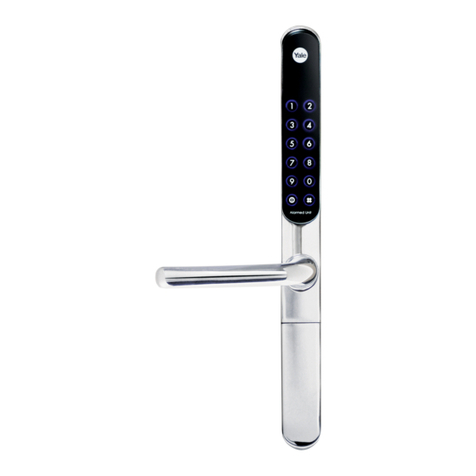
Yale Keyfree Connected User manual

Yale
Yale YDR4110 User manual
Yale
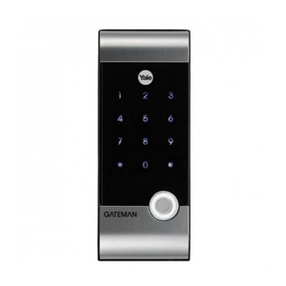
Yale GATEMAN YDR2108 User manual

Yale
Yale nexTouch Technical specifications

Yale
Yale MORTISE 8800 SERIES User manual
Yale
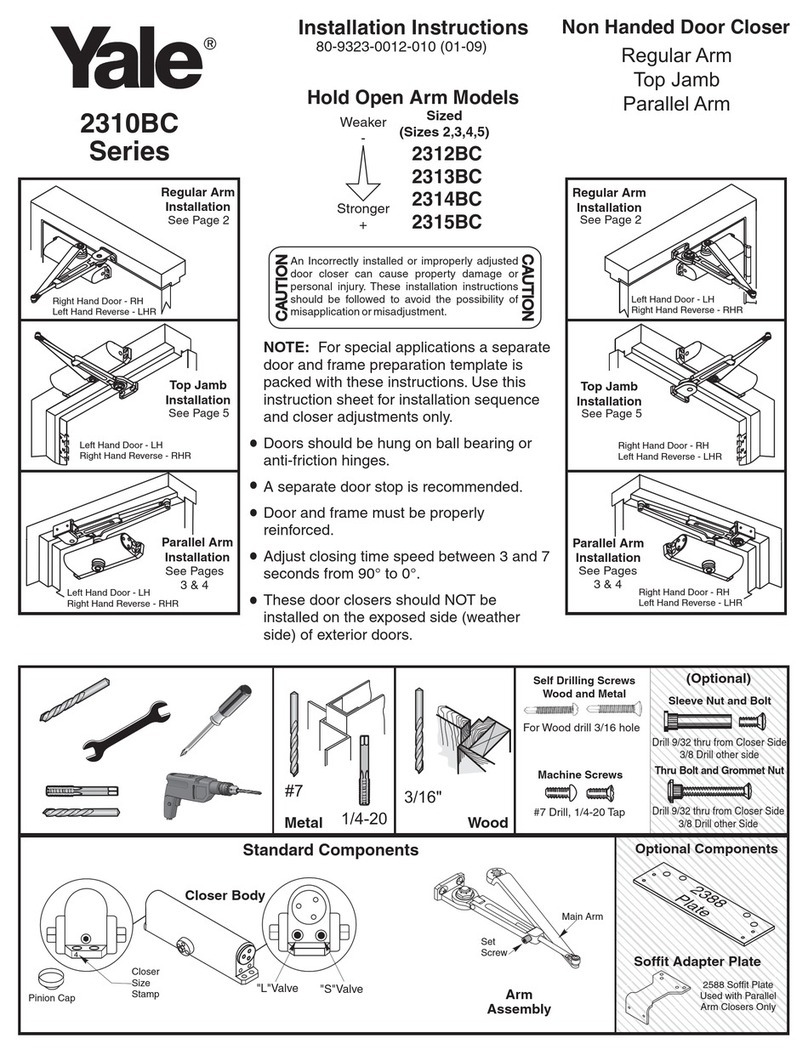
Yale 2310BC Series User manual

Yale
Yale Doorman User manual
Yale
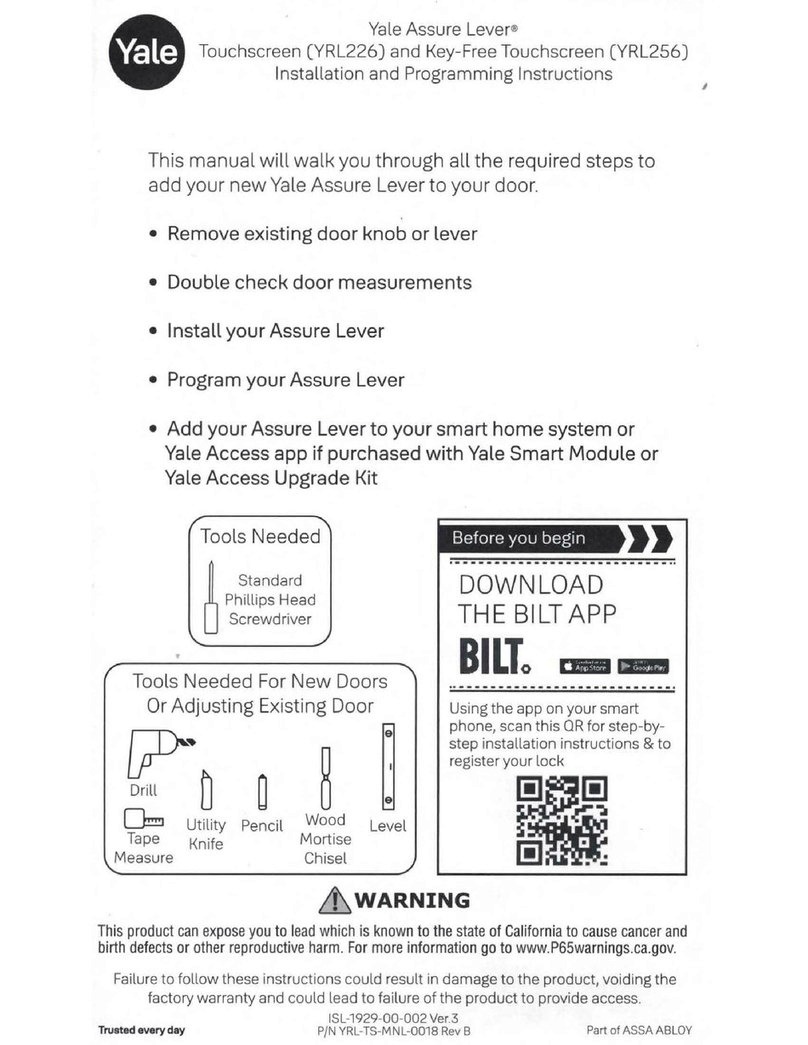
Yale Assure Lock Lever Touchscreen YRL226 User manual

Yale
Yale Doorman User manual

Yale
Yale Real Living YRD210-ZB Technical specifications

Yale
Yale YDR 3111 User manual

Yale
Yale 4600CL Series User manual

Yale
Yale YDM4109 User manual
Yale
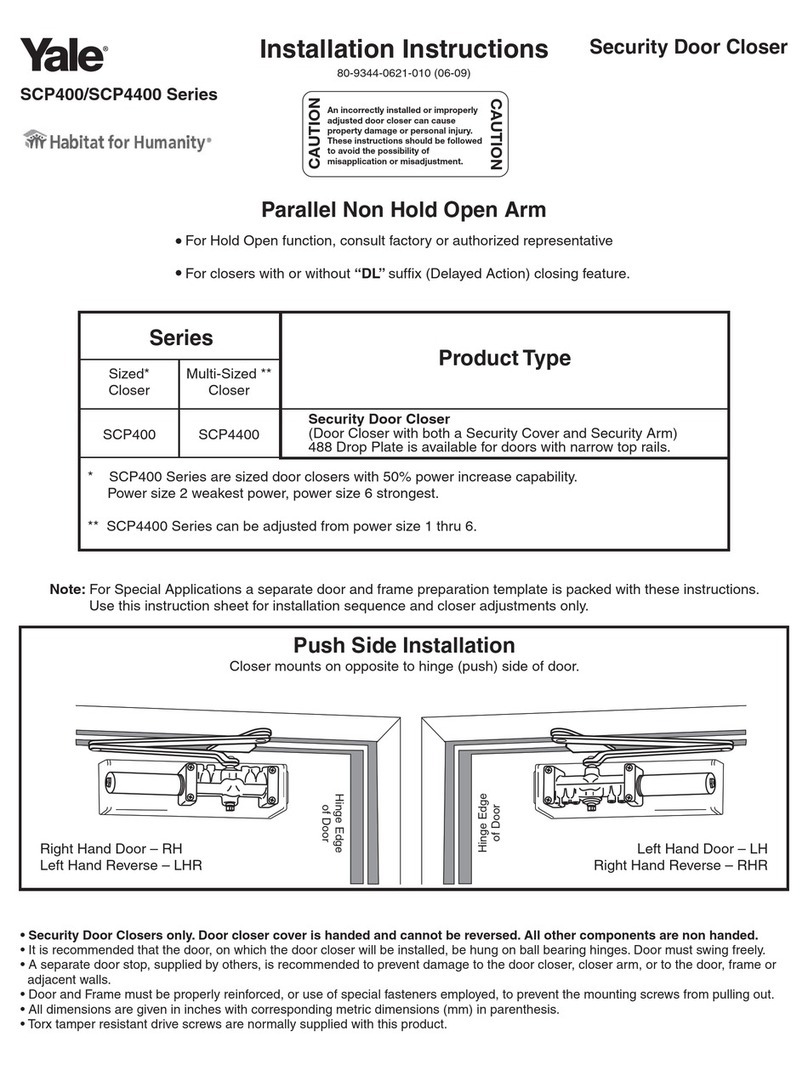
Yale SCP400 Series User manual
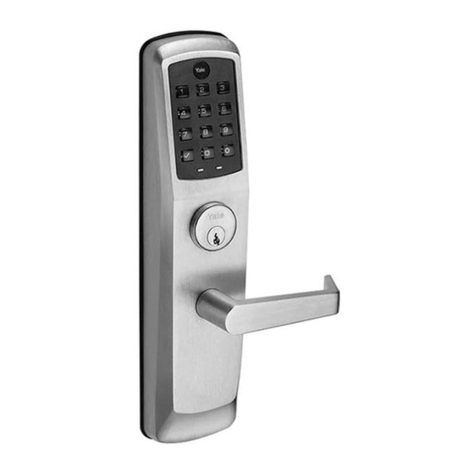
Yale
Yale nexTouch Technical specifications
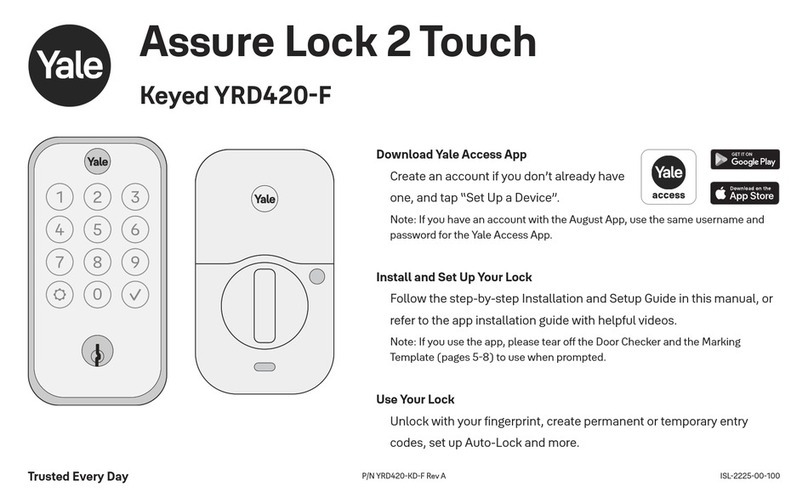
Yale
Yale Assure Lock 2 Touch User manual

Yale
Yale real Living YRC226 Technical specifications
Popular Door Lock manuals by other brands

Dorma
Dorma MUNDUS PREMIUM GK 50 Mounting instruction

SCOOP
SCOOP Pullbloc 4.1 FS Panik Assembly instruction

Siegenia
Siegenia KFV AS3500 Assembly instructions

Saflok
Saflok Quantum ädesē RFID installation instructions

ArrowVision
ArrowVision Shepherd 210 installation manual
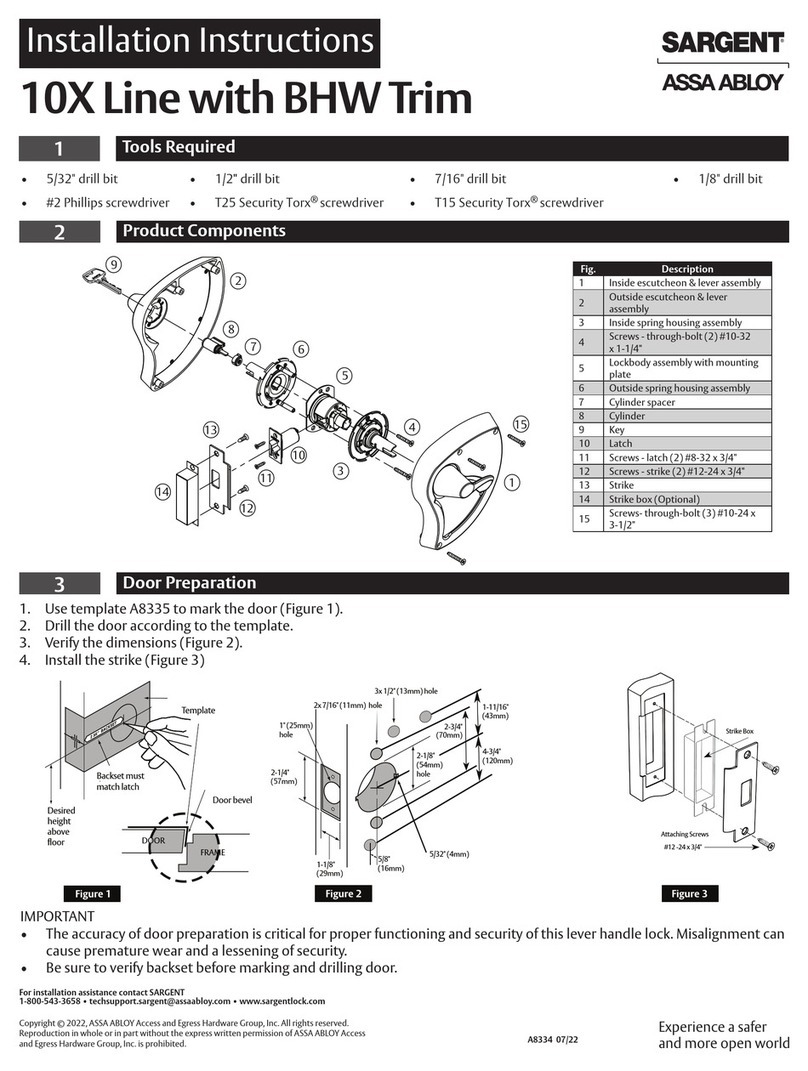
Assa Abloy
Assa Abloy Sargent 10X Line installation instructions
