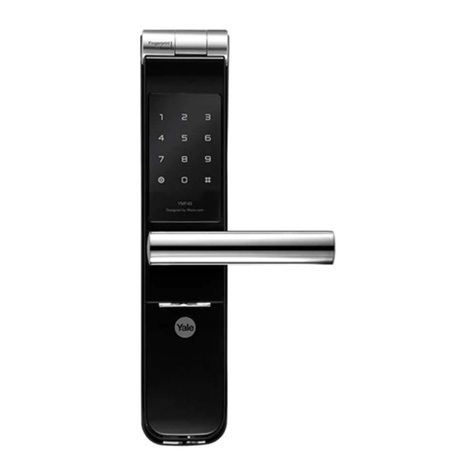
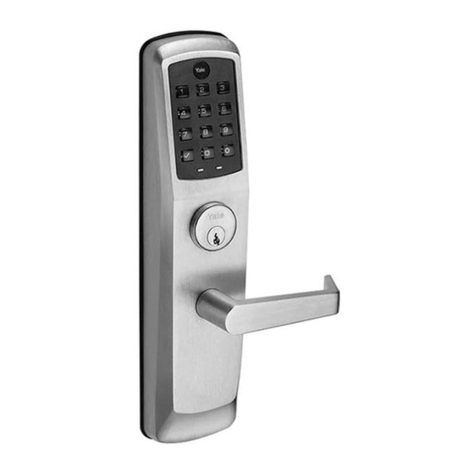
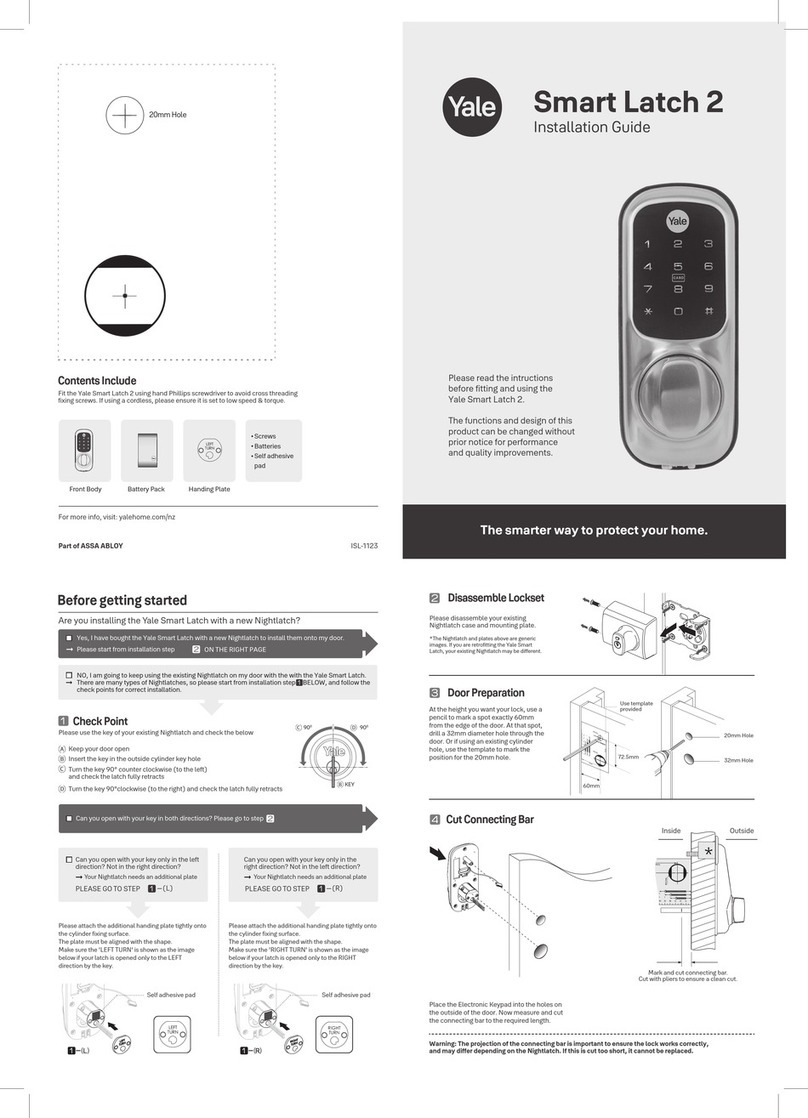
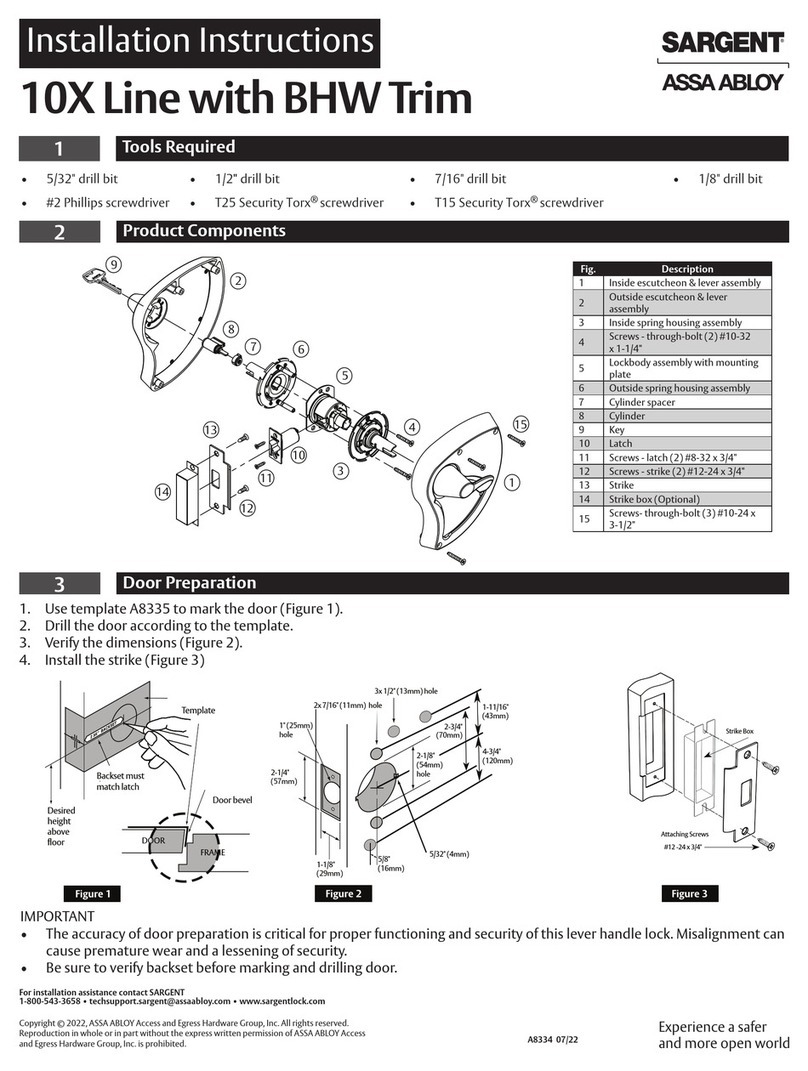
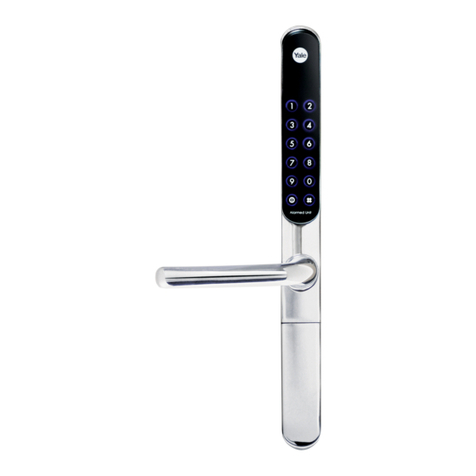
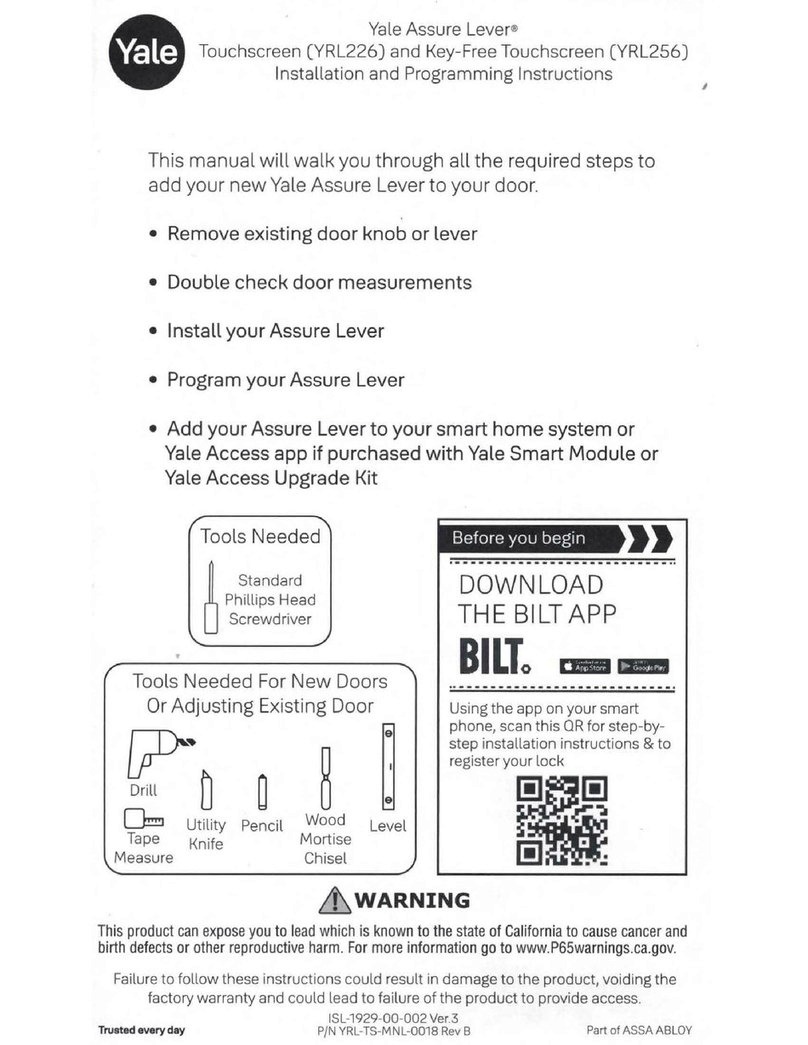
Yale Keyless Connected User manual

User Guide
Keyless
Connected
D-01-CON-UG Rev. 001
DO NOT FIT KE LESS UNTIL DOOR INSTALLATION IS COMPLETE.
PLEASE READ THE INSTRUCTIONS BEFORE USING KE LESS.

INTRODUCTION
2
Keyless Helpline:
01902 364606
Email:
smartlocks@yale.co.uk
Website:
www.yale.co.uk
Thank you for choosing the Yale Keyless Connected product.
This new Smart Lock uses the latest technology to make your life easier
This user manual enables you to operate the product safely and to its full
potential.
Please ensure you read it completely before using the Yale Keyless
Connected Smart Lock

CONTENTS
Safety Precautions 4
Product Features 5
Lock Overview 7
Set/Change Master Code 8
Set/Delete User Code 9
Set One Day Codes 12
Register/Delete ey Fobs 15
Change Re-lock Time 16
Volume setting 18
Connecting to a Home Automation System 20
Intrusion Alarm
23
Incorrect PIN Lockout
24
Emergency Power
25
User Code Log 29
ey Fob log
30
Introduction
Getting Started
Extra Features
Smart Home
13
OperatingthelockUnlocking the door 22
Register/Delete RFID Cards/Tags
Auto Re-lock on/off
User RFID Card/Tag Log
17
31

4
Safety recautions
Make sure to follow the above instructions to avoid any injuries or damage to the product .
Caution
lease read this carefully

roduct Features
5
Electronic PIN Code System
You can open the door conveniently with up 20 configurable PIN codes, allowing eyless access.
ey Fob Entry (Optional)
Up to 5Yale key fobs can be assigned to allow the lock to be unlocked remotely.
RFID Card/Tag Entry
The door can be unlocked using aMifare(TM) RFID Card
Introduction
1.
2.
Smart Home Connectivity (Optional)
By adding the corresponding module, your eyless lock can be integrated with your home automation
system.
3.
Emergency Backup
In the event of power failure in the lock, a 9 volt battery (PP3) can be connected to the front of the
lock to provide backup power
4.
5.
Alarmed Unit
The eyfree lock has a built in damage alarm, if the outer unit is seperated from
the inner area a 50dB alarm will sound
6.

6
Front (Front Body)
ey Fob
(Optional)
Back (Battery Pack)Handing Plate
KFCON-UG Rev. 001
DO NOT FIT KE FREE UNTIL DOOR INSTALLATION IS COMPLETE.
PLEASE READ THE INSTRUCTIONS BEFORE USING KE FREE.
User Guide
Lock Overview
¨Basic Contents
¨Optional Accessories
The contents of this product may be subject to change without notice for performance or quality improvement.
Basic Contents
Home Automation
Module (Optional)
Yale Nightlatch
RFID Card &Tag
Screws
Batteries
Self adhesive pad
Accessories
Installation Guide

Getting Started
7
1eypad (10- ey)
2* Button
3Thumb Turn
4
5
Emergency Power Supply
Terminal
6
Reset Button
1
Battery Cover
2Slot for RF Module(Optional)
3 R Button
4 4 x 1.5V AA Alkaline Batteries
5Fixing Plate
6Cover release buttons,
Press both to release
Lock Overview
(Front Body, install on the outside of the door)
Front
Back (Back Body, installed on the inside of the door)
(Front Body, installed on the outside of the door)
#Button
7
Low Battery indicator

8
Changing Master Code
The master code is the main password to the lock. As well as allowing entry through the door, it is also used to
configure the lock including adding and removing users.
Registration
Step Icon Expected Feedback Description
Touch the eypad with the
palm of your hand
Touch the eypad to
begin
Enter the master code, 2 tone beep
If you are setting the code
followed by # key for the first time the default is
123456.
Select the [1] button 2 tone beep after each
button pressed
You are now in the lock’s menu,
followed by # key choose option number 1 to
change the master code.
Enter a new master code The master code must be 6
digits
Press the # button
3tone ascending beep
Followed by your new
code being illuminated
This completes the master
code setup.
eypad will illuminate
followed by 2 tone beep

Getting Started
Setting a User Code
9
Enter the master code,
followed by # key
You are now in the lock’s menu, choose option
number 2 to select the user code setup.
If you have forgotten the master code please
see the resetting the lock section of the
manual.
Select the [2] button followed
by # key
Option number 1 adds or modifies a user
code
Press the [1] button and then #
This is the number of the slot in memory
where the code will be saved (1-20)
The lock can hold up to 20 unique user codes, each one has a slot in the locks memory from 1 to 20. If a new code is
written to a slot that already holds a code it will overwrite it. Because of this it is important to record which codes are stored
in each slot. Please use the section in the back of the book to record this.
Step
Icon Expected Feedback Description
2 tone beep
Enter the slot number for the
user code followed by # key
The user code can be between 4-10 digits
Enter the new user code
followed by # key
To add multiple codes please complete the above instructions, record that the memory slot has been filled in the user
code log at the back of this guide, then repeat this process.
Touch the eypad with the
palm of your hand
Touch the eypad to begin
2 tone beep after each
button pressed
2 tone beep after each
button pressed
2 tone beep
3tone ascending beep
Followed by your new
code being illuminated
Step Icon
eypad will illuminate
followed by 2 tone beep

10
Deleting a User Code
Enter the master code,
followed by # key
You are now in the lock’s menu, choose option
number 2 to select the user code setup.
If you have forgotten the master code please
see the resetting the lock section of the
manual.
Select the [2] button followed
by # key
Option number 3 deletes a user code
Press the [3] button and then #
This is the number of the slot in memory
where the code will be saved (1-20)
To stop a user having access their code will need to be deleted. Before doing this you will first need to know which slot in
the locks memory their code is in. Please see the user code log at the back of the guide.
Description
2 tone beep
Enter the slot number for the
user code followed by # key 3 tone ascending beep
Touch the eypad with the
palm of your hand
Touch the eypad to begin
2 tone beep after each
button pressed
2 tone beep after each
button pressed
Step Icon
eypad will illuminate
followed by 2 tone beep
Expected Feedback

1
1
Setting a One Day Code
Enter the master code,
followed by # key
You are now in the lock’s menu, choose option
number 5 to enter the one day code settings.
If you have forgotten the master code please
see the resetting the lock section of the
manual.
Select the [5] button followed
by # key
The user code must be 4 digits
Enter the new user code
The code will now be active for 24 hours
The one day code is a code that will automatically expire after 24 hours. This allows short term access to be granted to
someone.
2 tone beep
Press the # button to finish.
2 tone beep
Deleting a One Day Code
A one day code can be deleted if it is no longer wanted. If not it will expire at the end of the 24 hour period.
Enter the master code,
followed by # key
You are now in the lock’s menu, choose option
number 5 to enter the one day code settings.
If you have forgotten the master code please
see the resetting the lock section of the
manual.
Press any button
Press any button on the keypad to begin
Select the [5] button followed
by # key
Press the # to confirm code deletion.
Step Icon Expected Feedback Description
2 tone beep
Press the # button to finish.
Touch the eypad with the
palm of your hand
Touch the eypad to begin
2 tone beep after each
button pressed
3tone ascending beeps
followed by your new
code being illuminated
2 tone beep after each
button pressed
3 tone ascending beep
Step Icon
Getting Started
eypad will illuminate
followed by 2 tone beep
eypad will illuminate
followed by 2 tone beep
Expected Feedback Description

12
Adding an RFID Card/Tag
Enter the master code,
followed by # key
You are now in the lock’s menu, choose option
number 0 to select the RFID card/tag setup.
If you have forgotten the master code please
see the resetting the lock section of the
manual.
Select the [0] button followed
by # key
Option number 1 adds an RFID card or
tag.
Press the [1] button and then #
This is the number of the slot in memory
where the code will be saved (1-20).
The lock can hold up to 20 RFID cards or tags, each one has a slot in the locks memory from 1 to 20. If a new card/tag is
written to a slot that already holds a tag it will overwrite it. Because of this it is important to record which cards/tags are
stored in each slot. Please use the section in the back of the book to record this.
Step
Icon Expected Feedback Description
2 tone beep
Enter the slot number for the
user code followed by # key
Present the RFID Card/
Tag to to lock
To add multiple RFID cards/tags please complete the above instructions, record that the memory slot has been filled
in the user code log at the back of this guide, then repeat this process.
Touch the eypad with the
palm of your hand
Touch the eypad to begin
2 tone beep after each
button pressed
2 tone beep after each
button pressed
2 tone beep
Press #key 3tone ascending beep
0
Step Icon
eypad will illuminate
followed by 2 tone beep
Single tone beep followed by
slot number illuminating
Hold an RFID card or tag against the
keypad until you bear the beep.
The card or tag is now added and will
unlock the door.

13
Deleting an RFID Card/Tag
Enter the master code,
followed by # key
You are now in the lock’s menu, choose option
number 0 to select the RFID card/tag setup.
If you have forgotten the master code please
see the resetting the lock section of the
manual.
Select the [0] button followed
by # key
Option number 3 deletes an RFID card or
tag.
Press the [3] button and then #
This is the number of the slot in memory
where the code will be saved (1-20).
To delete a previously added tag follow the instructions below.
Step
Icon
Expected Feedback Description
2 tone beep
Enter the slot number for the
user code followed by # key
Touch the eypad with the
palm of your hand Touch the eypad to begin.
2 tone beep after each
button pressed
2 tone beep after each
button pressed
2 tone beep
Press #key 3tone ascending beep
0
Step Icon
Getting Started
eypad will illuminate
followed by 2 tone beep
The card or tag is now deleted and will
no longer unlock the door.

14
Register Key Fob
Enter the master code,
followed by # key
You are now in the lock’s menu, option 3
contains the key fob settings.
If you have forgotten the master code please
see the resetting the lock section of the
manual.
Select the [3] button followed
by # key
Select the number of the slot in memory
where the fob will be saved (1-5)
Enter the slot number for the fob
followed by #
Press both buttons as shown in diagram
below.
Yale key fobs allow you to open the lock at a distance of up to 15 meters. This requires both the Yale key fob and the
corresponding lock module to work. Up to 12 key fobs can be registered on 1 lock, and like the user codes they each
have their unique slot in the lock memory. Adding a new fob into a slot that already contains a fob will override it.
Expected Feedback Description
2 tone beep
Push both unlock buttons on
key fob
2 tone beep
Single beep
3 tone ascending beep
Select the [1] button followed
by # key This puts the lock into fob add mode.
Press the # button to confirm. The fob will now unlock the lock.
Touch the eypad with the
palm of your hand Touch the eypad to begin.
2 tone beep after each
button pressed
2 tone beep after each
button pressed
Icon
Step
eypad will illuminate
followed by 2 tone beep

Delete reviously aired Key Fob
Enter the master code,
followed by # key
You are now in the lock’s menu, option 3
contains the key fob settings.
If you have forgotten the master code please
see the resetting the lock section of the
manual.
Select the [3] button followed
by # key
Select the number of the slot in memory
where the fob is saved (1-5)
The fob is now deleted.
Enter the slot number for the fob
followed by #
If a key fob is lost or stolen it can be removed from the lock so that it can no longer be used to open it.
Step
Icon Expected Feedback Description
2 tone beep
2 tone beep, then 3 tone
ascending beep
This puts the lock into fob delete mode.
Press the [3] button followed
by # key
Touch the eypad with the
palm of your hand
Touch the eypad to begin.
2 tone beep after each
button pressed
2 tone beep after each
button pressed
15
Getting Started
eypad will illuminate
followed by 2 tone beep

16
Change IN R
e-lock
Time
Enter the master code,
followed by # key
You are now in the lock’s menu, option 6
contains the key fob settings.
If you have forgotten the master code please
see the resetting the lock section of the
manual.
Select the [6] button followed
by # key
The re-lock time can be between 7 and
60 seconds.
Input the re-lock time (7-60)
The re-lock time will now be set.
The r
e-lock
time is the amount of time it takes for the external handle to disengage after the lock has been unlocked with
acorrect PIN. The default is 7 seconds.
Expected Feedback Description
2 tone beep
Press the # button to finish.
Change Remote Re-lock Time
Enter the master code,
followed by # key
You are now in the lock’s menu, option 7
contains the key fob re-lock settings.
If you have forgotten the master code please
see the resetting the lock section of the
manual.
Select the [7] button followed
by # key
The re-lock time can be between 10 and
90 seconds.
Input the re-lock time (10-90)
The re-lock time will now be set.
The lock can be set to unlock for longer periods of time unlocked remotely by a key fob or a home automation system.
Step
Icon
Expected Feedback Description
2 tone beep
Press the # button to finish.
2 tone beep after each
button pressed
3 tone ascending beep
2 tone beep after each
button pressed
3 tone ascending beep
Touch the eypad with the
palm of your hand
Touch the eypad with the
palm of your hand
Touch the eypad to begin.
Step Icon
Step Icon
eypad will illuminate
followed by 2 tone beep
eypad will illuminate
followed by 2 tone beep

Auto Re-lock On/Off
Enter the master code,
followed by # key
You are now in the lock’s menu, option 8
contains the silent mode settings.
If you have forgotten the master code please
see the resetting the lock section of the
manual.
Select the [8] button followed
by # key
Select between the two modes
Press [1] for auto re-lock on, or
[3] for auto re-lock off.
The lock can be toggled between two modes. With auto re-lock mode on the lock will automatically re-lock after the configured
re-lock time. With auto re-lock mode off the lock will not re-lock until the keypad is awoken by placing your palm on
it.
Step
Icon Expected Feedback Description
2 tone beep
Press the # button to finish.
2 tone beep after each
button pressed
2 tone beep
3 tone ascending beep
Touch the eypad with the
palm of your hand Touch the eypad to begin
Step
17
Getting Started
eypad will illuminate
followed by 2 tone beep

18
VolumeMode
Enter the master code,
followed by # key
You are now in the lock’s menu, option 8
contains the silent mode settings.
If you have forgotten the master code please
see the resetting the lock section of the
manual.
Select the [8] button followed
by # key
Select between the three modes
Press [1] to for silent mode,
[2] for quite mode,or [3] for
loud mode.
The lock can be toggled between three volume modes. In silent mode only programming beeps will be heard. In quite
mode the keypad beeps will be quieter,in loud mode they will be loud.
Step
Icon Expected Feedback Description
2 tone beep
Press the # button to finish.
2 tone beep after each
button pressed
2 tone beep
3 tone ascending beep
Touch the eypad with the
palm of your hand Touch the eypad to begin
Step Icon
eypad will illuminate
followed by 2 tone beep

Smart Home
19
Lock Module
Remove a battery from the
lock
The module is situated in the top left corner above the batteries. It can be
unplugged by pulling it out.
Remove any of the batteries to cut power to the lock.
Remove inside cover Press the two release buttons on the side of the battery pack and remove cover
Remove the module
The model number will be on a sticker on the module, and will enable you to
find the current wireless compatibility of the lock.
Record module model number
The Yale eyfree lock can have a removable wireless communication module within the lock. This module is
used for all wireless communications to both home automation systems and key fobs. In order to connect to
a home automation system a new module may be required for the lock, however changing the module has
the potential to disrupt the current wireless communications. For instance while a new module may allow
the lock to connect to a home automation system, it could cause the key fob to stop working. An up to date
list of compatible home automation systems and the corresponding lock modules is available at the following
address on the Yale website:
www.yale.co.uk/en/yale/couk/smart-lock/Which-technology-is-for-me-/
Removing the module.
To find out which module is currently in your lock please follow the ‘removing a module’ instructions.
Icon
Description
Smart Home
Inserting a Module
Remove a battery from the
lock
The module has 8 pins that are plugged into the small black connector above the
batteries on the top left of the lock.
Remove any of the batteries to cut power to the lock.
Remove inside cover
Insert the module
Step Icon Description
Press the two release buttons on the side of the battery pack and remove cover
Icon
Step

20
Connecting to a Home Automation System
Enter the master code,
followed by # key
You are now in the lock’s menu, option 4
contains the home automation settings
If you have forgotten the master code please
see the resetting the lock section of the
manual.
Press the [4] button followed by
# key
This will make the lock look for a compatible
system
Press the [1] button followed by
the hash key
The lock will now be linked to the home
automation system.
Connecting to a home automation system is a two way process and may require the home automation system to be
configured to look for a new device, please consult the manual that came with the system for more information.
Description
2 tone beep
Please wait up to 60 seconds
Smart Home
2 tone beep after each
button pressed
2 tone beep after each
button pressed
3 tone ascending beep
Touch the eypad with the
palm of your hand Touch the eypad to begin
Step Icon
eypad will illuminate
followed by 2 tone beep
Expected Feedback
Table of contents
Other Yale Door Lock manuals

Yale
Yale 630F User manual

Yale
Yale P-DL01 User manual

Yale
Yale EC800 User manual

Yale
Yale YDR2105 User manual

Yale
Yale Real Living Technical specifications

Yale
Yale Doorman User manual

Yale
Yale YDM4109 User manual
Yale
Yale YRD210 Technical specifications

Yale
Yale YRDZB User manual

Yale
Yale D100 Series User manual