manuals.online logo
Brands
  1. Home
  2. •
  3. Brands
  4. •
  5. Yealink
  6. •
  7. IP Phone
  8. •
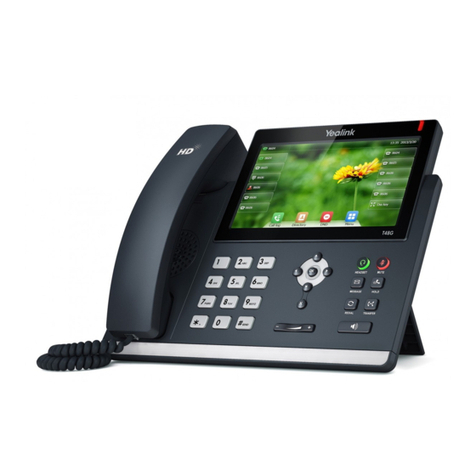
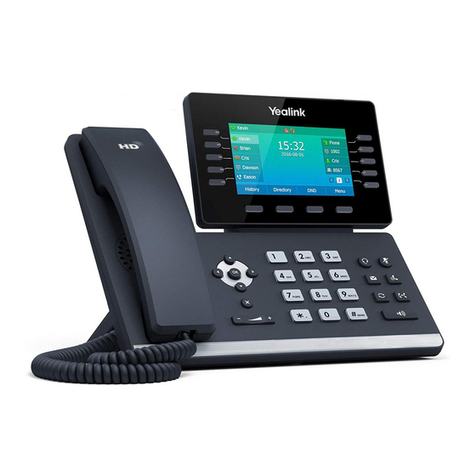
  9. Yealink SIP-T46S User manual

Yealink SIP-T46S User manual

Yealink
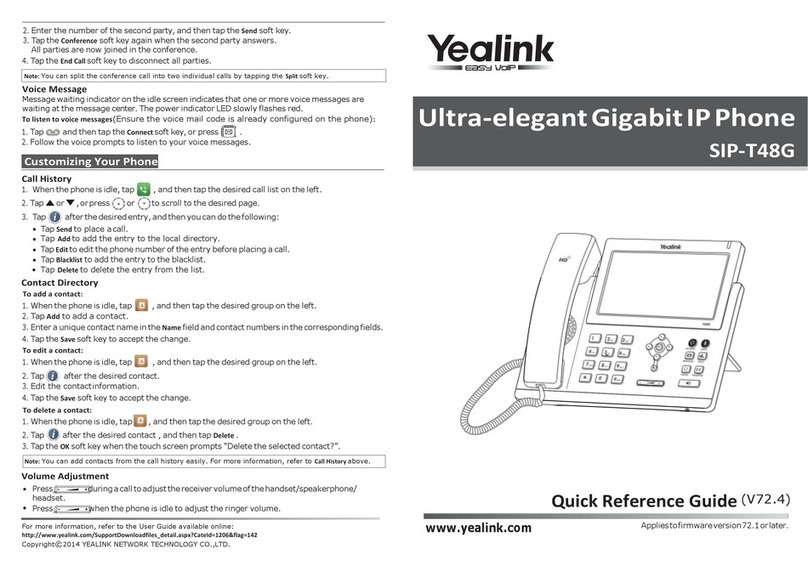
SIP-T46G/T46S
Before you start
The IP phone package that you received from
us contains the following: IP telephone set,
receiver, power supply adapter, and cables.
Take the base and click it to the rear side of
the phone. The phone with the included base
is designed for desktop installation. If you
wish to mount the phone on the wall, you can
order a special holder available separately.
Plug the receiver cord to the receiver and to
the phone socket marked with the receiver
icon. Plug the LAN cable (black) to the socket
on the bottom of the phone marked as
“Internet” and the other end to the Internet
modem, router, or switch. In case you have
only one LAN socket available, you need to
use it for the phone and connect the PC to the
phone (socket on the bottom of the phone
marked as “PC”). If your network does not
support PoE (Power over Ethernet), you need
to use the power supply adapter with the
phone (optional accessories). This may take
several minutes during which will update
itself. This may include a restart.
The phone will then switch itself on, displaying
the message “Welcome initializing…please
wait”. Then the phone logs into the network.
You have a telephone directory available
directly in the phone. You need to enter your
phone number and the password assigned to
you prior to opening the directory for the first
time. You will receive the number and
password at handover of the service.
Enter the phone’s directory and use arrows
and the OK button to choose the following
items. Enter the password you use to log into
the portal-uc.gtsce.com portal into
“Password”. The Name is your telephone
number. Here you can customize Virtual PBX
to suit your needs. Help is available under
“Help” button in the upper right corner.
Additional manuals are also available there in
the “Download”section.
1. Making a call
Pick up the receiver or push the
“Speakerphone”key and enter the telephone
number via the keypad. To end a call, push the
“Speakerphone” key again or replace the
receiver. You can adjust the receiver volume
during the call using the rocker type “Volume”
key. You can deactivate the microphone
during the call by pushing the “MUTE” key and
reactivate it by pushing the same key again.
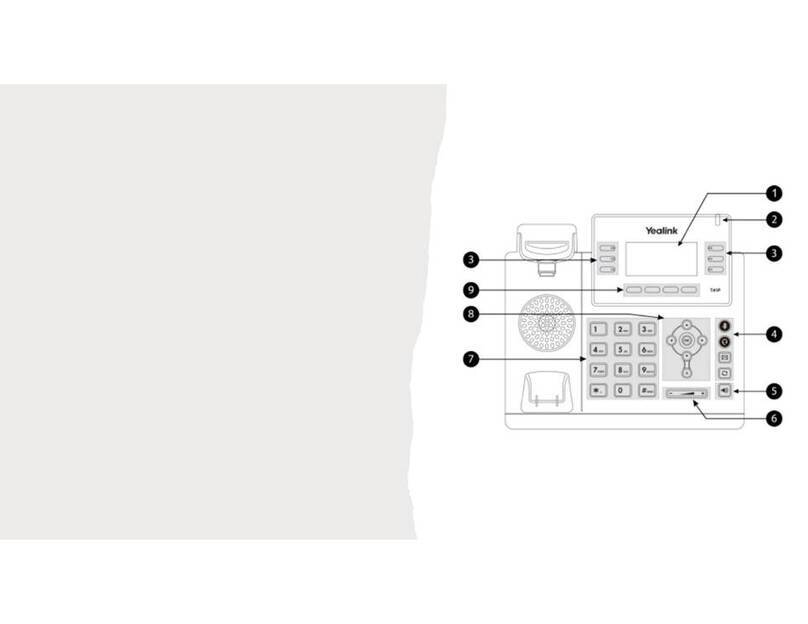
2. Controls in general
Navigation buttons are used for browsing
through the menu. The OK button is used for
confirming the selection. The phone also
features the following key groups: Soft keys
and Context based keys. Soft keys are set as
follows: Subscriber line, Buddies, My status
(presence). To add additional functions, just
hold down the soft key until the menu appears.
Context based keys change their function
automatically according to the actual status of
the phone.
The HEADSET key is used for switching
between a headset and the speaker. The
MUTE key is used for deactivation of your
microphone, i.e.: the other party can’t hear
you. The MESSAGE key is used for dialling
your voice mail. The HOLD key –the caller
hears musing or silence depending on the PBX
configuration. The REDIAL button is used for
repeated dialling of the last dialled number.
The TRANSFER button is used for transferring
a call. The Speakerphone key is used for
activation of the speaker that plays the call
aloud.
Context based keys (variable):
History key is used for repeated dialling of the
last dialled number and displaying the list of
last dialled numbers –Redial. The Direct. key
is used for entering the directory with your
personal as well as corporate contacts. When
you press the DND key, you will be unavailable
to all others. The Menu button is used for
entering the configuration menu of the phone.
3. Telephone directory
Virtual PBX uses two telephone directories of
the platform: corporate and personal. The
corporate directory always contains all active
users within the company. The personal
director is intended for the user’s private
contacts. You can add, edit or delete items in
the personal directory via the
portal.uc.gtsce.com portal.
4. Searching the directory
Push the Direct. context key and the phone will
load up the respective telephone director. Use
up and down arrows to browse through the
directory and select the contact by pushing
OK. For quick search (by person’s first or last
name), press the keypad numbers
corresponding to the respective letters. Press
the key only once for each letter. You will find
the combination of letters corresponding to
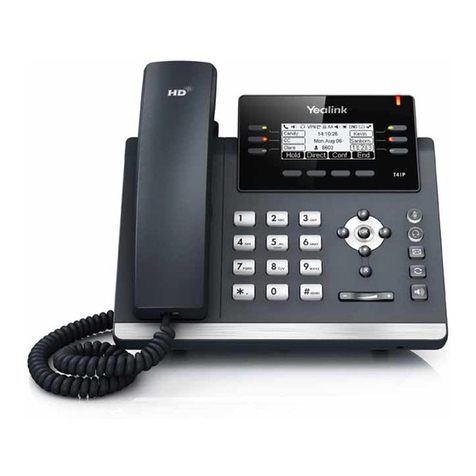
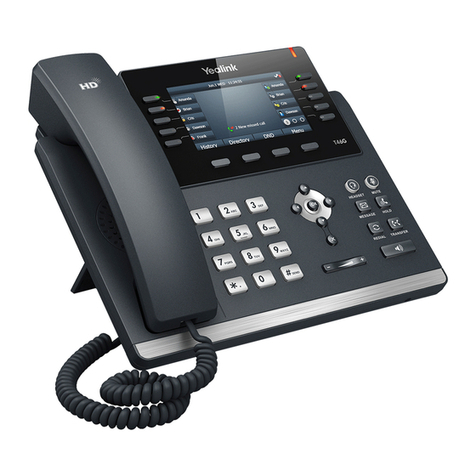
Functional Keys
Line Keys
Soft Keys
Navigation
Buttons
Volume Key
Speakerphone Key
Keypad
LCD Screen
Line Keys
Power Indicator
LED
Yealink
SIP-T46G/T46S
the number you need to press on the phone
keypad or in this table:
Attention: While pressing the keys, the display
shows the pressed numbers, but the search is
underway. The principle is similar to the
predictive “T-9” system used for writing SMS.
Selection of phone directory entries is reduced
to those corresponding to the entered letters.
You can browse through the directory using
the up and down keys and call the selected
contact by pushing OK. This method is about
10 times faster than classic search.
6. Dialling the last dialled number (Redial)
Press the REDIAL key. This will redial the last
dialled number.
7. Call transfer, call parking, conference calls
Call forward without consultation: During a
call, press the Forward key, dial the telephone
number, wait for the dialling tone and press
Forward again or replace the receiver (no need
to confirm by pressing # or Dial).
Call transfer with consultation: During a call,
press the Transfer key, dial the telephone
number and confirm by pressing # or Dial. You
can talk to the dialled party and then transfer
the call to them by pressing the Transfer key
again and replacing the receiver. Call on hold:
During a call, press the Hold key; the caller will
hear music. You can restore the call by
pressing Hold again.
Conference call for 3 participants: Call the first
person. During the call, press the Conference
key. This will put the active call with the first
person on hold and you will hear the dialling
tone. Call the other participant and start
talking to them. You will establish a 3-way
conference by pressing the Conference key
again.
8. Receiver and speaker volume, ringing
volume
Adjustment of receiver and speaker volume:
Pick up the receiver and adjust the call volume
in the receiver using the rocker type Volume
(Minus and Plus) key. Speaker volume can be
adjusted accordingly during a call.
Adjustment of ringing volume: You can adjust
the ringing volume using the rocker type
Volume (Minus and Plus) key when there is no
call underway.
9. Czech language option
The language setting of the phone is
dependent on the setting of the user profile on
the portal-uc.gtsce.com portal.
10. Meet Me conference
We assume that you have a Meet me
conference set up on the web portal portal-
uc.gtsce.com, i.e. that you have set the access
number, you have a conference ID available
and potentially also moderator PIN/ID. Click
the Menu button in the bottom right corner of
the screen.
Select Services and calls and click OK.
Using down arrow, go to 4th line DSS keys and
click OK.
Now select the position of the DSS key. Please
use a position 7 and higher (positions 1-6 are
reserved for the platform –you would delete
the setting), e.g. DDS Key 7.
In the first line (Type) select Meet me using
right or left arrows. In the second line
(Account) select the line number, e.g. Line 1.
Enter the conference name, e.g. Conference,
in the third line (Name). Enter conference ID
(telephone number) in the fourth line
(BridgeID). Enter the conference password
(ID) followed by # in the fifth line (PIN/ID).
Click the Save button in the bottom right
corner of the screen.
The conference you have just created is now
shown on the display. Join the teleconference
by clicking the button next to the icon.

Other manuals for SIP-T46S

10

This manual suits for next models

1

Other Yealink IP Phone manuals

Yealink MP56 User manual

Yealink

Yealink MP56 User manual

Yealink Yealink SIP-T42G User manual

Yealink

Yealink Yealink SIP-T42G User manual

Yealink SIP-T2XP Instruction Manual

Yealink

Yealink SIP-T2XP Instruction Manual

Yealink SIP- T28P User manual

Yealink

Yealink SIP- T28P User manual

Yealink T20P User manual

Yealink

Yealink T20P User manual

Yealink SIP-T57W Manual

Yealink

Yealink SIP-T57W Manual

Yealink Yealink SIP-T46G User manual

Yealink

Yealink Yealink SIP-T46G User manual

Yealink T42G User manual

Yealink

Yealink T42G User manual

Yealink One Talk W78B User manual

Yealink

Yealink One Talk W78B User manual

Yealink SIP-T57W User manual

Yealink

Yealink SIP-T57W User manual

Yealink Yealink SIP-T20P User manual

Yealink

Yealink Yealink SIP-T20P User manual

Yealink T33G User manual

Yealink

Yealink T33G User manual

Yealink Yealink SIP-T20P User manual

Yealink

Yealink Yealink SIP-T20P User manual

Yealink MP52 User manual

Yealink

Yealink MP52 User manual

Yealink Telkom W52P User manual

Yealink

Yealink Telkom W52P User manual

Yealink W79P Assembly instructions

Yealink

Yealink W79P Assembly instructions

Yealink Yealink SIP-T48G User manual

Yealink

Yealink Yealink SIP-T48G User manual

Yealink W70B DECT User manual

Yealink

Yealink W70B DECT User manual

Yealink One Talk CP960 User manual

Yealink

Yealink One Talk CP960 User manual

Yealink Yealink SIP-T46G User manual

Yealink

Yealink Yealink SIP-T46G User manual

Yealink Yealink SIP-T42G User manual

Yealink

Yealink Yealink SIP-T42G User manual

Yealink Yealink SIP-T48G User manual

Yealink

Yealink Yealink SIP-T48G User manual

Yealink Yealink SIP-T20P Original operating instructions

Yealink

Yealink Yealink SIP-T20P Original operating instructions

Yealink T57 User manual

Yealink

Yealink T57 User manual

Popular IP Phone manuals by other brands

AudioCodes 400HD Series User's and Administrator's manual

AudioCodes

AudioCodes 400HD Series User's and Administrator's manual

ATCOM AT820 series user manual

ATCOM

ATCOM AT820 series user manual

Aastra 6735i user guide

Aastra

Aastra 6735i user guide

New Rock Technologies NRP1004 Series user manual

New Rock Technologies

New Rock Technologies NRP1004 Series user manual

Escene SayHi CC800 user manual

Escene

Escene SayHi CC800 user manual

Polycom SoundPoint Product reference guide

Polycom

Polycom SoundPoint Product reference guide

cetis 3300IP user manual

cetis

cetis 3300IP user manual

Grandstream Networks Enterprise IP Phone Guide

Grandstream Networks

Grandstream Networks Enterprise IP Phone Guide

Allworx 9102 user guide

Allworx

Allworx 9102 user guide

ooma IP Phone quick start guide

ooma

ooma IP Phone quick start guide

GAI-Tronics ACC2500 User and installation manual

GAI-Tronics

GAI-Tronics ACC2500 User and installation manual

Hybertone EP-8201 user manual

Hybertone

Hybertone EP-8201 user manual

Grandstream Networks GRP2670 Quick installation guide

Grandstream Networks

Grandstream Networks GRP2670 Quick installation guide

Cisco 6941 - Unified IP Phone Slimline VoIP quick start guide

Cisco

Cisco 6941 - Unified IP Phone Slimline VoIP quick start guide

Escene ES282-PC Quick operation guide

Escene

Escene ES282-PC Quick operation guide

Cypress Communications 1120 user guide

Cypress Communications

Cypress Communications 1120 user guide

Eaton FernTel IP4 user manual

Eaton

Eaton FernTel IP4 user manual

Binatone Smart 63 instructions

Binatone

Binatone Smart 63 instructions

manuals.online logo
manuals.online logoBrands
  • About & Mission
  • Contact us
  • Privacy Policy
  • Terms and Conditions

Copyright 2025 Manuals.Online. All Rights Reserved.