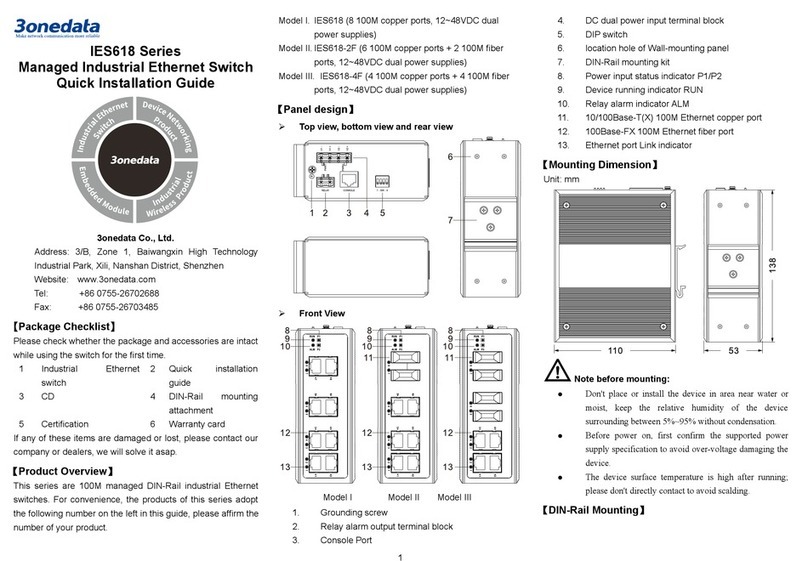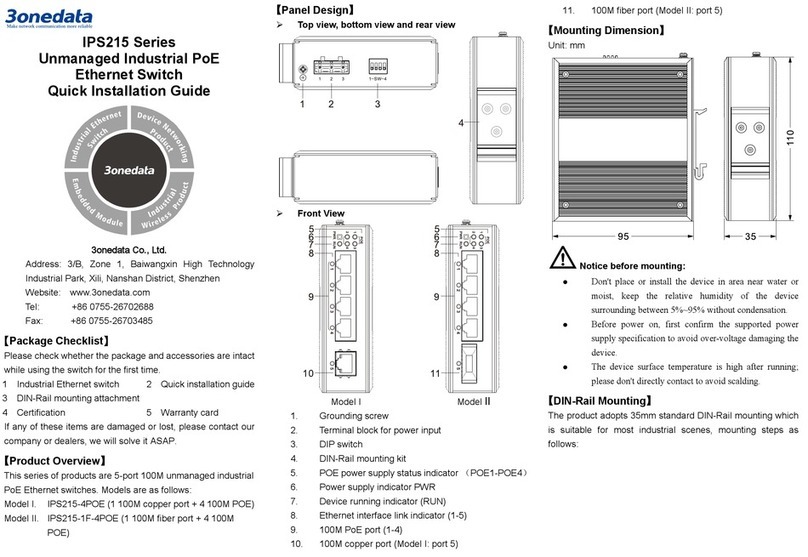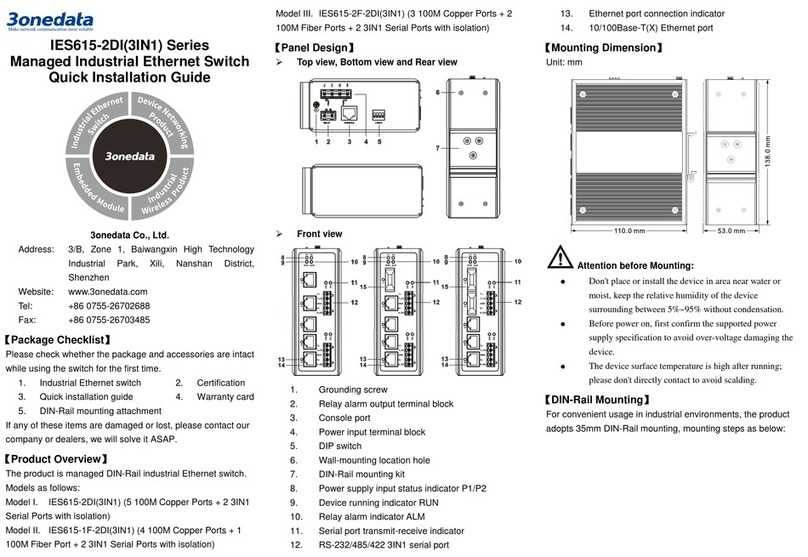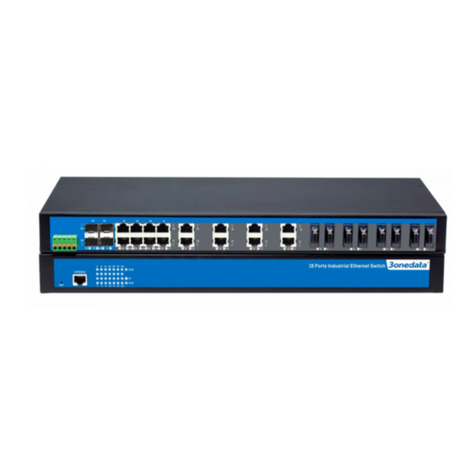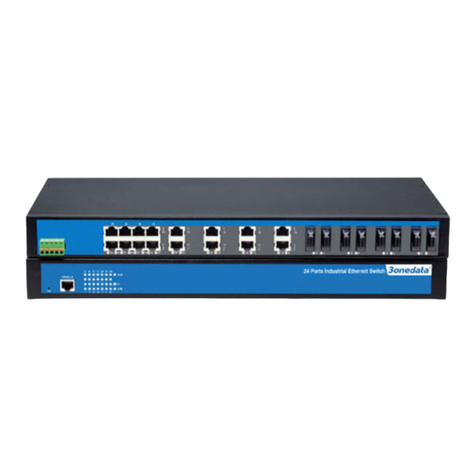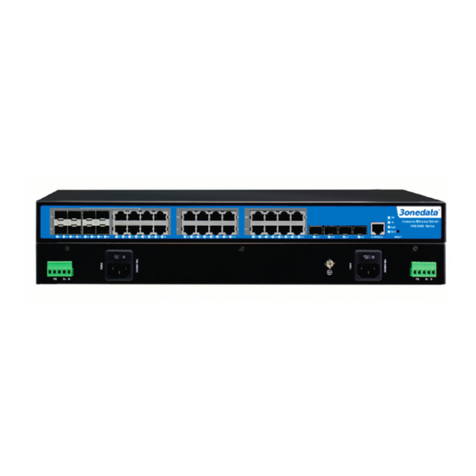
Check and confirm the product is firmly installed onStep 4
the rack, then mounting ends.
【Disassembling Device】
Device power off.Step 1
Unscrew the fixed mounting lug screw on the rack.Step 2
Shift out the device from rack, disassembling ends.Step 3
Notice before power on:
Power ON operation: First insert the power supply
terminal block into the device power supply interface,
and then plug the power supply plug contact and power
on.
Power OFF operation: First, remove the power plug,
and then remove the wiring section of terminal block.
Please pay attention to the above operation sequence.
【Power Supply Connection】
110VDC power supply
This series of devices
provide two independent DC
power supply systems, P1
and P2, which support
reverse connection protection and power redundancy backup.
Power interface adopts 8-pin 5.08mm pitch terminal blocks
(includes 6-pin power supply), pin definition are shown as
above. Power supply input range: 110VDC (66~156VDC).
【Relay Connection】
This device adopts 8-pin
5.08mm pitch terminal
blocks and supports 1 relay
alarm output, the relay occupies 2 pins, pin definition is shown
as above. R1 and R2 are a group of normally open contacts of
the device alarm relay, which is open in normal no-alarm state
and closed when any alarm information appears. For example,
they are closed when powered off, and send out alarm. The
relay supports the output of DC power supply alarm
information or network abnormality alarm. It can be connected
to alarm light or alarm buzzer or other switching value
collecting devices, which can timely inform operators when
the alarm occurs.
【Console Port Connection】
The series products provide 1 program
debugging port based on RS232 serial port which
can conduct device CLI command management
after connecting to PC. The interface adopts RJ45 port, the
pin definition as follows:
【Communication Interface Connection】
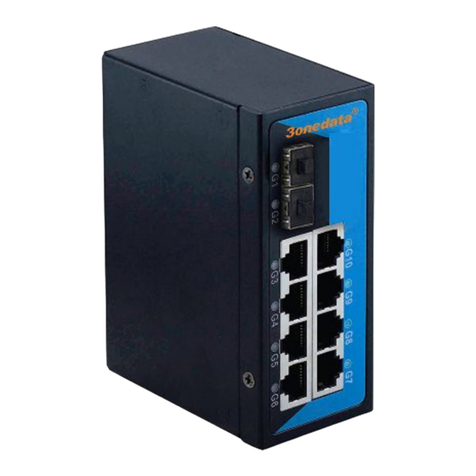
100M M12 Interface
Model II of the device provides 8 10/100Base-T(X)
interfaces, the interface type is M12 D-Coded 4-Pin
slot (female). The definitions of M12 pin are as
follows:
Pin No.
Definition
Description
1 TX+ Positive send data of 100M Ethernet
2 RX+ Positive receive data of 100M Ethernet
3 TX- Negative send data of 100M Ethernet
4 RX- Negative receive data of 100M Ethernet
Gigabit M12 interface
This Series device provides 4 or 12
10/100/1000Base-T(X) interfaces, the interface
type is M12 X-Coded 8-Pin slot (female). The
definitions of M12 pin are as follows:
Pin No. Definition Description
Pin No. Definition Description
1 D0+ (DA+) Positive bi-directional data of
Gigabit Ethernet group 1
2 D0- (DA-) Negative bi-directional data of
Gigabit Ethernet group 1
3 D1+ (DB+) Positive bi-directional data of
Gigabit Ethernet group 2
4 D1- (DB-) Negative bi-directional data of
Gigabit Ethernet group 2
5 D3+ (DD+) Positive bi-directional data of
Gigabit Ethernet group 4
6 D3- (DD-) Negative bi-directional data of
Gigabit Ethernet group 4
7 D2- (DC-) Negative bi-directional data of
Gigabit Ethernet group 3
8 D2+ (DC+) Positive bi-directional data of
Gigabit Ethernet group 3
【Checking LED Indicator】
The device provides LED indicators to monitor the device
working status with a comprehensive simplified
troubleshooting; the detailed status of each LED is described
in the table as below:
P1/P2
ON P1/2 is connected and running
OFF P1/2 is disconnected and
ALM
ON Power supply or port link has
OFF Power supply or port link has no
RUN
ON The device is powered on or the
OFF The device is powered off or the
