manuals.online logo
Brands
  1. Home
  2. •
  3. Brands
  4. •
  5. ABB
  6. •
  7. Circuit Breaker
  8. •
  9. ABB Emax Use and care manual

ABB Emax Use and care manual

Other manuals for Emax

3

This manual suits for next models

1

Other ABB Circuit Breaker manuals

ABB XT7 User manual

ABB

ABB XT7 User manual

ABB SACE Emax 2 E2.2 User manual

ABB

ABB SACE Emax 2 E2.2 User manual

ABB DCBreak Series Programming manual

ABB

ABB DCBreak Series Programming manual

ABB SACE Emax 2 E6.2 manual 

ABB

ABB SACE Emax 2 E6.2 manual 

ABB FH200A User manual

ABB

ABB FH200A User manual

ABB Infinity S User manual

ABB

ABB Infinity S User manual

ABB SACE Emax 2 User manual

ABB

ABB SACE Emax 2 User manual

ABB DS 261 User manual

ABB

ABB DS 261 User manual

ABB XT7 User manual

ABB

ABB XT7 User manual

ABB Tmax T7 Manual

ABB

ABB Tmax T7 Manual

ABB ReliaMod RMS212522LRLR User manual

ABB

ABB ReliaMod RMS212522LRLR User manual

ABB Tmax MIR-V User manual

ABB

ABB Tmax MIR-V User manual

ABB VD4 36 Quick guide

ABB

ABB VD4 36 Quick guide

ABB VM1 User manual

ABB

ABB VM1 User manual

ABB SACE Emax 2 Product manual

ABB

ABB SACE Emax 2 Product manual

ABB SACE Emax User manual

ABB

ABB SACE Emax User manual

ABB SACE Emax 2 User manual

ABB

ABB SACE Emax 2 User manual

ABB SACE Emax 2 User manual

ABB

ABB SACE Emax 2 User manual

ABB VD4 Series User manual

ABB

ABB VD4 Series User manual

ABB VHK-R Installation and operating instructions

ABB

ABB VHK-R Installation and operating instructions

ABB Tmax RC222 T4 User manual

ABB

ABB Tmax RC222 T4 User manual

ABB SACE Emax 2 E2.2 User guide

ABB

ABB SACE Emax 2 E2.2 User guide

ABB Sace Emax UL Listed Manual

ABB

ABB Sace Emax UL Listed Manual

ABB AKD-5 User manual

ABB

ABB AKD-5 User manual

Popular Circuit Breaker manuals by other brands

Siemens 3VT9524-4TG30 quick start guide

Siemens

Siemens 3VT9524-4TG30 quick start guide

Acrel ASCB1 Series Installation and operation manual

Acrel

Acrel ASCB1 Series Installation and operation manual

Eaton NOVA LBS 15 Installation and operation instructions

Eaton

Eaton NOVA LBS 15 Installation and operation instructions

Siemens SIRIUS 3RV1742 Original operating instructions

Siemens

Siemens SIRIUS 3RV1742 Original operating instructions

WEG FHU ACW125 installation instructions

WEG

WEG FHU ACW125 installation instructions

TERASAKI NHP TemBreak PRO P160 Series installation instructions

TERASAKI

TERASAKI NHP TemBreak PRO P160 Series installation instructions

Siemens Sentron 3VA9157-0PK1 Series operating instructions

Siemens

Siemens Sentron 3VA9157-0PK1 Series operating instructions

hager TS 303 User instruction

hager

hager TS 303 User instruction

ETI EFI-4B Instructions for mounting

ETI

ETI EFI-4B Instructions for mounting

Gladiator GCB150 Installation instruction

Gladiator

Gladiator GCB150 Installation instruction

nader NDM3EU-225 operating instructions

nader

nader NDM3EU-225 operating instructions

Eaton 50DHP-VR Instruction handbook

Eaton

Eaton 50DHP-VR Instruction handbook

Gewiss 90 RCD Installation

Gewiss

Gewiss 90 RCD Installation

OEZ LFN Instructions for use

OEZ

OEZ LFN Instructions for use

Eaton Power Defense PDG2 Instruction leaflet

Eaton

Eaton Power Defense PDG2 Instruction leaflet

Bticino L4412CM2 quick start guide

Bticino

Bticino L4412CM2 quick start guide

OEZ 3VA9-RS-4VBH1 Installation, service and maintenance instructions

OEZ

OEZ 3VA9-RS-4VBH1 Installation, service and maintenance instructions

Siemens PSR Instructions, Installation, Operation, Maintenance

Siemens

Siemens PSR Instructions, Installation, Operation, Maintenance

manuals.online logo
manuals.online logoBrands
  • About & Mission
  • Contact us
  • Privacy Policy
  • Terms and Conditions

Copyright 2025 Manuals.Online. All Rights Reserved.

(1)
Direct replacement Emax / Emax 2
Прямая замена Emax/Emax 2
Retrofitting between Emax and Emax 2
Замена Emax на Emax 2
ATTENTION!
The instructions in this retrofit kit refer to circuit-
breakers designed for racking in/out operations
with the switchgear door closed.
ВНИМАНИЕ!
Указания по данному комплекту для замены
автоматических выключателей касаются
аппаратов, вкатываемых и выкатываемых
при закрытых дверцах НКУ.
This retrofit kit has been designed for replacing
800A to 6300A Emax E1 — E6 air circuit– breakers
withdrawable version. It allows an Emax 2 circuit-
breaker of the same size, as indicated in table A, to
be racked into the fixed part of Emax.
Этот комплект предназначен для замены
воздушных автоматических выключателей
Emax E1–E6 с номинальным током от 800
до 6300 А выдвижного исполнения. Он
позволяет вставить в неподвижную часть
от Emax автоматический выключатель Emax 2
того же размера в соответствии с табл. A.
Table A — Табл. A
Emax 2
800 1000 1250 1600 2000 2500 3200 4000 5000 6000
Emax
E1B E2.2B* E2.2B* E2.2B* E2.2B * Use Rating plug
* Используйте модуль
номинального тока
E1N E2.2N E2.2N E2.2N E2.2N
E2B E2.2B E2.2B
E2N E2.2N E2.2N E2.2N E2.2N
E2S E2.2S E2.2S E2.2S E2.2S E2.2S ** Derating 3800A
** Снижение
номинального тока
до 3800 A
E3N E4.2N* E4.2N
E3S E4.2H* E4.2H* E4.2H* E4.2H* E4.2H* E4.2H
E3H E4.2V* E4.2V* E4.2V* E4.2V* E4.2V* E4.2V* E4.2V
E3V E4.2V* E4.2V* E4.2V
E4S E4.2V**
E4H E4.2V E4.2V**
E4V E4.2V E4.2V**
E6H E6.2H E6.2H E6.2H
E6V E6.2V E6.2V E6.2V
(2)
It is guaranteed the total matching of the electrical
characteristics (rated current, excluding derating
indicated in the table, and breaking capacity) only if
the choice is taken according to what stated in the
ABB's technical catalogues, relevant to the
retrofitting products.
Such kit have been designed also to preserve the
auxiliary circuits and insertion/extraction operations
functionality of the old circuit breaker, without the
need of any modifications on the switchgear active
parts.
Полное совпадение электрических
характеристик (номинального тока, кроме
указанных в таблице случаев его снижения,
и отключающей способности) гарантируется
только при выборе с учетом технических
каталогов ABB по соответствующим изделиям
для замены.
Данный комплект также предусматривает
сохранение вспомогательных цепей и устройств
и функцию вкатывания/выкатывания старого
автоматического выключателя и не требует
никаких изменений активных частей НКУ.
IMPORTANT!
Retrofitting allows an obsolete control and
protection device to be replaced without altering the
original design data of the existing switchgear. In
the case of the new circuit breaker with major rated
data values, the retrofitting kits are dimensioned
and certificated for the old device performances.
For any further question please contact ABB.
ВАЖНО!
Такая модернизация позволяет заменить
устаревший аппарат управления и защиты
на новый без изменения исходных проектных
параметров имеющегося НКУ. Если
номинальные параметры нового
автоматического выключателя больше,
то комплекты для замены можно подобрать
и сертифицировать под параметры старого
аппарата.
За разъяснениями обращайтесь в компанию
A
BB.
ATTENTION!
Instructions regarding the retrofitting kit assembling
are not intended as replacement of the installation
and maintenance manuals of the Emax 2 new
circuit breaker.
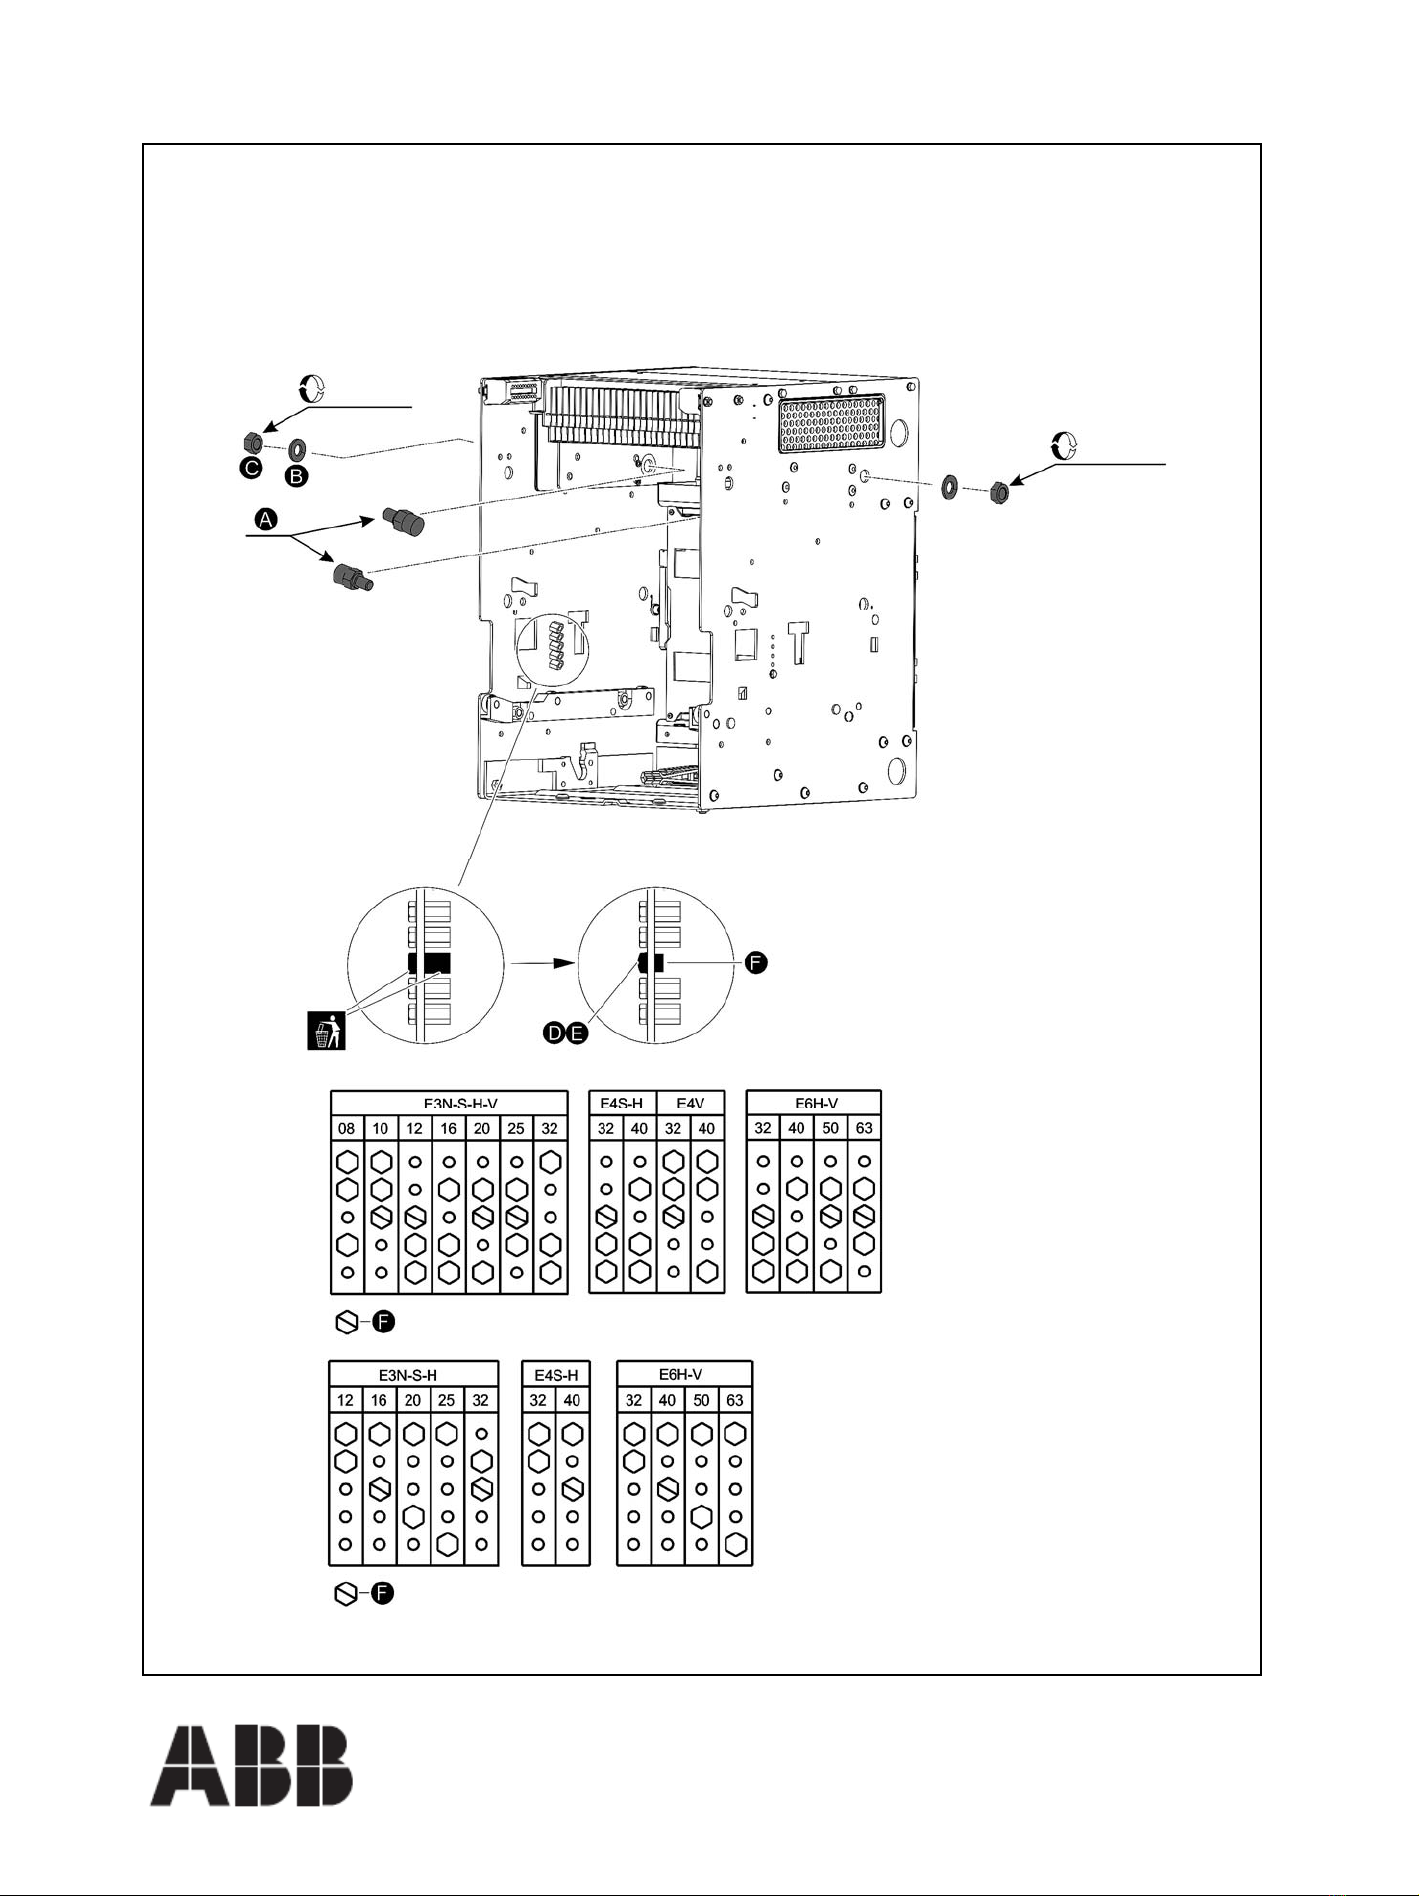
Consult the equivalent circuit diagram
1SDM000004A1001 to make sure that the auxiliary
circuits in the kit correspond to those of the
obsolete circuit– breaker.
In case of mismatch please contact ABB.
ВНИМАНИЕ!
Указания по монтажу комплекта для замены
не заменяют собой инструкцию по установке
и техническому обслуживанию нового
автоматического выключателя Emax 2.
По электрической схеме 1SDM000004A1001
убедитесь, что вспомогательные цепи
комплекта соответствуют цепям старого
автоматического выключателя.
При их несоответствии обратитесь в ABB.
MAKING THE SYSTEM SAFE
To ensure the safety of the personnel responsible
for installing the kit, it is essential that you comply
scrupulously with the following recommendations
before taking any action to replace the circuit
breaker:
-place the switchboard housing the circuit breaker
out of service; -bring the circuit breaker to replace
into the open position, with the springs unloaded; -
before withdrawing the old device, double check to
ensure that the line has been placed out of service.
Consult document RH0100004 “Installation and
maintenance instructions” for further details.
ОБЕСПЕЧЕНИЕ БЕЗОПАСНОСТИ СИСТЕМЫ
Для обеспечения техники безопасности
персонала, монтирующего комплект,
обязательно тщательно соблюдайте
приведенные ниже рекомендации, прежде чем
приступить к замене автоматического
выключателя:
– выведите из работы панель НКУ, где
установлен этот выключатель;
– переведите заменяемый выключатель
в положение «Отключено» с разряженными
пружинами;
– прежде чем выдвигать старый аппарат,
перепроверьте и убедитесь, что подключенная
к нему линия выведена из работы.
Подробнее см. в «Инструкции по установке
и техническому обслуживанию RH0100004».
(3)
ATTENTION!
The retrofitting kit is guaranteed to operate properly
only if the Emax fixed part is fully intact. Check
according to the indications in 1SDH001279R0002.
ВНИМАНИЕ!
Нормальная работа комплекта для замены
гарантирована только при исправности
неподвижной части Emax. См. указания
документа 1SDH001279R0002.
1
INSERTION AND EXTRACTION OPERATIONS
Before inserting the Emax 2 circuit breaker follow
the installation instructions 1SDH0010000R0002.
– Complete a cycle of no load operations with the
Emax 2 new circuit breaker as indicated in the
installation instructions.
– Verify that the Emax 2 new circuit breaker is in
open position and discharged springs.
ВКАТЫВАНИЕ и ВЫКАТЫВАНИЕ
Прежде чем вставить автоматический
выключатель Emax 2, выполните указания
инструкции по установке 1SDH0010000R0002.
– Выполните цикл переключения нового
выключателя Emax 2 без нагрузки, как указано
в инструкции по установке.
– Убедитесь, что новый автоматический
выключатель Emax 2 находится в положении
«Отключено» и его пружины не взведены.
(4)
2
a) before any operation of insertion o withdraw
open the circuit breaker.
b) circuit breaker (moving part) and fixed part are
provided with a locking device that prevent the
possibility of mismatch between the fixed part and
the circuit breaker with different rated current: the
correct configuration of the fitting locking device
must be controlled by the operator before any
operation, in order to prevent useless stress.
c) the accidental pression of the push-button (1)
(fig. 1) bring to lock the circuit breaker operativity.
DON'T OPERATE THE BUTTON IF NOT
EXPRESSLY REQUIRED. If the push-button (1)
has been accidentally pressed and normal
operating conditions must be restored, move the
moving part to the «test isolated» position and
repeat the described operations in reverse order to
bring the moving part to the «disconnected»
position (point 11).
a) Прежде чем вкатывать или выкатывать
автоматический выключатель, отключите его.
b) Автоматический выключатель (его
выдвижная часть) и неподвижная часть имеют
блокировку. Она не позволяет вставить
в неподвижную часть выключатель с другим
номинальным током. Чтобы исключить
ненужные действия, перед любой операцией
(вставкой/выдвижением) проверьте совпадение
элементов блокировки.
c) Случайное нажатие кнопки (1) (рис. 1)
блокирует автоматический выключатель
и делает его переключение невозможным.
НЕ НАЖИМАЙТЕ ЭТУ КНОПКУ, ЕСЛИ
НЕ УКАЗАНО В ИНСТРУКЦИИ. Чтобы
восстановить нормальную работу после
случайного нажатия кнопки (1), переведите
выдвижную часть в положение TEST
(отсоединенное контрольное положение)
и повторите указанные операции в обратном
порядке, переведя выдвижную часть
в положение DISCONNECT (отсоединен)
(рис. 11).
Fig. 1 Рис. 1 ——————————————————————————————————————
(5)
3
– Dismantle the front plate of the circuit breaker. – Снимите переднюю панель автоматического
выключателя.
Fig. 2 Рис. 2
– Make a hole in the switchboard door, as
necessary.
– Прорежьте необходимый проем в дверце НКУ.
E1 — E2 — E3 — E6 / E2.2 — E4.2 — E6.2 E4/E4.2
– Vertical axis E4.2 3P
– Вертикальная ось 3-полюсного E4.2
– Vertical axis E4.2 4P
– Вертикальная ось 4-полюсного E4.2
– Position the adhesive template on the door and make sure
that the dotted line perfectly matches the aperture on the
door itself.
– Прикрепите к дверце самоклеящийся шаблон,
чтобы пунктирная линия точно совпадала
с проемом на самой дверце.
Fig. 4 Рис. 4
– Door aperture axis
– Ось проема дверцы
X
[mm
/
мм]
Emax 200
Emax2 199
Fig. 3 Рис. 3
– Circuit-breaker's bearing base
– Установочная поверхность
автоматического выключателя
– Vertical axis
– Вертикальная ось – Vertical axis E4
– Вертикальная ось E4
(6)
4
– Cut the door along the unbroken red line and drill
in the position marked by the red holes.
– Сделайте в дверце вырез вдоль сплошной
красной линии и просверлите отверстия
в местах, отмеченных красным цветом.
E1 — E2 — E3 — E6 / E2.2 — E4.2 — E6.2 E4/E4.2
3-ПОЛЮСН. 4-ПОЛЮСН.
Fi
g
. 5 Рис. 5
– If the dotted line on the adhesive template fails to
perfectly match the existing opening in the door, cut
a new door as indicated by the positions of the
axes (X-Y) on the template.
– Если пунктирная линия на самоклеящемся
шаблоне не точно совпадает с имеющимся
в дверце проемом, сделайте вырез в новой
дверце, ориентируясь по осям (X-Y)
на шаблоне.
Fig. 6 Рис. 6
Ø5 mm
Ø 5 мм Ø5 mm
Ø 5 мм
Ø5 mm
Ø 5 мм
Ø5 n°14 holes
14 отверстий Ø 5 мм
(7)
5
– Assemble the dust-guard flange of the compartement door.
–
Установите пыленепроницаемый фланец дверцы отсека НКУ.
E1 — E2 — E3 — E6 / E2.2 — E4.2 — E6.2
Fi
g
. 7 Рис. 7 Е4/Е4.2
1 Nm
1 Нꞏм
1 Nm
1 Нꞏм 1 Nm
1 Нꞏм
2Nm
2 Нꞏм
(8)
6
– Fit the pins (A) and, if present, replace the components (D-E-F) as shown in the figure 8
–
Вставьте штифты
(
A
)
и, если есть, замените элементы
(
D-E-F
)
, как показано на рис. 8
Fig. 8 Рис. 8
40 Nm
40 Нꞏм
40 Nm
40 Нꞏм
New Emax
Новый Emax
(Old) Emax
(Старый) Emax
(9)
7
A) Switching from the «removed» position to the
«racked out» position
A) Перевод из извлеченного в выкаченное
положение
Lift the moving part and fit it into the guides of the
fixed part, tilting it as shown in fig. 9. The circuit–
breakers should be lifted by lift truck. Use of ropes
is, however, permitted.
Поднимите выдвижную часть и с наклоном
установите ее на направляющие неподвижной
части, как показано на рис. 9. Поднимать
автоматический выключатель следует тележкой
с подъёмной платформой. Однако можно
пользоваться и тросами.
The Direct Replacement retrofitting kit (fig. 9) has
supports (1) allowing it to be lifted.
На комплекте для прямой замены (рис. 9)
имеются подъемные пластины с проушинами
(1).
Fig. 9 Рис. 9 ————————————————————————————————————————
The manual plug-in operation must allow the
mechanical stop to be exceeded (x) (fig. 10).
Вставка выключателя вручную позволяет
обойти механический упор (x) (рис. 10).
Fig. 10 Рис. 10 ———————————————————————————————————————
Remove lifting plates once the moving part has
been housed in «racked out» position.
После перевода выдвижной части в выкаченное
положение снимите подъемные пластины.
(10)
8
B) Switching from the “racked out” position to the
«disconnected» position.
B) Перевод из выкаченного положения
в положение DISCONNECT (отсоединен).
Push the moving part through to the stop point in
the «disconnected» position (1).
In this position, the compartment door can be i
closed and the circuit-breaker operated in the
manual mode (fig. 11).
Нажав на выдвижную часть, вставьте ее
до упора в положении DISCONNECT (1).
В этом положении дверца отсека НКУ может
быть закрыта, и автоматическим выключателем
оперируют вручную (рис. 11).
Fig. 11 Рис. 11 ———————————————————————————————————————
PUSH
BEFORE
OPERATING
НАЖАТЬ
ПЕРЕД
ОПЕРИРОВАНИЕМ
CONNECT
ПОДСОЕДИНИТЬ
TEST
ТЕСТ
DISCONNECT
ОТСОЕДИНИТЬ