manuals.online logo
Brands
  1. Home
  2. •
  3. Brands
  4. •
  5. Arregui
  6. •
  7. Safe
  8. •
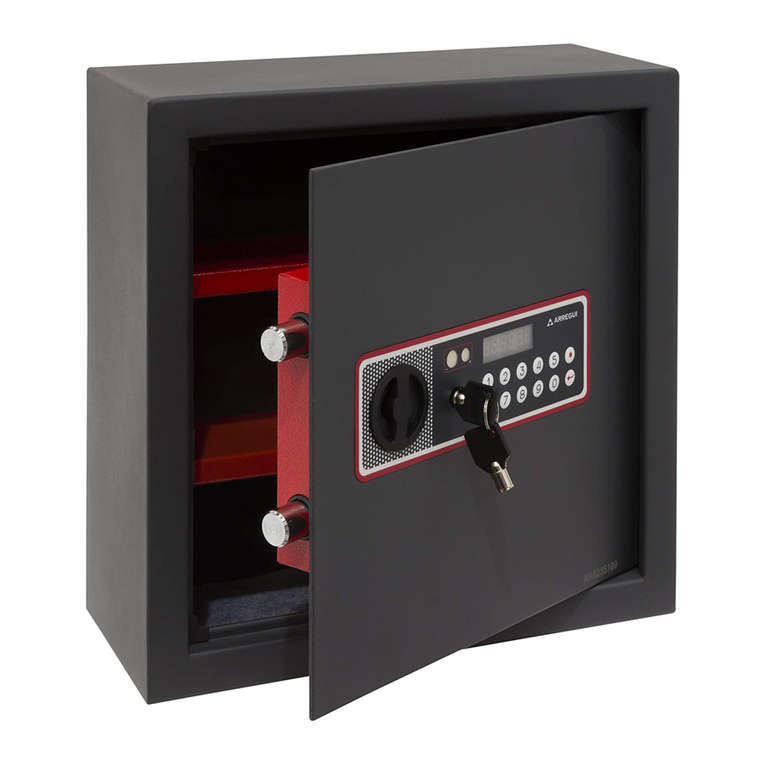
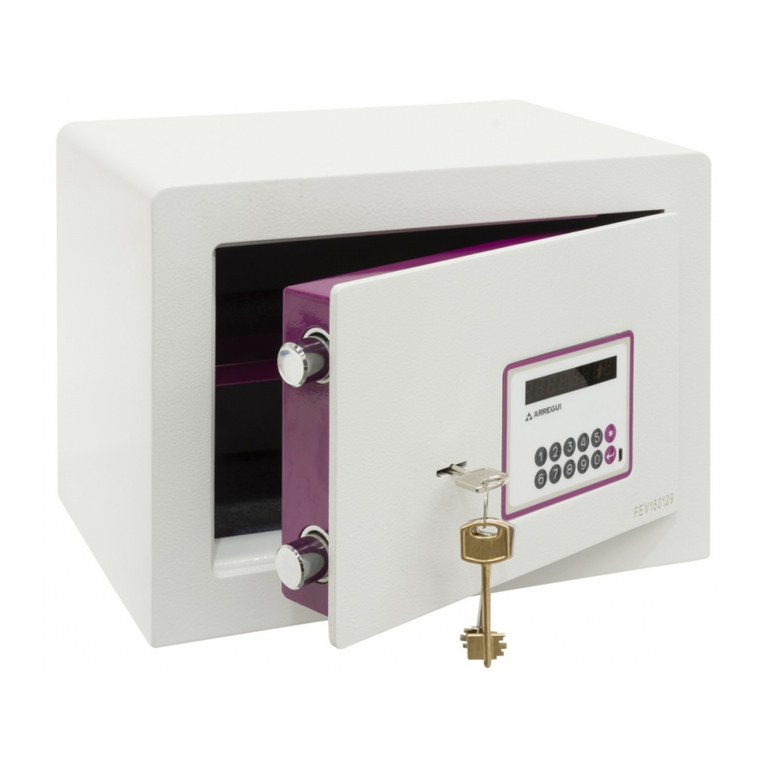
  9. Arregui FORMA EVOLUTION Instruction Manual

Arregui FORMA EVOLUTION Instruction Manual

stick the serial no.
FORMA
EVOLUTION
<ES> Manual de instrucciones y garantía de la caja fuerte FORMA EVOLUTION.
(Electrónica + llave)
<EN> Instruction manual and guarantee for the FORMA EVOLUTION safe.
(Electronic + key)
<IT> Manuale di istruzioni e garanzia della cassaforte FORMA EVOLUTION.
(Elettronica + chiave)
<PT> Manual de instruções e garantia da caixa forte FORMA EVOLUTION.
(Electrónica + chave)
<FR> Manuel d’instructions et garanties du coffre-fort FORMA EVOLUTION.
(Électronique + clé)
<EL> ΟΔΗΓΙΕΣ ΛΕΙΤΟΥΡΓΙΑΣ ΓΙΑ ΤΑ ΧΡΗΜΑΤΟΚΙΒΩΤΙΑ FORMA EVOLUTION.
(Ηλεκτρονικά + κλειδί)
A5 instrucciones FORMA EVOLUTION.indd 1 16/12/16 12:45
<EN>
Datos de identificación
Nombre del distribuidor .........................................................
Fecha de la venta ....................................................................
Nombre del comprador ...........................................................
Domicilio del comprador ........................................................
Datos de identificación de la caja fuerte
Modelo ..........................................................................................
Número de serie .......................................................................
• To open the safe for the first time, see Point 1:
“Initial opening”.
• For subsequent safe opening, type in one of the
opening codes which the safe has available, and
then turn the knob. The initial factory-set user code
is 1234, and the super-user code is 123456.To learn
how to open and close the safe, see Point 2: 2.
“Safe opening and closing”.
• For security reasons, it is necessary to change
the initial codes from the Factory setting user
and super-user codes and key in the numbers you
choose. The new codes may have between 3 and 8
digits. To learn how to change the codes, see Point
3. “Changing opening codes”.
• Top activate the delay function, see Point: 4.
“Screen and sound setting configuration
adjustments”.
• For other setting adjustments, see Point: 5.
“Emergency opening”
• In the event of any anomaly, such as batteries
discharging, for example, the safe has an external
power outlet available by means of a micro USB
connector; see Point: 6.” Use of the external feed”.
In any case, to avoid drainage of the batteries, please
see Point: 7. “Battery level indicator”. In the event
that the batteries become drained and you wish to
replace them, see Point 8. “Replacement of the
batteries”.
• Identification of the safe is done through the serial
number to be found on the front of the door and on
the cover of these instructions, which you will need
in order to request emergency openings, or spare
parts, etc…
Proceed with the safe opening in the following manner:
• Insert the emergency key (gold colored), which you’ll
find in the envelope, in the lock.
• Give a half-turn towards the right (in a clockwise
direction)
• Now give a half-turn towards the left (in an anti-
clockwise direction), returning to the initial position,
and take out the key.
• Insert the user key (silver-colored) and give it two
half-turns to the right. Open the safe.
For proper functioning the safe requires 4 x alkaline
batteries 1,5V (AA), which are placed in the battery
holder situated at the rear part of the door. To put
them in place, open the lid on the battery carrier and
insert batteries as per the diagram which you’ll find
inside. Once completed, the electronic system will be
activated.
To close the safe, simply make a half-turn towards the
left (in an anti- clockwise direction).
WORKING INSTRUCTIONS FOR
FORMA EVOLUTION
1. INITIAL OPENING
• Introduce the user key (silver-plated) into the lock
• Press the key, the keyboard will show “--------“
• Type in your opening user- or super- user code. The
screen will continue showing the digits as you type
them. If you make a mistake and type in a mistaken
code, you can type in the code again just by typing
the key again.
• Press the enter key. If the code typed is correct
a long beep will sound and the screen will display
“OPEN” for 5 seconds. Give the knob two half-turns
to the right (clockwise) to open the safe. If the code
typed is incorrect, 4 short beeps will sound and
the screen will display “ERROR 1”. In this event, start
the process again. “ERROR 2” will show if the screen
starts to wander again. The box allows a maximum
of 5 mis-entered attempts before displaying “ERROR
5”, before blocking new attempts for 5 minutes as a
security measure. During this period, the keypad will
be locked and the screen will display the “LOCKED
5” message, indicating that a 5-minute blockage is
in place. If any key is touched during the 5 minute
blocking period, the Word LOCKED will appear on
screen followed by a number which indicates the
number of minutes of blockage remaining (“LOCKED
4”, “LOCKED 3”…). Once the last minute has been
entered, there will be a 60-second countdown.
• To close the box simply turn the knob to the left (in
an anti-clockwise direction).
2. OPENING AND CLOSING OF THE
SAFE
A5 instrucciones FORMA EVOLUTION.indd 5 16/12/16 12:45
<EN>
There is an envelope supplied along with these
instructions which contains two user keys (silver-
plated) and an emergency key (gold-colored) and an
external feed for 4 AA batteries with a micro USB
connector.
In the event that you don’t remember the user or
super-user codes, or if the box is suffering from a
malfunction, such as its batteries discharging, etc.,
then you can open the box by means of the emergency
key. To do this, go ahead as follows:
• Insert the (gold-colored) emergency key, which you
will find within the envelope in the lock.
4.1. Adjusting the screen
If it is not desirable for access codes to be seen on
screen, then proceed in the following manner:
• Hit the key
• Introduce code 33
• Hit the enter key
Every time a digit is introduced on screen, it will be
represented by . To de-activate this option, repeat
the same procedure.
4.2. Adjustments to the sound volume
This function allows sound volume settings to be
configured in the strong boxes at 4 different levels of
intensity. For this you have to:
• Hit the key
• Introduce code 66
• Hit the enter key
• Introduce the sound volume intensity required, on a
scale of 0 to 3. Hit the enter key.
»0 – there is no sound. The screen will display
“SOUNDOFF”
»Sound level 1. The screen will display “SOUND 1”
»Average sound level 2. The screen will display
“SOUND 2”
»Maximum sound level 3. The screen will display
“SOUND 3”
The box has two opening codes available, a user code
and super-user code. Initially the codes are 1234 for
the user code, and 123456 for the super-user code.
To change the user code, proceed in the following
manner:
• Open the box and don’t close it until the procedure
is complete
• Press the button located inside the box. The box will
emit a long whistle and the screen will display the
“NEW CODE” message.
• Introduce the new code from 3 to 8 digits and
confirm by pressing the enter key. The screen
will display the “AGAIN” message.
• Introduce the new code and confirm with the
enter key. The box will emit a long acceptance beep,
and the screen will display the “U-CODE R” message,
to indicate that it has been registered.
To change the super-user code, proceed in the
following manner:
• Open the box and don’t close it until the procedure
is complete.
• Hit the key.
• Hit the 8 key.
• Press the button located inside the box. The box
will emit a long beep and the screen will display the
“S-CODE” message.
• Introduce the current super-user code and confirm
via the enter key. If the code is entered correctly
the box will give off a long confirmation beep and
will display the “NEW CODE” message. If incorrectly
entered the screen will display the “ERROR”
message, and the process will have to be started
again.
• Introduce a new super-user code of 3 to 8 digits
and confirm with the enter key. The screen will
display the “AGAIN” message.
• Introduce the super-user code again, and confirm
with the enter key. The box will emit a long
acceptance beep and the screen will display
the “S-CODE R” message, to indicate that it has
registered.
5. EMERGENCY OPENING
4. ADJUSTMENTS TO THE SCREEN AND
SOUND VOLUME
3. CHANGING THE OPENING CODES
A5 instrucciones FORMA EVOLUTION.indd 6 16/12/16 12:45
<EN>
• Make a half-turn to the right (in a clockwise direction)
• Now make a half-turn towards the left (in an anti-
clockwise direction), returning to the initial point of
departure, and then remove the key.
• Insert the (silver-plated) user key and give it two
half-turns to the right, and open the safe.
To carry out an opening with the external feed,
proceed in the following manner:
• Place 4 x 1,5V (AA) batteries in the external feed.
• Insert the feed connector in the current outlet
located on the lower left of the keypad. The box
will emit a long beep, indicating that it has a feed
connection. Do not remove the feeder until the
opening procedure has been completed.
• As soon as “--------“shows on screen, open the box
normally.
Should you not have an external AA battery feed to
hand that ARREGUI provides, you can use any external
lithium battery with a micro USB connector.
Each time the key is tapped to go ahead with using
the strong box, the electronic system checks the state
of the batteries. If the batteries are at a high level, the
box will function normally. If on the other hand the
batteries are low, the box will display the “LO-BAT”
message on screen. The box is designed to be able to
carry out several openings even when the batteries are
low, but even so ARREGUI recommends changing the
batteries as soon as the box indicates it is necessary.
If you wish to find out the state of the batteries, you
may tap the enter key with the box switched off;
the system will carry out checks on the condition of
the batteries, and will display the “HI-BAT” sign if the
battery levels are normal, and “LO-BAT” if it is low.
Open the box in the usual manner and take off the lid
of the battery carrier stored on the inside of the door.
Replace the installed batteries with 4 new alkaline
Batteries, of type 1,5V (AA).
6. USING THE EXTERNAL BATTERY
FEED
7. INDICATORS OF THE STATE OF THE
BATTERY
8. REPLACING THE BATTERIES
The safe is guaranteed for a period of 24 months from the date
of its purchase, as established by the Law 23/2003 dated July
10th on Guarantees in the Sale of Consumer Goods.
ABSS accepts the responsibility for lacks of approval declared
within a period of two years in the event of any manufacturing
fault which affects the functioning of the safe from the date of
its delivery, according to the law. As from the first 12 months,
the buyer must prove that the non-conformity already existed
at the moment he received the safe.
The faults produced as a result of an improper use or insta-
llation, an excess of humidity or salinity, water or cement fil-
trations, force, the handling of the devices by non-authorized
persons, disasters, impacts and falls are excluded from the
guarantee.
The repair or substitution of any part due to a fault implies a
6-month extension to the guarantee of the part repaired or
substituted. ABSS will accept the responsibility for the non-
conformities that caused this repair when the same factory
faults that caused the first repair are repeated.
IMPORTANT:
• These details must be completed as clearly as possible and
without delay by the supplier, who will stamp and sign on be-
half of his company in the place indicated.
• Thecerticateremainsinthepossessionofthepurchaser.
• ThepurchasermustkeeptheRECEIPTforthepurchaseofthe
safe, together with the GUARANTEE CERTIFICATE to be able
to accredit the date of purchase. Both documents are neces-
sary to use the guarantee.
GUARANTEE CERTIFICATE
Identity details
Name of the supplier ..............................................................
Date of sale ................................................................................
Name of purchaser ..................................................................
Address of purchaser .............................................................
Identifying details of the safe
Model ........................................................................................
Series number .......................................................................
SUPPLIER’S STAMP
A5 instrucciones FORMA EVOLUTION.indd 7 16/12/16 12:45

Other manuals for FORMA EVOLUTION

1

Other Arregui Safe manuals

Arregui FORZA Instruction Manual

Arregui

Arregui FORZA Instruction Manual

Arregui Sua 410070 User manual

Arregui

Arregui Sua 410070 User manual

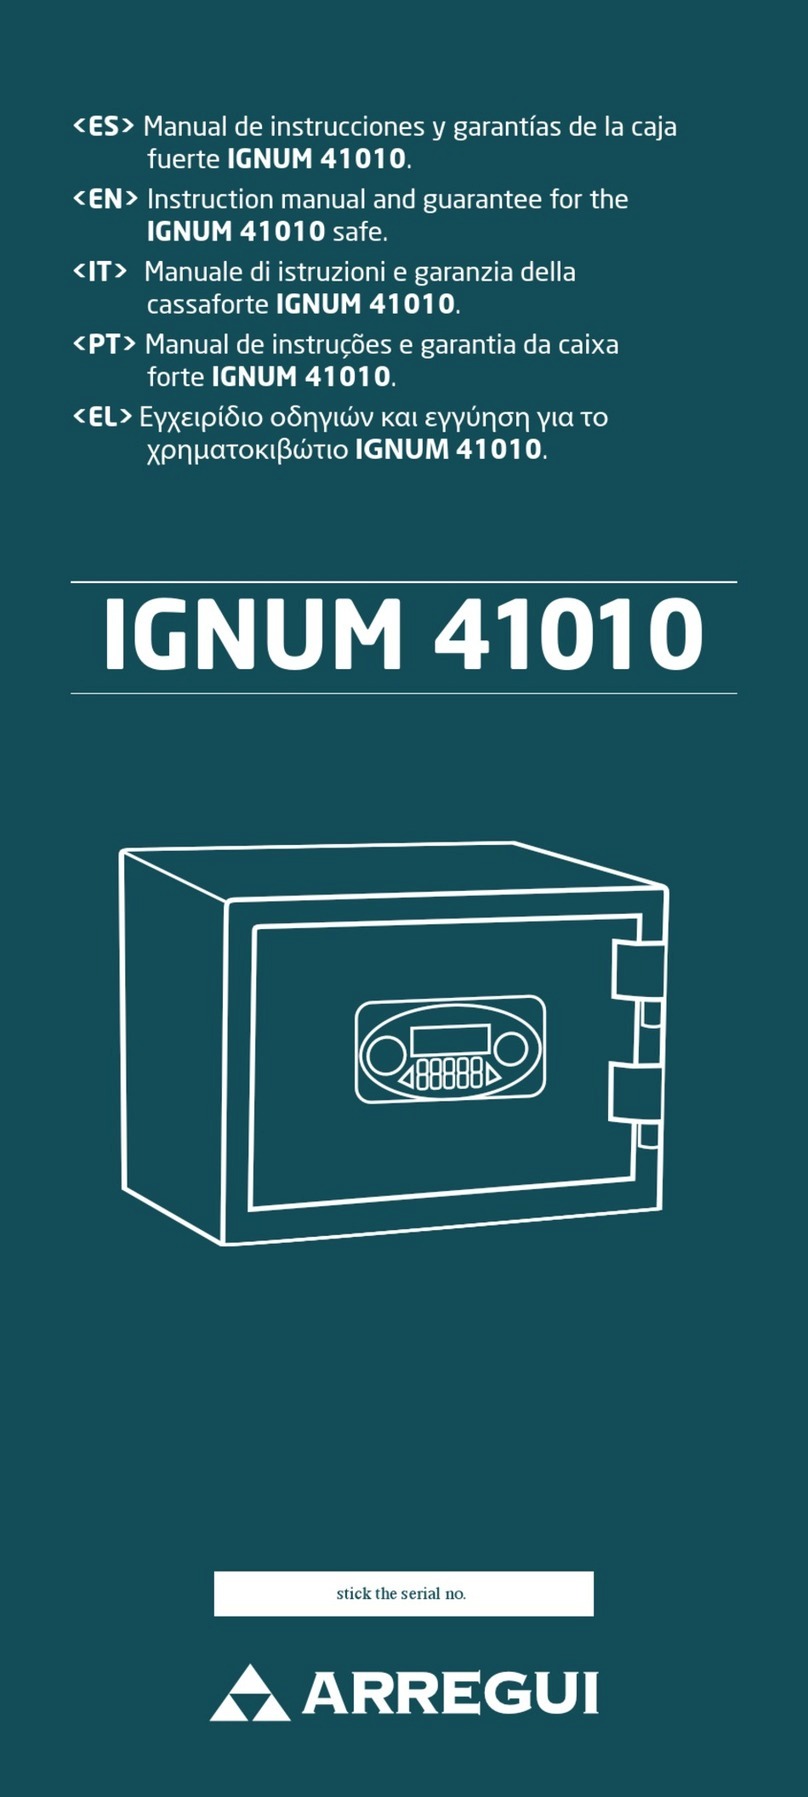
Arregui IGNUM 41010 Instruction Manual

Arregui

Arregui IGNUM 41010 Instruction Manual

Arregui AWA User manual

Arregui

Arregui AWA User manual

Arregui Print 140520 User manual

Arregui

Arregui Print 140520 User manual

Arregui SUMA User manual

Arregui

Arregui SUMA User manual

Arregui BASA User manual

Arregui

Arregui BASA User manual

Arregui PLUS C User manual

Arregui

Arregui PLUS C User manual

Arregui STYLO User manual

Arregui

Arregui STYLO User manual

Arregui IGNUM Series Instruction Manual

Arregui

Arregui IGNUM Series Instruction Manual

Arregui Supra User manual

Arregui

Arregui Supra User manual

Arregui Domus DL User manual

Arregui

Arregui Domus DL User manual

Arregui PREMIER User manual

Arregui

Arregui PREMIER User manual

Arregui RESIST Instruction Manual

Arregui

Arregui RESIST Instruction Manual

Arregui Supra 240090 User manual

Arregui

Arregui Supra 240090 User manual

Arregui TITAN 12000-S1 Instruction Manual

Arregui

Arregui TITAN 12000-S1 Instruction Manual

Arregui Supra User manual

Arregui

Arregui Supra User manual

Arregui FORMA Instruction Manual

Arregui

Arregui FORMA Instruction Manual

Arregui ECO RESORT User manual

Arregui

Arregui ECO RESORT User manual

Arregui INTACT 17000 Instruction Manual

Arregui

Arregui INTACT 17000 Instruction Manual

Arregui RESIST Instruction Manual

Arregui

Arregui RESIST Instruction Manual

Arregui Premier 16501-S0 Instruction Manual

Arregui

Arregui Premier 16501-S0 Instruction Manual

Arregui FORMA EVOLUTION Instruction Manual

Arregui

Arregui FORMA EVOLUTION Instruction Manual

Arregui COVER Instruction Manual

Arregui

Arregui COVER Instruction Manual

Popular Safe manuals by other brands

Night Owl Smart Safe NCS-03WFB Quick setup guide

Night Owl

Night Owl Smart Safe NCS-03WFB Quick setup guide

Tracker Safe TS08-GRY Owner user and care guide

Tracker Safe

Tracker Safe TS08-GRY Owner user and care guide

Burg Wächter FireProtec FP 44 E user manual

Burg Wächter

Burg Wächter FireProtec FP 44 E user manual

First Alert ANTI THEFT SAFE 2074EF Operations & installation guide

First Alert

First Alert ANTI THEFT SAFE 2074EF Operations & installation guide

Burg Wächter MTD 34-38 F60 Aassembly Instructions

Burg Wächter

Burg Wächter MTD 34-38 F60 Aassembly Instructions

Conrad W25LB operating instructions

Conrad

Conrad W25LB operating instructions

Phoenix SPECTRUM LS6000 operating instructions

Phoenix

Phoenix SPECTRUM LS6000 operating instructions

Homak HS40221120 Owner's Manual and Operating Instructions

Homak

Homak HS40221120 Owner's Manual and Operating Instructions

AMSEC EST712 Important operating instructions

AMSEC

AMSEC EST712 Important operating instructions

Challenge 701-5359 Operating manual instructions

Challenge

Challenge 701-5359 Operating manual instructions

Mesa MH101 operating instructions

Mesa

Mesa MH101 operating instructions

Masterlock L1200 Instructions for use

Masterlock

Masterlock L1200 Instructions for use

SereneLife SLSFKEY25 user manual

SereneLife

SereneLife SLSFKEY25 user manual

Phoenix FIRE COMMANDER FS1910E operating instructions

Phoenix

Phoenix FIRE COMMANDER FS1910E operating instructions

Hard Head 006043 operating instructions

Hard Head

Hard Head 006043 operating instructions

Union 57039 Owner's manual & safety instructions

Union

Union 57039 Owner's manual & safety instructions

Buffalo UBSAFE GHT Series manual

Buffalo

Buffalo UBSAFE GHT Series manual

SPORTS AFIELD HAVEN Series instruction manual

SPORTS AFIELD

SPORTS AFIELD HAVEN Series instruction manual

manuals.online logo
manuals.online logoBrands
  • About & Mission
  • Contact us
  • Privacy Policy
  • Terms and Conditions

Copyright 2025 Manuals.Online. All Rights Reserved.