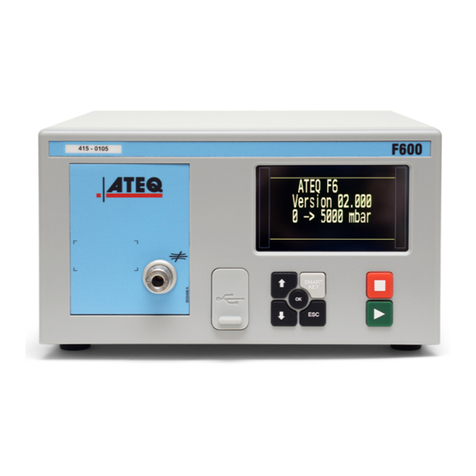
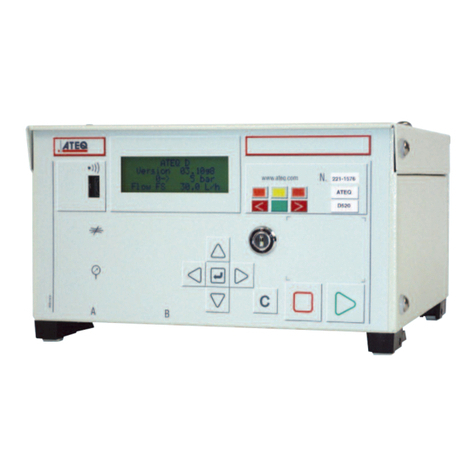
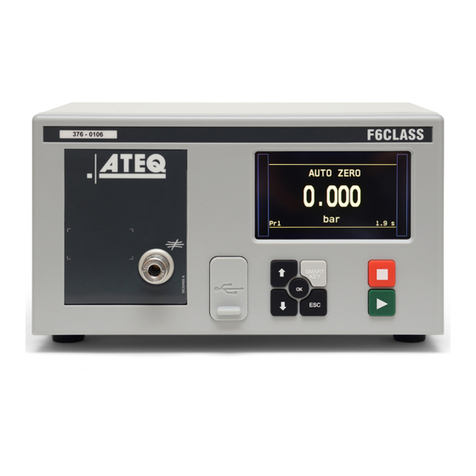
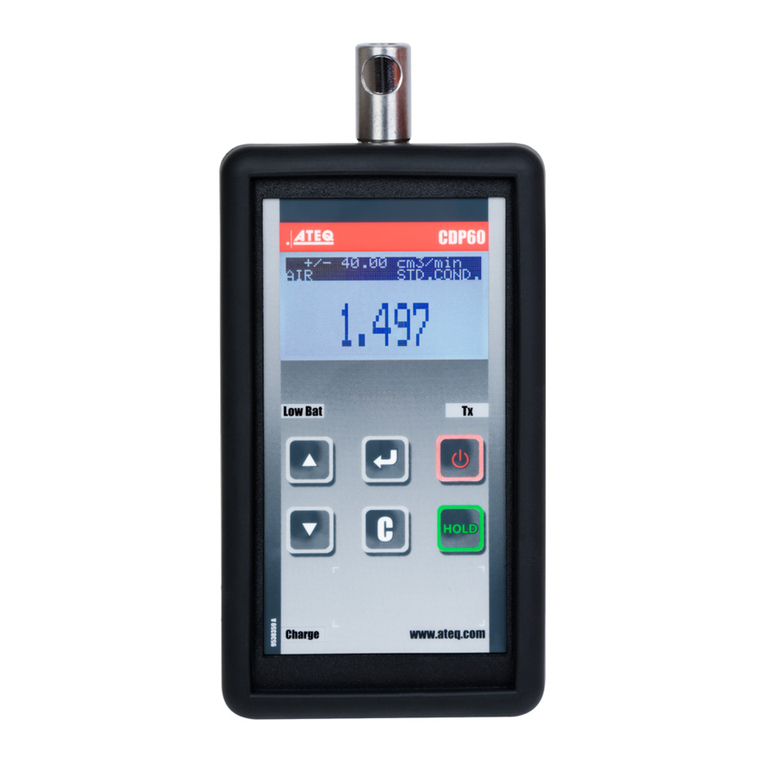
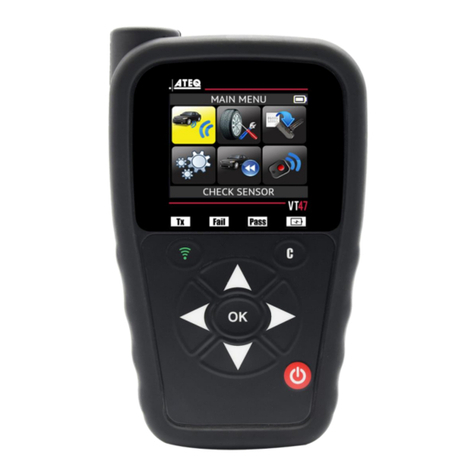
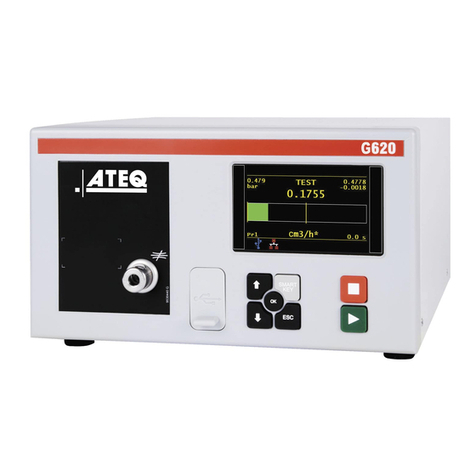
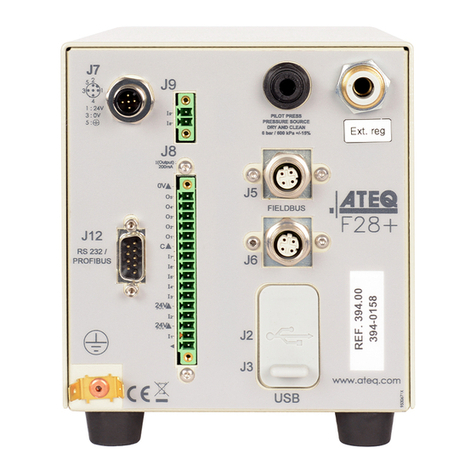
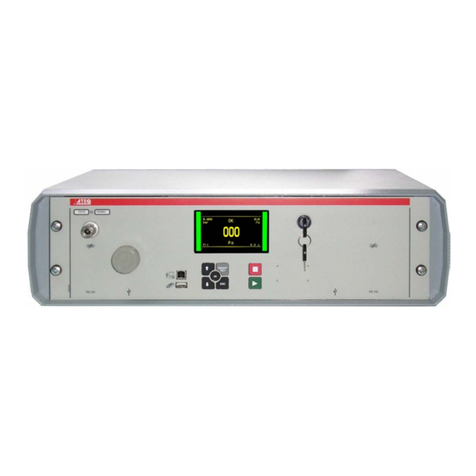
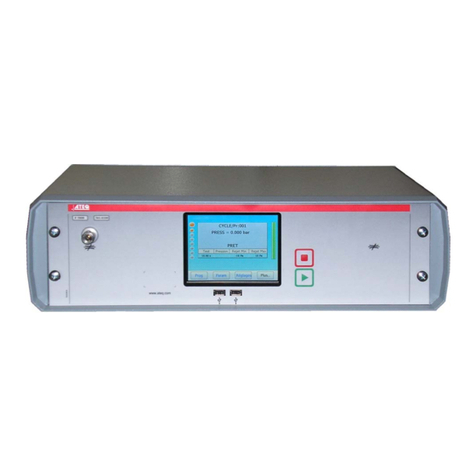
ATEQ D6 Series User manual

D6/ERD6 Series – CC-Link
Manual

1 / 93
FG_D6_CCLINK_EN_02 / 2020-06-17
Table of Contents
Safety advisory / Warranty
Good practices and safety instructions..........................................................................................3
Preamble
Introduction .................................................................................................................................4
Basic notions................................................................................................................................5
Hardware installation
Hardware configuration................................................................................................................7
Cabling.........................................................................................................................................8
Configuration of the ATEQ device (slave)
Setup of the CC-Link configuration mode......................................................................................9
Setup of the station address....................................................................................................... 11
Setup of the communication speed............................................................................................. 12
Setup of the output mode .......................................................................................................... 13
Configuration of the master
Configure the MELSEC board as master.......................................................................................14
Describe the slaves to the master ............................................................................................... 16
Download the configuration to the master .................................................................................18
Verification................................................................................................................................. 19
Functional description of an ATEQ device
Introduction ...............................................................................................................................20
Write table and read mode......................................................................................................... 21
Configuration .............................................................................................................................50
Cycle .......................................................................................................................................... 75
Results ....................................................................................................................................... 80
SLMP Parameters ....................................................................................................................... 92

FG_D6_CCLINK_EN_02 / 2020-06-17
2 / 93
ATEQ Manufacturer Plants –Measurement Solution, Global Leader
ATEQ
15, rue des Dames, Z.I.
78340 LES CLAYES-SOUS-BOIS
FRANCE
info@ateq.com
ateq.com
T.: +33 1 30 80 1020
F.: +33 1 30 54 1100
ATEQ K.K.
3 –41 ATEQ Building, Ikehata
Chiryu-city, Aichi-pref
JAPAN
info@ateq.co.jp
ateq.co.jp
T.: +81 566-84-4670
F.: +81 566-84-4680
ATEQ China
98 Jian Peng Lu
Shanghai
CHINA
shanghai@ateq.com.cn
ateq.com.cn
T.: +86 21 6763 9508
F.: +86 21 6763 9528
ATEQ SYSTEMS ANALYSIS TAIWAN CO.,
LTD.
NO. 3, LAN 223, San Jia Dong Street
40642, TAICHUNG
TAIWAN
ateqtaiwan@ateq.com.tw
ateq.com.tw
T.: +886 4 2437 5278
F.: +886 4 2437 3675
ATEQ CORP.
35980 Industrial Road Suite L
Livonia MI 48150
UNITED STATES
leaktest@atequsa.com
atequsa.com
T.: +1 734-838-3100
F.: +1 734-838-0644
We continuously work on improving our products. This is why inforamtion contained in this manual,
the device and the technical specifications may be modified without prior notification.
Pictures and figures in this manual are non contractual

3 / 93
FG_D6_CCLINK_EN_02 / 2020-06-17
Safety advisory / Warranty
GOOD PRACTICES AND SAFETY INSTRUCTIONS
Safety recommendations
If the device is supplied with 100 / 240 V AC, it is mandatory to connect it to the ground with a good
link to the ground, to protect against electric hazard or electrocution.
It is dangerous to change the status of the outputs.
They can control power actuators or other equipment (mechanical, pneumatic, hydraulic, electrical or
other) which can cause serious personal injury and damage to surrounding material.
For safety and quality measurement reasons, it is important, before powering on the device, to ensure
that it is air supplied with a minimum operating pressure (0.6 MPa ± 15%).
Recommendations for the test environment
Keep the test area as clean as possible.
Recommendations for operators
ATEQ recommends that the operators who use the devices have training and a level of qualification
that correspond to the job to perform.
General recommendations
—
Read the user manual before using the device.
—
All electrical connections to the device must be equipped with safety systems (fuses, circuit
breakers, etc.) adapted to the needs and in accordance with the applicable standards and rules.
—
To avoid electromagnetic interference, electrical connections to the device must be shorter than 2
meters.
—
Power supply plug must be grounded.
—
Disconnect the device from the mains before performing any maintenance work.
—
Shut off the compressed air supply when working on the pneumatic assembly.
—
Do not open a connected device.
—
Avoid splashing water on the device.
ATEQ is at your disposal for any information concerning the use of the device under maximum safety
conditions.
We draw your attention to the fact that ATEQ cannot be held responsible for any accident related to
a misuse of the measuring instrument, the workstation or non-compliance of the installation with
safety rules.
In addition, ATEQ declines any responsibility for the calibration or the fitting of their instruments that
is not done by ATEQ.
ATEQ also declines any responsibility for any modification (program, mechanical or electrical) of the
device done without their written consent.

FG_D6_CCLINK_EN_02 / 2020-06-17
4 / 93
Preamble
INTRODUCTION
This manual intends to help you for the configuration and the use of your ATEQ D6/ERD6 device on
the CC-Link network.
For more information on your ATEQ equipment, refer to the Quick Start Manual.

5 / 93
FG_D6_CCLINK_EN_02 / 2020-06-17
BASIC NOTIONS
The numerical values used in the ATEQ device are coded on a Long format.
ATEQ devices are configured in Little Endian format. It means that the Least Significant Byte is sent
first on the network.
Word
A word is a 16-bit data. It is coded with two bytes (8bits):
—
The first byte is the Least Significant Byte ( LSB )
—
The second byte is the Most Significant Byte ( MSB )
Example of a word:
Reminder: “h” indicates a hexadecimal code, “(d)” indicates a decimal code.
Long format (Signed Double word)
A Long format data is coded with two words (of 16 bits).
In the memory range of the ATEQ device or when they are transmitted, both words are coming in the
following order:
—
The first word is the least significant word
—
The second word is the most significant word
—
Example of a Long format:
Address value
All address values are treated with the Long format.
Example –address of the “millibar” unit in the Unit table (see Unit table):

FG_D6_CCLINK_EN_02 / 2020-06-17
6 / 93
Numerical value
All the numerical values are treated with the Long format with fixed comma (10-3).
Thus, their value is expressed in thousandths of unit. So, this value must be multiplied by 1000 to get
the value in units.
For example, a value of 207055 represents 207.055. So, any numerical value must be divided by 1000
to get the real value:
—
207.055 = 207055 ÷ 1000
Example –Pressure:
Negative numerical value
All the negative numerical values are treated with Signed long format with fixed comma (10-3).
Thus, they must be multiplied by 1000 to get the value in units.
Example –Leak value (signed long):

7 / 93
FG_D6_CCLINK_EN_02 / 2020-06-17
Hardware installation
Connect your ATEQ equipment to the CC-Link network using its CC-Link connectors and compatible
cables.
HARDWARE CONFIGURATION
Your device has a CC-Link internal board and two CC-Link connectors.
The CC-Link internal board is located inside your device.
Your device has two M12 D coded type connector –4 pins female connector.
For more information on your ATEQ equipment, refer to the Quick Start Manual.
M12 D coded type connector –4 pins female connector
Pin number
Signal
1
DA (brown)
2
DB (white)
3
DG (blue)
4
SLD (black)

FG_D6_CCLINK_EN_02 / 2020-06-17
8 / 93
CABLING
From slave to master MELSEC board
Cable with male M12 D coded type connector (4pins) and an MELSEC connector (4pins).
Between two slaves
Cable with two male M12 D coded type connector (4pins).
M12
M12
CC-Link network link
T : terminal resistor
between DA & DB
of about 100Ω
SLD
DG
DB
DA

9 / 93
FG_D6_CCLINK_EN_02 / 2020-06-17
Configuration of the ATEQ device
(slave)
Use this procedure to set the configuration mode of your device.
This configuration can be done with the front panel of your ATEQ device or with the ATEQ Fieldbus
Configurator software
SETUP OF THE CC-LINK CONFIGURATION MODE
Five configuration modes are available:
Mode
Configuration
mode
Number of
occupied
station
Extended
cycle
Length
(in bytes)
Use
5
Standard
mode
(6th Serie only)
4
Octuple
368
For the inputs/outputs, real time
measurements, the live cycle results, 21
parameters management, functions and
extended menu bits and extended cycle
results
4
Standard less
mode
3
Octuple
272
For the inputs/outputs, real time
measurements, the live cycle results, 21
parameters management, functions and
extended menu bits
3
Medium more
mode
2
Octuple
176
For the inputs/outputs, the real time
measurements, the live cycle results, 10
parameters management, functions and
extended menu bits
2
Medium
mode
1
Octuple
80
For the inputs/outputs, the real time
measurements and cycle results
1
Light mode
1
Quadruple
40
For the inputs/outputs and the real time
measurements
Number of bytes available for the communication depends on the selected configuration mode.
Therefore, the usable functionalities also depend on it:
WRITE
Mode
Commands
Extended menu bits
Function bits
Parameters
Program name
5
ALL
YES
YES
21
YES
4
ALL
YES
YES
21
YES
3
ALL
YES
YES
10
YES
2
Start, Reset, Auto-zero, Select
Prog, FIFO & Last results
NO
NO
NO
NO
1
Start, Reset, Auto-zero, Select
Prog
NO
NO
NO
NO

FG_D6_CCLINK_EN_02 / 2020-06-17
10 / 93
READ
Mode
Echo / Error
Relay
status
Real time
measurements
Results
Extended
menu
bits
Function
bits
Parameters
Program
name
5
ALL
YES
YES
Extended
YES
YES
21
YES
4
ALL
YES
YES
Standard
YES
YES
21
YES
3
ALL
YES
YES
Standard
YES
YES
10
YES
2
Start, Reset,
Auto-zero,
Select Prog,
FIFO & Last
results
YES
YES
Standard
NO
NO
NO
NO
1
Start, Reset,
Auto-zero,
Select Prog
YES
YES
NO
NO
NO
NO
NO
5th Series:
From the MAIN MENU screen of your ATEQ device go
to
➢CONFIGURATION
➢FIELDBUS
➢MODE
6th Series:
From the MAIN MENU screen of your ATEQ device
go to
➢CONFIGURATION
➢AUTOMATISM
➢FIELDBUS
➢ACCESS

11 / 93
FG_D6_CCLINK_EN_02 / 2020-06-17
SETUP OF THE STATION ADDRESS
Station address goes from 1 to 64.
The station address configured in the ATEQ edvice must be the same as the one provided to the
master.
5th Series:
From the MAIN MENU screen of your ATEQ device
go to
➢CONFIGURATION
➢FIELDBUS
➢ADDRESS
6th Series:
From the MAIN MENU screen of your ATEQ device
go to
➢CONFIGURATION
➢AUTOMATISM
➢FIELDBUS
➢ADDRESS

FG_D6_CCLINK_EN_02 / 2020-06-17
12 / 93
SETUP OF THE COMMUNICATION SPEED
The communication speed can be set to:
—
156 kbits/s
—
625 kbits/s
—
2.5 Mbits/s
—
5 Mbits/s
—
10 Mbits/s
The communication speed configured in the ATEQ device must be the same as the one provided to
the master.
5th Series:
From the MAIN MENU screen of your ATEQ device
go to
➢CONFIGURATION
➢FIELDBUS
➢Speed
6th Series:
From the MAIN MENU screen of your ATEQ device
go to
➢CONFIGURATION
➢AUTOMATISM
➢FIELDBUS
➢Speed

13 / 93
FG_D6_CCLINK_EN_02 / 2020-06-17
SETUP OF THE OUTPUT MODE
The output mode is used to command the output to hold their value or to clear it after being set.
The output modes are:
—
Clear output
—
Hold output
The output mode configured in the ATEQ device must be the same as the one provided to the master.
5th Series:
From the MAIN MENU screen of your ATEQ device
go to
➢CONFIGURATION
➢FIELDBUS
➢HOLD M.
6th Series:
From the MAIN MENU screen of your ATEQ device
go to
➢CONFIGURATION
➢AUTOMATISM
➢FIELDBUS
➢MODE

FG_D6_CCLINK_EN_02 / 2020-06-17
14 / 93
Configuration of the master
For the master configuration, you will use the “MELSEC CC-Link Ver.2 utility” software and a MELSEC
master board put in your computer.
CONFIGURE THE MELSEC BOARD AS MASTER
Open MELSEC CC-Link Ver.2 utility software and go into the Parameter setting tab

15 / 93
FG_D6_CCLINK_EN_02 / 2020-06-17
Put the Sta. No to 0 in order to inform the MELSEC board it will be the master (and not a slave).
Make the Transmission rate correspond to the baud rate of your slaves.
Put the Mode to “Remote net(Ver.2 mode)”.
Make the Input for Err. Sta. correspond to the output mode of your slaves.

FG_D6_CCLINK_EN_02 / 2020-06-17
16 / 93
DESCRIBE THE SLAVES TO THE MASTER
Indicate the number of slaves connected on your CC-Link network in All connect count.

17 / 93
FG_D6_CCLINK_EN_02 / 2020-06-17
Put the Station type of your slaves to “Ver.2 Remote device station”.
Make the Expanded cyclic and the number of Occupied Sta. correspond to the configuration mode of
your slaves.

FG_D6_CCLINK_EN_02 / 2020-06-17
18 / 93
DOWNLOAD THE CONFIGURATION TO THE MASTER
Go into Online operation tab and clock on Write in order to write all the configuration onto the board.

19 / 93
FG_D6_CCLINK_EN_02 / 2020-06-17
VERIFICATION
Go into the Board information tab.
If all your slaves are connected to the master and if the configuration is good, the RUN led will be on
and the Error status will be on “Normal”.
Otherwise the ERR. led will be on and the Error status will indicate “Error” (you can have details on
this error by clicking on the button Details)
Other manuals for D6 Series
2
This manual suits for next models
5
Table of contents
Other ATEQ Test Equipment manuals
Popular Test Equipment manuals by other brands

Omicron
Omicron CPC 100 Reference manual

Arcteq
Arcteq AQ-AST-02 instruction manual

Keysight
Keysight 16048D Operation and service manual

Additel
Additel ADT901B user manual

Toshiba
Toshiba PWU003Z instruction manual

Alcohol Monitoring Systems
Alcohol Monitoring Systems SCRAM Remote Breath Pro Quick reference guide