Installation and Technical Information
BEGA
Due to the dynamic nature of lighting products and the associated technologies, luminaire data on this sheet is subject to change at the discretion of BEGA North America. For the most current technical data, please refer to bega-us.com
BEGA 1000 Bega Way, Carpinteria, CA 93013 (805)684-0533 © copyright BEGA 2021
Figure 2: Flush Mount Detail
Figure 1: Mounting
Overview:
LED Watts: 16.0 W
System Watts: 19.0 W
Controllability: 0-10V, TRIAC, and ELV dimmable
Weight: 11.7 lbs.
Protection Class: IP68
Tools Required:
• 5mm Hex Key
Notice to Installer:
1. See page 2 for specic product safety warnings.
2. A foundation must accommodate the luminaire’s max pressure load of 11,000 lbs.
(5,000 kg.). The pressure load transfers to the foundation provided by the customer
through the housing.
3. The installation housing must be set in concrete for drive over applications.
4. Aggressive chemicals can compromise the luminaire from the surface and avoid
excessive de-icing agents near the luminaire.
5. Do not use power tools to open, close or install xture. Use hand tools only. Failure to
do so can result in incorrect sealing of xture and void warranty.
6. Do not install luminaire housing in heat-insulating material.
7. At least 6’’ of drainage must be provided in the foundation to allow surface water to
drain from the recessed housing.
8. A customer-provided waterproof wiring box is required to connect the luminaire to the
supply power.
9. Luminaire supplied with 7.5 ft. whip leaving the xture.
Installation: Luminaire Back housing
1. Position back housing on the stable foundation; anchor using hardware (by others).
[Figure 1]
2. Finished surface must be level with or slightly below the upper edge of the recessed
housing to guarantee a proper seal of the luminaire faceplate. [Figure 1] [Figure 2]
Installation: Luminaire
1. Feed luminaire wiring into the in-ground wiring box and make connections:
MAIN VOLTAGE SUPPLY WIRE TO BLACK WIRE
NEUTRAL COMMON SUPPLY WIRE TO WHITE WIRE
GREEN GROUND WIRE TO GREEN WIRE
Dimming (0-10V):
DIMMING CONTROL WIRE (+) TO (+) DIM CONTROL WIRE
DIMMING CONTROL WIRE (-) TO (-) DIM CONTROL WIRE
2. Insert the luminaire housing into the outer housing, turn clockwise min. 10° and align
as needed or until luminaire stops.
3. Tighten the screws on luminaire faceplate to secure it in the installation housing
(Torque = 6.5Nm./4.8 ft-lb).
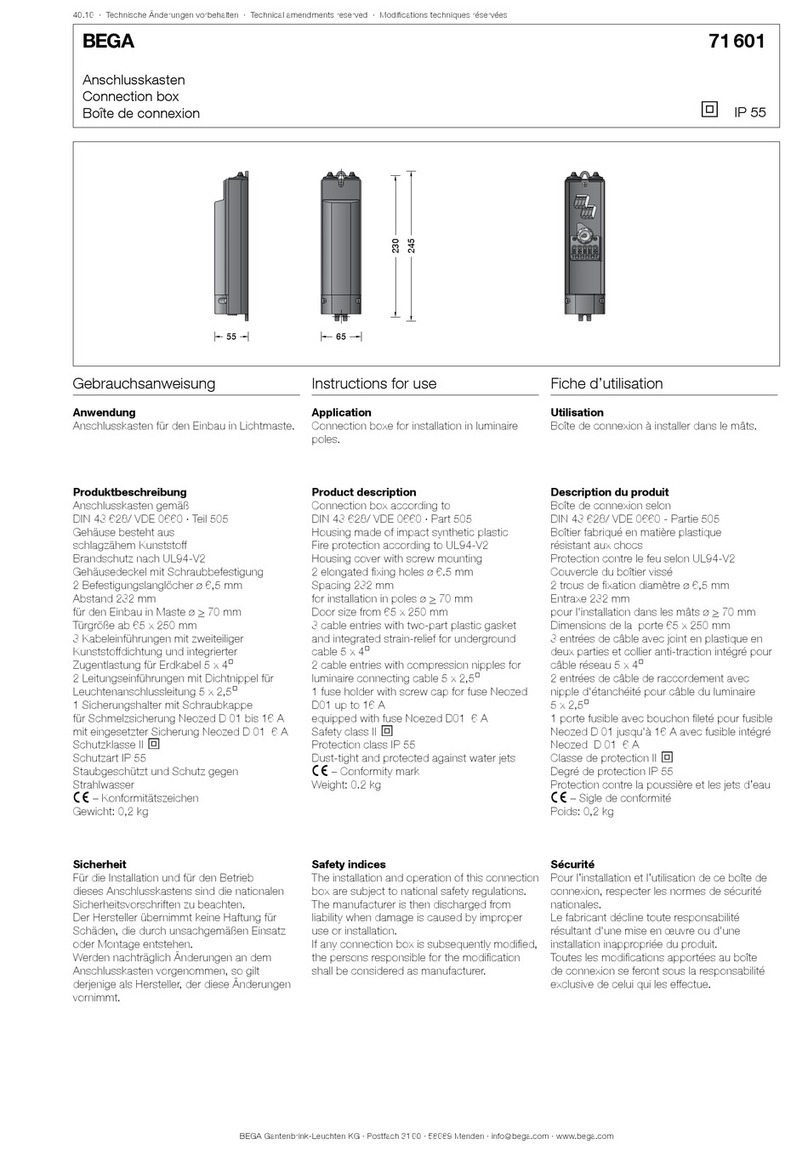
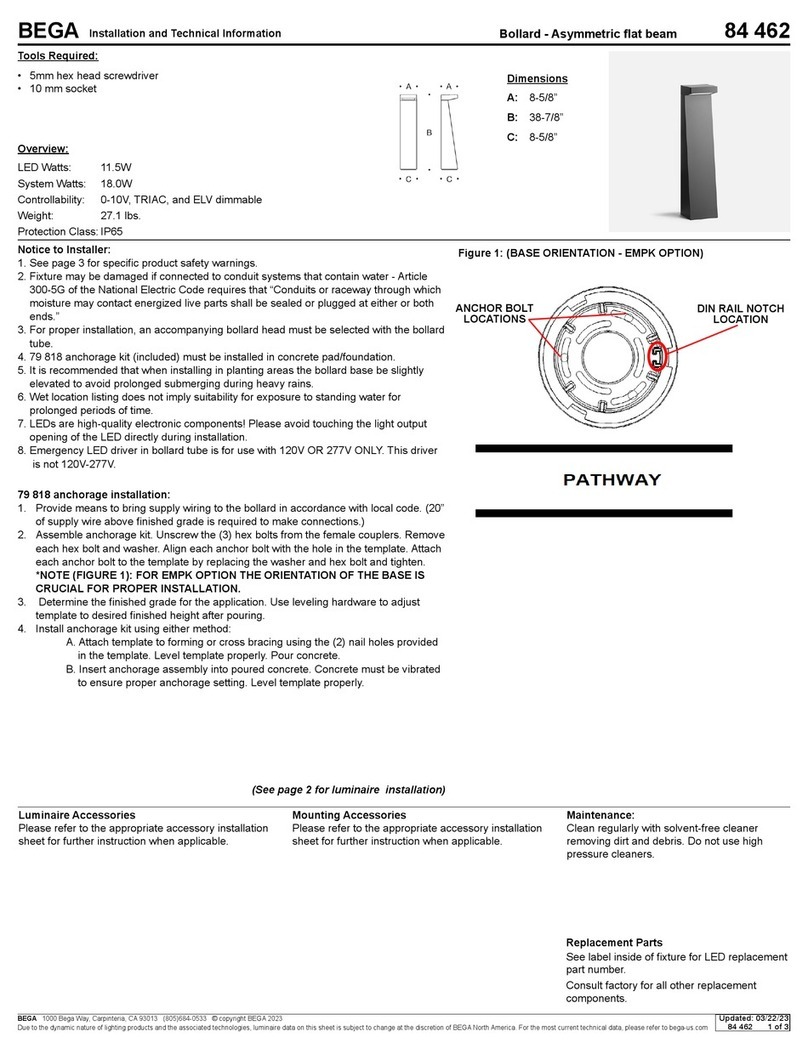
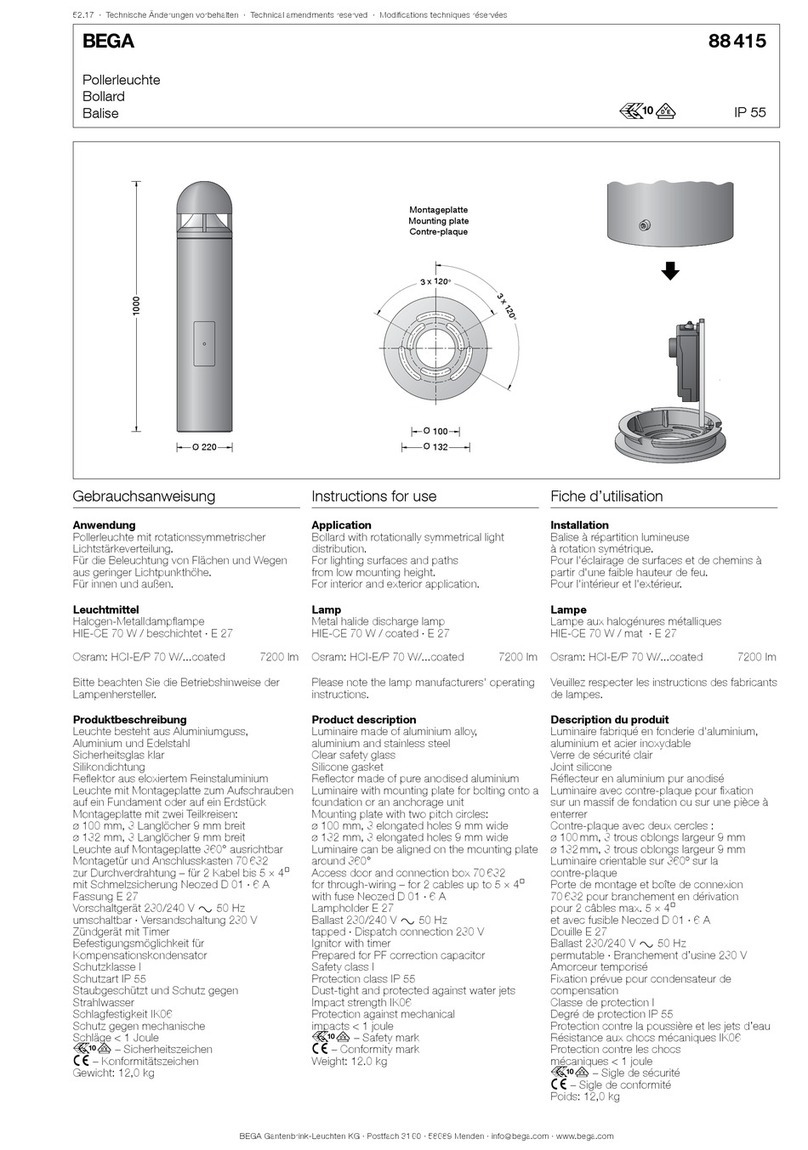
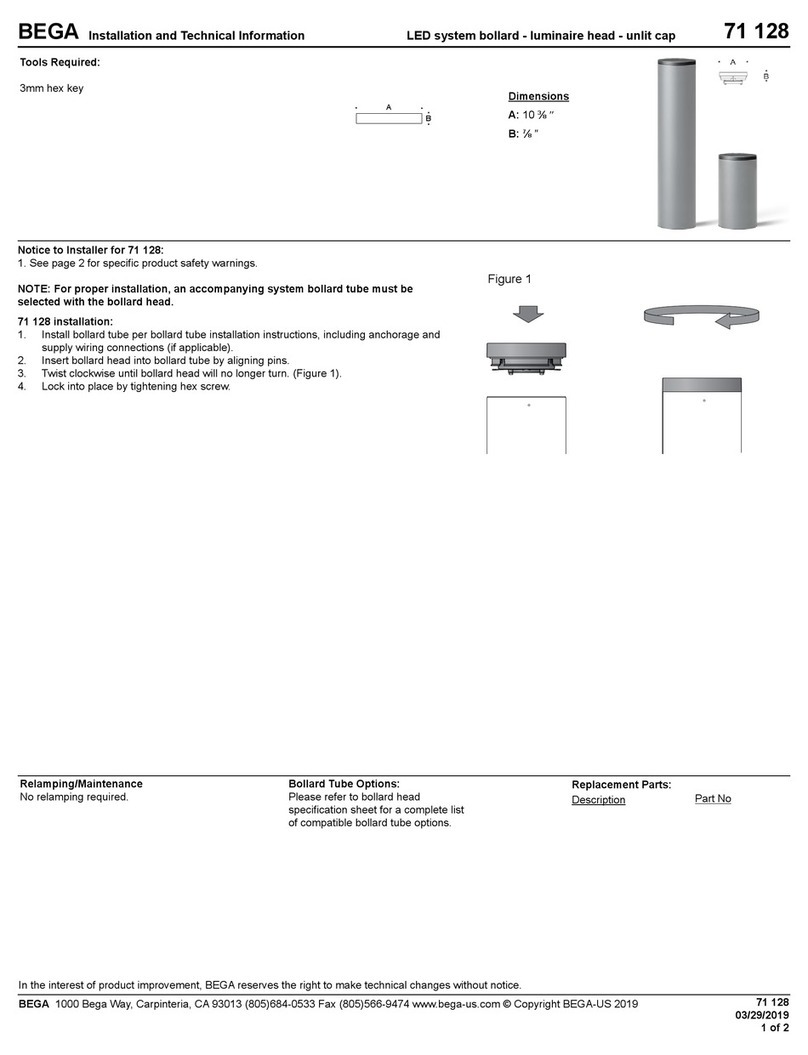
In-grade luminaire - Wall washer 84 299
Dimensions
A: 8 1/8’’
B: 9 7/8’’
C: 8 3/4’’
Maintenance:
Clean regularly with solvent-free cleaner
removing dirt and debris. Do not use high
pressure cleaners.
Replacement Parts
See label inside of xture for LED replacement
part number.
Consult factory for all other replacement
components.
Accessories
Please refer to the appropriate accessory installation
sheet for further instruction when applicable.
Updated: 06/29/21
84 299 1 of 2
BEGA Gantenbrink-Leuchten KG · Postfach 31 60 · 58689 Menden · info@bega.com · www.bega.com
A
BEGA Gantenbrink-Leuchten KG · Postfach 31 60 · 58689 Menden · info@bega.com · www.bega.com
Waterproof wiring box
(by others)
Flush with nished
surface
Drainage area
A
C
B
Mounting hardware
(by others)


