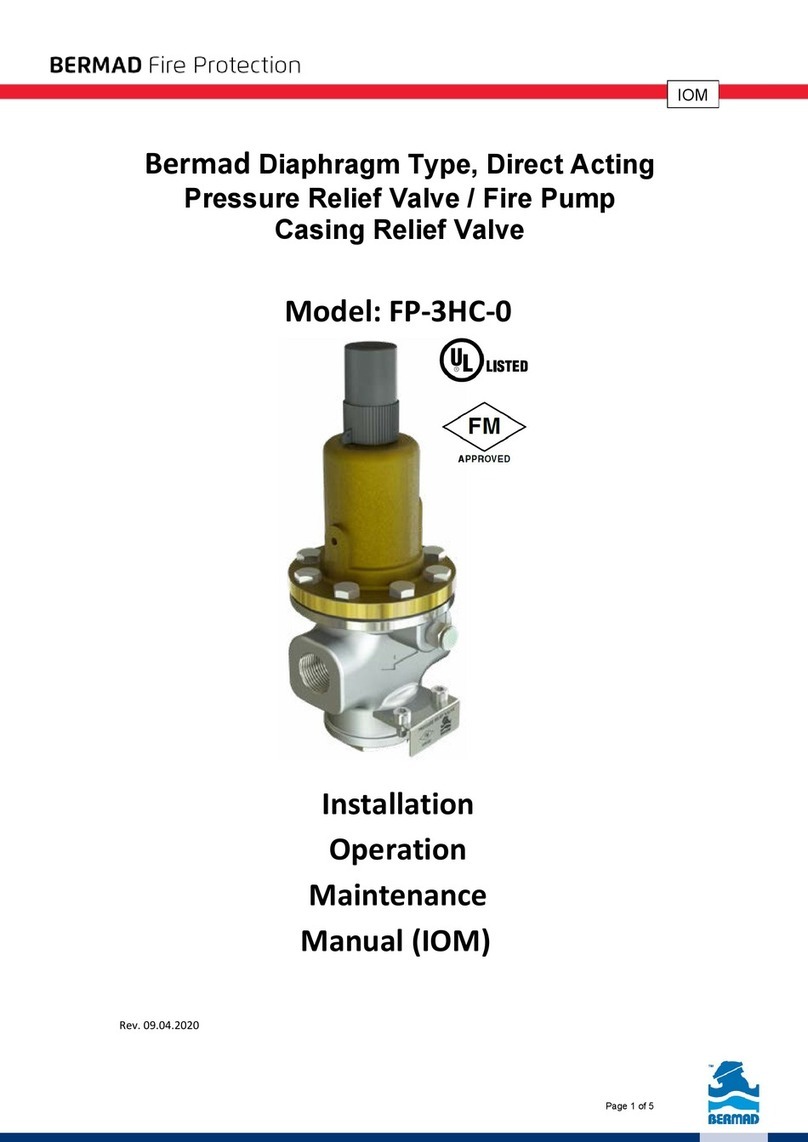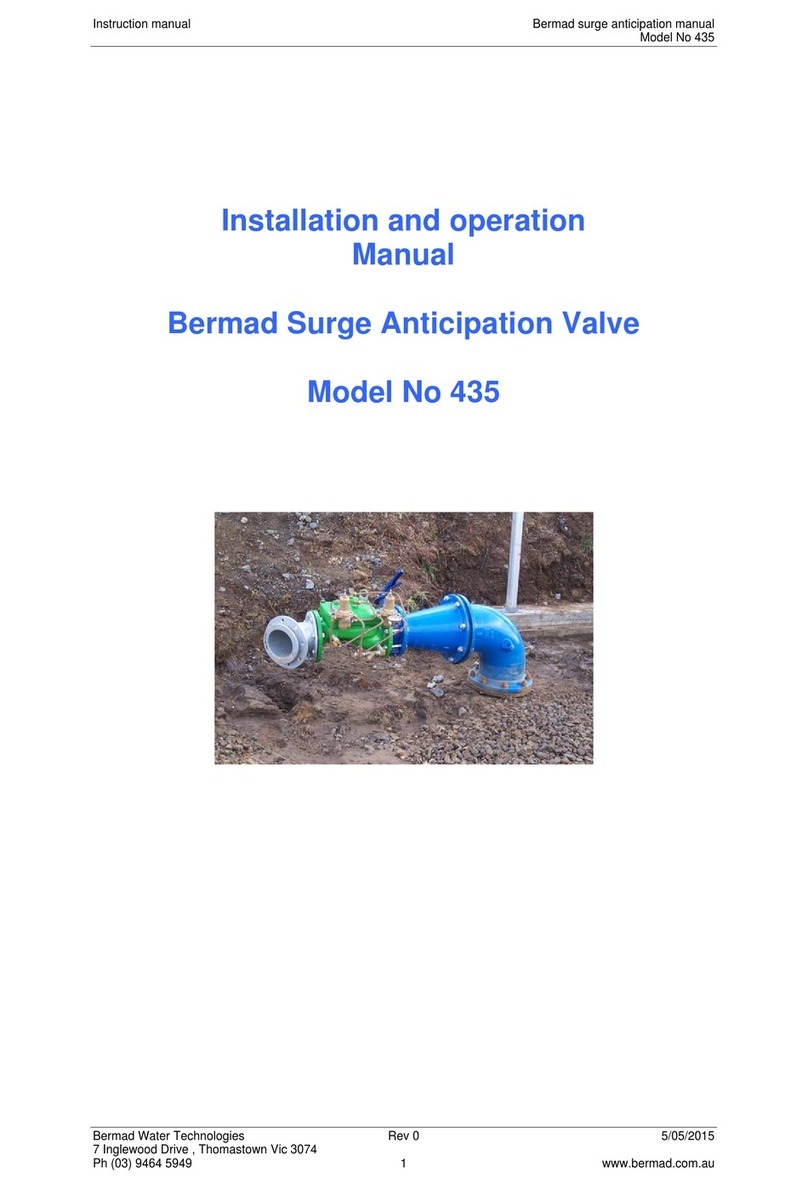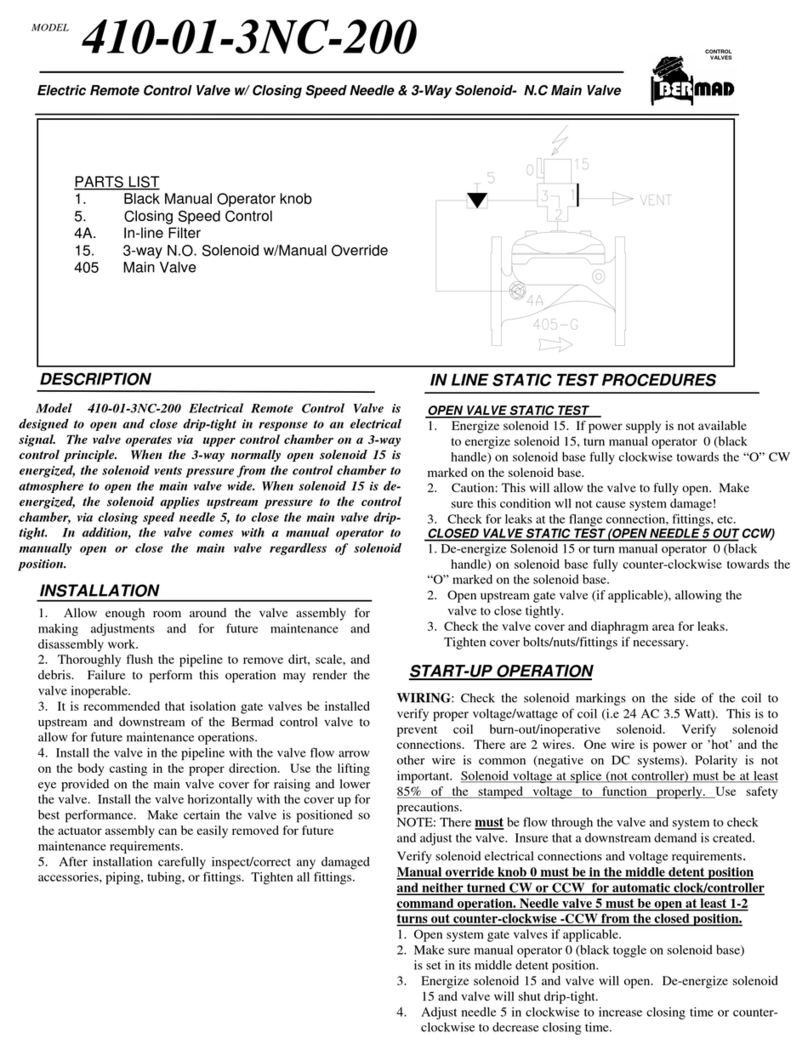
MODEL 430
PRESSURE SUSTAINING VALVE (with PC-30-A mini pilot “navaton”)
INSTALLATIONOPERATIONMAINTENANCE
The information contained in this document is subject to change without notice.
BERMAD shall not be liable for any errors contained herein. All Rights Reserved. © opyright by BERMAD ontrol Valves. Page 1
A B
DESCRIPTION
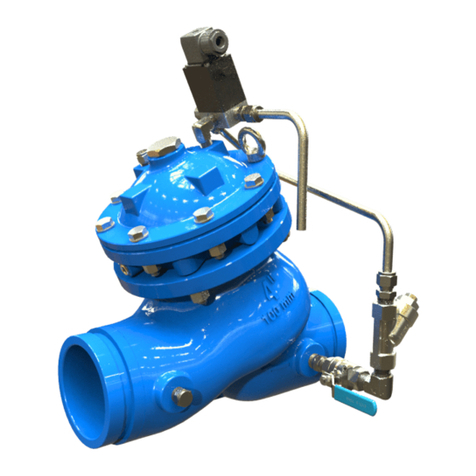
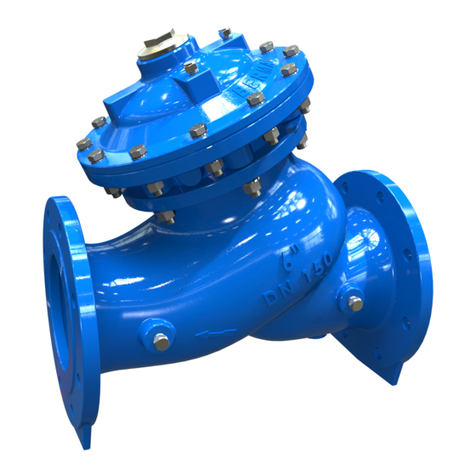
Model 430 pressure sustaining valve is an automatic
control valve designed to relieve excess pressure or
sustain a minimum upstream back-pressure.
It is a pilot controlled, hydraulically operated
diaphragm type globe or angle 405 valve.
The pressure regulating pilot senses upstream
pressure and modulates open or closed, causing the
main valve to throttle. The pressure regulating pilot
has an adjusting screw to preset the desired
pressure. When upstream pressure rises above the
pilot setting, the pilot and the main valve modulate to
open to relieve main line pressure and maintain pilot
setting pressure. When upstream pressure falls
below the pilot setting, pilot and main valve throttle
close to maintain the preset pilot setting pressure.
INSTALLATION
1. Allow enough room around the valve assembly for any
adjustments and future maintenance/disassembly work.
2. Thoroughly flush the pipeline to remove any dirt, scale,
debris, etc. - failure to do this may result in the valve
being inoperable.
3. Isolation valves A and B should be installed upstream
and downstream of the Bermad control valve to allow
future maintenance operations.
4. Install the valve in the pipeline with the valve flow
arrow on the body casting in the proper direction. Use
the lifting eye provided on the main valve cover for
raising and lowering the valve. For best performance,
install the valve horizontally with the cover up. Ensure
that the valve is position so that the diaphragm assembly
can be easily removed for future maintenance.
5. After installation, carefully inspect/correct any
damaged accessories, piping, tubing or fittings.
ON LINE STATIC TEST PROCEDURES
OPEN VALVE: STATIC TEST
1. Remove the cover plug on the main valve cover.
Caution: This will allow the valve to fully open. Make sure that
this condition does not cause system damage.
2. Check for leaks at the flange connection fittings etc.
CLOSED VALVE: STATIC TEST
1. Close cock valve 1.
2. Vent any trapped air in the main valve cover by loosening the
tube fitting at the highest point on the cover. This will trap the
main valve in a closed position while the pipeline is pressurized.
3. Check the valve cover and diaphragm for leaks, and tighten
bolts if necessary.
START-UP OPERATION
Note: Ensure upstream pressure is available by starting a pump
and opening upstream gate valve. Create the desired valve
operating pressure at the valve inlet, such as opening a bypass
upstream of the valve. Use gauge 25 for pressure indication.
1. Close the main valve by fully turning the adjusting screw CW
on the pressure relief pilot valve (30A). Open cock valve 1.
2. Fully open downstream isolating valve B; the main valve will
remain closed.
3. Slowly turn the adjusting screw counter clockwise (CCW) on
the pressure sustaining pilot (30A) until the main valve begins to
open. (Valve opening may be indicated by a slight drop in gauge
pressure) Tighten the locknut on the adjusting screw.
4. Cycle valve to check operation. An increase in upstream
pressure above the set point will open the valve. A decrease in
upstream pressure below the set point will close the valve,
readjust the pilot as required. (CCW will decrease and CW will
increase the pressure setting).
