manuals.online logo
Brands
  1. Home
  2. •
  3. Brands
  4. •
  5. BROSA
  6. •
  7. Indoor Furnishing
  8. •
  9. BROSA Josie TV Unit User manual

BROSA Josie TV Unit User manual

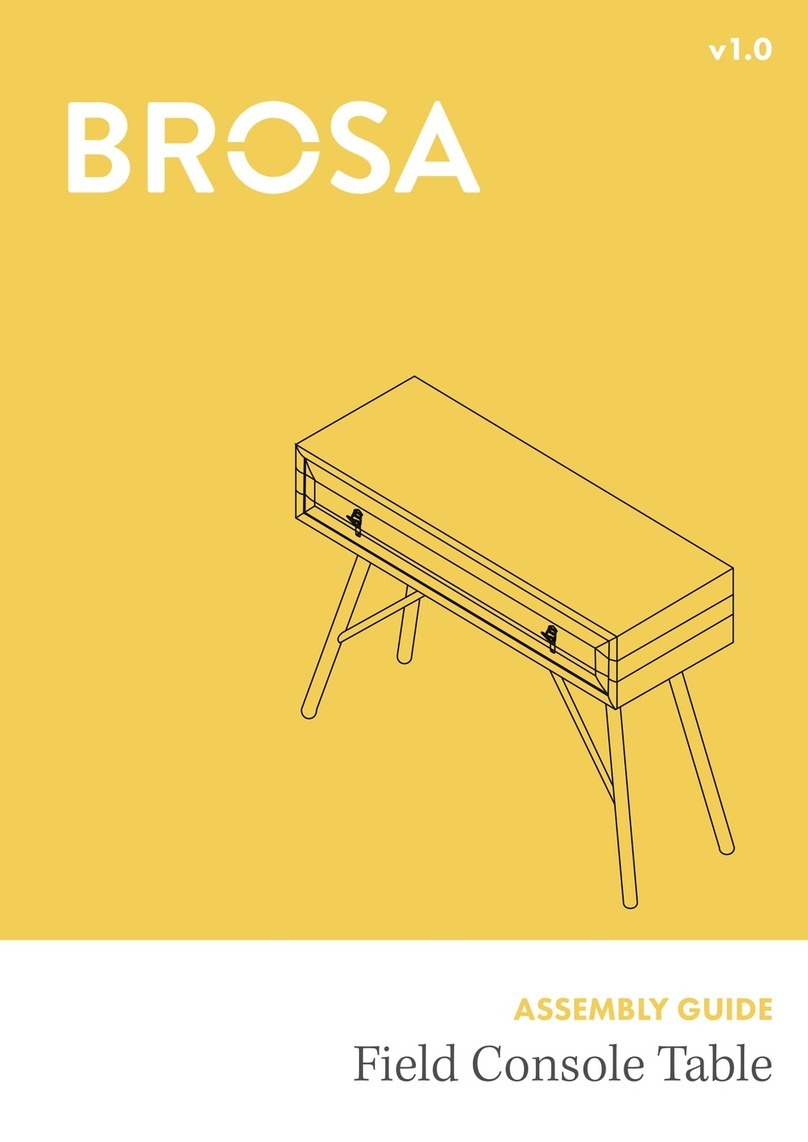
ASSEMBLY GUIDE
Josie Console Table
v1.0
Components
Upon unpacking your storage from it’s delivery box, you should have the
separate pieces shown below. Follow the steps on the next pages to assemble
your new storage.
Drawer Bottom
x 2
Drawer Back Wall
x 2
Side Wall Side Wall
Table Top
Drawer’s
Dividing Beam
Side Beam
Side Beam
Drawer Side Wall
x 2
Drawer Side Wall
x 2
Drawer Front
x 2
Hardware
What you need
H x 12
A x 14
(Ø8x30)
G x 4
(Ø6x30)
E x 4
(Ø12xH9)
D x 4
(Ø6xL28)
F x 8
(Ø3.5xL35)
B x 14
(Ø7xL30)
C x 14
(Ø15xH12)
I x 1
(10g)
J x 2
(L350)
K x 28
(Ø3.5xL11)
L x 4
(Ø4xL16)
Step 1
1.1 Insert cam locks (C) into the corresponding holes
on the beams making sure the mouth is facing the
screw hole.
1.2 Insert dowels (A) into the corresponding holes of
the side wall. It is optional to use the glue over the
wooden dowels.
1.3 Insert cam screws (B) into the corresponding
holes of the side wall.
1.4 Align the the side wall with the beams using the
dowels and cam screws. Firmly press them together.
1.5 Screw the cam locks using a screw driver.
1.6 Use plastic caps (H) to cover the cam lock holes.
A x 3
B x 3
C x 3
H
C
A
B
Step 1.2
Step 1.1
Step 1.6
Step 1.5
Step 1.3
Step 1.4
Step 1.4
H x 3
Step 2.2
Step 2.6
Step 2.5
Step 2
2.1 Insert cam locks (C) into the corresponding holes
on the beams making sure the mouth is facing the
screw hole.
2.2 Insert dowels (A) into the corresponding holes of
the beams. It is optional to use the glue over the
wooden dowels.
2.3 Insert cam screws (B) into the corresponding
holes of the beams.
2.4 Align the the side wall with the beams using the
dowels and cam screws. Firmly press them together.
2.5 Screw the cam locks using a screw driver.
2.6 Use plastic caps (H) to cover the cam lock holes.
A x 3
B x 3
C x 3
H x 3
B
A
C
H
Step 2.1
Step 2.3
Step 2.4
Step 3
3.1 Insert cam locks (C) into the corresponding holes
on the drawer divider wall making sure the mouth is
facing the screw hole.
3.2 Insert dowels (A) into the corresponding holes of
the beams. It is optional to use the glue over the
wooden dowels.
3.3 Insert cam screws (B) into the corresponding
holes of the beams.
3.4 Align the the divider wall with the beams using
the dowels and cam screws. Firmly press them
together.
3.5 Screw the cam locks using a screw driver.
3.6 Use plastic caps (H) to cover the cam lock holes.
A x 2
B x 2
C x 2
H x 2
C
B
A
H
Step 3.2
Step 3.6
Step 3.5
Step 3.1
Step 3.3
Step 3.4
Step 4
4.1 Insert cam locks (C) into the corresponding holes
on the leg structure making sure the mouth is facing
the screw hole.
4.2 Insert dowels (A) into the corresponding holes of
the leg structure. It is optional to use the glue over
the wooden dowels.
4.3 Insert cam screws (B) into the corresponding
holes of the leg structure.
4.4 Align the the table top with the leg structure
using the dowels and cam screws. Firmly press them
together.
4.5 Screw the cam locks using a screw driver.
4.6 Use plastic caps (H) to cover the cam lock holes.
A x 7
B x 7
C x 7
H x 7
C
B
H
Step 4.2
Step 4.6
Step 4.5
Step 4.1
Step 4.3
Step 4.4
A
Step 5
5.1 Align the drawer slides (J) to the corresponding
holes on the walls. Secure into place using the at
head screws (K) then round head screws (L).
5.2 Slide out drawer connector and separate by
pushing the lock in the end of the slide.
J x 2
K x 28
L x 4
Step 5.1
Step 5.2
KL
J
Allign the sides of the drawer to the back side secure
them with screws (F). Repeat for the second drawer.
F x 4
Step 6
Slide the drawer bottom into place by tting it into
the grooves in the walls of the formed drawer
structure. Repeat for the second drawer.
Step 7
F
8.1 Insert cam locks (E) into the corresponding holes
on the drawer body making sure the mouth is facing
the screw hole.
8.2 Insert dowels (G) into the corresponding holes of
the drawer body. It is optional to use the glue over the
wooden dowels.
8.3 Attach cam screws (D) into the corresponding
holes of the drawer front.
8.4 Align the drawer front with the drawer body using
the dowels and cam screws. Firmly press them
together.
8.5 Screw the cam locks using a screw driver.
8.6 Use plastic caps (H) to cover the cam lock holes.
Step 8
H
E
G
D
G x 4
D x 4
E x 4
H x 4
Step 4.2
Step 4.6
Step 4.5
Step 4.1
Step 4.3
Step 4.4
Step 9
Align the drawer slides taken out in step 5 (J) to the
corresponding holes on the drawer body. Secure into
place using the at head screws (K). Repeat for the
other drawer.
Step 10
Insert the drawers into the openings.
J x 2
K x 28 K
J
Step 11
Enjoy your new table!

Other manuals for Josie TV Unit

1

Other BROSA Indoor Furnishing manuals

BROSA Anica Bed Head User manual

BROSA

BROSA Anica Bed Head User manual

BROSA Haruki Lamp Table User manual

BROSA

BROSA Haruki Lamp Table User manual

BROSA Caledonia Rattan Bar Cabinet User manual

BROSA

BROSA Caledonia Rattan Bar Cabinet User manual

BROSA Baker Bar Table User manual

BROSA

BROSA Baker Bar Table User manual

BROSA Henley Low Set Coffee Table User manual

BROSA

BROSA Henley Low Set Coffee Table User manual

BROSA Single Size Upholstered Gaslift Bed Base User manual

BROSA

BROSA Single Size Upholstered Gaslift Bed Base User manual

BROSA Field Console Table User manual

BROSA

BROSA Field Console Table User manual

BROSA Stella Bed Head User manual

BROSA

BROSA Stella Bed Head User manual

BROSA Smeaton Small Outdoor Dining Table User manual

BROSA

BROSA Smeaton Small Outdoor Dining Table User manual

BROSA Tallinn User manual

BROSA

BROSA Tallinn User manual

BROSA Baker Lamp Table User manual

BROSA

BROSA Baker Lamp Table User manual

BROSA Caledonia Rattan Bench User manual

BROSA

BROSA Caledonia Rattan Bench User manual

BROSA Josie Sideboard Large User manual

BROSA

BROSA Josie Sideboard Large User manual

BROSA Mia Console Table With Drawers User manual

BROSA

BROSA Mia Console Table With Drawers User manual

BROSA Mia Entertainment Unit User manual

BROSA

BROSA Mia Entertainment Unit User manual

BROSA Angelo Armchair User manual

BROSA

BROSA Angelo Armchair User manual

BROSA Voss Dining Table User manual

BROSA

BROSA Voss Dining Table User manual

BROSA Shamal Coffee Table User manual

BROSA

BROSA Shamal Coffee Table User manual

BROSA Mia User manual

BROSA

BROSA Mia User manual

BROSA Edgar Dresser User manual

BROSA

BROSA Edgar Dresser User manual

BROSA Baker Wide Sideboard User manual

BROSA

BROSA Baker Wide Sideboard User manual

BROSA Parc Media Unit User manual

BROSA

BROSA Parc Media Unit User manual

BROSA Parc Bedside Table User manual

BROSA

BROSA Parc Bedside Table User manual

BROSA Mita Console Table User manual

BROSA

BROSA Mita Console Table User manual

Popular Indoor Furnishing manuals by other brands

Kvik SU868,060 Assembly instructions

Kvik

Kvik SU868,060 Assembly instructions

JWA DORSEY 74865 Assembly instruction

JWA

JWA DORSEY 74865 Assembly instruction

Steelcase Executive Elective Elements Table Desk Assembly Directions

Steelcase

Steelcase Executive Elective Elements Table Desk Assembly Directions

Desalto CLAY ROUND Assembly instruction

Desalto

Desalto CLAY ROUND Assembly instruction

KI Intellect Chair Repair & Replacement Instructions

KI

KI Intellect Chair Repair & Replacement Instructions

Liberty Closets installation guide

Liberty

Liberty Closets installation guide

Kohler URBANITY K-99916T-LK installation instructions

Kohler

Kohler URBANITY K-99916T-LK installation instructions

luxvision ET-4000 user manual

luxvision

luxvision ET-4000 user manual

Forte DUCATO DCTH12 Assembling Instruction

Forte

Forte DUCATO DCTH12 Assembling Instruction

Uplift Desk CHR466 quick start guide

Uplift Desk

Uplift Desk CHR466 quick start guide

Micasa INSIDER 4017.434 Instructions of installation

Micasa

Micasa INSIDER 4017.434 Instructions of installation

STRUCTUBE IVRY Assembly instructions

STRUCTUBE

STRUCTUBE IVRY Assembly instructions

Tennsco 4218 Assembly Instructions/Parts Manual

Tennsco

Tennsco 4218 Assembly Instructions/Parts Manual

Global Industrial RXHS-361872 Assembly Instructions/Parts Manual

Global Industrial

Global Industrial RXHS-361872 Assembly Instructions/Parts Manual

Tennsco EB-12 Assembly Instructions/Parts Manual

Tennsco

Tennsco EB-12 Assembly Instructions/Parts Manual

Husky HOET5201B11XUS Use and care guide

Husky

Husky HOET5201B11XUS Use and care guide

cinetto B-MOVED PS40 Assembly instructions

cinetto

cinetto B-MOVED PS40 Assembly instructions

Mocka Eclipse Assembly instructions

Mocka

Mocka Eclipse Assembly instructions

manuals.online logo
manuals.online logoBrands
  • About & Mission
  • Contact us
  • Privacy Policy
  • Terms and Conditions

Copyright 2025 Manuals.Online. All Rights Reserved.