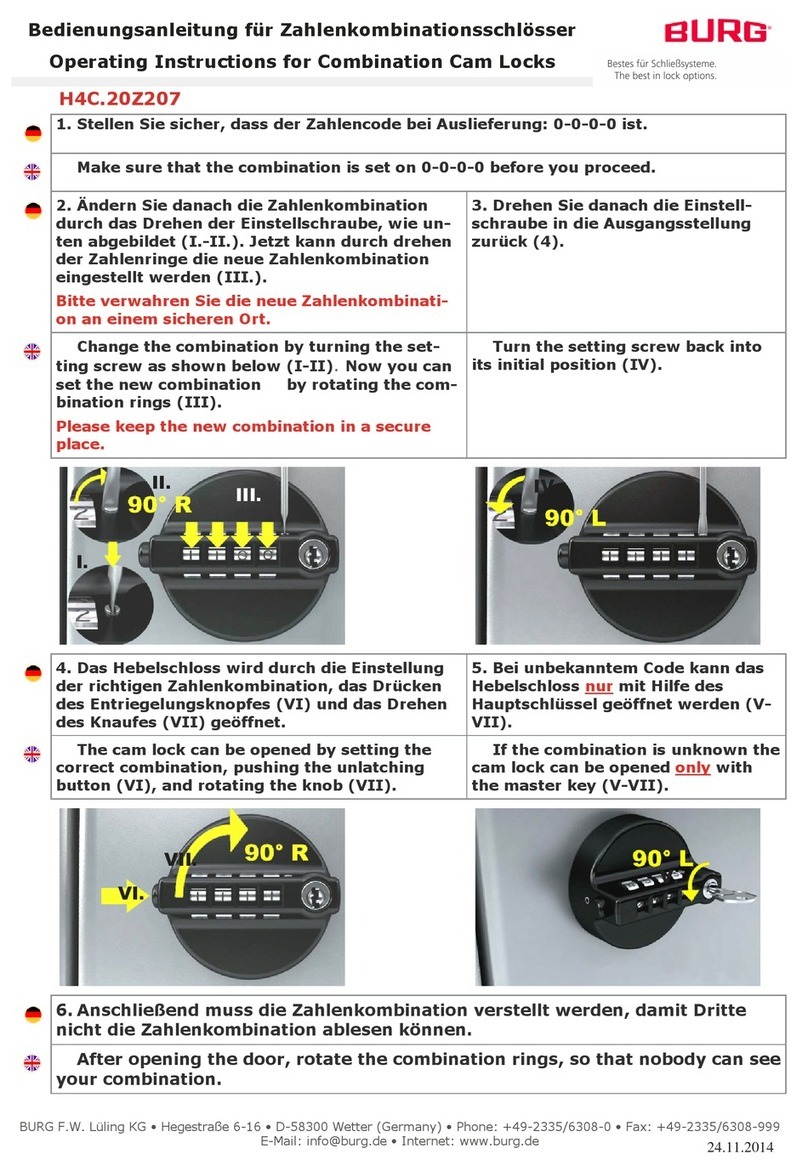
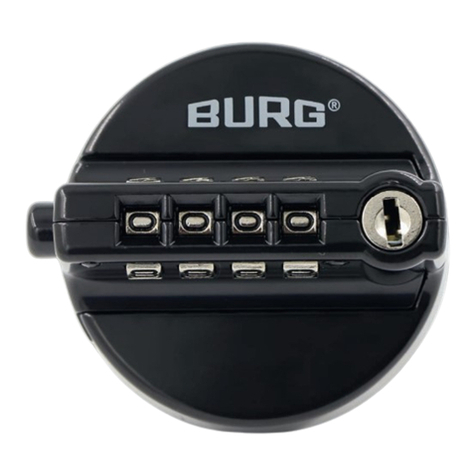
Burg B-Smart-Lock Corona User manual

B-Smart-Lock Corona
www.burg.de
Operating manual
GB
B-Smart-Lock Corona

B-Smart-Lock Corona |March 2017 01- AN/DSW English ǀ 2
Dear Customer,
Thank you for choosing the B-Smart-Lock Corona - the
electronic lock for locker and furniture.
This lock is particulary robust and of high qualitiy. It acts as
an organisational closure of closets, cabinets and compart-
ments and allows convenient management of a large num-
ber of users.
Important: please note all warnings and read through
the entire operating manual before you begin configu-
ration.
We hope you enjoy using your new system.
Sincerely, BURG F.W. Lüling KG
B-Smart-Lock Corona Introduction
B
A
A
B
LED ring
Silicone ring (around the knob)
Default settings
Programming Multi User + occupied identifier
LED lock indicator On
Signal tones On
Locking manual
General
The latest version of this guide is always available on our
website: www.burg.de
Contents
General .................................................................... 2
Introduction.............................................................. 2
Default settings ......................................................... 2
Important information............................................. 2-3
Technical specifications .............................................. 3
Functional description ................................................ 3
Configuration ......................................................... 4-5
Operation ................................................................. 6
Battery replacememt ................................................. 7
Disposal ................................................................... 7
Important information
Master card
▪can open the lock at any time.
▪authorised to allocate and deallocate transponders.
▪authorised to enable or disable features.
▪authorised to release occupied transponders.
▪stores the number of the last transponder used.
▪terminates disabled mode.
Disabled mode
Disabled mode is activated for three minutes when one
hundred unauthorised transponders are held in front of the
lock in succession. In these three minutes, the lock does not
accept any transponders and reacts with a red light which
flashes rapidly eight times. Disabled mode can by termina-
ted early by holding up the master card in front of the lock.

B-Smart-Lock Corona |March 2017 01- AN/DSW English ǀ 3
Technical specifications
Dimensions 98 x 66 mm ; 39 mm Ø
Battery Lithium battery 3V,
CR123A
Service life:
over 30,000 locking cycles
Radio standard 125 kHz
Programming Multi user
Private mode
Material Casing: zamac
Knob: plastic/ silicone
Lock attachment Wood: screws
Metal: M19 nut
Locking direction L, R, LAD
Latch Latch bolt in zinc
(nickel-plated)
Permissible temperature 0°– 40°C
(no formation of
condensation)
Private mode (fixed cabinet assignment)
In this mode, a transponder is permanently assigned to one
lock. Only this transponder is then authorised to close and
open the lock. Up to 50 transponders can be assigned at the
same time. These can also open the lock regardless of
which transponder has locked it.
Automatic locking
Automatic locking can only be set in private mode. This
function automatically closes the lock after a certain time.
Note: Automatic locking cannot be set in multi-user mode.
Manual locking
The manual lock secures the lock only when a assigned
transponder is held in front of it. This function can be selec-
ted in private mode as an option. In multi-user mode, it is
the only way of locking.
Signal tones
Signal tones can be turned on or off. If these are activated,
a beep sounds for an unauthorised transponder, as well as
opening and closing operations.
LED-locking status indicator
A red flash every second in the locking indicator indicates
that the lock is engaged. When open, the LED does not
flash. This function is optional and can be turned on or off
as desired.
Functions reset
All functions are reset to the factory settings.
Transponder reset
This function deletes all assigned transponders.
Note: The master card will also be deleted. The program-
ming section describes how to assign the master card again.
Battery warning
If the batteries in the lock do not have sufficient power,
three consecutive beeps decreasing in pitch will sound when
the transponder is held up in front of the lock. Depending on
the frequency of lock use, the batteries must be changed in
the next two to four weeks. When the voltage is particularly
low, the lock can no longer be closed or can only be opened
by the master card. If the batteries are empty, no action
can be performed on the lock.
Functional description
Multi user mode (free cabinet selection)
The lock can be closed by a currently unassigned transpon-
der. Only this transponder is authorised to open the lock
again.
Multi user mode with occupied identifier
The transponder is assigned a busy signal when it has been
used to close a lock. Thus, the transponder cannot close
another lock until it has opened the first lock again.
Mode 1 3 seconds
Mode 2 6 seconds
Mode 3 18 seconds

B-Smart-Lock Corona |March 2017 01- AN/DSW English ǀ 4
Configuration
1. Open the battery compartment door. You will need a
Torx 8 screwdriver.
2. Remove the right battery (left hand latch)
3. Press the white button on the board and hold it down
until a ticking sounds. (Do not press the button with
metallic objects.)
4. Now hold the master card in front of the knob within the
next 5 seconds and while it is still ticking. Two ascen-
ding sounds confirm the successful authorisation of the
master card. Assignment of the card can take up to two
seconds.
5. Insert the batteries and close the battery compartment
cover.
master card
1.
2.
3.
4.
+
Confirmation by two ascending tones
Torx 8
Note: Up to three master cards can be assigned.
Assign master card
Transponder assignment
Applies to private mode.
1. Place the lock in the open status, so that the knob can
be turned.
2. Hold the master card in front of the knob until the ti-
cking sounds.
3. Keep the transponder which is to be assigned in front of
the knob while it is still ticking. Two ascending tones
confirm the successful assignment of the transponder.
Note: The ticking is extended by five seconds after each
transponder, so you can assign more transponders.
1.
2.
+
master card
transponder
3.
Hold the master card in front of the knob
until the ticking sounds.
Hold the transponder in front of the knob
while it is ticking. Confirmation by two
ascending tones.
Unassigning transponders (in private mode)
Use the same procedure as when assigning transponders. If
you no longer have the transponder, you can unassign them
using the reset all transponder feature.
Note: All transponders will be deleted during the reset.

B-Smart-Lock Corona |March 2017 01- AN/DSW English ǀ 5
1. Place the lock in the open status so that the knob can
be turned.
2. Hold the mastercard in front of the knob until the ti-
cking sounds.
3. Keep the function card of the corresponding function in
front of the knob while it is ticking. Two ascending to-
nes confirm the succesful operation.
master card
1.
2.
3.
Hold the function card in front of the knob
while it is ticking. Confirmation by two
ascending tones.
Activate/ deactivate functions
Enabling occupied transponders
1. Place the lock in the open status so that the knob can
be turned.
2. Hold the master card in front of the knob until the ti-
cking sounds.
3. Take the master card away for a moment and then hold
it in front of the knob again. Hold the master card in
front of the knob until you hear two ascending beeps
that briefly interrupt the ticking.
2.
master card
master card
3.
Hold the master card in front of the knob
until the ticking sounds.
Take the master card away for a moment
and then hold it in front of the knob again
until two ascending beeps are heard.
function
card
Hold the master card in front of the knob
until the ticking sounds.
Place the lock in the open status.
4. Wait until the ticking finishes.
5. Hold the occupied transponder in front of the knob
within 10 seconds. Two ascending tones confirm the
successful release of the transponder.
Place the lock in the open status.
1.
transponder
4.
Wait until the ticking ends and hold the
transponder in front of the knob within about
10 seconds. Confirmation by two ascending
tones.
5.
+

B-Smart-Lock Corona |March 2017 01- AN/DSW English ǀ 6
Interlock
1. Hold an approved transponder in front of the knob. The
LED briefly lights up green. When the signal tones func-
tion is activated, two consecutive beeps are heard.
2. The knob can turn 90° to the right and open the door.l
Operation
1.
2.
transponder
Hold the transponder in front of the knob.
LED lights up red.
The knob cannot be turned.
Unlocking
1.
2.
transponder
Hold the transponder in front of the knob.
LED lights up green.
The knob can turn 90° to the right.
90°
1. Close the door. Hold an approved transponder in front
of the knob. The LED briefly lights up red. When the
signal tones function is activated, two consecutive
beeps are heard. When the status indicator is acti-
vated, the lock flashes red every second.
Attention: The lock may only be locked when
the door is closed. Otherwise, damage to the
lock may occur.
2. The rotary knob cannot be turned when it is closed.

B-Smart-Lock Corona |March 2017 01- AN/DSW English ǀ 7
How do I change the battery?
A
B
C
D
Loosen the screw on the back.
Remove the protecting plate.
Remove the batteries.
Insert the new batteries with both positive poles
facing upwards (right hand latch).
Disposal
Electrical equipment may not be disposed of with household
waste! At the end of its useful life, please take the equip-
ment to a designated collection point.
As a company selling batteries or rechargeable batteries, or
devices which are operated with batteries or rechargeable
batteries, we are obliged to provide the following infor-
mation about the relevant regulations and obligations con-
cerning battery legislation:
Used batteries should not be put in household waste. Con-
sumers are legally obliged to bring batteries back to a suita-
ble collection point either at a retailer or the municipality for
disposal. You will not be charged for disposal. You can also
send your used batteries back to us. Postage must always
be fully prepaid on batteries/rechargeable batteries returned
to us for disposal:
BURG F.W. Lüling KG
Volmarsteiner Straße 52
58300 Wetter (Ruhr)
Germany
Used batteries may contain contaminants or heavy metals
that can be harmful to the environment and health. Further-
more, batteries contain valuable materials which can be
recycled. The environment and PCE Deutschland GmbH
thank you.
The waste bin sign means: Batteries and rechargeable bat-
teries must not be disposed of in household waste.
The signs below the waste bin stand for:
Pb: Battery contains lead
Cd: Battery contains cadmium
Hg: Battery contains mercury
BURG F.W. Lüling KG
Hegestraße 6
58300 Wetter (Germany)
Fon + 49 (0) 2335 / 63 08-0
Fax + 49 (0) 2335 / 63 08-999
www.burg.de
Batteries
How often should the batteries be changed?
The battery life is approximately 30,000 closing cycles. With
a usage frequency of 20 confirmations per day, this means
a total useful life of two years.
We recommend that you replace the batteries of all built-in
locks every two years.
Note: If the latch prevents the battery compartment from
opening, you need to adjust the latch. To find the correct
position of the latch again after changing the battery, it is
advisable to mark the position with a pencil.
Version 201703001
Table of contents
Other Burg Lock manuals

Burg
Burg sPinLock 410 User manual

Burg
Burg Master Pro User manual

Burg
Burg m.options sPinLock 200 User manual

Burg
Burg TwinPad User manual

Burg
Burg Corona User manual

Burg
Burg Combipad User manual

Burg
Burg KeyPad Outdoor IP54 User manual

Burg
Burg B-Smart-Lock Combipad RTC User manual

Burg
Burg sPinLock 410 User manual

Burg
Burg sPinLock 420 User manual

Burg
Burg H4C.20Z207 User manual

Burg
Burg sPinLock 200 User manual

Burg
Burg Coreo Pro User manual

Burg
Burg B-Smart-Lock MASTER Instruction Manual

Burg
Burg B-Smart-Lock Combipad User manual

Burg
Burg LEVER 575 User manual

Burg
Burg Flexo.Code User manual

Burg
Burg Master Pro User manual

Burg
Burg Intro.RFID User manual

Burg
Burg Intro.Code User manual