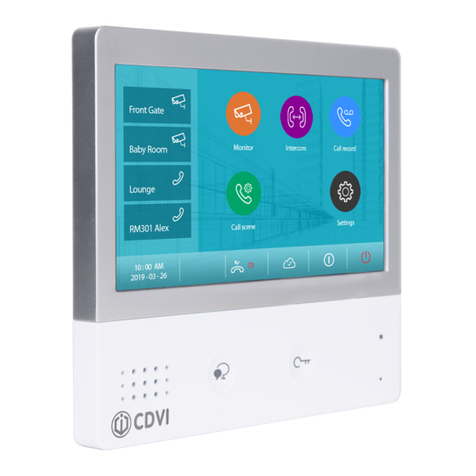
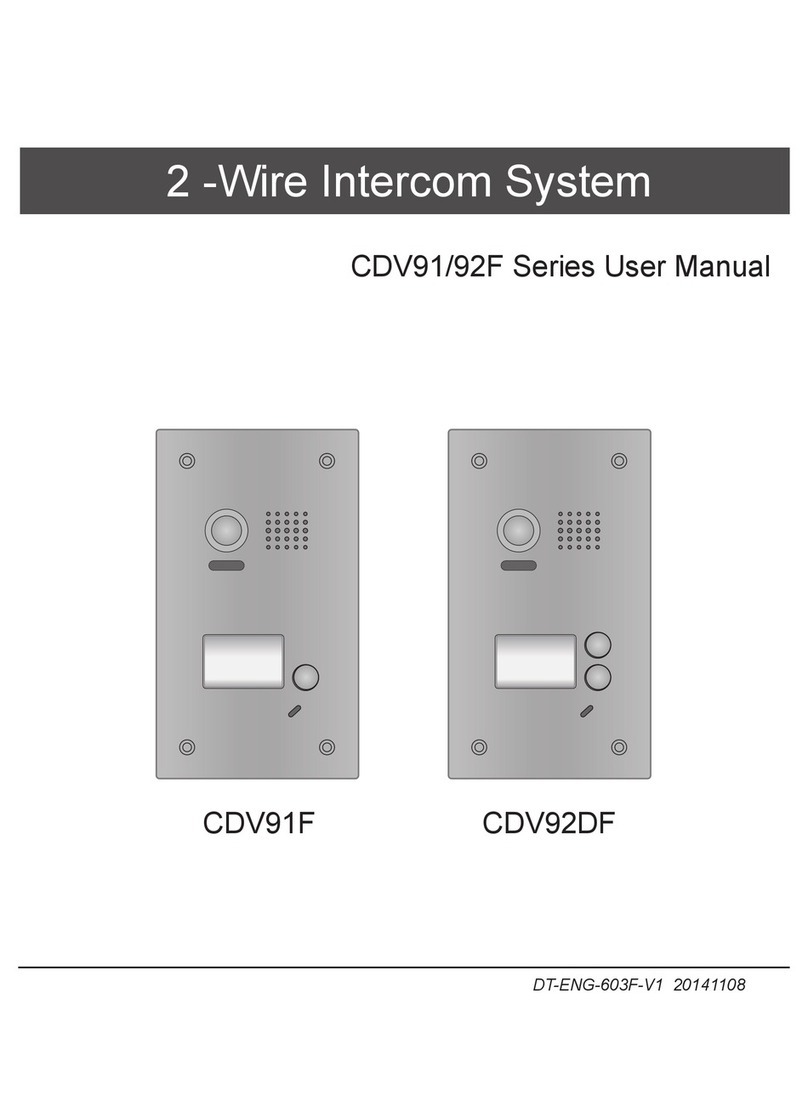
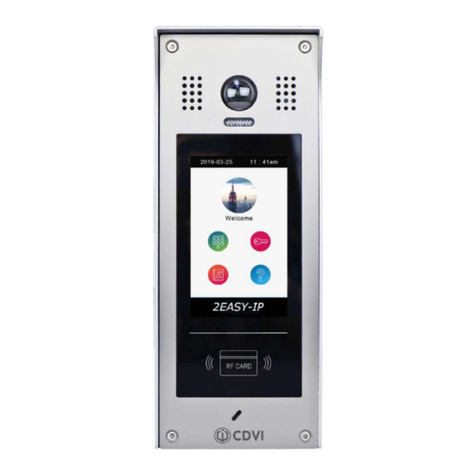
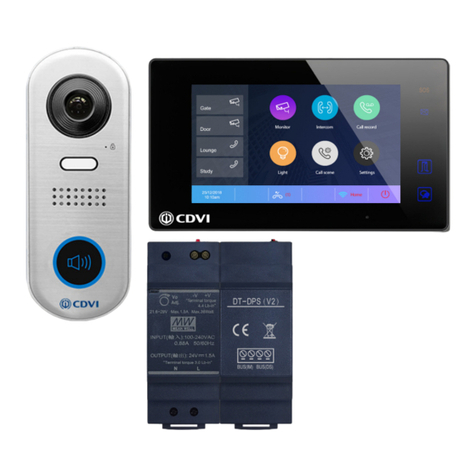
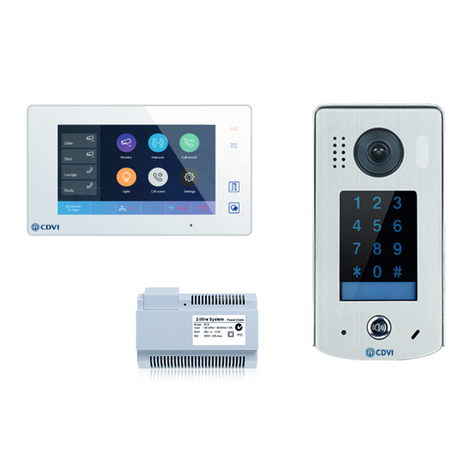
CDVI 2EASY CDV-47DX User manual

2EASY 2-Wire Wi-Fi Monitor, Black or White
CDV-47DX
EN
WARRANTY
YEAR
2

EN
2
CDV-47DX
2EASY 2-Wire Wi-Fi Monitor, Black or White
1] CONTENTS
2] PARTS AND FUNCTIONS 3
3] MOUNTING 4
4] MAIN MENU 4
5] ANSWERING A CALL 5
6] PANVIEW & ZOOM 6
7] MONITORING 6
8] CALL ANOTHER ROOM OR APARTMENT (INTERCOM) 7
9] VIEW CALL RECORD 8
10] DO NOT DISTURB FUNCTION 9
11] DIVERT CALL 10
12] SETTINGS 10
Enter Setting Interface 10
Ring Tone Settings 11
General Settings 11
Installer Settings 15
Wireless Settings 18
About 22
13] DOWNLOAD & SETUP VDP CONNECT APP 22
14] SURVEILLANCE DOOR STATION VIA VDP CONNECT APP 22
15] IPC SETTING 23
16] SPECIFICATIONS 25
17] PRECAUTIONS 25
Title Page

EN
3
CDV-47DX
2EASY 2-Wire Wi-Fi Monitor, Black or White
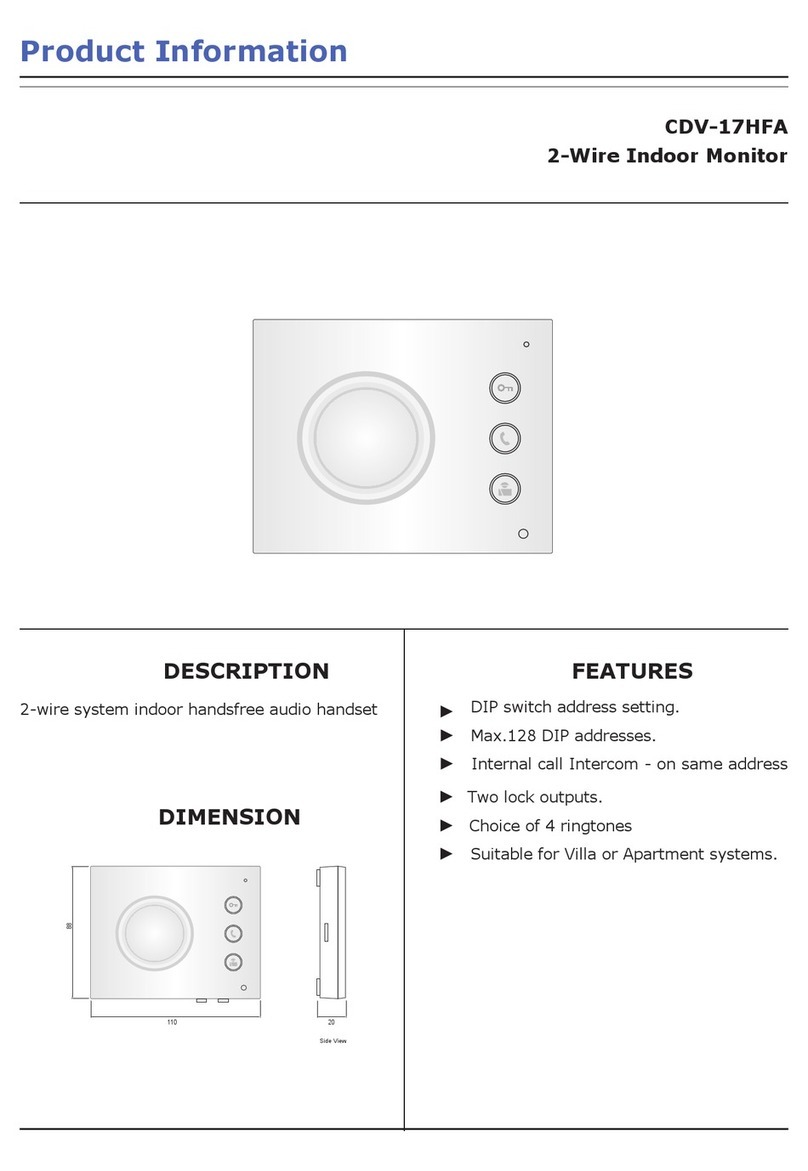
2] PARTS AND FUNCTIONS
NB Item Description
[1]
Digital LCD touch screen See next page for details
Display the visitors’ image
[2]
Unlock button Touch to release the door
[3]
Talk button Touch to communicate hands free with visitors
Touch to view through the door station camera in standby mode
[4]
Microphone Transmit audio from one station to other stations
[5]
SD card slot Use to insert micro-SD card
[6]
Mounting hook Use to hang up the monitor
[7]
Speaker For audio, ring tones and alerts
[8] Connection port 2 Wire Bus Terminal, Inputs/Outputs & DiP Switches
[1]
[5]
[2]
[3]
[4]
[6]
[7]
[8]
SD card
1 2 3 4 5 6
ON DIP
USB-Wi-Fi adaptor
1 2 3 4 5 6
ON DIP
L2
L1
DIP Switches
SW+
SW-
RING
GND
NC
1 2 3 4 5 6
ON DIP
Terminal Descriptions
Terminal Description
L1, L2 Bus Line Terminal
SW+, SW- Doorbell input connection port
Ring, GND Extension buzzer input connection port
NC Reserved
DIP Switched
Bit1-Bit5
Bit6
Reserved
Video impedance matching switch
Set to ON if the monitor is at the end of
the line or operates with CDV-DBC4A1,
otherwise set to off

EN
4
CDV-47DX
2EASY 2-Wire Wi-Fi Monitor, Black or White
3] MOUNTING
4] MAIN MENU
145~160 cm
Mounting screw
x 2(included)
The unit
Mounting box
(size:86x86mm)
Mounting bracket
2 wire cable
The installation height is suggested as 145~160cm.
1. Use screws to fasten the mounting bracket to the wall with standard single gang
ush lightswitch box.
2. Connect the two wire cables to the unit.
3. Mount the unit to the mounting bracket, making sure the unit is securely attached
to the mounting bracket.
The Main Menu is your starting point for using all the applications on your monitor.
Touch the Unlock button, or touch anywhere on the screen when in standby mode - the
Main Menu will appear as follows:
Light
Touch to trigger an
optional RLC unit
to operate the light
function.
Wi-Fi status
Touch to enter
Wireless setting
options.
SIP cong
Touch to enter SIP
cong interface.
Intercom
Touch to enter intercom
selections.
Monitor
Touch to view outdoor scene.
Call Record
Touch to see calling in/
calling out records or
missed calls.
Settings
Press to enter setup interface.
Close
Touch to turn off the screen
and put the monitor in
standby mode.
Call Scene
Touch to activate the Do
Not Disturb and Divert
Call functions.
Touch this icon to
immediately enable the
indicated function.
Current date and
time. Touch to
enter the date
time set interface.
Status bar

EN
5
CDV-47DX
2EASY 2-Wire Wi-Fi Monitor, Black or White
NB Item Description
Missed call
Displays when there is a missed call.
Touch to review the missed call in shortcut.
Do not disturb
Displays when the function is activated.
Touch to enter Call Scene interface in
shortcut.
Call transfer
SIP server connection active and congured
Touch to enter SIP server information
interface in shortcut.
SIP server connection disabled
SIP server connection active and not connected
WiFi connection active and not connected
Touch to enter the Wi-Fi settings
interface in shortcut.
WiFi connection disabled
WiFi connection active and congured
While talking to a door station
Displays which door
station is calling.
Shows status of talking,
unlocking etc.
Displays talking
time.
5-direction pad
button, zoom, pan &
tilt the picture.
00:10 Door Station1
Red = recording.
Note: The 5-direction pad only operates with a sh-eye door station.
5] ANSWERING A CALL
1. Touch to answer the call. To end the
call touch it again.
2. If necessary, during the call touch
to display the audio/video adjustment
icons.
3. Touch to record image/video.
00:10 Door Station1

EN
6
CDV-47DX
2EASY 2-Wire Wi-Fi Monitor, Black or White
4. Touch the icons to adjust the
parameters you want.
Adjust image colour.
Adjust image brightness.
Adjust the volume.
5. Touch to open the door for a visitor.
The door lock key displays on screen
briey to indicate that the door lock has
been released.
00:10 Door Station1
00:10 Door Station1
5
3
6
1. Touch to activate the pan, tilt and
zoom function.
If greater detail of visitors is required, move to the desired position by touching
on the screen to view the image in pan, tilt & zoom mode.
Please note: this function is only supported by a sheye camera door station (170°-
camera lens).
00:10 Door Station1
6] PANVIEW & ZOOM
7] MONITORING
1. Touch to display the cameras in your
system.
This section can be used to monitor your home by enabling cameras inside the apartment,
in communal areas (e.g. garage, garden), and at the entrance.

EN
7
CDV-47DX
2EASY 2-Wire Wi-Fi Monitor, Black or White
2. Touch to activate the desired camera on
Monitor interface.
3. It is possible to use “>” (display in
sequence) to view the other cameras.
4. Touch to return to previous menu.
5. Touch to activate the specied camera
in shortcut.
6. Touch to activate audio communication.
Touch again to return the monitor interface.
The display shows a live image from the active camera.
00:10 Door Station 2
8] CALL ANOTHER ROOM OR APARTMENT (INTERCOM)
1. Touch to display the available
intercoms.
2. Touch to display the available namelist*
calls.
*This function is disabled by default. A CDV-DDP Digital door
station is required for this function.
It is possible to communicate with a device installed in another room or with a device
in another apartment.
Intercom Namelist
Inner Call
Guard Station
Input Numbers
Intercom

EN
8
CDV-47DX
2EASY 2-Wire Wi-Fi Monitor, Black or White
3. Touch to activate communication with
another room.
00:15 Inner Call
00:15 Inner Call
4. Touch to activate communication with
the guard station.
5. If the system does not have the room
number you want, you can enter another
room number. Touch to input numbers.
Note: Function is disabled by default, CDV-DDP Digital
door station required for this function.
Intercom Namelist
Inner Call
Guard Station
Input Numbers
Intercom
Intercom Namelist
Inner Call
Guard Station
Input Numbers
Intercom
Intercom Namelist
Inner Call
Guard Station
Input Numbers
Intercom
00:15 Inner Call
6. Touch to activate the broadcast call. All
other monitors set to the same address
will allow an open audio broadcast without
answering the call.
Note: Not all other monitors will turn on the screen.
Intercom Namelist
Inner Call
Guard Station
Input Numbers
Intercom
9] VIEW CALL RECORD
When there are one or more unread call records in the answering machine, clicking the
icon shows them.

EN
9
CDV-47DX
2EASY 2-Wire Wi-Fi Monitor, Black or White
1. Touch to enter the call record interface
and display the records. These records
include missed calls, incoming calls,
outgoing calls and playback.
2. Touch to show the missed calls.
3. Touch to scroll interface.
4. Touch to delete the image.
The infomation you select is played
back automatically.
[2017/09/16 09:50] Door Station 1
1/223
Outgoing
Playback
Missed
Incoming
[2017/09/16 09:50] Door Station 1
[2017/09/16 11:25] Door Station 1
[2017/09/17 13:50] Door Station 2
[2017/09/17 18:37] Door Station 1
[2017/09/18 08:52] Door Station 2
Missed call list:
Monitor
Calling date & time
Calling source
10] DO NOT DISTURB FUNCTION
If you don’t want to be disturbed, for example, at night, follow the procedure below.
1. Touch to enter the call scene interface. 2. Touch to set the Do Not Disturb mode.
You can choose between No Disturb 8H
and No Disturb Always.
CallScene Normal Use
No Disturb 8H
No Disturb Always
Divert Call If No Answer
Divert Call Always
CallScene
Note:
This function will apply immediately if selected,and the status bar on the Main Menu
interface will show " " icon.
No Disturb 8H: No calls from the door station or other monitors will be received for 8
hours.
No Disturb Always: No calls from the door station or other monitors will be received
until the function is turned off.
EN
10
CDV-47DX
2EASY 2-Wire Wi-Fi Monitor, Black or White
11] DIVERT CALL
2. Touch to set the divert call mode:
Divert Call If No Answer or Divert Call
Always.
Note:
This function will perform immediately if selected, and the status bar on the Main Menu
interface will show " " icon.
CallScene Normal Use
No Disturb 8H
No Disturb Always
Divert Call If No Answer
Divert Call Always
CallScene
Calls from the door station can be diverted to your phone.
Note: This function must be supported by a Wi-Fi or SIP network.
1. Touch to enter the call scene interface.
Divert Call If No Answer: If nobody answers the call at the monitor within 30 seconds,
the call will be diverted to the smartphone.
In this mode, the monitor will always open the screen and show the image from the
door station during divert. If the monitor answers the call at this time, the divert will
stop immediately.
Divert Call Always: When receiveing a call from the door station, it is immediately
diverted to the smartphone.
In this mode, the monitor will turn off the screen after diverting successfully, and the
monitor can be used as normal.
12] SETTINGS
Enter Setting Interface
1. Touch to enter the Settings interface. 2. Touch the icons for the desired
customisation:
Ring volume [04]
Ring time [35s]
Door1 calling tune [01]
Door2 calling tune [01]
Door3 calling tune [01]
Call tune
Call Tune
General
Installer
Wireless
About

EN
11
CDV-47DX
2EASY 2-Wire Wi-Fi Monitor, Black or White
Ring volume - Ring time - Door1/2/3/4 calling tune - Doorbell calling tune -Intercom calling tune
-InnerCall calling tune -GuardCall calling tune
Date and time - Language - Monitor time - Shortcut setting - SD card - Screen on in divert -
Restore to default
Current address - Intercom enable - IPC Setting - Monitor list manage - System setting - FW
upgrade - Unlock time - Unlock mode - Auto reboot - Reboot
Wi-Fi switch - Wlan setting - Wireless device regist - SIP cong - SIP tools
All kinds of device information
Call Tune
General
Installer
Wireless
About
Ring Tone Settings
1. Touch to enter the call tune settings
interface.
2. Touch the settings item to select the call
tune.
The call tune can be set individually to distinguish different calling sources. There are
22 tones to choose from.
Ring Volume: Adjust the call tune volume.
Ring Time: Adjust the call tune time.
Door1/2/3/4: Call tune from door 1/2/3/4 entrance panel.
DoorBell: Call tune from doorbell.
Intercom: Call tune from another apartment's intercom.
InnerCall: Call tune from an intercom in your apartment.
GuardCall: Call tune from the Guard unit.
Ring volume [04]
Ring time [35s]
Door1 calling tune [01]
Door2 calling tune [01]
Door3 calling tune [01]
Call Tune
Call Tune
General
Installer
Wireless
About
Scroll to next interface
General Settings
1. Touch to enter general setting
interface.
This section contains the general settings and device information.
Date and time
Language [000]
Monitor time [300]
Shortcut setting
SD card
General
Call Tune
General
Installer
Wireless
About

EN
12
CDV-47DX
2EASY 2-Wire Wi-Fi Monitor, Black or White
Date & Time Setting
The current date and time can be modied at any time.
Date and time
Language
Monitor time
Shortcut setting
SD card
Date mode: MM_DD_YYYY
Time mode: HOUR_12
Date: xxxx_xx_xx
Time: xx:xx
Internet time
General Date time set
Call Tune
General
Installer
Wireless
About
General
Time Server: 131.188.3.220
Time Zone: UTC
Time Auto Update: Enable
Time Update
Date time set
General
1. Touch to enter the date and time
set interface.
2. Touch to select the item you want
to change.
3. Touch to set internet time.
Date mode: 2 display modes: month/date/year and date/month/year
Time mode: 2 display modes: HOUR_12 and HOUR_24.
Date: Touch to set the date.
Time: Touch to set the time.
Internet time: Touch to set the internet time.
Time zone: Touch to set the time zone in your country.
Time auto update:
• Disable: Set the time manually
• Enable: Synchronises the system time
1. Touch to enter
the monitor time
select interface.
2. Select the monitor
time required, then
touch again to
conrm.
The monitor time can be changed at any time. It can be to set 30s*, 60s, 90s, 120s,
150s, 180s, 210s, 240s, 270s, 300s.
*30s is the default monitor time.
Date and time
Language
Monitor time
Shortcut setting
SD card
30(s)
60(s)
90(s)
120(s)
150(s)
General Monitor time select
Call Tune
General
Installer
Wireless
About
General
Setting Monitor Time

EN
13
CDV-47DX
2EASY 2-Wire Wi-Fi Monitor, Black or White
In this section it is possible to select 4 quick actions that appear on the home interface.
1. Touch to enter the shortcut settings interface.
2. Select the shortcut item required.
3. Select the type of function for which you want to add a quick action.
4. Remove the quick action from the home interface.
Date and time
Language
Monitor time
Shortcut setting
SD card
General
Call Tune
General
Installer
Wireless
About
Remove shorcut
Monitor list
Namelist
Inner Call
Guard Station
Shortcut set
ShortcutSet1
ShortcutSet2
ShortcutSet3
ShortcutSet4
Shortcut Setting
If an SD card is inserted into the device, the SD card info can be reviewed on the device.
SD Information: SD card capacity.
Copy image: Touch to copy the recorded images to SD Card.
Date and time
Language
Monitor time
Shortcut setting
SD card
SD information
Copy image
General SD Card
Call Tune
General
Installer
Wireless
About
General
1. Touch to enter the SD card interface.
2. Select the item required.
SD Card
• The recorded still images are stored to the internal memory rst.
• Max. 118 pictures can be stored to the inner memory.*
• If a micro SD card is installed, images can be copied to the SD card.
• Max 32GB Micro SD card is supported.*
Note:
* Automatic recording function cannot be cancelled.
* Automatic recording is not available while monitoring a door station. To save images while monitoring,
see manual recording below.

EN
14
CDV-47DX
2EASY 2-Wire Wi-Fi Monitor, Black or White
1. Touch to scroll to next interface.
2. Touch to enter the screen on in
divert interface.
3. Select the item required, then
touch to conrm.
Date and time
Language
Monitor time
Shortcut setting
SD card
Screen on in divert [Disable]
Restore to default
Disable
Enable
General General
Screen on in divert
Call Tune
General
Installer
Wireless
About
Call Tune
General
Installer
Wireless
About
General
Restauring to Default Setting
The restore to default function allows the user to recover factory settings (default).
1. Touch to scroll to next interface.
2. Touch to enter the restore to
default interface.
3. Select the item required and
touch to conrm.
Date and time
Language
Monitor time
Shortcut setting
SD card
General
Call Tune
General
Installer
Wireless
About
Date and time
Language
Monitor time
Shortcut setting
SD card
General
Call Tune
General
Installer
Wireless
About
Screen on divert
Restor to default
General
Call Tune
General
Installer
Wireless
About
Note:
There are ve items: Clear call record and pictures, Clear Wi-Fi settings, Restore general
settings, Restore installer settings, Restore factory default.
Screen on Divert
If the monitor is set to "Divert call always" mode, by default, when a call is received, the
monitor will not display the image. The settings can be changed to allow the monitor to
have the screen on at the same time as a diverted call.

EN
15
CDV-47DX
2EASY 2-Wire Wi-Fi Monitor, Black or White
[-]Door 1
[X]Door 2
[X]Door 3
[X]Door 4
[X]Cam 1
Mon select
Mon select
Installer Settings
This section contains the device address setting and system settings.
Current addtess [01]
Intercom enable Enable
IPC Setting
Monitor list manage
System settings
Installer
Call Tune
General
Installer
Wireless
About
1. Touch to enter installer settings
interface.
Touch to set the user code for each monitor.
1. Enter the code by typing in the number.
2. Touch "OK" to save the code setting, complete and exit.
Note:
If dip switches 1-5 are set the monitor will show the "Dip switch setting"page.
A total of 32 numbers can be set, from 0-31.
Current addtess [01]
Intercom enable Enable
IPC Setting
Monitor list manage
System settings
Installer
Call Tune
General
Installer
Wireless
About
Current Address
26
User Code Settings
Monitor list management
Managing the monitor list.
[X] means the function is available;
[-] means the function is off and
unavailable.
[X]Door 1
[X]Door 2
[X]Door 3
[X]Door 4
[X]Cam 1
Current addtess [01]
Intercom enable Enable
IPC Setting
Monitor list manage
System settings
Setting Mon select
Call Tune
General
Installer
Wireless
About
Mon select

EN
16
CDV-47DX
2EASY 2-Wire Wi-Fi Monitor, Black or White
System settings
This section is reserved.
Software upgrade
Upgrading the device software online/via SD card.
In the FW update interface,
users can select the Servers/
SD card to upgrade. Then touch
"Check" to activate it.
Current addtess [01]
Intercom enable Enable
IPC Setting
Monitor list manage
System settings
FW upgrade
Unlock time [03]
Unlock mode [Open]
Auto reboot [Enable]
Reboot
Installer Installer
Call Tune
General
Installer
Wireless
About
Call Tune
General
Installer
Wireless
About
Server Server1[47.91.xx.xx]
Download code 847xxx
Check
Installer
FW update
Unlock time setting
Setting the unlock time.
You can change the unlock
time at any time. It can be set
from 1 to 99 seconds.
Current addtess [01]
Intercom enable Enable
IPC Setting
Monitor list manage
System settings
FW upgrade
Unlock time [03]
Unlock mode [Open]
Auto reboot [Enable]
Reboot
Installer Installer
Call Tune
General
Installer
Wireless
About
Call Tune
General
Installer
Wireless
About
Unlock time
08

EN
17
CDV-47DX
2EASY 2-Wire Wi-Fi Monitor, Black or White
Unlock mode setting
Setting the unlock mode.
There are two unlock modes:
1. Power-on-to-unlock type = Open
2. Power-off-to-unlock type = Close
Open
Close
Installer
Unlock mode
Current addtess [01]
Intercom enable Enable
IPC Setting
Monitor list manage
System settings
FW upgrade
Unlock time [03]
Unlock mode [Open]
Auto reboot [Enable]
Reboot
Installer Installer
Call Tune
General
Installer
Wireless
About
Call Tune
General
Installer
Wireless
About
Auto reboot or manually reboot the device.
Current addtess [01]
Intercom enable Enable
IPC Setting
Monitor list manage
System settings
FW upgrade
Unlock time [03]
Unlock mode [Open]
Auto reboot [Enable]
Reboot
FW upgrade
Unlock time [03]
Unlock mode [Open]
Auto reboot [Enable]
Reboot
Installer Installer
Installer
Call Tune
General
Installer
Wireless
About
Call Tune
General
Installer
Wireless
About
Call Tune
General
Installer
Wireless
About
Reboot

EN
18
CDV-47DX
2EASY 2-Wire Wi-Fi Monitor, Black or White
Wireless Settings
WIFI adaptor
1. Touch to enter the wireless setting
interface.
2. Touch to activate the function, making
sure the Wi-Fi switch is ON.
3. Touch to enter WLAN setting interface.
Setting
Call Tune
General
Installer
Wireless
About
Wi switch [ON]
Wlan setting
Wireless device regist [00]
SIP cong
SIP tools
3P-USB cable for
FW updating
DIP Switch Set address
CDVI CDV-47/DX monitors are preset to allow the address to be changed through the
user interface (Installer Settings). DIP switch 6 is the only switch that needs to be set.
• Bit-1 to Bit-5 are used for user code settings. The value range is from 0 to 31, which
have 32 different codes for 32 apartments.
• Bit-6 is the bus line terminal switch, which should be set to “ON” if the monitor is at
the end of bus line, otherwise be set to “OFF”.
Bit-6 switch setting
ON(1)
=
OFF(0)
=
ON
ON
ON 123456
Bit state Setting Bit state Setting
1 2 3 4 5 6
ON
When monitor
is not at the
end of bus line.
When monitor
is at the end of
bus line.
1 2 3 4 5 6
ON
This monitor is assigned with DIP setting instructions.Total 32 DIP codes.
Setting
Call Tune
General
Installer
Wireless
About
Current addtess [01]
Intercom enable Enable
IPC Setting
Monitor list manage
System settings

EN
19
CDV-47DX
2EASY 2-Wire Wi-Fi Monitor, Black or White
4. Touch to scroll the interface.
5. Touch to select the domestic network to
which you want to connect the device.
6. Touch to enter the input password
interface.
Wireless SSID: VTKAP03
PWD:
Auto connect
Connect
7. Enter the password (if required).
8. Touch to activate the connection, and
return to Wi-Fi information interface. 9. Go to Connect/Disconnect item.
vtk_
PWD:
SSID: DORANI
PWD: vtk@123
Connect/Disconnect
Wireless
Input SSID and PWD
tk
zhongshi
MagicCyclingGuest
360
Lan setting
Wireless
SIP cong
On the call scene interface
1. Touch to select the divert call mode:
Divert Call If No Answer or Divert Call
Always.
You can set a divert call function to a mobile phone while away from home via SIP
server.
Normal Use
No Disturb 8H
No Disturb Always
Divert Call If No Answer
Divert Call Always
CallScene
CallScene

EN
20
CDV-47DX
2EASY 2-Wire Wi-Fi Monitor, Black or White
On the wireless settings interface
2. Touch to enter the SIP cong.
USER NAME 0e0019axxx
PASSWORD 230**
DOMAIN 2easyip.com
Manual registration
Use Default
Wireless
Sip cong
Wi switch [ON]
Wlan setting
Wireless device regist [00]
SIP cong
SIP tools
Setting
Call Tune
General
Installer
Wireless
About
USER NAME 0e0019axxx
PASSWORD 230**
DOMAIN 2easyip.com
Manual registration
Use Default
Wireless
Sip cong
USER NAME 0e0019axxx
PASSWORD 230**
DOMAIN 2easyip.com
Manual registration
Use Default
Registered
Wireless
Sip cong
3. Touch to restore all settings on “SIP cong” and create 2 SIP accounts, one for the
DX monitor and one for the 2EASY app. The server will apply to restore two accounts’
passwords to default, and register it. Only when:
If the DX monitor is not brand new you should select “Use default” before testing.
The 2EASY app is not able to register on the server.
4. When selected, the DX monitor will apply to clean all SIP “contact” on the server, and
also will try to register itself to the server. This function helps when:
The 2EASY app is not able to get push notications.
The DX monitor has connected to Wi-Fi, but the “Server” icon appears with “!” or
“x” beside it.
2. Touch to enter the call testing page.
SIP tools allow divert functions to be tested, including with an unattended door station.
1. Touch to enter the SIP tools page.
Wi switch [ON]
Wlan setting
Wireless device regist [00]
SIP cong
SIP tools
Call Tune
General
Installer
Wireless
About
SIP tools
SIP call testing
SIP call statistics
Clear SIP call statistics
View SIP call logs
Copy SIP call logs to SD
Wireless
SIP tools
Table of contents
Other CDVI Intercom System manuals

CDVI
CDVI CDV91S User manual

CDVI
CDVI CDV96KP User manual

CDVI
CDVI 2EASY CDV-96KP User manual

CDVI
CDVI CDV-4791S-DXB User manual

CDVI
CDVI CDV97-8ID Series User manual

CDVI
CDVI CDV4791 User manual

CDVI
CDVI CDV-91 User manual

CDVI
CDVI CDV4796KP-DX User manual

CDVI
CDVI CDV-91IP User manual

CDVI
CDVI CDV-471IP User manual
Popular Intercom System manuals by other brands

On-Q/Legrand
On-Q/Legrand inQuire 1000 Instruction/installation sheet

Extel
Extel MULTI PRO Installation and user guide

ABB
ABB ABB-Welcome M2240-W product manual

Gainwise
Gainwise TH-601W Settings guide

NSK Control
NSK Control 7620_CX Product documentation

urmet domus
urmet domus 956/94 Installation and instruction manual