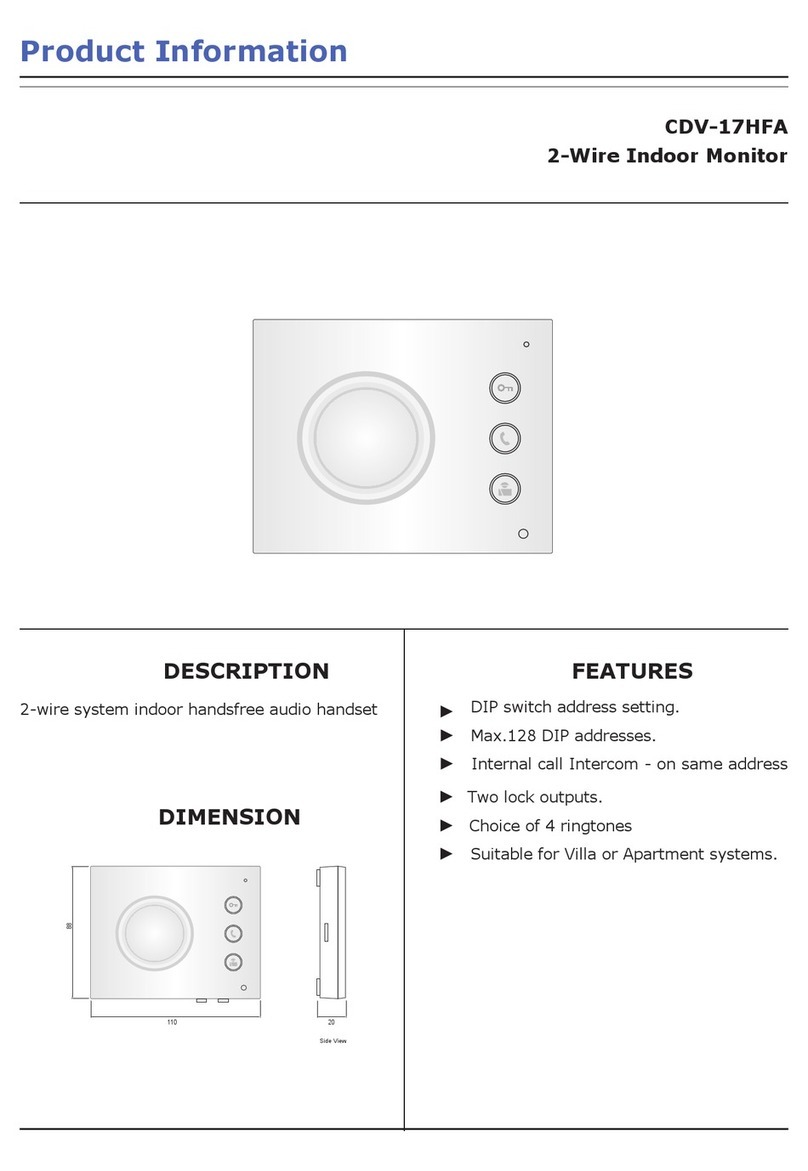
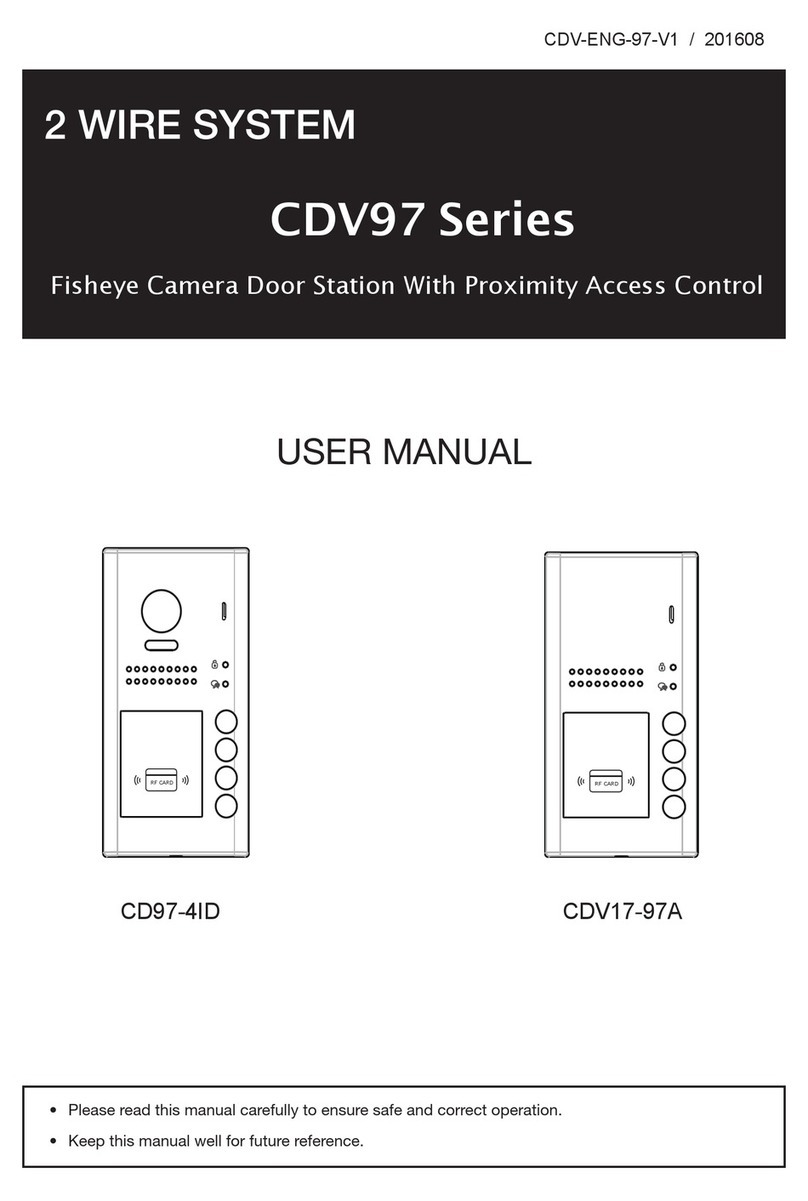
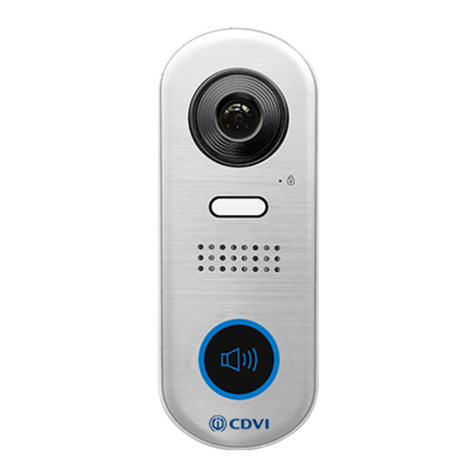
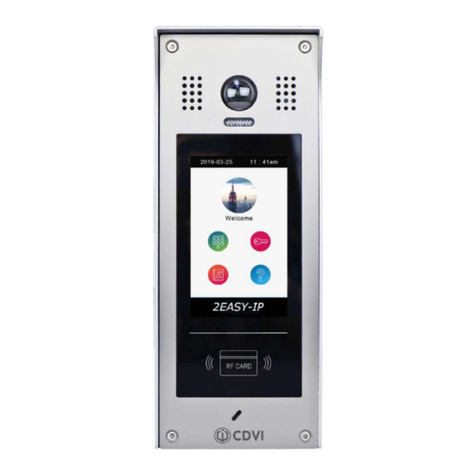
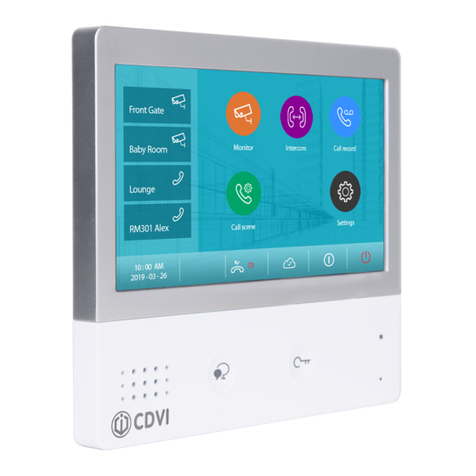
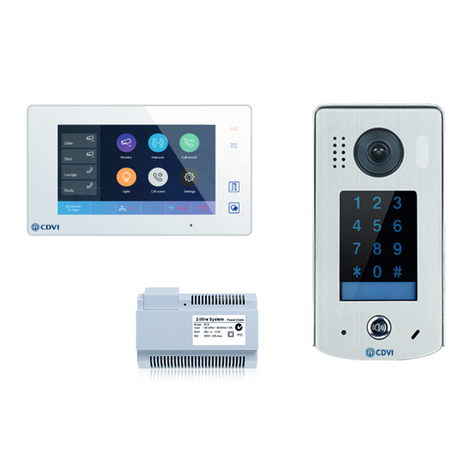
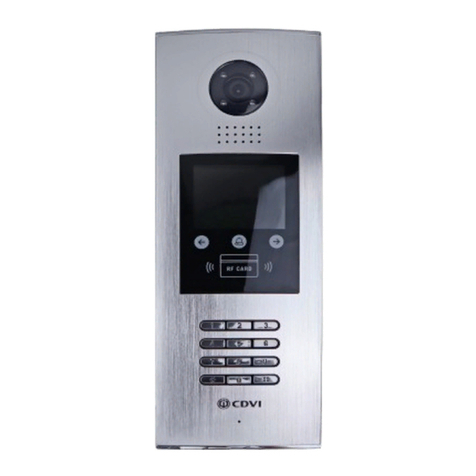
CDVI 2EASY CDV-91S User manual

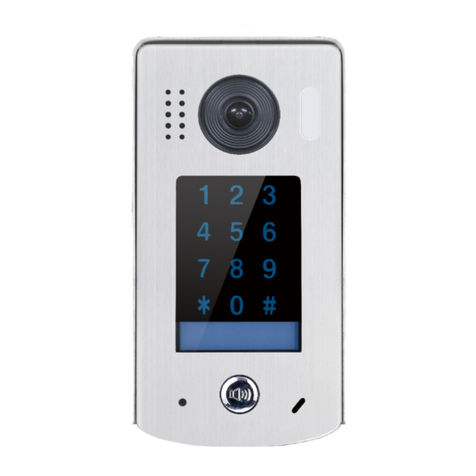
2EASY 2-wire 1-button Video Door Station
CDV-91S
EN
WARRANTY
YEAR
2

EN EN
3
CDV-91S
2EASY 2-wire 1-button Video Door Station
2] PARTS AND FUNCTIONS
3] TERMINAL DESCRIPTIONS
DIP:
• Bit 1&2: sets the door station address, a
total of 4 door stations can be supported.
Please refer to door station address
setting.
• Bit 3&4: sets the unlock time for door
station. Please refer to unlock time setting.
• Bit 5: sets the unlock mode for door
station (0(OFF):open/1(ON):closed).
• Bit 6: 0(OFF) --> 1(ON), to enter the
setting mode.
• L1,L2: Connect to the bus line, no polarity
• LK+: Lock power (+) output
• LK-: Lock power (-) output, connect to the power (-) input of the lock
• JP: Lock Control Jumper

EN EN
4
CDV-91S
2EASY 2-wire 1-button Video Door Station
4] INSTALLATION
1. the recommended installation height for the door station is 145-160cm
2. Use screws to x the back panel to the wall and connect the cables correctly.
3. Attach the front panel to the back panel, then use the screw to secure the panel.
Single door station system wiring
5] SYSTEM WIRING AND CONNECTIONS

EN EN
5
CDV-91S
2EASY 2-wire 1-button Video Door Station
Electric lock connections
Door lock controlled with internal power
Notes:
1. This mode only supports Fail Secure (power
on to unlock) Strikes
2. The door lock is limited to 12V, and holding
current must be less than 250mA.
3. The door lock control is not timed from Exit
Button (EB).
4. The monitor’s Unlock Mode parameter must
be set to 0 (by default).
Door lock controlled with dry contact
Notes:
1. An external power supply must be used
according to the lock power requirements.
2. The internal relay contact is restricted to AC
or DC Max 24V/1A
3. Remove jumper before connecting.
4. Setup the monitor’s Unlock Mode for
different lock types.
• Power-on-to-unlock (fail secure): Unlock
Mode = 0 (default)
• Power-off-to-unlock (fail safe): Unlock Mode
= 1

EN EN
6
CDV-91S
2EASY 2-wire 1-button Video Door Station
Multi door stations system wiring (4 max*)
Multidoor monitors system wiring (4 max*)
Standard IN-OUT wiring
• The door station is compatible
with the 2EASY CDV-47 & CDV-
47DX monitors from CDVI.
• For the last monitor connected
to the system, DIP6 should be
set to ON.

EN EN
7
CDV-91S
2EASY 2-wire 1-button Video Door Station
Star topology wiring with CDV-DBC4A1
The system can be extended by up to 3 slave monitors for each monitor. We recommend
you use the CDVI distributor CDV-DBC4A for the extension.
*IMPORTANT: Subject to cable type. Please see cable distance chart on pages
10-11. For further help, call CDVI Technical Support on +44 (0) 1628 531300 or visit
the CDVI Support Centre.
6] PANVIEW & ZOOM
Note: This function requires a monitor with sh-eye function to operate. (CDV-47 or
CDV-47DX)
The display of the image of the sh-eye door station can be adjusted when answering
a call by using the 5-direction pad button.

EN EN
8
CDV-91S
2EASY 2-wire 1-button Video Door Station
When a door station image is displayed,
move to the desired position by touching
on the screen to view the
image in zoom mode.
Note: The edge of pantilt image will not be
displayed.
You can zoom in or zoom out to identify anyone at the entrance.
Touch the icon to zoom to the center position.
Pressing any button of the
5-direction pad will enlarge
the screen to full screen
mode.
Press to return to the full
screen mode
Press to navigate
and see individuals up close.
7] LED STATUS
Refer to the table below, to understand the status of the monitor and its corresponding
LED signal.
LED_UNLOCK LED_CAM LED_KEY
Monitoring -Auto (by default) ON (by default)
Calling -Auto (by default) Flashing quickly
Talking -Auto (by default) Flashing slowly
Unlock ON - -
Upgrade ON - -
Setup/
Initialisation ON - -

EN EN
9
CDV-91S
2EASY 2-wire 1-button Video Door Station
8] SETTINGS
Door station address settings
2 bits on the DIP switches can be congured. The switches
can be modied either before or after installation.
Bit State Description
Default setting, ID = 0(00), set to the rst
Door Station.
ID = 1(10), set to the second Door
Station.
ID = 2(01), set to the third Door Station.
ID = 3(11), set to the fourth Door Station.
Unlock time settings
Bit State Description
Default setting, unlock time is Xs
Set the unlock time to 3s
Set the unlock time to 5s
Set the unlock time to 10s
Switch language voice
Set bit 6 to ON or connect power and within 10 secs, press and hold KEY_CALL to enter
the settings mode.
Press KEY_CALL to switch
language voice prompt mode
LED_UNLOCK: ON
LED_KEY: ON
Buzzer --> No language voice
Press KEY_CALL to switch
language voice prompt mode
LED_UNLOCK: ON
LED_KEY: ON
Buzzer --> Language voice 1
Press KEY_CALL to switch
language voice prompt mode
LED_UNLOCK:ON
LED_KEY:ON
Buzzer --> Language voice X
...
Note: If no operations are completed for 10 seconds, the panel will exit the settings
mode automatically.
EN EN
10
CDV-91S
2EASY 2-wire 1-button Video Door Station
Note: If no operations are completed for 10 seconds, the panel will exit the settings
mode automatically.
Initialisation
Press and hold KEY_CALL
to activate initialisation
LED_UNLOCK: ON
LED_KEY: ON
Buzzer --> Beep+, Beep
After initialisation.
Exit settings automatically
LED_UNLOCK: ON
LED_KEY: ON
Set bit 6 to ON or connect power and within 10 secs, press and hold KEY_CALL to enter
the settings mode.
9] CABLE REQUIREMENTS
The maximum distance of the wiring is limited in the 2EASY system. Using different
cables may also affect the maximum distance which the system can reach.
Standard IN-OUT wiring
Cable and distance (unit: m)
Cable Usage A B
<2 IM B
<16
IM
Belden 9470 UTP
2x0.75mm2
60 100 40
Belden 8471 UTP
2x1mm2
80 120 60
A
B
Recommended cable:
16AWG, Belden 8471

EN EN
11
CDV-91S
2EASY 2-wire 1-button Video Door Station
Star topology wiring with CDV-DBC4A1
Cable Usage A B C
Belden 9470 UTP
2x0.75mm2
60 60 30
Belden 8471 UTP
2x1mm2
80 80 40
Cable and distance (unit: m)
Recommended cable:
16AWG, Belden 8471

EN EN
12
CDV-91S
2EASY 2-wire 1-button Video Door Station
11] PRECAUTIONS
• Please clean the unit with soft cotton cloth. Do not use wet wipes or cloth or chemical
cleaning agent. If necessary, use a little pure water or diluted soapy water to clean the
dust.
• The unit is weather resistant. However do not spray high pressure water on access
control keypad directly. Excessive moisture may cause problems with the unit.
• You must use the the correct power adapter which is supplied or approved by the
manufacturer.
• Pay attention to the high voltage inside the products, please refer service only to a
trained and qualied professional.
Feature Description
Power Supply 24 Vdc
Power Consumption Standby: 14mA, Working: 122mA
Camera Color CMOS, 2.0 Mega pixel
1/2.7’’ sheye camera, 1700 wide angle
Lock Power Supply 12 Vdc, 250mA (internal Power)
Operating Temperature -15°C - +55°C
Dimensions 160(H) x 60(W) x 31.5(D) mm
IP Rating IP44
10] PRODUCT SPECIFICATIONS

EN EN
13
CDV-91S
2EASY 2-wire 1-button Video Door Station
Notes
.......................................................................................................................
.......................................................................................................................
.......................................................................................................................
.......................................................................................................................
.......................................................................................................................
.......................................................................................................................
.......................................................................................................................
.......................................................................................................................
.......................................................................................................................
.......................................................................................................................
.......................................................................................................................
.......................................................................................................................
.......................................................................................................................
.......................................................................................................................
.......................................................................................................................
......................................................................................................................
.......................................................................................................................
.......................................................................................................................
.......................................................................................................................
.......................................................................................................................
.......................................................................................................................
.......................................................................................................................
.......................................................................................................................
.......................................................................................................................

www.cdvigroup.com
CDVI Group
FRANCE (Headquarters)
Phone: +33 (0) 1 48 91 01 02
CDVI FRANCE + EXPORT
+33 (0) 1 48 91 01 02
www.cdvi.com
CDVI AMERICAS [CANADA - USA]
+1 (450) 682 7945
www.cdvi.ca
CDVI BENELUX [BELGIUM - NETHERLANDS - LUXEMBOURG]
+32 (0) 56 73 93 00
www.cdvibenelux.com
CDVI GERMANY
+49 (0) 175 2932 901
www.cdvi.de
CDVI TAIWAN
+886 (0) 42471 2188
www.cdvichina.cn
CDVI SUISSE
+41 (0) 21 882 18 41
www.cdvi.ch
CDVI CHINA
+86 (0) 10 84606132/82
www.cdvichina.cn
CDVI IBÉRICA [SPAIN - PORTUGAL]
+34 (0) 935 390 966
www.cdviberica.com
CDVI ITALIA
+39 (0) 321 90 573
www.cdvi.it
CDVI MAROC
+212 (0) 5 22 48 09 40
www.cdvi.ma
CDVI SWEDEN
[SWEDEN - DENMARK - NORWAY - FINLAND]
+46 (0) 31 760 19 30
www.cdvi.se
CDVI UK [UNITED KINGDOM - IRELAND]
+44 (0) 1628 531300
www.cdvi.co.uk
CDVI POLSKA
+48 (0) 12 659 23 44
www.cdvi.com.pl
All the information contained within this document (pictures, drawings, features, specications and dimensions)
could be perceptibly different and can be changed without prior notice. - Aug 2021
*ENG-CDV91S-V2*
Reference : ENG-CDV91S-V2
Extranet : CDVI_CDV-91S_IM_01_EN_A4_C
Table of contents
Other CDVI Intercom System manuals

CDVI
CDVI CDV4791 User manual

CDVI
CDVI CDV97-1ID User manual

CDVI
CDVI 2EASY CDV-47DX User manual

CDVI
CDVI DMR18S User manual

CDVI
CDVI CDV-4791S-DXB User manual

CDVI
CDVI CDV-17HFA User manual

CDVI
CDVI CDV96KP User manual

CDVI
CDVI CDV-471IP User manual

CDVI
CDVI CDV4796KP-DX User manual

CDVI
CDVI CDV-91 User manual

CDVI
CDVI CDV96KP User manual

CDVI
CDVI 2Easy CDV4796KP-DX User manual

CDVI
CDVI 2EASY CDV-850IP User manual

CDVI
CDVI CDV-DDP-F User manual

CDVI
CDVI CDV-91IP User manual

CDVI
CDVI 2EASY CDV-96KP User manual

CDVI
CDVI CDV-91 User manual

CDVI
CDVI CDV91F User manual

CDVI
CDVI CDV97-8ID Series User manual

CDVI
CDVI 2EASY CDV-T5 User manual