manuals.online logo
Brands
  1. Home
  2. •
  3. Brands
  4. •
  5. Coalesse
  6. •
  7. Indoor Furnishing
  8. •
  9. Coalesse SW 1 User manual

Coalesse SW 1 User manual

Page 1 of 11
939500440 Rev E
SW_1™Tables
If you have a problem, question, or request, call
your local dealer, or Coalesse at 1.800.627.6770
Or visit our website: www.coalesse.com
©2015 Coalesse
San Francisco, California U.S.A.
Printed in U.S.A.
#2 Phillips Bit
3/32", 1/8", & 5 mm
Hex Allen Wrench
1/4" Hex Bit
NOTE: For larger tables, it is recommended that
you use two or more people to install this product.
3/4"
LIFT HERE
DO NOT
LIFT HERE
Page 2 of 11
939500440 Rev E
NOTE: This page applies to the “X” base
used on the small round and square tables.
1. Remove 1/4-20 bolt and washer from
column.
2. Insert column assembly into base.
NOTE: Tabs and notches in column and
base allow for correct position.
3. With rubber mallet, hit on top of column
assembly to seat the tapers in the column
and the base together.
4. Reinstall 1/4-20 bolt and washer onto
column assembly to a torque of 30 in-lbs.
1
2
3
4
Page 3 of 11
939500440 Rev E
1. Place bases upside down on a
protected surface. Align spanners to
legs (1a). If needed, lightly tap spanner
to engage into base.
Hand tighten bolts (1b).
After all bolts are hand
tightened, fully tighten
to 23 3-ft-lb torque.
2. Turn all leveling glides
to the lowest position, then
use two people to carefully
flip the substructure into an
upright position.
1a
1b
FOR STANDARD TABLES
NOTE: Go to page 6 for Large Round and Square Tables.
SPANNER
SPANNER
2
Page 4 of 11
939500440 Rev E
NOTE: This page applies to the large “X”
base, “V” base and inline base.
NOTE: It is recommended that you use two
people to assemble the base assembly.
3. Insert threaded rod into upper cone.
NOTE: Make sure tab in upper cone
aligns with threaded rod ring notch.
4. Place column over threaded rod.
NOTE: Tabs and notches in upper cone
and column only allow one correct
position.
5. Place onto base.
NOTE: Tabs and notches in base and
column only allow one correct position.
6. Hand tighten lock nut on threaded rod loosely.
After ALL tabs and notches are aligned, fully
tighten lock nut to a torque of 30 ft-lbs.
3
4
5
6
Page 5 of 11
939500440 Rev E
7
NOTE: Cone assemblies must be level
with each other to ensure proper fit of
joint on multi-piece worksurface tables.
BARRIER
8a
WIRE MANAGER
8b
7. Level cones.
8. If grommet option is selected,
attach the barrier to the threaded
rod inside the cone by twisting
the barrier until it stops spinning
freely, then turn another 1/4 turn,
being careful not to over tighten
(8a). Push in wire manager (8b).
Page 6 of 11
939500440 Rev E
1c
NOTE: Cone assemblies must be level
with each other to ensure proper fit of
joint on multi-piece worksurface tables.
1. Insert spanner tubes into 4-way
connector (1a) then tighten bolts (1b).
Place bases upside down on a protected
surface. Align spanner tubes to legs (1c).
If needed, lightly tap spanner to engage
into base. Hand tighten bolts (1d).
After all bolts are hand tightened, fully
tighten to 23 3-ft-lb torque.
2. Turn all leveling glides to the lowest
position, then use two people to carefully
flip the substructure into an upright
position.
3. Follow steps 3 through 8 on pages
4 & 5 for column & cone installation.
4. Level cones.
5. If grommet option is selected,
follow step 8 on page 5.
FOR LARGE ROUND AND SQUARE TABLES
NOTE: Go to page 3 for Standard Tables.
LEVELING
GLIDES
SPANNER
TUBES
4-WAY
CONNECTOR
1a 2
1b
4
1d
Page 7 of 11
939500440 Rev E
6. Use a 3-3/4” high wood block
under center connector for support.
7. One table half has large domino
and dowel holes, and the other half
has small holes. Install the half with
the smaller holes first, then insert the
dominoes and dowels into the holes.
Note: for 3 piece tops, start with
center section first.
8. Slide the table half into position
so that the pilot holes are seen
through holes in cones.
9. a) Install screws in piloted holes
with oval openings first, then b)
install screws into round holes.
Caution: Use an extra person as a
spotter that holds the top while
another fastens screws.
6
DOMINO
3-3/4”
DOWEL
7
8
OVAL OPENING
ROUND HOLES
9a
9b
NOTE: Install the half with
the smaller holes first.
NOTE: Care must be taken to NOT lift the table
halves by the top surface. Table halves must be
lifted by the sub-structure.
THREE-PIECE TOP
(start with center section)
Page 8 of 11
939500440 Rev E
10. Rest the other half (with the
larger domino and dowel holes) on
top of the cones.
11. Make sure halves are in
alignment, then move the free half
at a slight angle so that the oversize
holes accept the dominoes / dowels.
12. Push halves together until tight.
13. Install a Zipbolt connector, snug
but not tight, into routs at all routed
locations. Place as deep as possible in
the pocket. Ensure that table edges
are flush at the joint (side to side).
Do not use rubber mallet to align
tops from side to side!
10
NOTE: If cones aren’t properly located
with the cutouts, raise the center of
base to help align them.
11
ZIPBOLT CONNECTOR
13
NOTE: After all Zipbolts are hand
tightened, fully tighten to 7.4-ft-lb torque.
DO NOT use impact drivers.
Place as deep as possible
in the pocket.
Page 9 of 11
939500440 Rev E
14. Use a 5mm allen wrench or
provided bit to snug the connector
(not completely).
Feel top surface of seam, then use a
rubber mallet near connector to raise
the low side. Secure the connectors.
15. Repeat this procedure across
length of the seam from one side of
the table to the other. Carefully tap
halves flush, then secure Zipbolts.
16. Recheck to be sure that the
table halves are flush along the
seam. If adjustment is needed,
loosen the Zipbolt connectors, flush
the top, then retighten them.
17. Secure this half to the cones
following the same method as step 9.
NOTE: If cone does not sit down
in the pocket, loosen lock nut on
base column to allow cone to slide
into pocket. Retighten hex nut
from the bottom to 30 ft-lbs
before securing.
18. Adjust threaded leveling
glides as needed.
Tighten to 10 +1.5 in-lb torque.
14
15 Use caution when using mallet to
minimize risk of damage.
Never use mallet on worksurface top.
Tap from underside of table.
16
LEVELING GLIDES
18
17
1
2
3
4
5
6
7
8
Page 10 of 11
939500440 Rev E
1. Follow previous installation steps
for substructure.
2. a) Clean bottom of glass with
alcohol and a clean rag.
b) Clean top surface of substructure
with a rag before applying pads.
3. Peal off paper backing on the back
of rubber pads.
4. Apply pads onto the substructure
at the locations shown.
5. Carefully place glass onto rubber
pads, leaving a 2 -1/2” overhang
around the table perimeter.
NOTE: Make certain that glass
halves are tight together at seam.
SUBSTRUCTURE
GLASS TOP INSTALLATION
Peel off paper, then place
pads as shown below.
3
4
52- 1/2”
OVERHANG
Page 11 of 11
939500440 Rev E
TABLET
TABLET
SLIDE ASSEMBLY
1c
1. If you are installing a tablet, pull slides out from
tablet until fully extended (1a). Place tablet onto
tablet slide assembly (1b). Align slide with pilot hole
area underneath substructure, tighten (2) set screws
on tablet slide assembly, (1c). Put assembly into
position (1d) and secure using three (3) screws per
slide (1e). Level tablet on table and tighten screws (1f).
2. Install grommets by placing into opening (2a) (if
any) and twisting to the right until it stops (2b). Orient
barriers so the logo aligns with the width of the table
(2c).
TIGHTEN
SCREW
2c
BARRIER
Underside of Substructure
1a
1b
SLIDE
1d
1e
GROMMET 2a
2b
1f
TABLET INSTALLATION

Other manuals for SW 1

1

This manual suits for next models

1

Other Coalesse Indoor Furnishing manuals
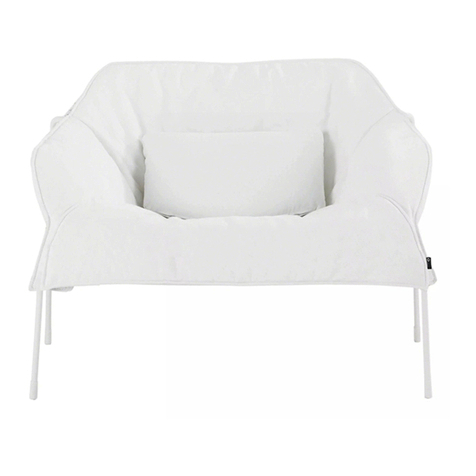
Coalesse Bix Bridge Table User manual

Coalesse

Coalesse Bix Bridge Table User manual

Coalesse Denizen Round Operating and safety instructions

Coalesse

Coalesse Denizen Round Operating and safety instructions

Coalesse Potrero 415 Light Table User manual

Coalesse

Coalesse Potrero 415 Light Table User manual

Coalesse Lox 4-Star Base Chair Reference guide

Coalesse

Coalesse Lox 4-Star Base Chair Reference guide

Coalesse EMU Re-trouve MIDBACK User manual

Coalesse

Coalesse EMU Re-trouve MIDBACK User manual

Coalesse tX2 User manual

Coalesse

Coalesse tX2 User manual

Coalesse Montara650 4-Leg Chair Operating instructions

Coalesse

Coalesse Montara650 4-Leg Chair Operating instructions

Coalesse Emu User manual

Coalesse

Coalesse Emu User manual

Coalesse Archipelago Use and care manual

Coalesse

Coalesse Archipelago Use and care manual

Coalesse Massaud User manual

Coalesse

Coalesse Massaud User manual

Coalesse Potrero415 User manual

Coalesse

Coalesse Potrero415 User manual

Coalesse Lagunitas Arm, Corner & Straight Back... Use and care manual

Coalesse

Coalesse Lagunitas Arm, Corner & Straight Back... Use and care manual

Coalesse Emu Ivy User manual

Coalesse

Coalesse Emu Ivy User manual

Coalesse Lagunitas Focus Nook User manual

Coalesse

Coalesse Lagunitas Focus Nook User manual

Coalesse LessThanFive User manual

Coalesse

Coalesse LessThanFive User manual

Coalesse Chord Use and care manual

Coalesse

Coalesse Chord Use and care manual

Coalesse Topo User manual

Coalesse

Coalesse Topo User manual

Coalesse SW 1 Operating instructions

Coalesse

Coalesse SW 1 Operating instructions

Coalesse Denizen User manual

Coalesse

Coalesse Denizen User manual

Coalesse E-table 2 User manual

Coalesse

Coalesse E-table 2 User manual

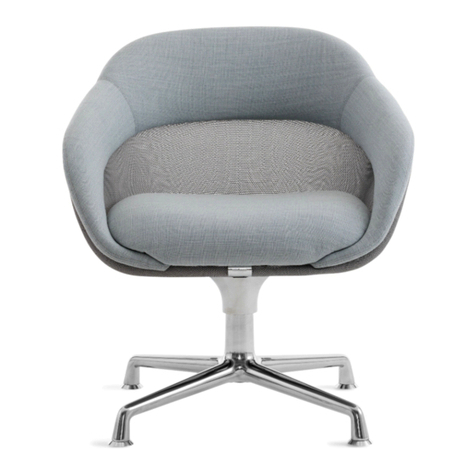
Coalesse emu Heaven Seating & Table Cushion User manual
Coalesse

Coalesse emu Heaven Seating & Table Cushion User manual

Coalesse Lagunitas User manual

Coalesse

Coalesse Lagunitas User manual
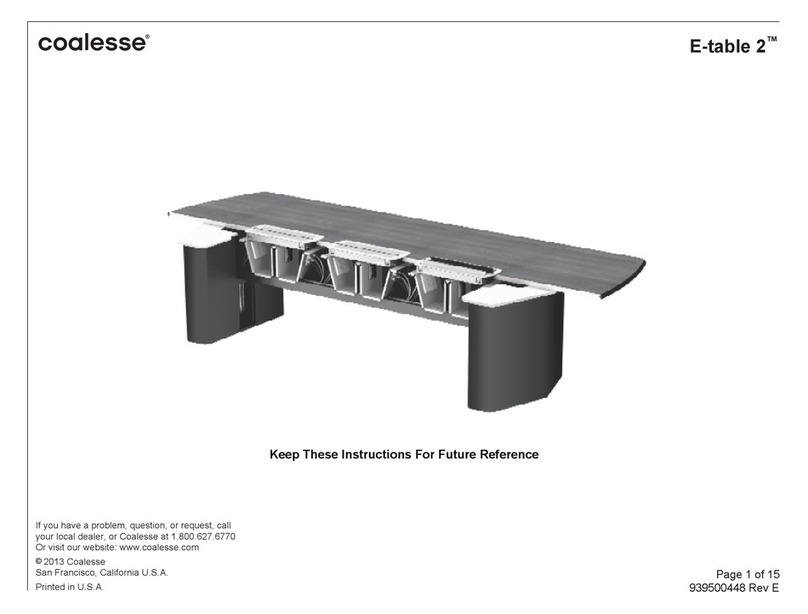
Coalesse Train series User manual

Coalesse

Coalesse Train series User manual

Coalesse Bix Table User manual

Coalesse

Coalesse Bix Table User manual
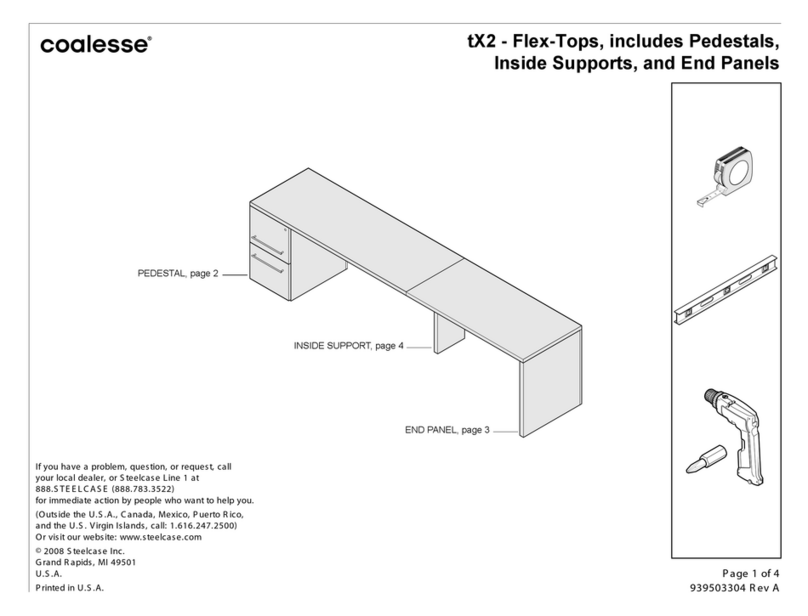
Popular Indoor Furnishing manuals by other brands

Pine Crafter Furniture 14F instructions

Pine Crafter Furniture

Pine Crafter Furniture 14F instructions

Sleep Design OSCAR WHITE TRIPLE SLEEPER BED Assembly instruction

Sleep Design

Sleep Design OSCAR WHITE TRIPLE SLEEPER BED Assembly instruction

Hafele Bettlift Foldaway Bed Fittings 271.95.203 Installation instructio and drilling jig

Hafele

Hafele Bettlift Foldaway Bed Fittings 271.95.203 Installation instructio and drilling jig

Furniture of America CM3445PC-2PK Assembly instructions

Furniture of America

Furniture of America CM3445PC-2PK Assembly instructions

Notável Móveis NT 1320 Assembly instructions

Notável Móveis

Notável Móveis NT 1320 Assembly instructions

Furniture of America FOA7144N Assembly instructions

Furniture of America

Furniture of America FOA7144N Assembly instructions

Friant MIDZONE User guide and assembly instructions

Friant

Friant MIDZONE User guide and assembly instructions

CUGGL FSC WOODEN GATE NATURAL Care & instruction manual

CUGGL

CUGGL FSC WOODEN GATE NATURAL Care & instruction manual

Lavish Home Collection 80-ENTRYF-6 Assembly instructions

Lavish Home Collection

Lavish Home Collection 80-ENTRYF-6 Assembly instructions

Furniture of America CM7751N Assembly instructions

Furniture of America

Furniture of America CM7751N Assembly instructions

Crate&Barrel Rainey quick start guide

Crate&Barrel

Crate&Barrel Rainey quick start guide

Accora Configura Care instruction manual

Accora

Accora Configura Care instruction manual

VIBO Galaxy 041-VGSBO Series Assembling instructions

VIBO

VIBO Galaxy 041-VGSBO Series Assembling instructions

active ergonomics flo manual

active ergonomics

active ergonomics flo manual

Walker Edison ORRSSTNL Assembly instructions

Walker Edison

Walker Edison ORRSSTNL Assembly instructions

OfficeSource PBTR66 Assembly instructions

OfficeSource

OfficeSource PBTR66 Assembly instructions

PowellKids 335-238 Assembly instructions

PowellKids

PowellKids 335-238 Assembly instructions

Ticaa MANUEL H1000011507 Instructions for use

Ticaa

Ticaa MANUEL H1000011507 Instructions for use

manuals.online logo
manuals.online logoBrands
  • About & Mission
  • Contact us
  • Privacy Policy
  • Terms and Conditions

Copyright 2025 Manuals.Online. All Rights Reserved.