manuals.online logo
Brands
  1. Home
  2. •
  3. Brands
  4. •
  5. Coalesse
  6. •
  7. Indoor Furnishing
  8. •
  9. Coalesse Topo User manual

Coalesse Topo User manual

Page 1 of 10
939500422 Rev D
If you have a problem, question, or request, call
your local dealer, or Coalesse at 1.800.627.6770
Or visit our website: www.coalesse.com
©2010 Coalesse
San Francisco, California U.S.A.
Printed in U.S.A.
Topo™Biplane Assembly Instructions
CAUTION: Before moving this product,
make sure to disconnect at storage unit.
Failure to do so may cause personal injury
or property damage.
7/16" SOCKET
1/8"
5/32" BALL TIP
Page 2 of 10
939500422 Rev D
DEPRESS QUICK-
RELEASE TAB
1a
1b
FILE DRAWER
2a
2b
REMOVE
SCREW
PEDESTAL
TRIM PIECE
1. Pull drawer forward from the pedestal (1a).
Push tab on each side of the drawer rail (1b).
Remove file drawer completely then remove box
drawer. Push slide rails back into pedestal.
2. Remove inner screws and loosen outer screws on
trim piece (2a) then remove trim piece from pedestal
(2b) and save screws.
NOTE: Depending on your installation, you will need
to clarify which trim piece to remove (left or right hand).
LOOSEN
SCREW
REMOVE
SCREW
LOOSEN
SCREW
3a
3b
4
Page 3 of 10
939500422 Rev D
3. Insert the pedestal attachment bracket where the
trim piece was (3a). Use the same screws that held
the trim piece to secure the new pedestal attachment
bracket (3b). Place drawers back into pedestal.
4. Turn the worksurface upside down.
TIP: Place the notched end of the worksurface
near the pedestal as shown.
SCREWS SAVED
FROM ORIGINAL
TRIM REMOVAL
PEDESTAL
ATTACHMENT
BRACKET
NOTCHED
END FACING
TOWARD PEDESTAL
HYPERGLIDE
5b
5d
5e
MODESTY
PANEL
PVD BOX
Page 4 of 10
939500422 Rev D
5. Attach the base (5a) and hyperglide (5b). Install cams to the correct depth by
pushing the cam to the bottom of the hole (there are two different depths) and in
the correct orientation (with arrow pointing in the direction of the corresponding
hole) (5c). Attach modesty panel (if you have one) (5d) and the PVD box (5e). You
will not be able to use the fasteners that attach to the backsplash at this point.
5c
BASE
5a
a
b
6c
a
b
a
b
PEDESTAL
SLOT
b
a
a
b
T-NUT
6a
6b
SLOT
Page 5 of 10
939500422 Rev D
6. Place the t-nuts onto the pedestal attachment bracket loosely and
orient as shown (6a). Flip workstation onto pedestal attachment bracket
(6b). The tube ends of the clamp and t-nuts should fit into the slots in the
rails: A to A and B to B (6c). Slide pedestal along rails to desired location.
Lift and turn t-nuts 90° then tighten.
PEDESTAL
ATTACHMENT
BRACKET
NOTE: Adjust hyperglide to contact
the top of the storage unit.
VIEW LOOKING UNDERNEATH
REAR OF WORKSURFACE
7a
PIN
DOWEL
BACKSPLASH
BACKSPLASH
CAM
7b
7c
Page 6 of 10
939500422 Rev D
7. Insert dowels (lightly hammer into place) and
pins into holes on backsplash (7a). Align the
backsplash with rear of worksurface (7b). Locate
cams underneath back of worksurface and turn
each about a 1/2 turn clockwise to secure
backsplash to worksurface (7c).
8. Drive remaining screw for PVD box into
backsplash.
TIP: Remaining screw may require the use
of a hand phillips screwdriver to tighten.
8
NOTE: If a power strip has been ordered,
install per the installation instructions with
the power strip before step 7.
Page 7 of 10
939500422 Rev D
9. Slide PVD shelf into fixed shelf assembly (9a). Align entire
shelf assembly with worksurface and feed bolts through (9b).
Check height of PVD shelf relative to the fixed shelf. If
uneven, loosen bolts on bushings, make appropriate
adjustments to the height and retighten bolts (9c). Secure
bolts to the fixed shelf assembly from underneath worksurface
using two (2) hex flange nuts (9d). Locate PVD shelf relative
to fixed shelf by aligning front (9e) and secure remaining bolts
to the PVD shelf from underneath worksurface using two (2)
hex flange nuts (9f). Do not over tighten.
Reach under PVD top and place provided bumpers on PVD
shelf bracket as shown (9g).
NOTE: You may need to adjust workstation to its longest
length in order to access the hex flange nuts.
HEX FLANGE NUT
VIEW LOOKING
UNDERNEATH REAR
WORKSURFACE
PVD SHELF
9a
9b
FIXED
SHELF
ASSEMBLY
TOP VIEW OF DESK
PVD SHELF
FIXED SHELF
ASSEMBLY REDUCE GAP
ALIGN
ALIGN
9e
9d
9f
9c
BOLTS TO
LOOSEN
9g
10a
Page 8 of 10
939500422 Rev D
10. Adjust table to desired height by locating each clamp on the
pedestal attachment bracket and performing steps 10a through 10d.
Place level onto worksurface (10e). Lift table and spin leg clockwise
to extend or counter-clockwise to retract. Repeat on extension.
10b
10c 10d
10e
Page 9 of 10
939500422 Rev D
Attaching the Worksurface Extension
BASE
1. Turn the extension worksurface upside down.
TIP: Place the extension worksurface near the base with
the counterbored holes towards the worksurface as shown.

2. Attach the base.

3. Attach the mounting bracket to the underside of the
workstation as shown.

4. Turn the extension worksurface assembly upright and
install the tite-joint fasteners per the hardware
manufacturer's instructions.
5. Attach the extension worksurface into position by
inserting two (2) screws through the mounting bracket and
into the pilot holes on the underside of the extension
worksurface.
3
2
MOUNTING BRACKET
4
5
4
1
WORKSTATION
EXTENSION WORKSURFACE
WORKSTATION
EXTENSION
WORKSURFACE
Page 10 of 10
939500422 Rev D
Attaching the Storage Extension
Worksurface
BASE
1. Turn the storage extension worksurface upside down.
TIP: Place the storage extension worksurface near the
base with the counterbored holes towards the worksurface
as shown.

2. Attach the mounting bracket to the underside of the
workstation as shown.

3. Turn the storage extension worksurface assembly
upright and install the tite-joint fasteners per the hardware
manufacturer's instructions.
4. Attach the storage extension worksurface into position
by inserting two (2) screws through the mounting bracket
and into the pilot holes on the underside of the storage
extension worksurface.
3
2
MOUNTING BRACKET
4
5
4
1
WORKSTATION
EXTENSION WORKSURFACE
WORKSTATION
EXTENSION
WORKSURFACE
3
WORKSTATION
STORAGE EXTENSION
WORKSURFACE
WORKSTATION
2
MOUNTING BRACKET
STORAGE EXTENSION
WORKSURFACE
3
4

Other Coalesse Indoor Furnishing manuals
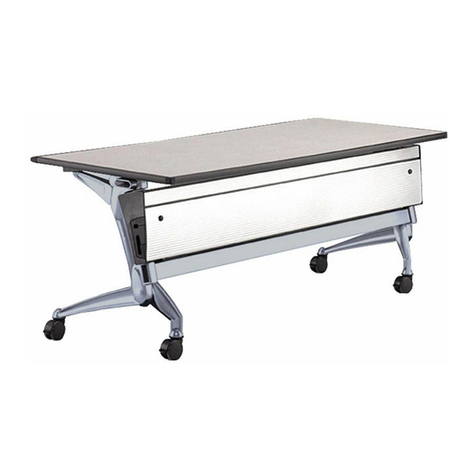
Coalesse Potrero 415 Light Table User manual

Coalesse

Coalesse Potrero 415 Light Table User manual

Coalesse emu Heaven Seating & Table Cushion User manual

Coalesse

Coalesse emu Heaven Seating & Table Cushion User manual

Coalesse Potrero415 User manual

Coalesse

Coalesse Potrero415 User manual

Coalesse SW 1 User manual

Coalesse

Coalesse SW 1 User manual

Coalesse Bix Table User manual

Coalesse

Coalesse Bix Table User manual

Coalesse Lagunitas Arm, Corner & Straight Back... Use and care manual

Coalesse

Coalesse Lagunitas Arm, Corner & Straight Back... Use and care manual

Coalesse Lagunitas User manual

Coalesse

Coalesse Lagunitas User manual

Coalesse Denizen Round Operating and safety instructions

Coalesse

Coalesse Denizen Round Operating and safety instructions

Coalesse Train series User manual

Coalesse

Coalesse Train series User manual

Coalesse Chord Use and care manual

Coalesse

Coalesse Chord Use and care manual
Coalesse Emu User manual

Coalesse

Coalesse Emu User manual

Coalesse Lox 4-Star Base Chair Reference guide

Coalesse

Coalesse Lox 4-Star Base Chair Reference guide

Coalesse E-table 2 User manual

Coalesse

Coalesse E-table 2 User manual

Coalesse SW 1 Operating instructions

Coalesse

Coalesse SW 1 Operating instructions

Coalesse Denizen User manual

Coalesse

Coalesse Denizen User manual

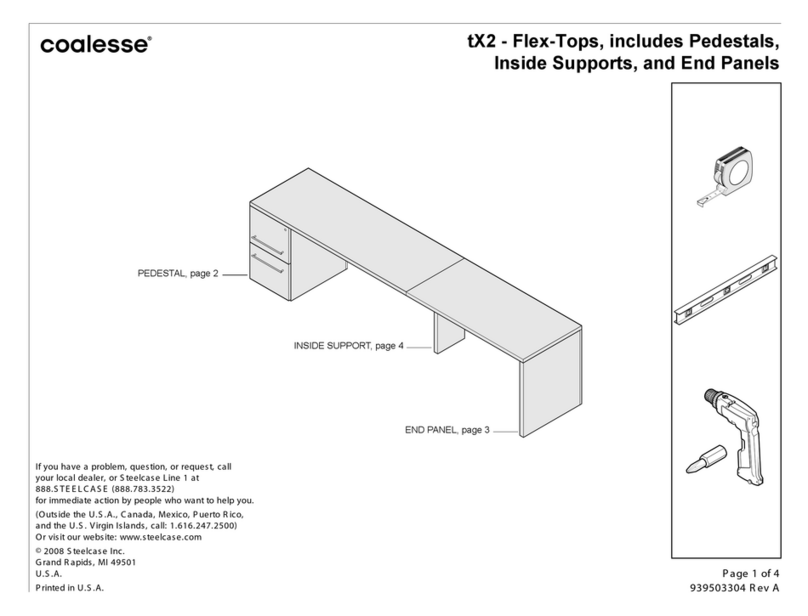
Coalesse tX2 User manual

Coalesse

Coalesse tX2 User manual

Coalesse Montara650 4-Leg Chair Operating instructions

Coalesse

Coalesse Montara650 4-Leg Chair Operating instructions

Coalesse Emu Ivy User manual

Coalesse

Coalesse Emu Ivy User manual

Coalesse EMU Re-trouve MIDBACK User manual

Coalesse

Coalesse EMU Re-trouve MIDBACK User manual

Coalesse Massaud User manual

Coalesse

Coalesse Massaud User manual

Coalesse Archipelago Use and care manual

Coalesse

Coalesse Archipelago Use and care manual

Coalesse Lagunitas User manual

Coalesse

Coalesse Lagunitas User manual

Coalesse LessThanFive User manual

Coalesse

Coalesse LessThanFive User manual
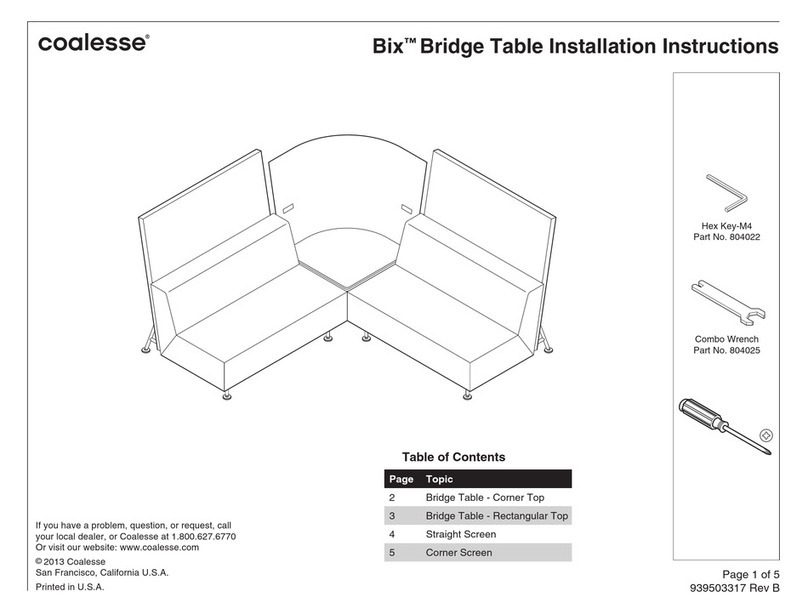
Coalesse Bix Bridge Table User manual

Coalesse

Coalesse Bix Bridge Table User manual

Popular Indoor Furnishing manuals by other brands

Next BRONX 481021 Assembly instructions

Next

Next BRONX 481021 Assembly instructions

Belleze Mclain 014-HG-44301 manual

Belleze

Belleze Mclain 014-HG-44301 manual

Rauch M2574 Assembly instructions

Rauch

Rauch M2574 Assembly instructions

Habitat Giulia 815181 manual

Habitat

Habitat Giulia 815181 manual

Ashley Signature Design EB3392-157 manual

Ashley

Ashley Signature Design EB3392-157 manual

Time VINCENTE L.180 Assembly instructions

Time

Time VINCENTE L.180 Assembly instructions

Costway KC53338 manual

Costway

Costway KC53338 manual

Royalcraft Melbury Assembly instructions

Royalcraft

Royalcraft Melbury Assembly instructions

Craft+Main CFO-01281 Assembly instructions

Craft+Main

Craft+Main CFO-01281 Assembly instructions

GIANTEX HU10119 quick start guide

GIANTEX

GIANTEX HU10119 quick start guide

Forte TRAV711L Assembling Instruction

Forte

Forte TRAV711L Assembling Instruction

Furniture of America CM3841T Assembly instructions

Furniture of America

Furniture of America CM3841T Assembly instructions

Circle Specialty AN1200 user manual

Circle Specialty

Circle Specialty AN1200 user manual

Amart Furniture FILLMORE 61351 Assembly instruction

Amart Furniture

Amart Furniture FILLMORE 61351 Assembly instruction

REDGUM Brand RG624 user manual

REDGUM Brand

REDGUM Brand RG624 user manual

Clou match me CL/07.56.004.65 installation instructions

Clou

Clou match me CL/07.56.004.65 installation instructions

Costway HW66113 user manual

Costway

Costway HW66113 user manual

Next NEWHAVEN 813544 Assembly instructions

Next

Next NEWHAVEN 813544 Assembly instructions

manuals.online logo
manuals.online logoBrands
  • About & Mission
  • Contact us
  • Privacy Policy
  • Terms and Conditions

Copyright 2025 Manuals.Online. All Rights Reserved.