manuals.online logo
Brands
  1. Home
  2. •
  3. Brands
  4. •
  5. Connects2
  6. •
  7. Automobile Accessories
  8. •
  9. Connects2 CT23CT11 User manual

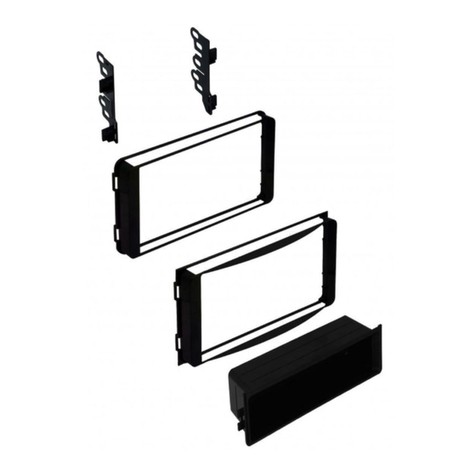
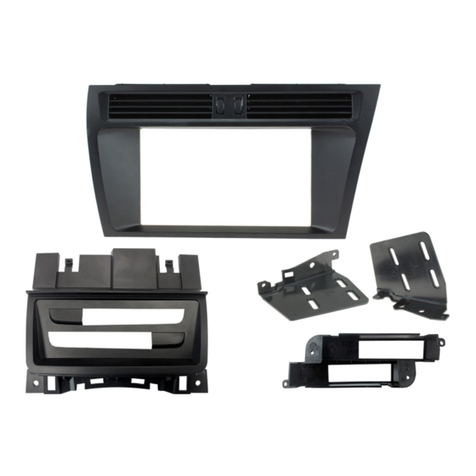
Connects2 CT23CT11 User manual

DISCLAIMER
Tools Required:
CT23CT11 01/16
CT23CT11 01/16CT23CT11 01/16
DOUBLE DIN INSTALLATION INSTRUCTIONS
FOR CITROEN DS3 2009>, CITROEN C3 2009
(Not For South American Citroen C3)
CT23CT11
© Connects2 Ltd. 2016
If you have any further questions regarding this installation, visit support.connects2.com
This instruction booklet is based on carefully documented data and research. Connects2 Ltd cannot be held
responsible for discrepancies/inconsistencies that may occur due to the automobile manufacturing changes or
options, or damage that may occur in the vehicle during the installation of components while using this booklet.
INSTALLATION GUIDE
DISASSEMBLY
Use a panel removal tool to remove the
plastic trim above the handbrake
Once the upper trim has been removed, use
the panel removal tool to remove the trim
from around the handbrake as shown
CT23CT11 01/16 CT23CT11 01/16
STEP 1
STEP 2
STEP 3
STEP 4
Use a pair of release keys at the points circled
in the image and remove the stereo
Next, use a panel removal tool to remove the
gear-stick surround, followed by the main fascia
panel
INSTALLATION GUIDE
DISASSEMBLY
Remove the six screws at the circled locations
to release the main fascia panel, and remove.
Remember to disconnect the Warning and
Hazard buttons from the reverse of the fascia
when removing.
To complete the disassembly stage, remove
the four screws at the circled locations to
release the plastic radio support. Remove this
to make room for the new, double DIN fascia
panel
CT23CT11 01/16
STEP 5
STEP 6
STEP 7
STEP 8
Adjust the two front seats so they are as far
forward as possible and use a panel removal tool
to remove the side trim pieces as shown. Unscrew
the armrest and remove to reveal two bolts.
Unscrew these to release the entire centre
assembly
NB. Discconect the 12V and Aux connections (right)
Remove the entire centre dash piece and
pull up the gearstick surround to
remove.
CT23CT11 01/16
INSTALLATION GUIDE
ASSEMBLY
Pull the hazard and warning switch wiring
through the holes in the fascia panel and
attach the buttons. Then push the buttons
into the fascia panel, reaching behind to
help clip them into place.
Finally, clip the fascia panel into place and reinstall
all components in the reverse order of disassembly
to complete your installation.
STEP 13
STEP 14
STEP 15
STEP 16
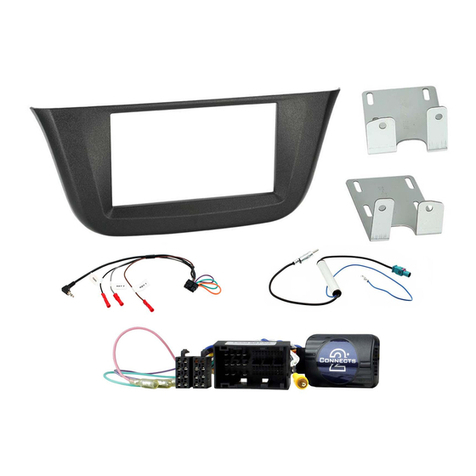
NB. Connects2 offer a range of products to install alongside your new fascia in
order to retain existing features.
Kit options:
CTKCT03
CTSCT003.2 (SWC Retention Interface)
CTCITROENUSB (USB Retention Lead)
Aux Retention LeadAux Retention Lead
CT27AA14 (Antenna Adapter)
CTMULTILEAD.2 (Universal Patch Lead)
CTKCT04
CTSCT008 (SWC & Warning Tone Retention)
CTCITROENUSB (USB Retention Lead)
Aux Retention Lead
CT27AA14 (Antenna Adapter)
CTMULTILEAD.2 (Universal Patch Lead)
Once all wiring is safely stowed behind the
unit, screw the head unit into place using the
screws retained from disassembly
INSTALLATION GUIDE
ASSEMBLY
Attach the mounting bracket to the
rear of the fascia panel (left) and slot
the head unit into the surround. The
bracket will act as a guide for depth.
Once happy with the fit, screw the
bracket into place.
With the head unit ready to install into the dashboard,
separate it from the fascia panel and connect
all wiring from the the vehicle (see Step 13)
CT23CT11 01/16 CT23CT11 01/16
STEP 9
STEP 10
STEP 11
STEP 12
Remove the buttons (circled) from the old fascia and
cut along the white line in order to remove the
pocket from the panel itself.
See pocket removed
from panel
Next, place the buttons into the CT23CT11
fascia panel, and clip the previously removed
pocket onto the bottom using the clips pictured
below.

Other Connects2 Automobile Accessories manuals
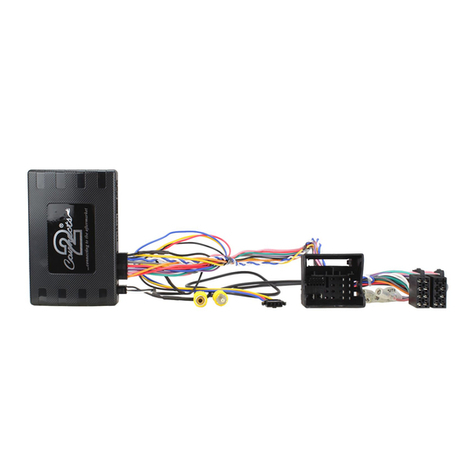
Connects2 CTKHA02 User manual

Connects2

Connects2 CTKHA02 User manual

Connects2 CAM-AU5-AD User manual

Connects2

Connects2 CAM-AU5-AD User manual

Connects2 CTKIV02 User manual

Connects2

Connects2 CTKIV02 User manual

Connects2 CT23VW21 User manual

Connects2

Connects2 CT23VW21 User manual

Connects2 AdaptivMini ADVM-AU6 User manual

Connects2

Connects2 AdaptivMini ADVM-AU6 User manual

Connects2 CTUSK03 User manual

Connects2

Connects2 CTUSK03 User manual

Connects2 CTULR04 User manual

Connects2

Connects2 CTULR04 User manual

Connects2 CAM-32 User manual

Connects2

Connects2 CAM-32 User manual

Connects2 4X4ALTIMETER Troubleshooting guide

Connects2

Connects2 4X4ALTIMETER Troubleshooting guide

Connects2 Connects2Vision CAM-AU4 User manual

Connects2

Connects2 Connects2Vision CAM-AU4 User manual

Connects2 CT23MB26L User manual

Connects2

Connects2 CT23MB26L User manual

Connects2 CAM-3 User manual

Connects2

Connects2 CAM-3 User manual

Connects2 Connects2Vision CAM-22 User manual

Connects2

Connects2 Connects2Vision CAM-22 User manual

Connects2 CTUST02 User manual

Connects2

Connects2 CTUST02 User manual
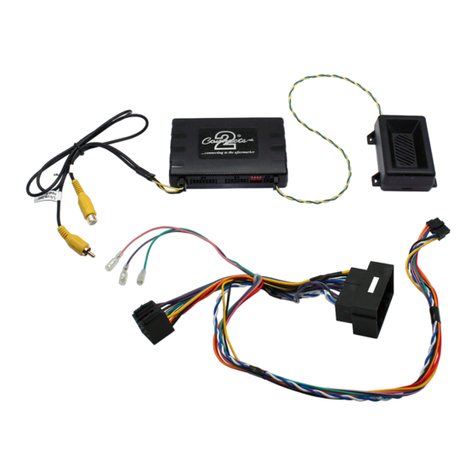
Connects2 Vision CAM-4 User manual

Connects2

Connects2 Vision CAM-4 User manual

Connects2 CT23TY82 User manual

Connects2

Connects2 CT23TY82 User manual

Connects2 Vision CAM-4 User manual

Connects2

Connects2 Vision CAM-4 User manual

Connects2 CTUAR01 User manual

Connects2

Connects2 CTUAR01 User manual

Connects2 Vision CAM-VW15 User manual

Connects2

Connects2 Vision CAM-VW15 User manual

Connects2 Vision CAM-FT6 User manual

Connects2

Connects2 Vision CAM-FT6 User manual

Connects2 CT23DG06 User manual

Connects2

Connects2 CT23DG06 User manual

Connects2 CTQIAU03 Operation manual

Connects2

Connects2 CTQIAU03 Operation manual

Connects2 43uft03 User manual

Connects2

Connects2 43uft03 User manual
Connects2 Connects2Vision CAM-8 User manual

Connects2

Connects2 Connects2Vision CAM-8 User manual

Popular Automobile Accessories manuals by other brands

DiscountRamps NDALR quick start guide

DiscountRamps

DiscountRamps NDALR quick start guide

Ebasto eThermo Top Eco 20 P Service instructions

Ebasto

Ebasto eThermo Top Eco 20 P Service instructions

Evenflo Tribute owner's manual

Evenflo

Evenflo Tribute owner's manual

Sirius Satellite Radio PowerConnect manual

Sirius Satellite Radio

Sirius Satellite Radio PowerConnect manual

Yakima Prorack K370 Fitting instructions

Yakima

Yakima Prorack K370 Fitting instructions

Witter DT144AU Fitting instructions

Witter

Witter DT144AU Fitting instructions

Alberen iTAKSI M12 user guide

Alberen

Alberen iTAKSI M12 user guide

VBG Onspot Mounting instruction/Spare Parts List

VBG

VBG Onspot Mounting instruction/Spare Parts List

DVB FBJL-07 installation manual

DVB

DVB FBJL-07 installation manual

Aerpro VE 2 Series Installation & user manual

Aerpro

Aerpro VE 2 Series Installation & user manual

curt 13490 installation manual

curt

curt 13490 installation manual

Menabo ICEBERG Fitting instructions manual

Menabo

Menabo ICEBERG Fitting instructions manual

Trailboss QTHD774L Fitting instructions

Trailboss

Trailboss QTHD774L Fitting instructions

Whispbar K726W Fitting instructions

Whispbar

Whispbar K726W Fitting instructions

Whispbar K468W Fitting instructions

Whispbar

Whispbar K468W Fitting instructions

Radio Shack 17-919 owner's manual

Radio Shack

Radio Shack 17-919 owner's manual

Cycle Country BEARFORCE 10-0490 Assembly & owners manual

Cycle Country

Cycle Country BEARFORCE 10-0490 Assembly & owners manual

Toyota Bluetooth SWC owner's manual

Toyota

Toyota Bluetooth SWC owner's manual

manuals.online logo
manuals.online logoBrands
  • About & Mission
  • Contact us
  • Privacy Policy
  • Terms and Conditions

Copyright 2025 Manuals.Online. All Rights Reserved.