manuals.online logo
Brands
  1. Home
  2. •
  3. Brands
  4. •
  5. Crosswater
  6. •
  7. Bathroom Fixture
  8. •
  9. Crosswater Leyden 14X-15P-T User manual

Crosswater Leyden 14X-15P-T User manual

This manual suits for next models

6

Other Crosswater Bathroom Fixture manuals

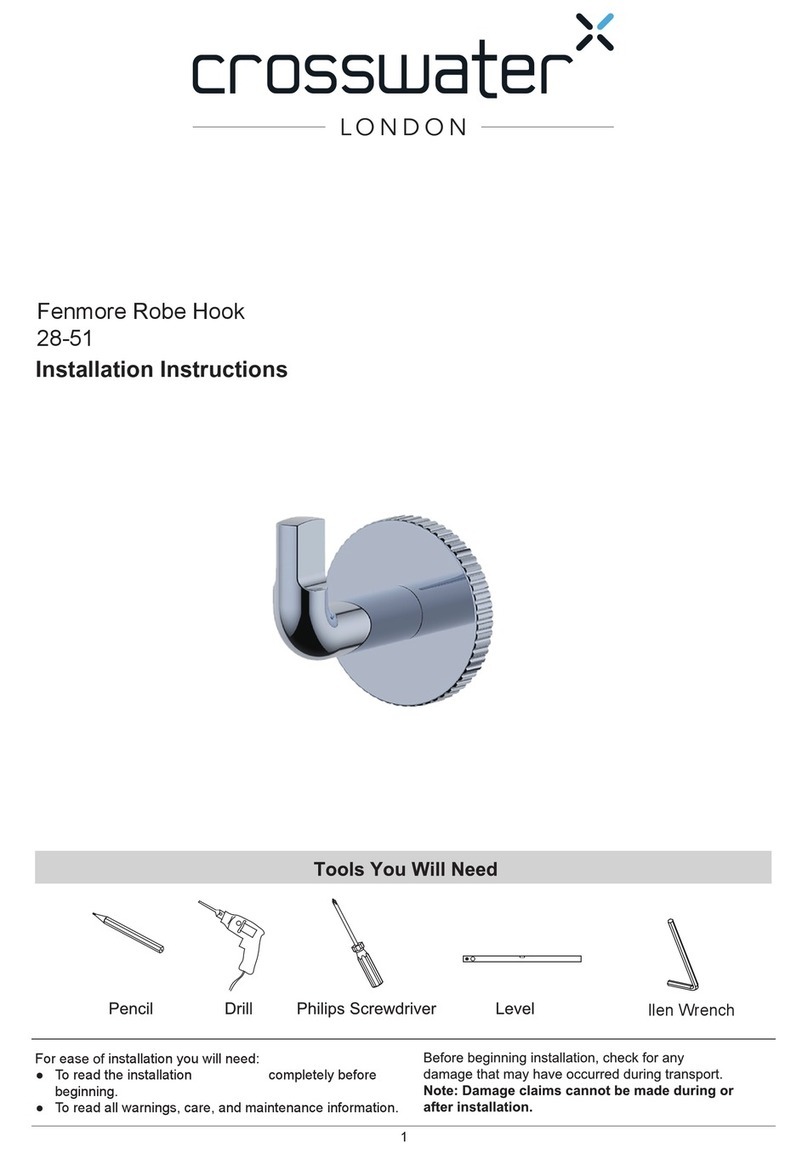
Crosswater Fenmore 28-51 User manual

Crosswater

Crosswater Fenmore 28-51 User manual

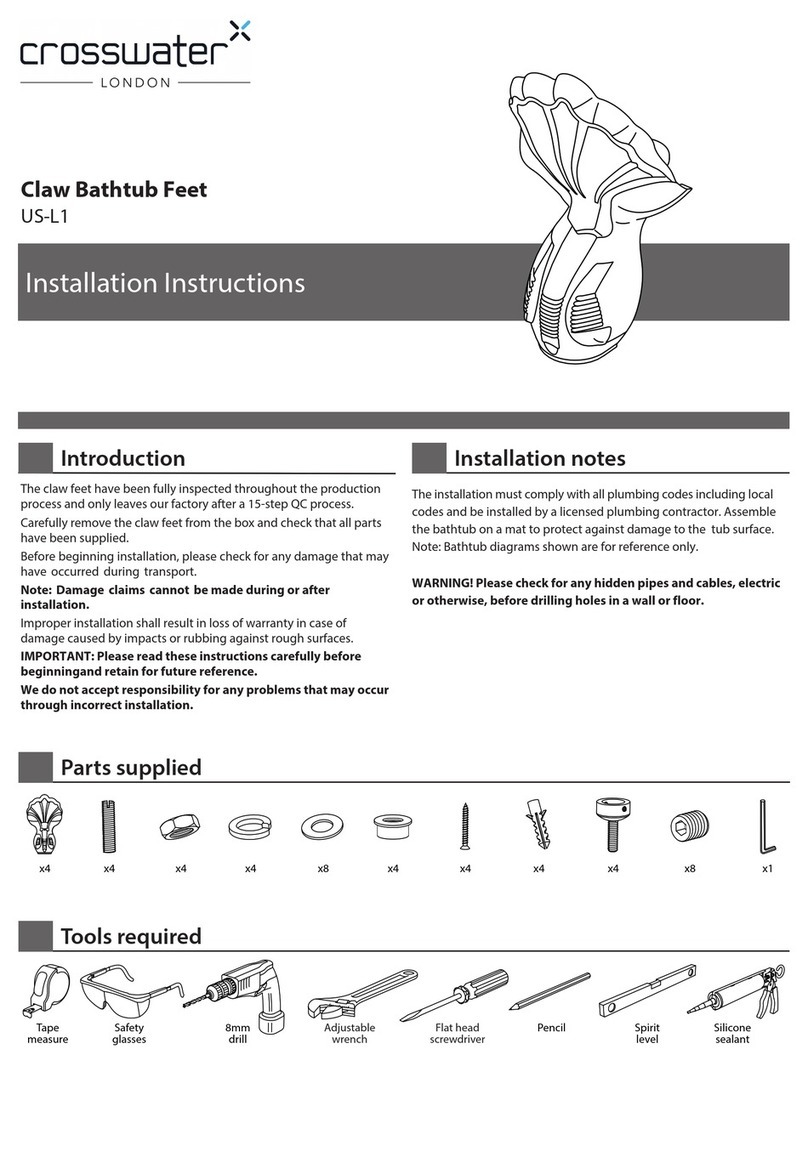
Crosswater US-L1 User manual

Crosswater

Crosswater US-L1 User manual

Crosswater Darby 15-51 User manual

Crosswater

Crosswater Darby 15-51 User manual

Crosswater Fenmore 7 28-60 User manual

Crosswater

Crosswater Fenmore 7 28-60 User manual

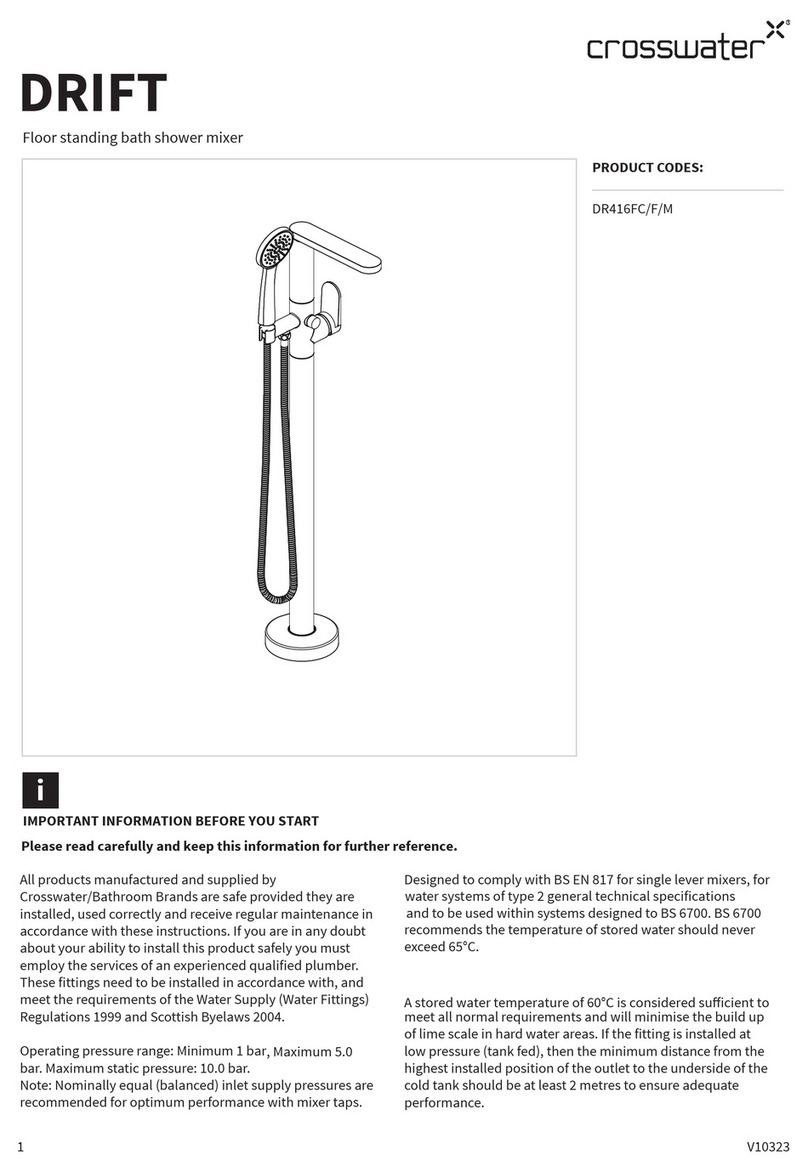
Crosswater Drift DR416FC User manual

Crosswater

Crosswater Drift DR416FC User manual

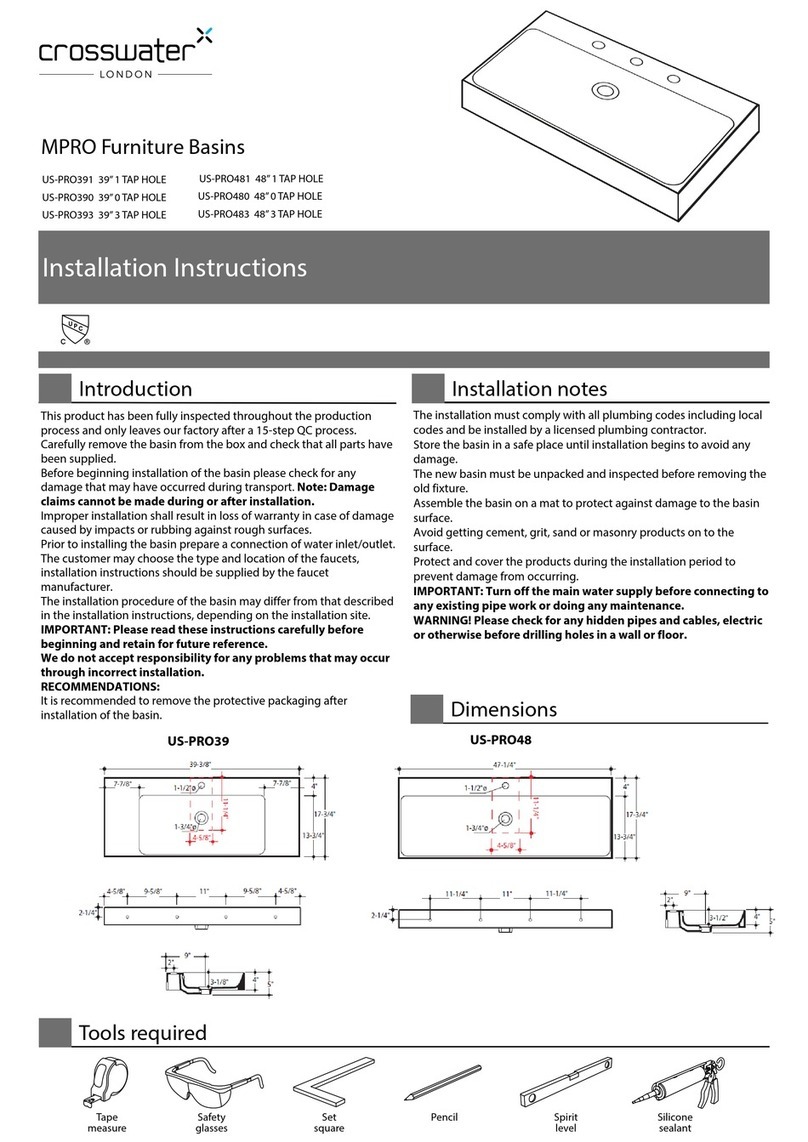
Crosswater MPRO US-PRO391 User manual

Crosswater

Crosswater MPRO US-PRO391 User manual

Crosswater Taos 17-14-T User manual

Crosswater

Crosswater Taos 17-14-T User manual

Crosswater Fenmore 28-58 User manual

Crosswater

Crosswater Fenmore 28-58 User manual

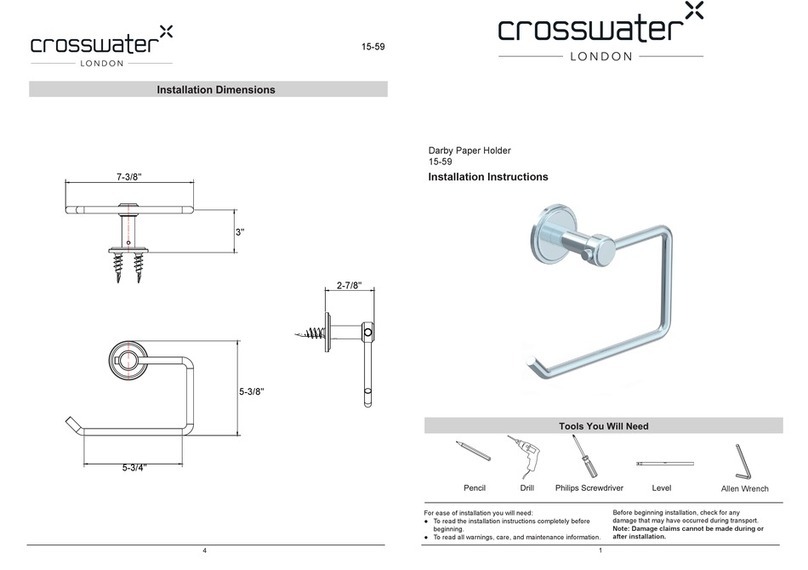
Crosswater Darby 15-59 User manual

Crosswater

Crosswater Darby 15-59 User manual

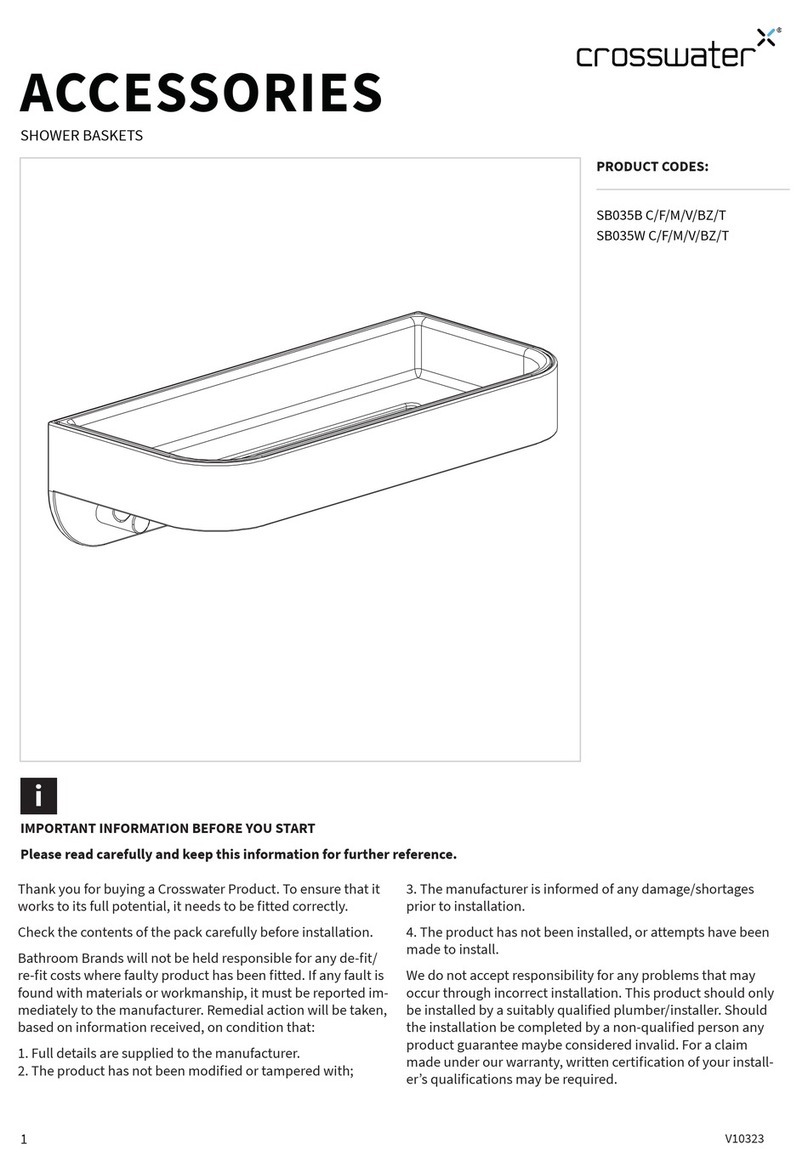
Crosswater SB035B C User manual

Crosswater

Crosswater SB035B C User manual

Crosswater Palmero US-B3CCS User manual

Crosswater

Crosswater Palmero US-B3CCS User manual

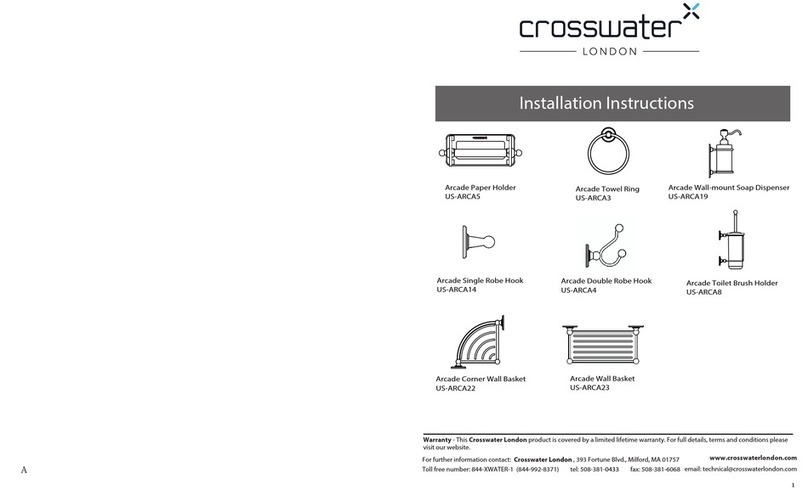
Crosswater Arcade US-ARCA5 User manual

Crosswater

Crosswater Arcade US-ARCA5 User manual

Crosswater Waldorf 31 US-WF80X81 User manual

Crosswater

Crosswater Waldorf 31 US-WF80X81 User manual

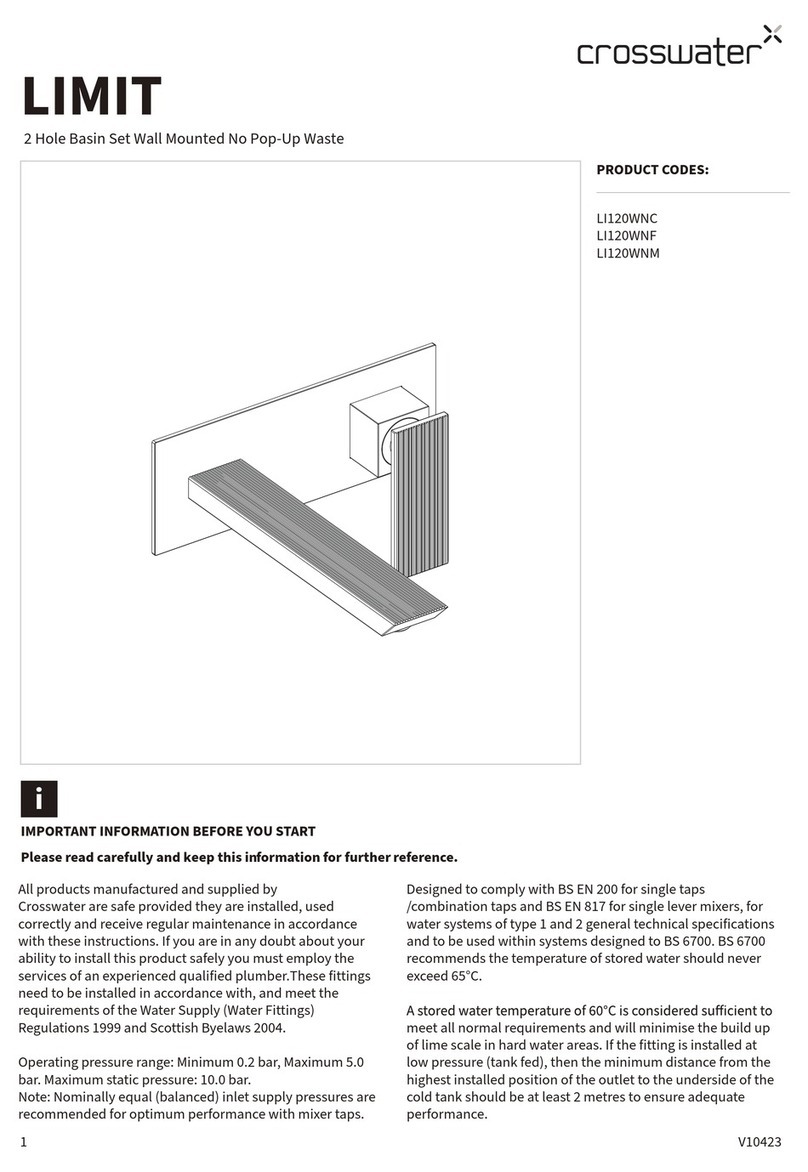
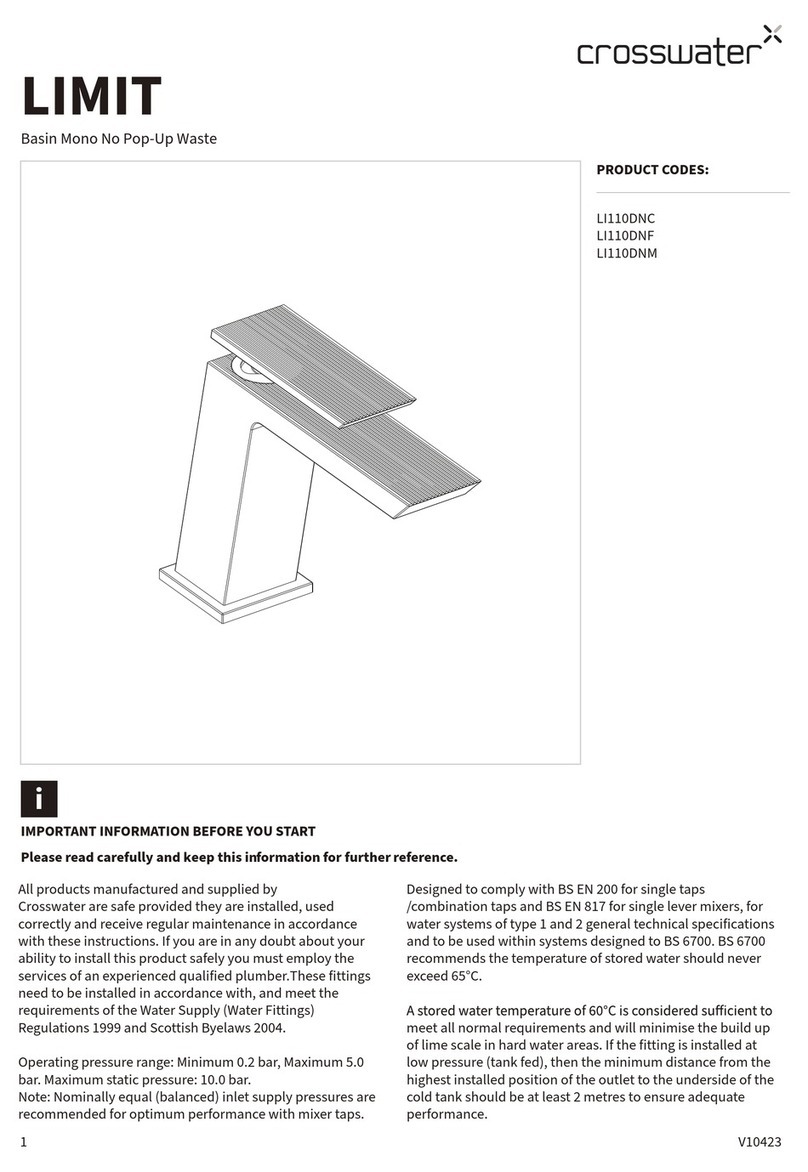
Crosswater Limit LI110DNC User manual

Crosswater

Crosswater Limit LI110DNC User manual

Crosswater Revive FHX310C User manual

Crosswater

Crosswater Revive FHX310C User manual

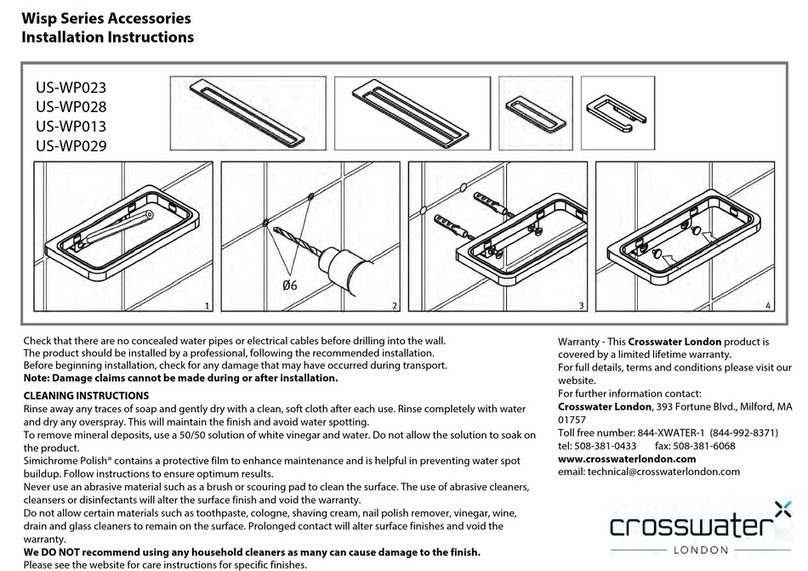
Crosswater Wisp Series User manual

Crosswater

Crosswater Wisp Series User manual

Crosswater Taos 17-59 User manual

Crosswater

Crosswater Taos 17-59 User manual

Crosswater MPRO US-PRO241 User manual

Crosswater

Crosswater MPRO US-PRO241 User manual

Crosswater Lazo LA1416FC User manual

Crosswater

Crosswater Lazo LA1416FC User manual

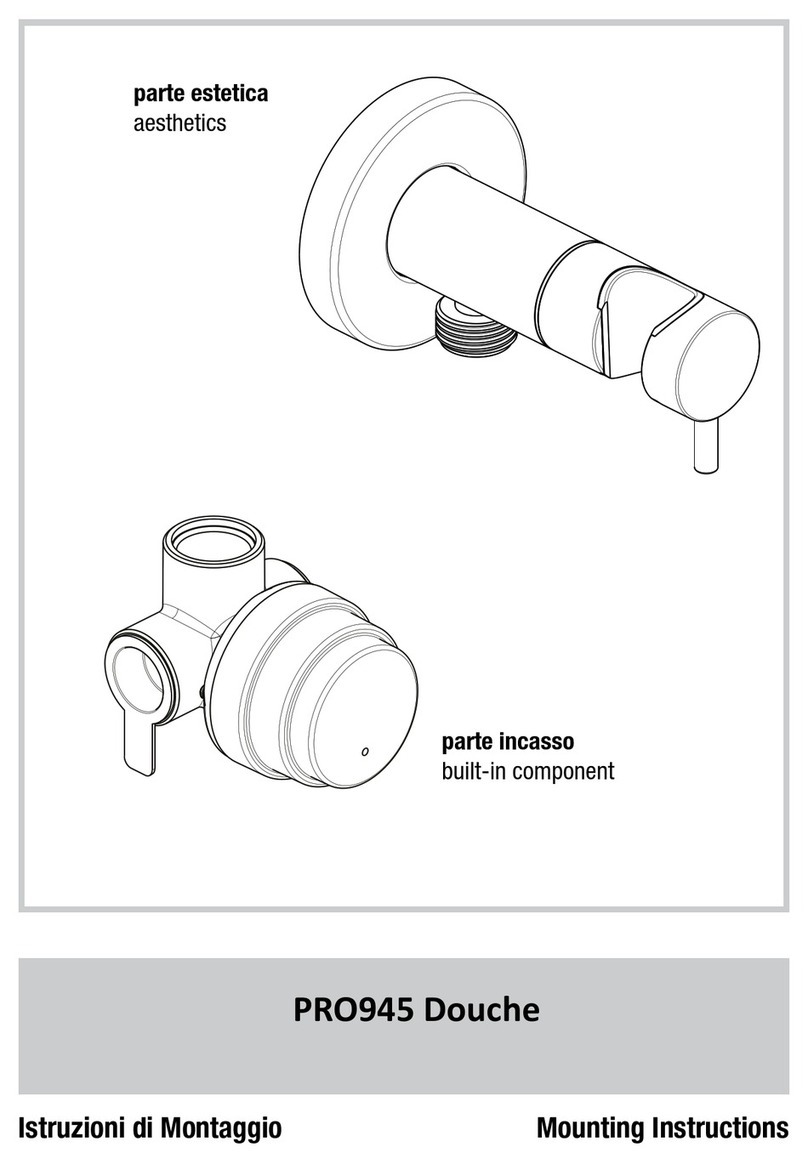
Crosswater PRO945 User manual

Crosswater

Crosswater PRO945 User manual

Crosswater Limit LI120WNC User manual

Crosswater

Crosswater Limit LI120WNC User manual

Crosswater Arcade US-ARCV17 User manual

Crosswater

Crosswater Arcade US-ARCV17 User manual

Crosswater ISLSC1200 User manual

Crosswater

Crosswater ISLSC1200 User manual

Popular Bathroom Fixture manuals by other brands

Kohler Mira Sport Max J03G Installation and user guide

Kohler

Kohler Mira Sport Max J03G Installation and user guide

Moen 186117 Series installation guide

Moen

Moen 186117 Series installation guide

Hans Grohe Raindance Showerpipe 27235000 Instructions for use/assembly instructions

Hans Grohe

Hans Grohe Raindance Showerpipe 27235000 Instructions for use/assembly instructions

Signature Hardware ROUND SWIVEL BODY SPRAY 948942 Install

Signature Hardware

Signature Hardware ROUND SWIVEL BODY SPRAY 948942 Install

fine fixtures AC3TH installation manual

fine fixtures

fine fixtures AC3TH installation manual

LIXIL HP50 Series quick start guide

LIXIL

LIXIL HP50 Series quick start guide

KOLO ATOL PLUS installation manual

KOLO

KOLO ATOL PLUS installation manual

Hans Grohe PuraVida 15073000 Instructions for use/assembly instructions

Hans Grohe

Hans Grohe PuraVida 15073000 Instructions for use/assembly instructions

Toto TS111B8 Installation and owner's manual

Toto

Toto TS111B8 Installation and owner's manual

Kohler K-1158-H2 Homeowner's guide

Kohler

Kohler K-1158-H2 Homeowner's guide

Coram Showers OFFSET QUADRANT manual

Coram Showers

Coram Showers OFFSET QUADRANT manual

baliv DU-2010 manual

baliv

baliv DU-2010 manual

odass OD-1710 instruction manual

odass

odass OD-1710 instruction manual

Oxygenics Evolution Easy installation instructions

Oxygenics

Oxygenics Evolution Easy installation instructions

Bradley Express SS Series installation instructions

Bradley

Bradley Express SS Series installation instructions

Helvex TH-974 installation guide

Helvex

Helvex TH-974 installation guide

DURAVIT C.1 C15240 0090 Instructions for mounting and use

DURAVIT

DURAVIT C.1 C15240 0090 Instructions for mounting and use

Sunshower PURE SOLO manual

Sunshower

Sunshower PURE SOLO manual

manuals.online logo
manuals.online logoBrands
  • About & Mission
  • Contact us
  • Privacy Policy
  • Terms and Conditions

Copyright 2025 Manuals.Online. All Rights Reserved.

15123197-A 4
Leyden Pressure-balance Valve Trim
14X-15P-T
Installation Instructions
15123197-A
14X-15P-T
Teflon TapeAdjustable Pliers
Adjustable Wrench
Tools You Will Need
Hacksaw
For ease of installation:
ƔTo read the installation instructions completely before beginning.
ƔTo read all warnings, care, and maintenance information.
ƔTo complete the valve rough-in prior to installing this trim kit.
Screwdriver
Applicable Standards/Codes
Installation Dimensions
IAPMO certified to meet or exceed the following:
$60($&6$%
8QLIRUP3OXPELQJ&RGH
1DWLRQDO3OXPELQJ&RGHRI&DQDGD
$'$&RPSOLDQW
Before beginning installation, check for any damage
that may have occurred during transport.
Note: Damage claims cannot be made during or
after installation.
7-1/4"
1-1/2"
2-1/8"
3-3/4" 1/2" NPT
5-1/2" - 5-7/8"
2-1/4" - 3-1/4"
1/2"
Replacement Parts
NO. 'escription Part No.
1
Cross Handle Assembly
5T1C0319NT
3&NT
14-XHDL
2
3
7KUHDGHG1LSSOH([WHQVLRQ
3UHVVXUH%DODQFH6WHP([WHQVLRQ
3
12
14X-15P-T
Installation Instructions
15123197-A 215123197-A 3
Cleaning Instructions
Rinse away any traces of soap and gently dry with a clean, soft cloth after each use. Rinse completely with water and
dry any overspray. This will maintain the finish and avoid water spotting.
To remove mineral deposits, use a 50/50 solution of white vinegar and water. Do not allow the solution to soak on the
product. Simichrome Polish® contains a protective film to enhance maintenance and is helpful in preventing water spot
buildup. Follow instructions to ensure optimum results.
Never use an abrasive material such as a brush or scouring pad to clean the surface. The use of abrasive cleaners,
cleansers or disinfectants will alter the surface finish and void the warranty.
Do not allow certain materials such as toothpaste, cologne, shaving cream, nail polish remover, vinegar, wine, drain and
glass cleaners to remain on the surface. Prolonged contact will alter surface finishes and void the warranty.
We DO NOT recommend using any household cleaners as many can cause damage to the finish.
Please see the website for care instructions for specific finishes.
1
Remove the mud guard.
Set the handle in the desired off
position and place handle assembly
on the valve. Rotate clockwise
securing the handle assembly and
escutcheon to the wall and engaging
the stem (see page 5 first).
- If all functions smoothly go to step
#15
- If the handle assembly will not
engage the stem, go to step #4.
- If the handle assembly will not
bottom out on the escutcheon go to
step #10.
3
2
Carefully slide the escutcheon on
valve.
If the handle assembly will
not engage the stem,
remove the handle assembly.
4
a)Add the threaded nipple and pressure balance
stem extensions supplied with trim.
b) Set the handle in the desired off position and place
the handle assembly on the valve and rotate clockwise
securing the assembly and escutcheon, engage to the
wall and the stem.
- If all functions smoothly go to step # 15
- If the handle assembly will not bottom out on the
HVFXWFKHRQJRWRVWHS
Cut stem and nipple extensions the
DPRXQWQRWHGLQVWHS1HYHU
cut the stem and nipple while still on
the valve. This may damage the
valve.)
Remove the handle assembly, nipple
and stem extensions.
Re-install the nipple, stem extension
and handle assembly.Go to step
# 15.
Measure and note the
distance ‘YY’ (the distance
between the bottom of the
handle assembly and the
escutcheon).
89
6
7
5
11
Remove the handle and escutcheon
assembly, the plate, stem and nipple.
If handle assembly will not bottom
out the escutcheon to the wall,
measure and note the distance
‘XX’(the distance between the
bottom of the handle assembly and
the escutcheon)
Cut stem and nipple the amount
noted in step # 10. (Never cut the
stem and nipple while still on the
valve. This may damage the valve.)
12
13
Re-install the trimmed stem and
nipple on the valve.
Place escutcheon on valve. Thread
on handle assembly to secure
escutcheon.
`
10
Installation Complete.
15
b
b
a
a
a
b
14
Note: For illustration purposes, lever handle version is shown. Please
refer to page 5 for instructions on how remove the lever handle and to
install the cross handle.
Warranty:This Crosswater London product is covered by a limited lifetime warranty. For full details, terms and conditions please visit our website.
For further information contact:Crosswater London, 393 Fortune Blvd., Milford, MA 01757 www.crosswaterlondon.com
Toll free number: 844-XWATER-1 (844-992-8371) tel: 508-381-0433 fax: 508-381-6068 email: technical@crosswaterlondon.com
Issue date:30092020
2. Take out the screw and lock
washer with a Phillips screwdriver
3. Remove the lever 4. Replace with cross handle
and re-install the screw and
washer
1. Hold the handle
escutcheon and turn
it counterclockwise
to remove
Leyden Cross Handle Installation Instructions
14X-14P-T, 14X-14-T, 14X-15-T, 14X-15P-T, 14X-17-T