manuals.online logo
Brands
  1. Home
  2. •
  3. Brands
  4. •
  5. Crosswater
  6. •
  7. Bathroom Fixture
  8. •
  9. Crosswater Limit LI110DNC User manual

Crosswater Limit LI110DNC User manual

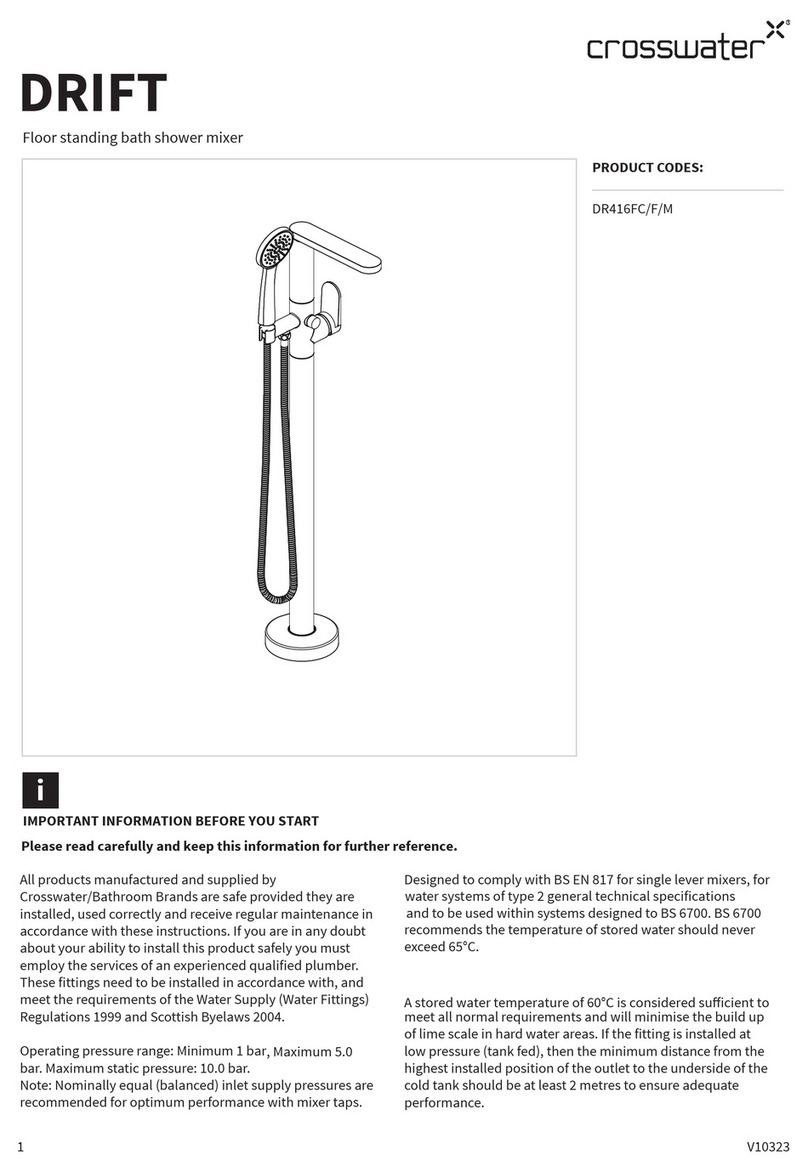
Designed to comply with BS EN 200 for single taps
/combination taps and BS EN 817 for single lever mixers, for
water systems of type 1 and 2 general technical specifications
and to be used within systems designed to BS 6700. BS 6700
recommends the temperature of stored water should never
exceed 65°C.
meet all normal requirements and will minimise the build up
of lime scale in hard water areas. If the fitting is installed at
low pressure (tank fed), then the minimum distance from the
highest installed position of the outlet to the underside of the
cold tank should be at least 2 metres to ensure adequate
performance.
V10423
LIMIT
IMPORTANT INFORMATION BEFORE YOU START
Please read carefully and keep this information for further reference.
Basin Mono No Pop-Up Waste
i
1
PRODUCT CODES:
LI110DNC
LI110DNF
LI110DNM
All products manufactured and supplied by
Crosswater are safe provided they are installed, used
correctly and receive regular maintenance in accordance
with these instructions. If you are in any doubt about your
ability to install this product safely you must employ the
services of an experienced qualified plumber.These fittings
need to be installed in accordance with, and meet the
requirements of the Water Supply (Water Fittings)
Regulations 1999 and Scottish Byelaws 2004.
Operating pressure range: Minimum 0.2 bar, Maximum 5.0
bar. Maximum static pressure: 10.0 bar.
Note: Nominally equal (balanced) inlet supply pressures are
recommended for optimum performance with mixer taps.
2
NOTE: ALL DIMENSIONS IN MILLIMETRES
DIMENSIONS
189
138
113
40
50
32
13
13.5
5
143.6
5
24
108
IMPORTANT INFORMATION
Please read carefully and keep this information for further reference.
i
These taps and mixers should be installed in compliance with the Water Regulations.
Where the supplies are unbalanced, i.e. Hot water from cylinder tank / cold from the mains, approved check valves must be
fitted in the supply pipes.
For further details contact your Local Water Authority.
3
INSTALLATIONINSTALLATION
tighten. Place mixer in position to see if any alteration to
any necessary alterations to the pipework, pass the mixer
through the hole in the basin from above and place the
mixer in position on the basin.
Slide the C-shaped black washer and then the metal
Check that the mixer body is correctly positioned to the
but do not over tighten as damage may be caused to the
sink.
If using copper tails, they will need to be gently turned
outwards, then supported approximately half-way down
and turned inwards, making the two pipes parallel again
but further apart thus making room for the couplings to be
from the front.
ATTENTION
mains stop cock, close all taps except the new mixer and
water heating.
Remove all packaging and check the fitting for damage before starting installation.
Before starting any installation please consider the following: before drilling into walls, check that there are no
hidden electrical wires, cables or wate supply pipes. This can be checked with the aid of an electronic detector.
If power tools are used do not forget to: -
Wear eye protection
feeds is recommended for ease of maintenance.
Before installing the new fitting it is essential that you thoroughly flush through the pipework in order to remove any
remaining swarf, solder, etc. Failure to carry out this procedure could cause problems or damage to the workings of the fitting.
Take care when handling the ‘flexible connecting pipes’, do not bend, twist or crush them. Only tighten the pipes by hand. Do not
crush or kink the shower hose, this could damage the hose and cause leaks.
BEFORE YOU START
Important pre-Installation Notes
CARE & MAINTENANCE
4
CLEANING THE CARTRIDGE
The concealed cartridge should give trouble free service, but
in the event of any problems, servicing is straight forward.
To remove the cartridge:
CLEANING THE PRODUCT
The material we use in our taps is very durable, nevertheless
care should be taken when cleaning them. They should be
cleaned only with warm soapy water followed by rinsing
vulnerable to acid attack and some strong substances such
as household cleaners, disinfectants, denture cleaners, hair
dyes, wine making, and photographic chemicals can cause
the surface to go black or peel.
Note: Never use abrasive detergents or disinfectants or those
containing alcohol, hydrochloric acid or phosphoric acid.
BODY
CARTRIDGE
RETAINING NUT
COVER CUP
ALLEN KEY
HANDLE
With an hexagonal key loosen the screw, but do not remove
it. Pull o the handle and unscrewthe cover. Using the
correct size spanner unscrew and removethe retaining nut.
Pull out the cartridge taking note of itsorientation. Wash the
cartridge with clean running waterand make sure that any
trapped debris has been removed.Dry and lightly grease the
seal (only use silicone grease) andreplace the cartridge
followed by the nut, cover and handle.
Part of the
Bathroom Brands Group
Rennie Drive, Dartford
Kent DA1 5FU
United Kingdom
0345 873 8840

This manual suits for next models

2

Other Crosswater Bathroom Fixture manuals

Crosswater Leyden 14X-15P-T User manual

Crosswater

Crosswater Leyden 14X-15P-T User manual

Crosswater Arcade US-ARCV17 User manual

Crosswater

Crosswater Arcade US-ARCV17 User manual

Crosswater Waldorf 31 US-WF80X81 User manual

Crosswater

Crosswater Waldorf 31 US-WF80X81 User manual

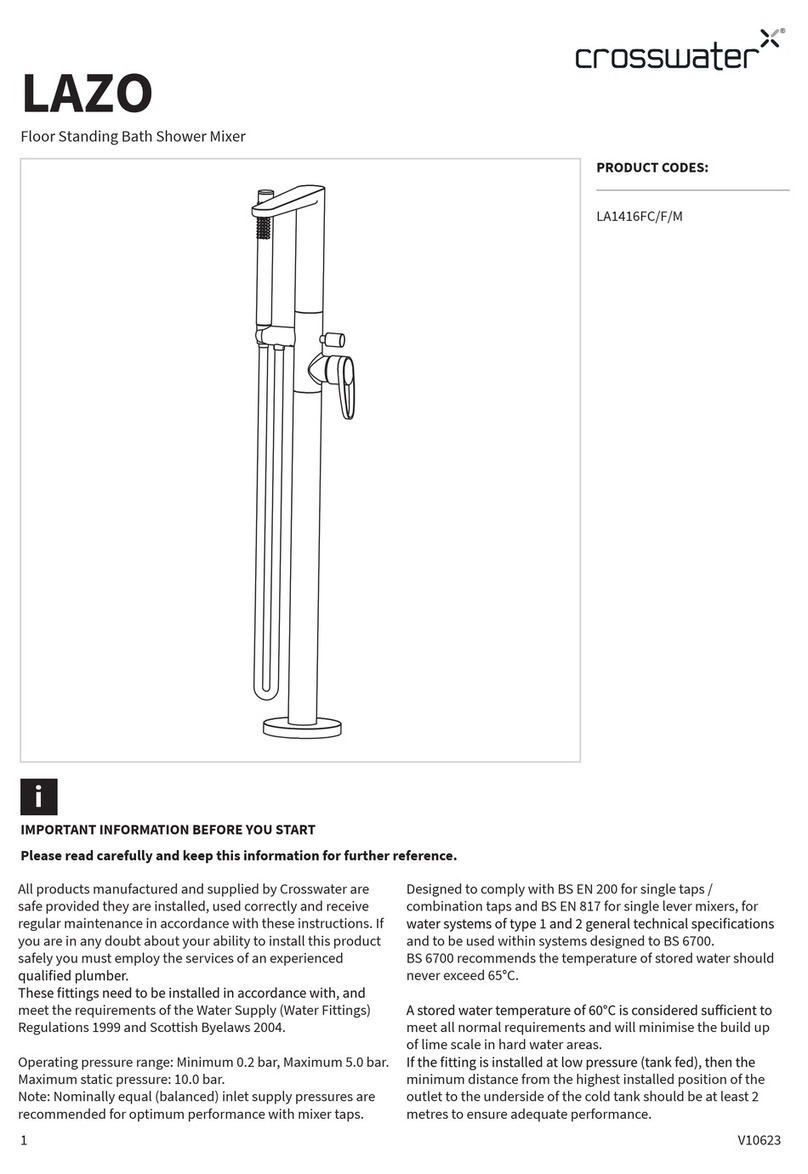
Crosswater Lazo LA1416FC User manual

Crosswater

Crosswater Lazo LA1416FC User manual

Crosswater Darby 15-59 User manual

Crosswater

Crosswater Darby 15-59 User manual

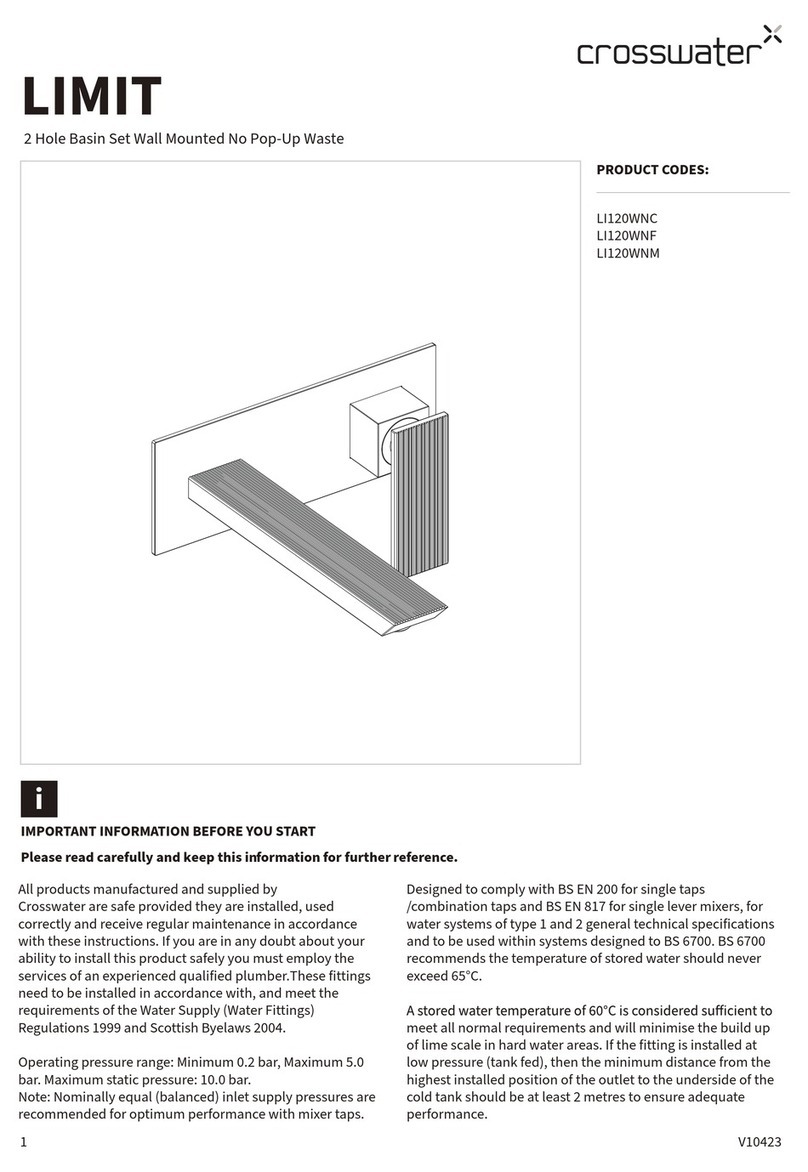
Crosswater Limit LI120WNC User manual

Crosswater

Crosswater Limit LI120WNC User manual

Crosswater Wisp Series User manual

Crosswater

Crosswater Wisp Series User manual

Crosswater Drift DR416FC User manual

Crosswater

Crosswater Drift DR416FC User manual

Crosswater Revive FHX310C User manual

Crosswater

Crosswater Revive FHX310C User manual

Crosswater SB035B C User manual

Crosswater

Crosswater SB035B C User manual

Crosswater MPRO US-PRO391 User manual

Crosswater

Crosswater MPRO US-PRO391 User manual

Crosswater Arcade US-ARCA5 User manual

Crosswater

Crosswater Arcade US-ARCA5 User manual

Crosswater Palmero US-B3CCS User manual

Crosswater

Crosswater Palmero US-B3CCS User manual

Crosswater Darby 15-51 User manual

Crosswater

Crosswater Darby 15-51 User manual

Crosswater Fenmore 28-58 User manual

Crosswater

Crosswater Fenmore 28-58 User manual

Crosswater MPRO US-PRO241 User manual

Crosswater

Crosswater MPRO US-PRO241 User manual

Crosswater Taos 17-14-T User manual

Crosswater

Crosswater Taos 17-14-T User manual

Crosswater Taos 17-59 User manual

Crosswater

Crosswater Taos 17-59 User manual
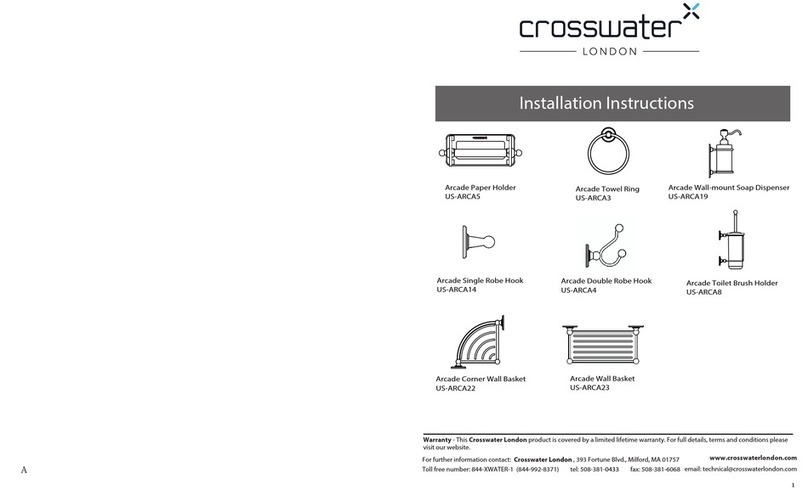
Crosswater US-L1 User manual

Crosswater

Crosswater US-L1 User manual

Crosswater Fenmore 7 28-60 User manual

Crosswater

Crosswater Fenmore 7 28-60 User manual

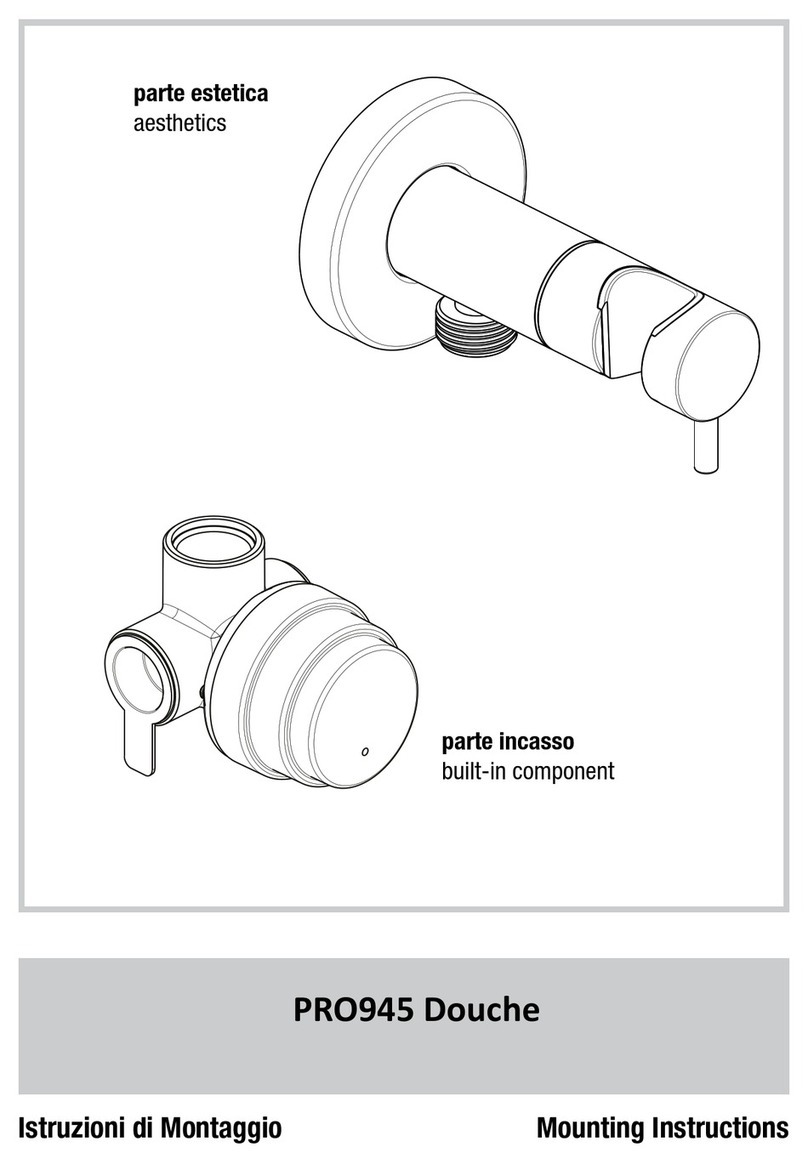
Crosswater PRO945 User manual

Crosswater

Crosswater PRO945 User manual

Crosswater ISLSC1200 User manual

Crosswater

Crosswater ISLSC1200 User manual

Crosswater Fenmore 28-51 User manual

Crosswater

Crosswater Fenmore 28-51 User manual
Popular Bathroom Fixture manuals by other brands

Kohler Mira Sport Max J03G Installation and user guide

Kohler

Kohler Mira Sport Max J03G Installation and user guide

Moen 186117 Series installation guide

Moen

Moen 186117 Series installation guide

Hans Grohe Raindance Showerpipe 27235000 Instructions for use/assembly instructions

Hans Grohe

Hans Grohe Raindance Showerpipe 27235000 Instructions for use/assembly instructions

Signature Hardware ROUND SWIVEL BODY SPRAY 948942 Install

Signature Hardware

Signature Hardware ROUND SWIVEL BODY SPRAY 948942 Install

fine fixtures AC3TH installation manual

fine fixtures

fine fixtures AC3TH installation manual

LIXIL HP50 Series quick start guide

LIXIL

LIXIL HP50 Series quick start guide

KOLO ATOL PLUS installation manual

KOLO

KOLO ATOL PLUS installation manual

Hans Grohe PuraVida 15073000 Instructions for use/assembly instructions

Hans Grohe

Hans Grohe PuraVida 15073000 Instructions for use/assembly instructions

Toto TS111B8 Installation and owner's manual

Toto

Toto TS111B8 Installation and owner's manual

Kohler K-1158-H2 Homeowner's guide

Kohler

Kohler K-1158-H2 Homeowner's guide

Coram Showers OFFSET QUADRANT manual

Coram Showers

Coram Showers OFFSET QUADRANT manual

baliv DU-2010 manual

baliv

baliv DU-2010 manual

odass OD-1710 instruction manual

odass

odass OD-1710 instruction manual

Oxygenics Evolution Easy installation instructions

Oxygenics

Oxygenics Evolution Easy installation instructions

Bradley Express SS Series installation instructions

Bradley

Bradley Express SS Series installation instructions

Helvex TH-974 installation guide

Helvex

Helvex TH-974 installation guide

DURAVIT C.1 C15240 0090 Instructions for mounting and use

DURAVIT

DURAVIT C.1 C15240 0090 Instructions for mounting and use

Sunshower PURE SOLO manual

Sunshower

Sunshower PURE SOLO manual

manuals.online logo
manuals.online logoBrands
  • About & Mission
  • Contact us
  • Privacy Policy
  • Terms and Conditions

Copyright 2025 Manuals.Online. All Rights Reserved.