manuals.online logo
Brands
  1. Home
  2. •
  3. Brands
  4. •
  5. Digilock
  6. •
  7. Lock
  8. •
  9. Digilock DCR1-ATV1 User manual

Digilock DCR1-ATV1 User manual

Phone: 707 766 6000
www.digilock.com | [email protected]
DCR1-ATV1
RFID Cam Locks Advanced Security
Shared Use
Product Guide
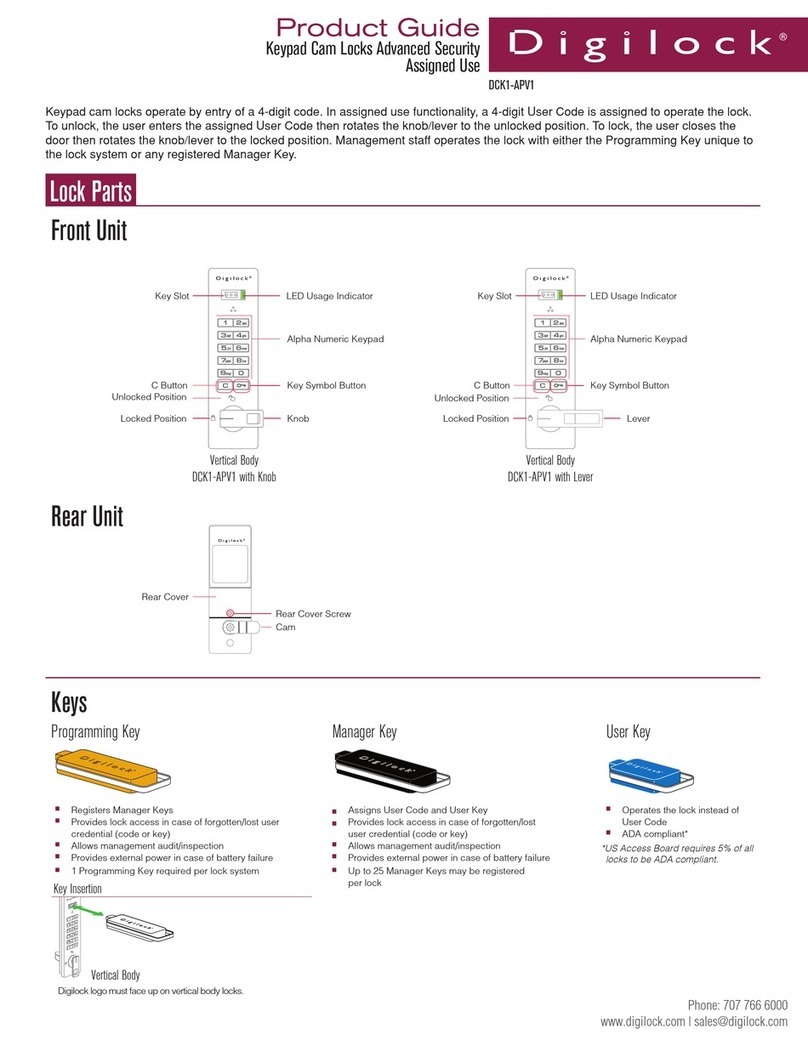
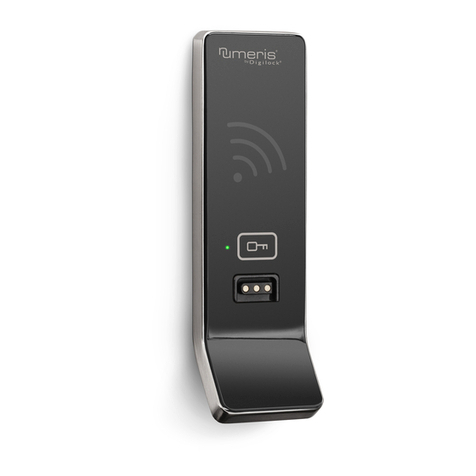
RFID cam locks operate with an RFID Card or RFID Access Credential. In shared use functionality, the user chooses any available
locker, presents any RFID Card or Credential, then rotates the knob/lever to the locked position. To unlock, the user presents the same
RFID Card or Credential, then rotates the knob/lever to the unlocked position. Once unlocked, the locker is available for a different user.
Management staff operates the lock with either the Programming Key unique to the lock system or any registered Manager Key.
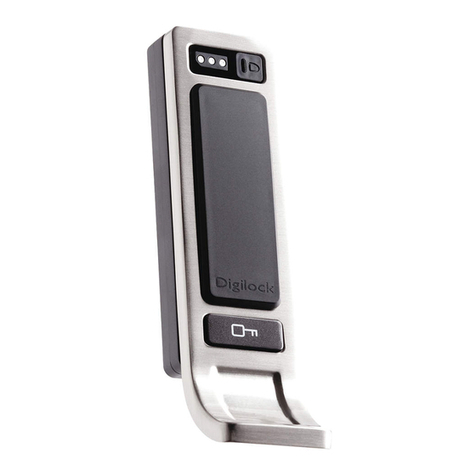
Front Unit
Lock Parts
Rear Unit
Key Insertion
Digilock logo must face up on vertical body locks.
Vertical Body
User Key
Keys
Manager KeyProgramming Key
Vertical Body
DCR1-ATV1 with Lever
Unlocked Position
Locked Position
Key Slot LED Usage Indicator
Reader
Key Symbol Button
Lever
Cam
Rear Cover Screw
Rear Cover
■Operates the lock instead of
RFID User Credential
■ADA compliant*
■Provides lock access in case of forgotten/lost
user credential
■Allows management audit/inspection
■Provides external power in case of battery failure
■Up to 25 Manager Keys may be registered
per lock
■Registers Manager Keys
■Provides lock access in case of forgotten/lost user
credential
■Allows management audit/inspection
■1 Programming Key required per lock system
*US Access Board requires 5% of all
locks to be ADA compliant.
Vertical Body
DCR1-ATV1 with Knob
Knob
Unlocked Position
Locked Position
Key Slot LED Usage Indicator
Reader
Key Symbol Button
RFID
CARD
RFID Card
Phone: 707 766 6000
www.digilock.com | [email protected]
DCR1-ATV1
RFID Cam Locks Advanced Security
Shared Use
Product Guide
Programming Instructions
Manager Key(s) can be quickly registered to multiple locks. The Programming Key copies the registered Manager Key(s) from one
lock to multiple locks.
Express Register
a. Go to the lock registered with the Manager Key(s).
b. Press and hold ` for 10 seconds. After 5 seconds, a two-tone beep will be heard and the LED will start to flash; continue to
hold until two-sets of two-tone beeps are heard.
c. Touch the Programming Key to the key slot until a two-tone beep is heard and the LED turns off.
d. At each lock to be registered, touch the Programming Key to the key slot until a two-tone beep is heard and the LED flashes
once to indicate successful registration.
e. End express registration.* Go to any registered lock and press ` then touch the Programming Key to the key slot to operate
the lock.
Up to 25 Manager Keys may be registered to a lock. If required, contact your Digilock Product Representative to order additional
Manager Key(s).
a. Go to a lock requiring Manager Key(s).
b. Press and hold ` for 5 seconds until a two-tone beep is heard and the LED starts to flash.
c. Touch the Programming Key to the key slot until a two-tone beep is heard and the LED turns on.
d. Touch each Manager Key to the key slot. A two-tone beep will be heard for each Manager Key that is
successfully registered.
e. Touch the Programming Key to the key slot until a two-tone beep is heard and the LED turns off.
f. Repeat above steps for each lock or follow Express Register instructions to register the same Manager Key(s) to
multiple locks.
Register/Add Manager Key(s)
*The Programming Key will continue to function in express registration mode until it is used to operate a lock.
New locks operate only with `. Locks must be setup to allow full operation.
Initial Setup
a. Touch the Programming Key to the key slot until a two-tone beep is heard and the LED turns on.
b. Touch each Manager Key to the key slot. A two-tone beep will be heard for each Manager Key that is
successfully registered.
c. Touch the Programming Key to the key slot until a two-tone beep is heard and the LED turns off.
d. Repeat above steps for each lock or follow Express Register instructions to setup all locks.
Phone: 707 766 6000
www.digilock.com | [email protected]
DCR1-ATV1
RFID Cam Locks Advanced Security
Shared Use
Product Guide
Operating Instructions
Operate with any User Key:
▪To lock: Close the door, touch any User Key to the key slot, then turn the knob/lever to the locked position.
▪To unlock: Touch the same User Key to the key slot, turn the knob/lever to the unlocked position, then open the door.
Operate with a registered Manager Key*:
▪To lock: Close the door, touch a registered Manager Key to the key slot, then turn the knob/lever to the locked position.
▪ To unlock: Touch a registered Manager Key to the key slot, turn the knob/lever to the unlocked position, then
open the door.
Operate with the Programming Key*:
▪To lock: Close the door, press `, touch the Programming Key to the key slot, then turn the knob/lever to the locked position.
▪ To unlock: Press `, touch the Programming Key to the key slot, turn the knob/lever to the unlocked position, then
open the door.
*When locked with a registered Manager Key or the Programming Key, the previous RFID Card or User Key will continue to operate the lock.
Operate with any RFID Card or Access Credential:
▪ To lock: Close the door, press `, present any RFID Card or Credential to the Reader, then turn the knob/lever to
the locked position.
▪ To unlock: Press `, present the same RFID Card or Credential to the Reader, turn the knob/lever to the unlocked position,
then open the door.
For Lost or Stolen Keys
For a lost or stolen Programming Key:
The lost/stolen Programming Key will continue to operate the lock(s) until it is replaced. Immediately order a Replacement
Programming Key from your Digilock Product Representative. Once received, follow enclosed instructions to set up the lock(s) to
operate with the Replacement Programming Key.
For a lost or stolen Manager Key(s):
Lost/Stolen Manager Key(s) will continue to operate the lock(s). To prevent the lost/stolen Manager Key(s) from operating the
lock(s), erase all registered Manager Key(s) and register only the remaining Manager Key(s).
a. Collect all remaining Manager Key(s).
b. Press ` for 5 seconds until a two-tone beep is heard and the LED starts to flash.
c. Touch the Programming Key to the key slot until a two-tone beep is heard and the LED turns on.
d. Touch the Programming Key to the key slot again until three sets of two-tone beeps are heard and the LED turns off.
All previously registered Manager Key(s) have been erased from the lock.
e. Follow Register/Add Manager Key(s) instructions to register the remaining Manager Key(s).
DCR1-ATV1
RFID Cam Locks Advanced Security
Shared Use
Product Guide
Phone: 707 766 6000
www.digilock.com | [email protected]
PG-DCR1-AT-DEN
081715
Support
Error Condition Indicator
Locks emit feedback when an error condition exists.
2 sets of three beeps:
The batteries are low. Replace the batteries.
1 beep:
The lock does not recognize the RFID Access Credential.
Does not Operate with a Manager Key
The lock does not recognize the Manager Key. Follow Register/Add Manager Key(s) instructions to register Manager Key to the lock.
For immediate access, operate with another registered Manager Key or with the Programming Key.
Does not Operate with the Programming Key
The lock does not recognize the Programming Key. Contact Digilock Support for assistance.
No Audible Feedback when ` is Pressed
a. The batteries may need to be replaced.
b. Replace the batteries.
c. If error condition persists, contact Digilock Support.
If the door is locked and the batteries have failed, use the Manager Key to provide external power and operate the lock.
Battery Failure
a. Touch and hold the Manager Key to the key slot for approximately 10 seconds until a triple-tone beep is heard.
b. Turn the knob/lever to the unlocked position.
Does not Unlock with the RFID Card, User Key, or RFID Access Credential
The lock does not recognize the RFID Card, User Key, or RFID Access Credential. Operate the lock with a registered Manager Key.
Replace with three premium
alkaline AA batteries.
3
3
Battery Replacement
It is not necessary to remove the lock from the door to change the batteries.
The batteries are located
behind the rear cover.
Ensure that the cam is not
obstructing access to the rear
cover screw.
1
1
Remove the screw and rear
cover.
2
2
Replace the rear cover and
secure the screw in place.
4
4

Other Digilock Lock manuals

Digilock NEXT Sola3 Keypad User manual

Digilock

Digilock NEXT Sola3 Keypad User manual

Digilock DCR1-APV1 User manual

Digilock

Digilock DCR1-APV1 User manual

Digilock Numeris Versa User manual

Digilock

Digilock Numeris Versa User manual

Digilock Next Mech User manual

Digilock

Digilock Next Mech User manual

Digilock DCK1-APV1 User manual

Digilock

Digilock DCK1-APV1 User manual

Digilock NEXTLOCK CUE Series User manual

Digilock

Digilock NEXTLOCK CUE Series User manual

Digilock ATS User manual

Digilock

Digilock ATS User manual

Digilock Assigned Use RFID Camlock User manual

Digilock

Digilock Assigned Use RFID Camlock User manual

Digilock numeris aspire User manual

Digilock

Digilock numeris aspire User manual

Digilock numeris aspire User manual

Digilock

Digilock numeris aspire User manual

Digilock Numeris Versa Standard User manual

Digilock

Digilock Numeris Versa Standard User manual

Digilock NEXT Sola3 Touch RFID User manual

Digilock

Digilock NEXT Sola3 Touch RFID User manual

Digilock Curve User manual

Digilock

Digilock Curve User manual

Digilock DAK1-APS1 User manual

Digilock

Digilock DAK1-APS1 User manual

Digilock DAR1-APV1 User manual

Digilock

Digilock DAR1-APV1 User manual

Digilock Next Mech Dial Combo User manual

Digilock

Digilock Next Mech Dial Combo User manual

Digilock ADA User Key Owner's manual

Digilock

Digilock ADA User Key Owner's manual

Digilock DL330BT User manual

Digilock

Digilock DL330BT User manual

Digilock Lockup M User manual

Digilock

Digilock Lockup M User manual

Digilock DAR1-ATS1 User manual

Digilock

Digilock DAR1-ATS1 User manual

Digilock Shared Use RFID Camlock User manual

Digilock

Digilock Shared Use RFID Camlock User manual

Digilock NEXT Sola3 Keypad User manual

Digilock

Digilock NEXT Sola3 Keypad User manual

Digilock Numeris Versa Mini User manual

Digilock

Digilock Numeris Versa Mini User manual

Digilock DK-APS 4G Operating instructions

Digilock

Digilock DK-APS 4G Operating instructions

Popular Lock manuals by other brands

Hama Cable lock and key operating instructions

Hama

Hama Cable lock and key operating instructions

Abus SW1 quick start guide

Abus

Abus SW1 quick start guide

Assa Abloy INTERLOCK P84166 installation instructions

Assa Abloy

Assa Abloy INTERLOCK P84166 installation instructions

Purpleline FullStop Saracen Ultra user manual

Purpleline

Purpleline FullStop Saracen Ultra user manual

Stock Loks CB-100 instruction sheet

Stock Loks

Stock Loks CB-100 instruction sheet

Schlage AD-300 user guide

Schlage

Schlage AD-300 user guide

Sylvan SL39E user manual

Sylvan

Sylvan SL39E user manual

Ryobi RP4310 Operator's manual

Ryobi

Ryobi RP4310 Operator's manual

CODELOCKS CL255 Code change guide

CODELOCKS

CODELOCKS CL255 Code change guide

XLOCK 145B installation guide

XLOCK

XLOCK 145B installation guide

Assa Abloy effeff EX118R installation instructions

Assa Abloy

Assa Abloy effeff EX118R installation instructions

COMPX C8142-3 Dimensional drawing

COMPX

COMPX C8142-3 Dimensional drawing

August Smart Lock Pro installation guide

August

August Smart Lock Pro installation guide

FingerTec Keylock 8800 user guide

FingerTec

FingerTec Keylock 8800 user guide

LockMasters X-Lock X-O7 instructions

LockMasters

LockMasters X-Lock X-O7 instructions

Richter CZECH H.03 user guide

Richter

Richter CZECH H.03 user guide

FNW 6500 Installation operation & maintenance

FNW

FNW 6500 Installation operation & maintenance

Turbolock TL88 manual

Turbolock

Turbolock TL88 manual

manuals.online logo
manuals.online logoBrands
  • About & Mission
  • Contact us
  • Privacy Policy
  • Terms and Conditions

Copyright 2025 Manuals.Online. All Rights Reserved.