manuals.online logo
Brands
  1. Home
  2. •
  3. Brands
  4. •
  5. DITEC
  6. •
  7. Door Opening System
  8. •
  9. DITEC PASP User manual

DITEC PASP User manual

PASP
1
2
5
6
7
3
4
* Other use of the device outside of the permitted purpose can not be guaranteed by the manufacturer.
TECHNICAL SPECIFICATIONS
DESCRIPTION
ENGLISH
PASSIVE INFRARED SENSOR FOR AUTOMATIC
DOORS*
Specifications are subject to changes without prior notice.
Measured in specific conditions.
Technology :
Optical characteristics:
Maximum Detection area (mounting height: 2.2m):
Minimum Detection area (mounting height: 2.2 m)
Detection mode:
Detection speed:
Light indicator:
Warm up time:
Hold time:
Response time:
Power supply:
Frequency:
Power consumption:
Connection:
Recommended cable section (terminal block):
Standard output:
Max. contact voltage:
Max. contact current:
Max. switching power:
Mounting height:
Temperature range:
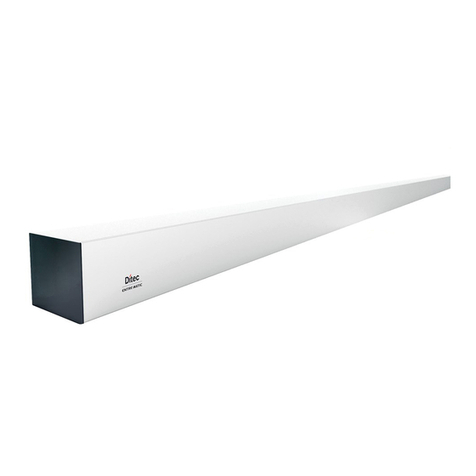
Dimensions:
Sensor:
Entrematic PASP:
Color (Sensor-PASP):
Length of cable:
Conformity:
passive infrared and microprocessor
P.I.R. with 4 elements, 15 lenses with full independent masking possibilities
2.5 m (W) x 1.5 m (D)
0.5 m (W) x 0.5 m (D)
motion
0.1 to 1.5 m/s
1 red LED:flashes for a few seconds after power-on
LED lights up: sensor detects motion
10 s
0.5 s ou 2 s
< 200 ms
12 VDC - 10% à 24VDC +30% /12 to 24 V AC ±10%
50/60 Hz
< 1 W
terminal block
< 0.5 mm²
relay (free potential contact)
60 V DC / 42 V AC
1A (resistive)
30W (DC) / 42 VA (AC)
3 m max
from -30 °C to +55 °C
101 mm (W) x 41 mm (H) x 27 mm (D)
121 mm (W) x 51 mm (H) x 40 mm (D)
anthracite grey
2.5 m
EN 61000-6-2; EN 61000-6-3; EN 50581
User’s Guide for product version 0202 and higher
See product label for serial number.
PLEASE KEEP FOR FURTHER USE
DESIGNED FOR COLOUR PRINTING
1. Sensor fixing
screw (black)
2. LED
3. DIP-switch
4. Lens
5. Terminal block
6. Bracket
7. bracket
fixing screw
(aluminium)
1
2
PASP
PASP
OPENING AND CLOSING THE SENSOR
MOUNTING THE SENSOR
To open the sensor, insert a screwdriver in the hole
under the bracket cam.
Consider the position of the guide pin when
closing the sensor.
Insert the bottom of the front cover to the bottom
clip of the base and push to close the sensor.
To remove the cover, insert a screwdriver as shown
(left) or pinch off both sides of the front cover (right).
1. Stick the template to the internal profile.
2. Drill the 2 holes.
3. Fix the brackets to both sides of the sensor with the 2 aluminum screws.
4. Fix the sensor, with the connector facing you, to the profile with the 2
black screws.
5. Make the cut-out in the door profile.
6. Connect the sensor using the cable (See p. 1 for wiring).
7. Adjust the tilt angle using the brackets.
1. Stick the template to the wall.
2. Drill the 2 holes to fix the sensor and the hole for the cable.
3. Open the sensor and cut out a wire opening footprint.
4. Fix the sensor to the base with the 2 aluminum screws supplied
with the PASP.
5. Connect the sensor using the cable.
6. Fix the sensor with the 2 black screws and close the sensor.
SENSOR
SENSOR FRONT COVER
1. Stick the template to the ceiling and cut out the hole.
2. Clip the sensor on the FCA and fix it with the 2 washers and the 2
aluminum screws.
3. Connect the sensor using the cable.
4. Insert the complete assembly into the ceiling and fix it using the 2
long, black screws.
3
4
PASP
ON
1
2 3
1
2
DIP SWITCH SETTINGS
ON
OFF
DIP SWITCH #1 DIP SWITCH #2 DIP SWITCH #3
Sensitivity high
Sensitivity low
(mounting height< 2.2m)
Passive output (NC)
Active output (NO)
Hold time: 2 s
Hold time: 0.5 s
The drawings show the maximum sensing field dimensions. If you install the PASP without accessories, you can move
the sensing field position by tilting the sensor to select the required vertical tilt angle. Otherwise, this adjustment is
not possible.
To adjust the sensing field, use the
masking lens. To tailor the sensing
field, cut the segments.
Use the guide pins to insert the
masking lens on the front cover.
Position the screwdriver as shown
to remove the masking lens.
SENSING FIELD SETTINGS
EXAMPLES: door threshold
door threshold
DETECTION AREA
NO DETECTION
NO DETECTION
DETECTION AREA
FRONT VIEW
FLAT VIEW
Door threshold
height
1
1
1
1
1
ASSA ABLOY Entrance Systems AB - Lodjursgatan 10 - SE-261 44 Landskrona - Sweden - www.ditecautomations.com
ASSA ABLOY Entrance Systems AB hereby declares that the PASP is in conformity with the basic requirements and the
other relevant provisions of the directives 2014/30/EU and 2011/65/EU.
Landskrona, January 2021 Matteo Fino, authorized representative and responsible for technical documentation.
The complete declaration of conformity is available on our website.
TROUBLESHOOTING
This product should be disposed of separately from unsorted municipal waste
INSTALLATION TIPS
The sensor must be firmly
fastened in order to avoid
vibrations!
When mounting the
PASP, make sure you apply the
brackets before tightening
the screws.
Always use the aluminium
screws to fasten the
accessories and the black
screws to fix the sensor.
Using the wrong screws could
damage the sensor!
The door remains
closed. The LED is OFF.
The door will not open
and the LED lights up.
The door opens when
no detection occurs
and closes during
detection.
The sensing field does
not correspond to your
requirements.
The detection is very
bad.
The sensor power is off.
The mode of the relay output
is not correct.
The cut of the masking lens
is wrong.
The sensor might be installed
upside down.
The wiring of the relay
output is not connected
correctly.
Check the wiring and the power supply. check the
supplied voltage.
Check the relay wiring.
Change the position of dip-switch 2.
Cut out a new lens to meet the required sensing
field size.
Check if the sensor is installed with its connector
facing you.
©ASSA ABLOY Entrance Systems AB I Original instructions | 47.0463 / V1 - 05.21

This manual suits for next models

1

Other DITEC Door Opening System manuals
DITEC DOD User manual

DITEC

DITEC DOD User manual

DITEC DOD Series Instruction Manual

DITEC

DITEC DOD Series Instruction Manual

DITEC Entrematic ENERGY 49E User guide
DITEC

DITEC Entrematic ENERGY 49E User guide

DITEC PAS024AMT User manual

DITEC

DITEC PAS024AMT User manual

DITEC BIS O Manual

DITEC

DITEC BIS O Manual

DITEC entrematic HA8-LP Service manual

DITEC

DITEC entrematic HA8-LP Service manual

DITEC ENTREMATIC HA9 Service manual

DITEC

DITEC ENTREMATIC HA9 Service manual
DITEC CIVIK Series Manual

DITEC

DITEC CIVIK Series Manual

DITEC OLLY M Manual

DITEC

DITEC OLLY M Manual

DITEC Sprint Manual

DITEC

DITEC Sprint Manual

DITEC DOR User manual

DITEC

DITEC DOR User manual

DITEC DAB105 User manual

DITEC

DITEC DAB105 User manual

DITEC COM E User manual

DITEC

DITEC COM E User manual

DITEC PID24 User manual

DITEC

DITEC PID24 User manual

DITEC DAS107PLUS User manual

DITEC

DITEC DAS107PLUS User manual

DITEC 94 System manual

DITEC

DITEC 94 System manual

DITEC Flash C User guide

DITEC

DITEC Flash C User guide

DITEC DAS200T User manual

DITEC

DITEC DAS200T User manual
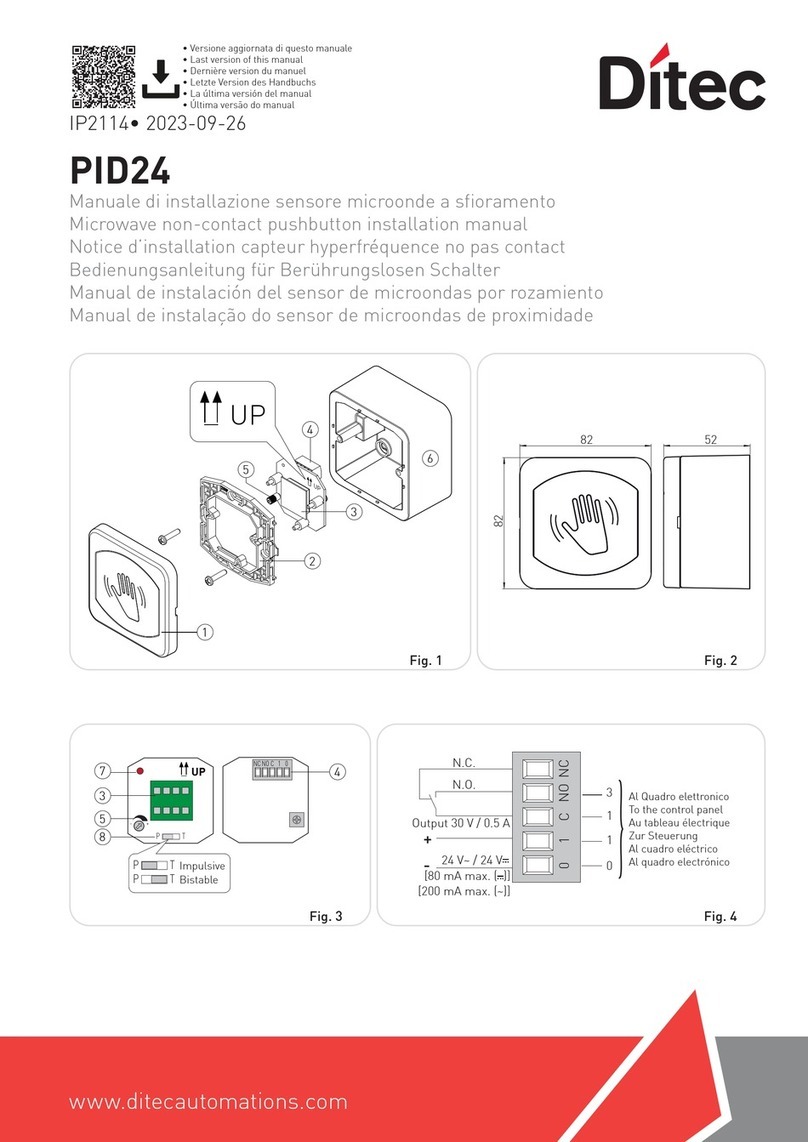
DITEC DAS200T User manual

DITEC

DITEC DAS200T User manual
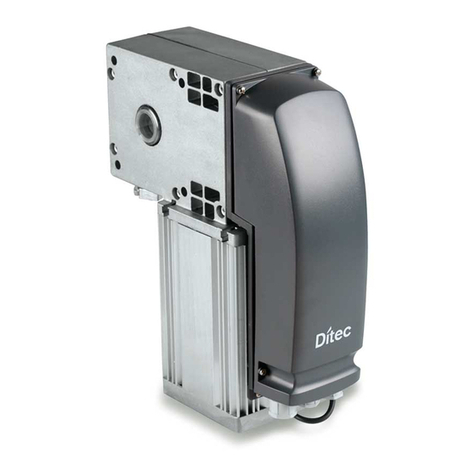
DITEC VALOR HH-HS User manual

DITEC

DITEC VALOR HH-HS User manual

DITEC DAB105 User manual

DITEC

DITEC DAB105 User manual

DITEC NRG100TXE User manual

DITEC

DITEC NRG100TXE User manual

DITEC DAB305 User manual

DITEC

DITEC DAB305 User manual

DITEC DAS200TRF User manual

DITEC

DITEC DAS200TRF User manual

Popular Door Opening System manuals by other brands

ONLEVEL Banana Slide 50 installation instructions

ONLEVEL

ONLEVEL Banana Slide 50 installation instructions

Record STM 20 RED/DUO manual

Record

Record STM 20 RED/DUO manual

GEZE Powerturn IS/TS installation instructions

GEZE

GEZE Powerturn IS/TS installation instructions

GEZE TS1200 installation instructions

GEZE

GEZE TS1200 installation instructions

BFT K 130 manual

BFT

BFT K 130 manual

Helm MK-L 80 G 152 installation instructions

Helm

Helm MK-L 80 G 152 installation instructions

EUROLAIKAS FS 1000 Installation instructions and user guide

EUROLAIKAS

EUROLAIKAS FS 1000 Installation instructions and user guide

Amazon B07GDXCX87 manual

Amazon

Amazon B07GDXCX87 manual

Record K 32 M user manual

Record

Record K 32 M user manual

FAAC 595 manual

FAAC

FAAC 595 manual

Tucker Auto-Mation SW10 installation guide

Tucker Auto-Mation

Tucker Auto-Mation SW10 installation guide

Remote Solutions SAFE-T-RACK SR-U Operation manual

Remote Solutions

Remote Solutions SAFE-T-RACK SR-U Operation manual

Dorma AGILE 150 Installation instruction

Dorma

Dorma AGILE 150 Installation instruction

Dorma 7300 S-IS manual

Dorma

Dorma 7300 S-IS manual

DELTA DORE TYXAL+ DO BR installation guide

DELTA DORE

DELTA DORE TYXAL+ DO BR installation guide

Dormakaba ED900 owner's manual

Dormakaba

Dormakaba ED900 owner's manual

GU DTN 80 operating instructions

GU

GU DTN 80 operating instructions

Henderson HUSKY Folding 25 Series Fitting instructions

Henderson

Henderson HUSKY Folding 25 Series Fitting instructions

manuals.online logo
manuals.online logoBrands
  • About & Mission
  • Contact us
  • Privacy Policy
  • Terms and Conditions

Copyright 2025 Manuals.Online. All Rights Reserved.