manuals.online logo
Brands
  1. Home
  2. •
  3. Brands
  4. •
  5. DITEC
  6. •
  7. Door Opening System
  8. •
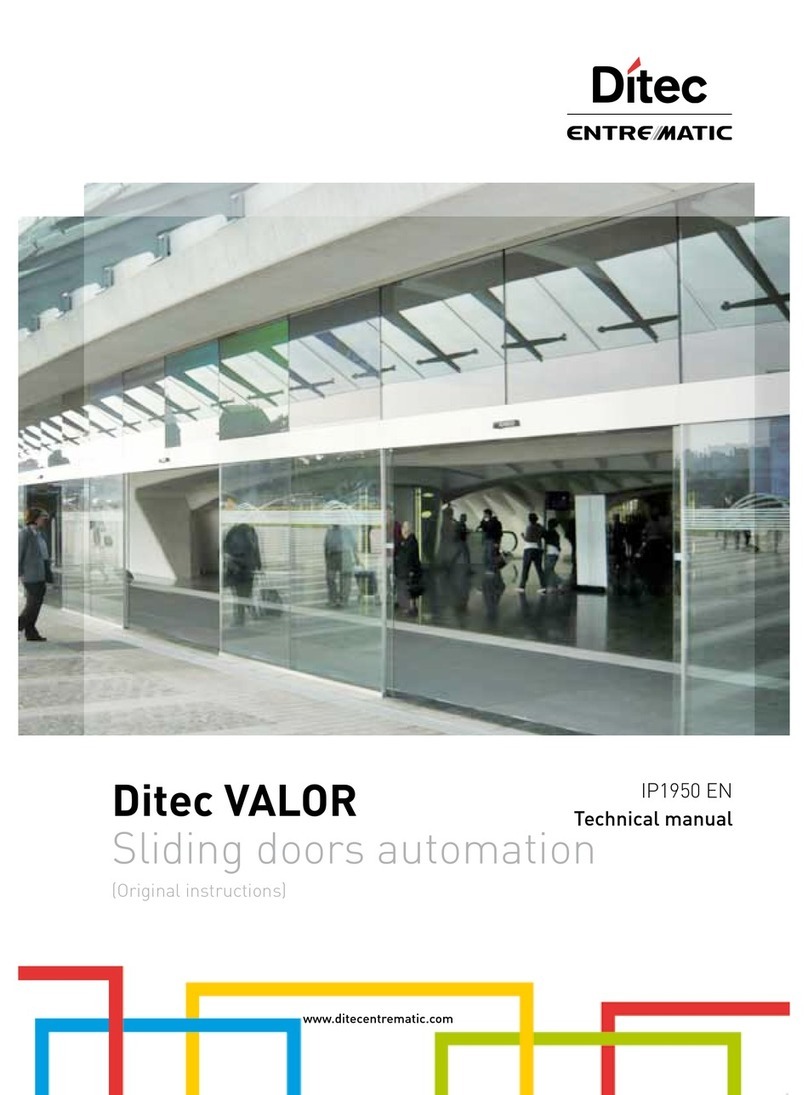
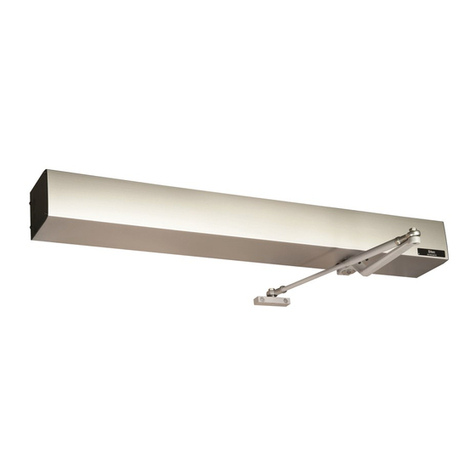
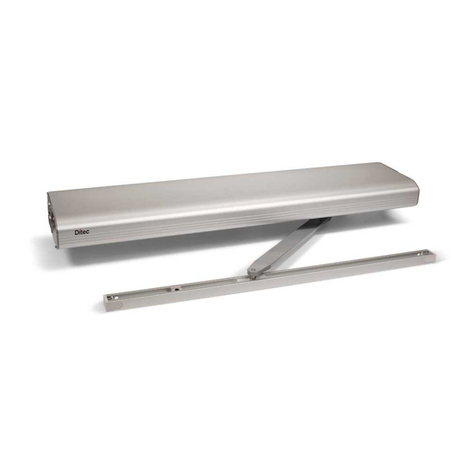
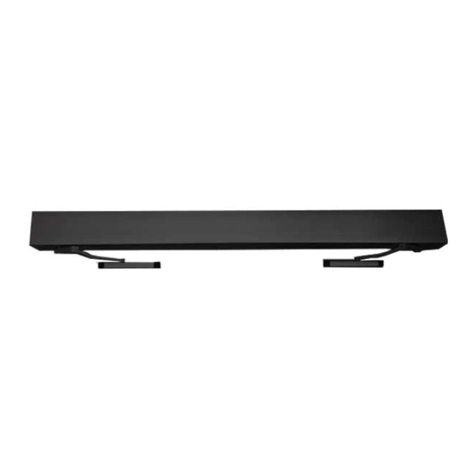
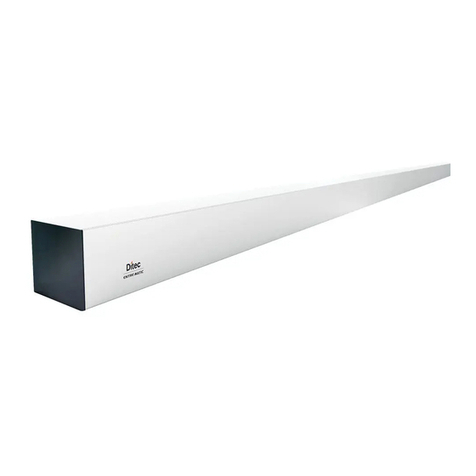
  9. DITEC DAB105 User manual

DITEC DAB105 User manual

www.ditecautomations.com
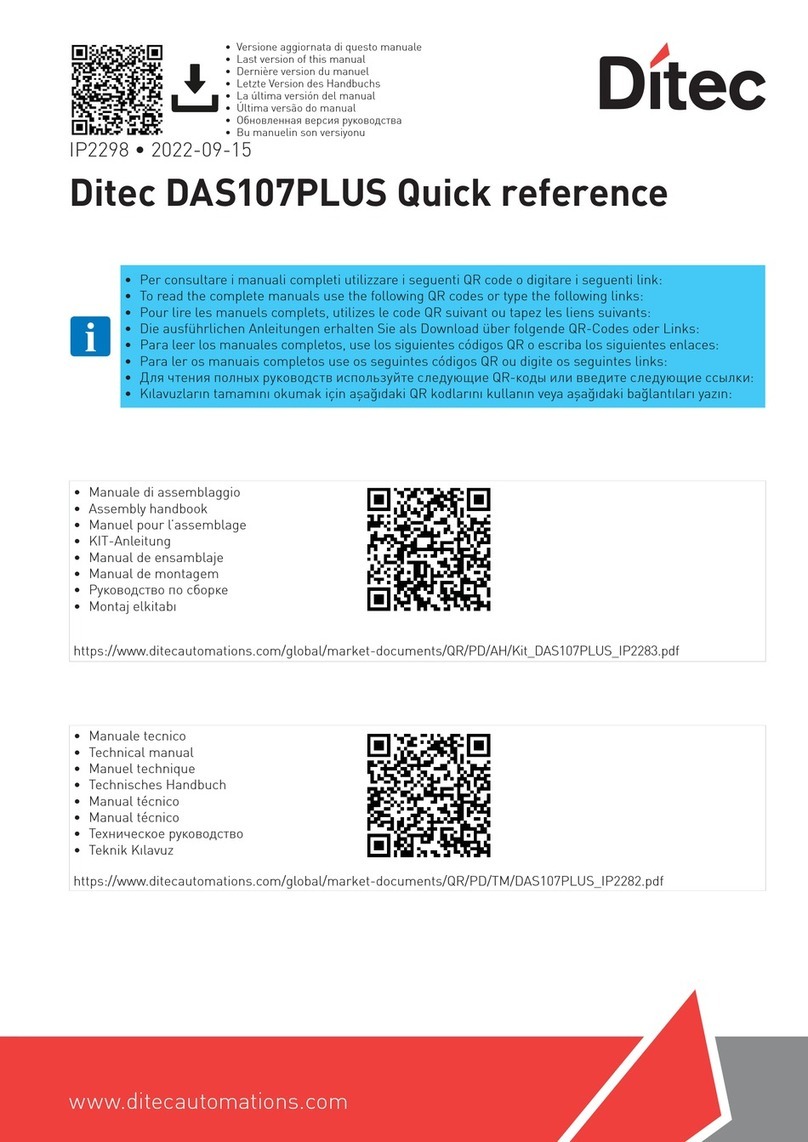
Ditec DAB105 Quick Reference
IP2381 • 2021-02-18
• Per consultare il manuale completo utilizzare il seguente QR code o digitare il seguente link:
• To read the complete manual use the following QR code or type the following link:
• Pour lire le manuel complets, utilizes le code QR suivant ou tapez le lien suivant:
• Die ausführlichen Anleitungen erhalten Sie als Download über folgende QR-Code oder Link:
• Para leer el manual completos, use el siguiente código QR o escriba el siguiente enlace:
• Para ler o manual completos use o seguintes código QR ou digite o seguinte link:
•
Для ознакомления с полными руководствами используйте следующий QR-код или введите следующая ссылка:
• Ditec DAB105 + DAB805PSA • Ditec DAB105 + DAB805PSAF
300
max
~400
107X
X
/30
DAB805SE2 50
DAB805SE5 80
DAB805SE7 100
1
DAB805TFL
DAB805TFS
DAB805TKJ
Y 335
107X
X
/48
DAB805SE5F 98
• Manuale tecnico
• Technical manual
• Manuel technique
• Technisches Handbuch
https://www.ditecautomations.com/Entrematic/ditecentrematicCOM/QR/Multilanguages/DAB105/DAB105_Quick_reference_IP2381.pdf
• Manual técnico
• Manual técnico
• Техническое руководство
Y
/0-100
DAB805TFL 100-215
DAB805TFS
DAB805TKJ 215-305
• Versione aggiornata di questo manuale
• Last version of this manual
2
IP2381
X+16 75
34
31
264 248 35
633
212
==
42
• Ingresso cavo
• Cable inlet
• Entrée des cables
• Kabeleinführung
• Entrada de cable
• Entrada de cabos
• Вход для кабеля
ø16
X+16 75
34
31
26 4248
45
633
212
2A 2B
75
Ø7 (6x)
50
23 (2x)
Ø18 (4x)
57633
712
133 22
238
34
Ø7 (6x)
63
131
34 3838
7518 18
720
8 1/4"
1 11/16"
30 mm 210 mm
• DAB805PSA - DAB805PSAF • DAB805PSA - DAB805PSAF
3
IP2381
3A
4A
3B
4B
• DAB805PSA - DAB805PSAF
4x
2x
4x
4x
4x
2x
cc
bb
aa
4
IP2381
5A
6A
5B
• DAB805PSA - DAB805PSAF
• DAB805PSA
• DAB805PSA - DAB805PSAF
210
1
2
3
4
210
1
24
3
• Fissare il motore riavvitando le 4 viti [B] in dotazione, nella sequenza indicata in figura.
• Fix the motor by tightening the 4 screws [B] supplied, in the sequence shown in the figure.
• Fixer le moteur en revissant les 4 vis [B] fournies, dans la séquence indiquée sur la figure.
• Den Motor befestigen, dazu die vier mitgelieferten Schrauben [B] in der abgebildeten Reihenfolge eindrehen.
• Fije el motor volviendo a atornillar los 4 tornillos [B] suministrados, respetando la secuencia que se indica en la figura.
• Fixe o motor, apertando os 4 parafusos [B] fornecidos, na sequência mostrada na figura.
• Закрепите двигатель, закрутив 4 винта [B] в комплекте в ука-занной на рисунке последова-тельности.
A90°
16Nm
+/-
210
min 550
I
I
I
I
I
I
I
I
I
I
I
I
I
I
I
I
I
I
B
AB
210264
• NOTA: aprire leggermente la porta e stringere la vite della sede supporto braccio [A] con una forza pari a 16 Nm
• NOTE: open the door slightly and tighten the screw of the arm support seat [A] at 16 Nm
• REMARQUE: ouvrir légèrement la porte et serrer la vis du siège de support du bras [A] avec une force de 16 Nm
• HINWEIS: Die Tür leicht öffnen und die Schraube des Sitzes der Armhalterung [A] mit einer Kraft von 16 Nm festziehen
• NOTA: abra un poco la puerta y apriete el tornillo de la sede del soporte del brazo [A] aplicando una fuerza de 16 Nm
• NOTA: abra ligeiramente a porta e aperte o parafuso da sede de suporte do braço [A] com uma força equivalente a 16 Nm
• ПРИМЕЧАНИЕ: Слегка приоткройте дверь и затяните болт в гнезде крепления тяги [A] с усилием 16 Нм
c
c
b
b
a
a
5
IP2381
6B • DAB805PSAF
a
b
I
I
I
I
I
I
I
I
I
I
I
I
I
I
I
I
I
I
25 Nm
a
210
min 550
90°
+/-
DAB805TFL
DAB805TFS
DAB805TKJ
• NOTA: aprire leggermente la porta e stringere la vite della sede supporto braccio [A] con una forza pari a 25 Nm
• NOTE: open the door slightly and tighten the screw of the arm support seat [A] at 25 Nm
• REMARQUE: ouvrir légèrement la porte et serrer la vis du siège de support du bras [A] avec une force de 25 Nm
• HINWEIS: Die Tür leicht öffnen und die Schraube des Sitzes der Armhalterung [A] mit einer Kraft von 25 Nm festziehen
• NOTA: abra un poco la puerta y apriete el tornillo de la sede del soporte del brazo [A] aplicando una fuerza de 25 Nm
• NOTA: abra ligeiramente a porta e aperte o parafuso da sede de suporte do braço [A] com uma força equivalente a 25 Nm
• ПРИМЕЧАНИЕ: Слегка приоткройте дверь и затяните болт в гнезде крепления тяги [A] с усилием 25 Нм
• Nel caso di automazioni con apertura a sinistra, e necessario invertire
l’assemblaggio del braccio articolato come indicato in figura.
• In the case of automations with left-hand opening, you must invert the
assembly of the articulated arm as shown in the figure.
• Dans le cas d’un automatisme à ouverture à gauche, inverser l’assem-
blage du bras articulé comme indiqué sur la figure.
• Bei Motoren mit Linksöffnung, die Montage des Gelenkarms wie
abgebildet umkehren.
• En el caso de automatismos con apertura a la izquierda, es necesario
invertir el ensamblaje de brazo articulado como se indica en la figura.
• No caso de automatismos com abertura a esquerda, e necessario
reverter a montagem do braco articulado, como mostrado na figura.
• В случае использования автоматики с левосторонним открыванием
необходимо выполнить сборку шарнирной тяги обратным образом,
как показано на рисунке.
• DAB805PSA
4
4
4
4
ab
21026 44
6
IP2381
• Ditec DAB105 + DAB805PLA
1
X
/50
DAB805SE2 70
DAB805SE5 100
DAB805SE7 120
30
63
-20/130
107X
==
42
• Ingresso cavo
• Cable inlet
• Entrée des cables
• Kabeleinführung
• Entrada de cable
• Entrada de cabos
• Вход для кабеля
ø16
2A 2B
• DAB805PLA • DAB805PLA
X+16 7530
31 633
26
4
34
212
X+16 75
30
31
633
26 4
34
212
7
IP2381
3A
4A
5A
3B
4B
5B
• DAB805PLA
• DAB805PLA
• DAB805PLA
• DAB805PLA
• DAB805PLA
• DAB805PLA
4x
2x
210
4x
2x
210
bb
a
a
c
b
a
c
b
a
8
IP2381
6A
7
6B
• DAB805PLA • DAB805PLA
2
4
3


• Il motoriduttore deve essere fissato utilizzando prima la vite centrale/superiore, poi attenersi allo schema.
• Operator should be attached using the top/centered bolt first, then follow pattern.
• Fixer l’opéateur en utilisant d’abord le boulon supérieur/central, puis suivre le schéma.
• Zur Antriebsbefestigung zuerst die obere/mittlere Schraube und anschließend die weiteren Schrauben befestigen.
• El mecanismo debe fijarse primero con el perno central/superior y, a continuación, seguir el patrón.
• O mecanismo deve ser fixado utilizando primeiro o parafuso de topo/centrado e, em seguida, o padrão deve ser seguido.
• Привод фиксируется сначала верхним/центрированным болтом, затем следуя шаблону.
• NOTA: non cambiare posizione al fermo battuta per applicazione braccio scorrevole. Utilizzare il fermo porta aperta [F]come indicato al
successivo punto 7
• NOTE: Do not change door stop for pull application. Adjust the open door stop [F], as indicated in next point 7.
• REMARQUE: Ne changez pas la butée de porte pour une application bras coulissant. Régler l’arrêt de porte ouverte [F] comme indiqué
au point suivant 7.
• HINWEIS: Ändern Sie den Türanschlag nicht mit Gleitarm. Den Türfeststeller [F] wie nächsten Punkt 7 angegeben.
• NOTA: No cambie el tope de la puerta para la aplicación con brazo corredero. Regule el retén de puerta abierta [F] como se indica en el
punto 7 a continuación.
• NOTA: Não mude o batente da porta para a aplicação com braço deslizante. Ajuste a bloqueador da porta aberta [F], conforme indicado
no ponto 7 abaixo.
• ПРИМЕЧАНИЕ: Не меняйте ограничитель двери для тягового рычага. Отрегулируйте дверной упор [F], как указано в следующем
пункте 7.
• NOTA:
aprire leggermente la porta e stringere la vite del-
la sede supporto braccio [A] con una forza pari a 16Nm.
• NOTE: open the door slightly and tighten the screw of
the arm support seat [A] at 16Nm.
• REMARQUE: ouvrir légèrement la porte et serrer la vis
du siège de support du bras [A] avec une force de 16Nm.
• HINWEIS:
Die Tür leicht öffnen und die Schraube des Sitzes
der Armhalterung [A] mit einer Kraft von 16Nm festziehen.
• NOTA:
abra un poco la puerta y apriete el tornillo de la sede
del soporte del brazo [A] aplicando una fuerza de 16Nm.
• NOTA:
abra ligeiramente a porta e aperte o parafuso da sede
de suporte do braço [A] com uma força equivalente a 16Nm.
• ПРИМЕЧАНИЕ: Слегка приоткройте дверь и затяните
болт в гнезде крепле-ния тяги [A] с усилием 16Нм.
210
max 50
920
A
B
min 700
210
a
b
I
I
I
I
I
I
I
I
I
I
I
I
I
I
I
I
I
I
16Nm
4mm4mm
F
9
IP2381
612345
ON
SPTE OPSP CLSP POAS CLTQ
LRN
HOT
PAG
MAT
SOS
ARM1
ARM2
LED
12345
ON/OFF/HOLD OPEN
ENCODER
LOCK KICK
SWITCH
SYNCHRONISATION OF DOUBLE
DOOR WINGS
DO NOT USE
GND
IIMP
XIMP
OPD
LOUT DO NOT USE
Opening (controlled from ON/OFF
HOLD OPEN)
Motion sensor / safety mat
Opening
24 V +
-
MOTOR
• DAB905ESA
• DAB105CU
• DAB905ESE
8• Quadro elettrico
• Control panel
• Tableau électronique
• Elektronische Steurung
5mm
Tag strip
Long for 2 cards
Short for 1 card
nut driver
Torx T10
DAB905ESA
DAB905ESE
-
–
+
12345
ON
+24 V DC
KILL
KEY
O/C
OIMP
GND
BATTERIES
12 345678910111213
OPEN
EXIT
OFF
UNL
KRST
Electric lock/
Electric strike
Outer side opening
Open/close impulse
Key opening
Emergency closure
Emergency closure reset
Door released signal
Closed door timer
J
24 V DC
-
+
Reversal safety contact
on internal side
Safety contact on
external side opening
Safety test
891012345
NO
COM
DO NOT USE
DO NOT USE
SAFETY
EXCLUSION LED
SAFETY
EXCLUSION
TRIMMER
DO NOT USE
NC
QTST
PDET
PIMP
GND
J1
J2
24V output 1A

• Cuadro electronico
• Quadro eletronico
• блока управления
IP2381
ASSA ABLOY Entrance System AB
Lodjursgatan 10
SE-261 44, Landskrona
Sweden
© ASSA ABLOY
9
10
11
12
13
14
DIP
ON
5
4
3
2
1
DIP
ON
5
4
3
2
1
PUSH
Arm system setting
PULL
a cb
CU-ESD
0°
SPTE
d
1
1
0
0
0
1
0°
SPTE
≈ 95°
a b
0°
SPTE
3-10°
/51
• PORTE TAGLIAFUOCO:
Controllare l’aumento di velocità in chiusura in mancanza di alimentazione ruotando la relativa camma (2).
• FIRE DOORS: Control the lock kick by turning the lock kick cam (2) when power is off
• PORTES COUPE-FEU:
Controlez l’à-coup de fermeture en tournant la came d’à-coup de fermeture (2) quand l’alimentation est coupée.
• Brandschutztüren Den Lock-Kick durch Drehen des Lock-Kick-Nockens (2) bei abgeschalteter Stromversorgung überprüfen.
• PUERTAS CORTAFUEGOS:
Controle la patada de bloqueo girando la leva de patada de bloqueo (2) cuando la alimentación está desconectada.
• PORTAS CORTA-FOGO: Controle o amortecedor de bloqueio rodando o excêntrico do amortecedor de bloqueio (2) quando a
alimentação está desligada.
• Противопожарные двери:Когда питание отключено, проверить доведение, повернув эксцентрик (2)
2

Other manuals for DAB105

1

Other DITEC Door Opening System manuals

DITEC DAS107PLUS User manual

DITEC

DITEC DAS107PLUS User manual

DITEC DAS200T User manual

DITEC

DITEC DAS200T User manual

DITEC Entrematic Hurricane DS20 Manual

DITEC

DITEC Entrematic Hurricane DS20 Manual

DITEC Entrematic ENERGY 49E User guide

DITEC

DITEC Entrematic ENERGY 49E User guide

DITEC BIS O Manual

DITEC

DITEC BIS O Manual

DITEC DOD User manual

DITEC

DITEC DOD User manual

DITEC DOR User manual

DITEC

DITEC DOR User manual

DITEC DOD Series Instruction Manual

DITEC

DITEC DOD Series Instruction Manual

DITEC COM E User manual

DITEC

DITEC COM E User manual

DITEC Sprint Manual

DITEC

DITEC Sprint Manual

DITEC Flash C User guide

DITEC

DITEC Flash C User guide

DITEC PAS024AMT User manual

DITEC

DITEC PAS024AMT User manual

DITEC VALOR HH-HS User manual

DITEC

DITEC VALOR HH-HS User manual

DITEC DAS200T User manual

DITEC

DITEC DAS200T User manual

DITEC DAB305 User manual

DITEC

DITEC DAB305 User manual

DITEC DAB105 User manual

DITEC

DITEC DAB105 User manual

DITEC 0DT848 User guide

DITEC

DITEC 0DT848 User guide

DITEC DAS200TRF User manual

DITEC

DITEC DAS200TRF User manual

DITEC CIVIK Series Manual

DITEC

DITEC CIVIK Series Manual

DITEC ENTREMATIC HA9 User manual

DITEC

DITEC ENTREMATIC HA9 User manual

DITEC PASP User manual

DITEC

DITEC PASP User manual

DITEC DAS107PLUS User manual

DITEC

DITEC DAS107PLUS User manual

DITEC OLLY M Manual

DITEC

DITEC OLLY M Manual

DITEC ENTREMATIC HA9 Service manual

DITEC

DITEC ENTREMATIC HA9 Service manual

Popular Door Opening System manuals by other brands

Assa Abloy G-CO-CS Mounting instructions

Assa Abloy

Assa Abloy G-CO-CS Mounting instructions

LCN 4050 Track Series installation instructions

LCN

LCN 4050 Track Series installation instructions

Assa Abloy Norton 7970DPS-B Series installation instructions

Assa Abloy

Assa Abloy Norton 7970DPS-B Series installation instructions

Assa Abloy Norton 6300 Series Programming instructions

Assa Abloy

Assa Abloy Norton 6300 Series Programming instructions

B&D Auto-Lock Kit installation instructions

B&D

B&D Auto-Lock Kit installation instructions

Dorma EM installation instructions

Dorma

Dorma EM installation instructions

Remote Solutions SAFE-T-RACK SR-U Operation manual

Remote Solutions

Remote Solutions SAFE-T-RACK SR-U Operation manual

D+H ZA35-BSY+(-HS) manual

D+H

D+H ZA35-BSY+(-HS) manual

CNC Solutions DOOR MATE manual

CNC Solutions

CNC Solutions DOOR MATE manual

argenta PIVOTICA PRO manual

argenta

argenta PIVOTICA PRO manual

Hailo HFO Instructions for assembly and use

Hailo

Hailo HFO Instructions for assembly and use

Dormakaba ED 250 LE user manual

Dormakaba

Dormakaba ED 250 LE user manual

Johnson Controls MC-302E PG+ installation guide

Johnson Controls

Johnson Controls MC-302E PG+ installation guide

Assa Abloy Corbin Russwin DC3200 Series installation instructions

Assa Abloy

Assa Abloy Corbin Russwin DC3200 Series installation instructions

DEUTSCHTEC SLH Series installation manual

DEUTSCHTEC

DEUTSCHTEC SLH Series installation manual

Iseo ACE IS9100 Mounting instructions

Iseo

Iseo ACE IS9100 Mounting instructions

Nice NDA001 Programming manual

Nice

Nice NDA001 Programming manual

Canaropa 9500 Series installation instructions

Canaropa

Canaropa 9500 Series installation instructions

manuals.online logo
manuals.online logoBrands
  • About & Mission
  • Contact us
  • Privacy Policy
  • Terms and Conditions

Copyright 2025 Manuals.Online. All Rights Reserved.