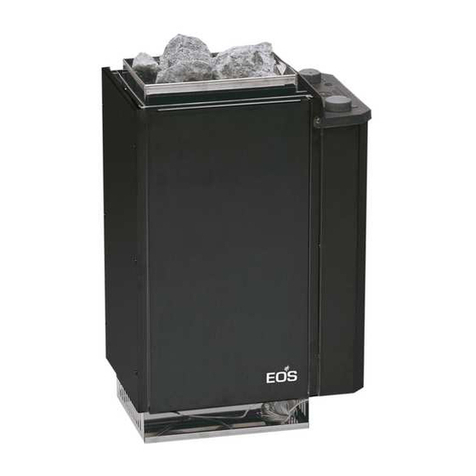
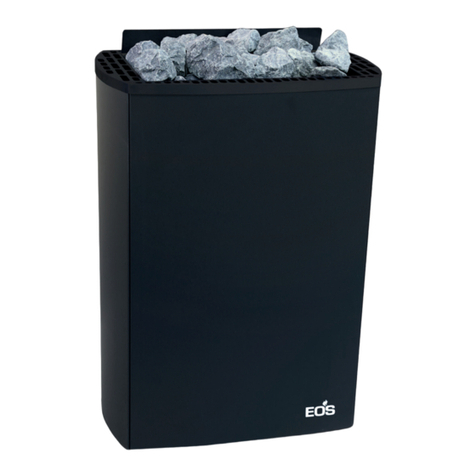
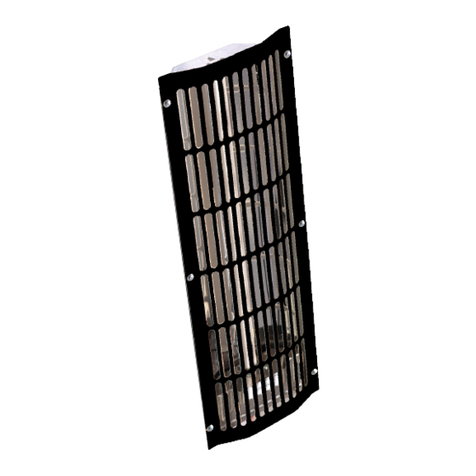
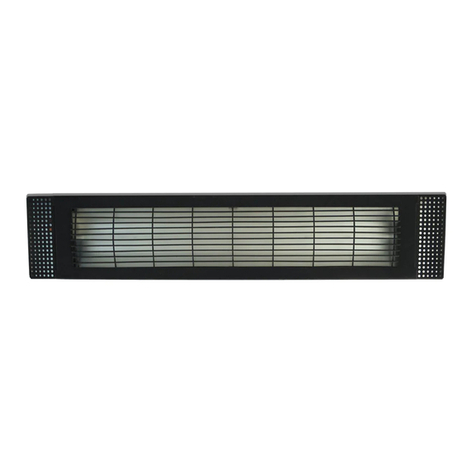
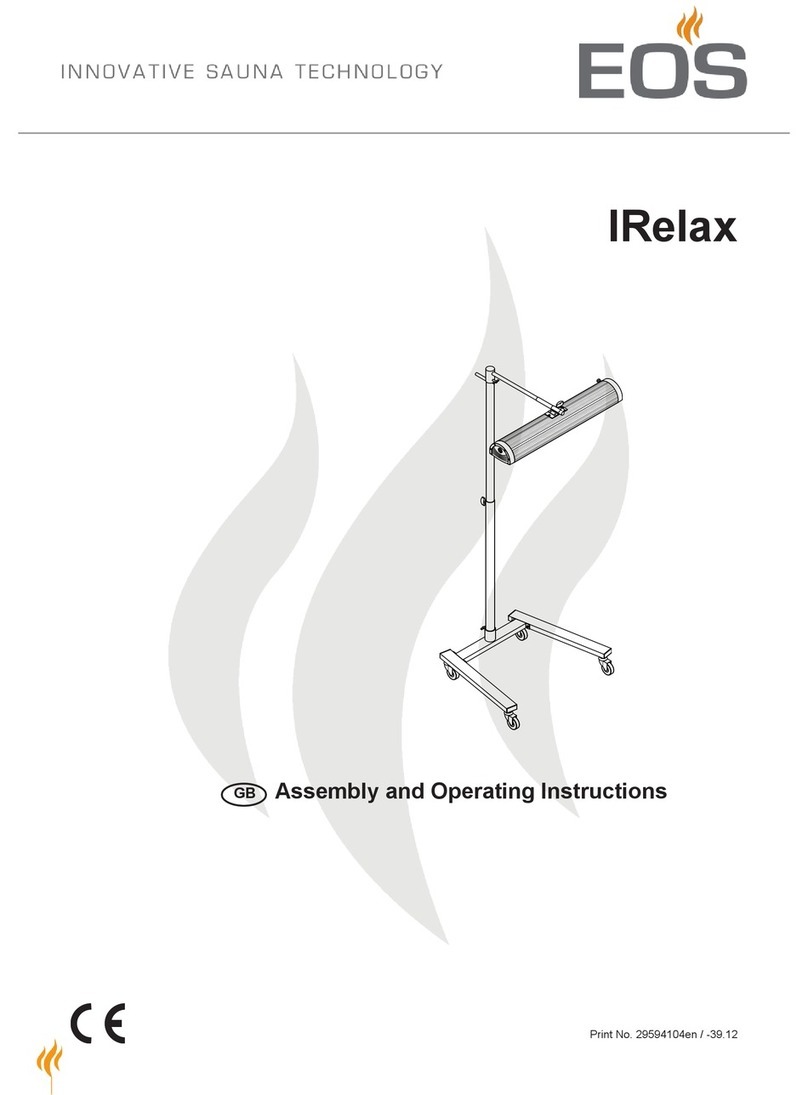
EOS Stativ Terra Vita II User manual

1
D
Druck Nr. 29524126 / -25.12
Stativ Terra Vita II
DMontageanweisung
Assembly instruction
Руководство по монтажу
GB
RU

2D
Montage des Strahlers am Stativ
Für die Montage des Wärmestrahlers am
Stativ setzen Sie bitte die beiden Nuten-
steine in die letzte, untere Nut (am Kabelab-
gang) nach Abb. 1 ein.
Die Nutensteine sind einschwenkbar und
können bei Bedarf wieder aus der Nut ent-
nommen werden. Hierzu evtl. einen Schrau-
bendreher zu Hilfe nehmen.
Die Feder der Nutensteine dient als Monta-
ge- und Positionierhilfe. Um die Funktion der
Feder zu gewährleisten, sollte sie vor jedem
neuen Einsetzen etwas aufgebogen werden.
Abb.2
Nutensteine M6
Nachfolgend montieren Sie bitte den Befesti-
gungsbügel für die Wand- bzw. Deckenseite
mit einer der drei beigelegten Sechskant-
muttern M 6 an dem Gewinde des Stativs
(Abb. 3).
Abb.3
Nun den Strahler mit dem befestigten Bügel
zwischen den, am Stativ befestigten Bügel
schieben, bis die seitlichen Bohrungen in
den Bügeln übereinander liegen. Anschlie-
ßend das Gerät mit den Zylinderschrauben
M 6x16 und den Sechskantmuttern im ge-
wünschten Strahlungswinkel befestigen
(Abb. 4).
Abb.4
K a b e l -
abgang
unten
Kabel-
abgang
unten
Jetzt den Befestigungsbügel für den Strahler
an dieser Position mit den beiden Zylinder-
schrauben M 6x10 und den Federringen be-
festigen (Abb. 2)
Abb.1

3
D
Service Adresse:
EOS Saunatechnik GmbH
Adolf-Weiß-Straße 43
35759 Driedorf-Mademühlen, Germany
Fon: +49 (0)2775 82-514
Fax: +49 (0)2775 82-431
www.eos-sauna.de
Gewährleistung
Die Gewährleistung wird nach den derzeit gülti-
gen gesetzlichen Bestimmungen übernommen.
Herstellergarantie
- Die Garantiezeit beginnt mit dem Datum des
Kaufbelegs und dauert bei gewerblicher Nut-
zung 2 Jahre und bei privater Nutzung 3 Jah-
re.
- Garantieleistungen erfolgen nur dann, wenn
der zum Gerät gehörige Kaufbeleg vorgelegt
werden kann.
- Bei Änderungen am Gerät, die ohne ausdrück-
liche Zustimmung des Herstellers vorgenom-
men wurden, verfällt jeglicher Garantiean-
spruch.
- Für Defekte, die durch Reparaturen oder Ein-
griffe von nicht ermächtigten Personen oder
durch unsachgemäßen Gebrauch entstanden
sind, entfällt ebenfalls der Garantieanspruch.
- Bei Garantieansprüchen ist sowohl die Serien-
nummer sowie die Artikelnummer zusammen
mit der Gerätebezeichnung und einer aussag-
kräftigen Fehlerbeschreibung anzugeben.
- Diese Garantie umfasst die Vergütung von
defekten Geräteteilen mit Ausnahme normaler
Verschleißerscheinungen.
Bei Beanstandungen ist das Gerät in der Ori-
ginalverpackung oder einer entsprechend ge-
eigneten Verpackung (ACHTUNG: Gefahr von
Transportschäden) an unsere Service-Abteilung
einzuschicken.
Senden Sie das Gerät stets mit diesem ausge-
füllten Garantieschein ein.
Eventuell entstehende Beförderungskosten für
die Ein- und Rücksendung können von uns nicht
übernommen werden.
Außerhalb Deutschlands wenden Sie sich im
Falle eines Garantieanspruches bitte an Ihren
Fachhändler. Eine direkte Garantieabwicklung
mit unserem Servicecenter ist in diesem Fall
nicht möglich.
Inbetriebnahme am:
Stempel und Unterschrift des
autorisierten Händlers:

4D
Rücksende-Verfahren (RMA) – Hinweise für alle Rücksendungen!
Sehr geehrte Kundin, sehr geehrter Kunde,
wir wünschen Ihnen viel Freunde mit den bestellten Artikeln. Für den Fall, dass Sie ausnahms-
weise einmal nicht ganz zufrieden sein sollten, bitten wir Sie um genaue Beachtung der nachste-
henden Verfahrensabläufe. Nur in diesem Fall ist eine rasche und reibungslose Abwicklung des
Rücksende-Verfahrens gewährleistet.
Bitte bei allen Rücksendungen unbedingt beachten!
• Den vorhandenen RMA-Beleg stets vollständig ausfüllen und zusammen mit der Rechnungs-
kopie der Rücksendung beilegen! Bitte nicht an die Ware oder deren Verpackung kleben. Ohne
diese Unterlagen ist keine Bearbeitung möglich
• Unfreie Sendungen innerhalb Deutschlands werden abgewiesen und gehen kostenpflichtig an
den Absender zurück! Bitte fordern Sie stets den RMA-Nr. für die kostengünstige Rücksendung
an.
• Beachten Sie bitte, dass Sie die Ware ohne sichtbare Gebrauchsspuren mit unverändertem
vollständigen Lieferumfang in unbeschädigter Originalverpackung zurückschicken.
• Verwenden Sie bitte eine zusätzliche stabile und bruchsichere Umverpackung, polstern Sie
diese eventuell mit Styropor, Zeitungen o. ä. aus. Transportschäden aufgrund mangelhafter Verpa-
ckung gehen zu Lasten des Absenders.
Beschwerdeart:
1) Transportschaden
• Bitte überprüfen Sie umge-
hend den Inhalt Ihres Pa-
kets und melden Sie bitte
jeden Transportschaden bei
IhremTransportunterneh-
men (Paketdienst/ Spediti-
on).
• Beschädigte Ware bitte nicht
benutzen!
• Lassen Sie sich von dem
Tra ns po r t u n t e r n e h m en
eine schriftliche Bestäti-
gung über den Schaden aus-
stellen.
• Melden Sie den Schaden
bitte umgehend telefonisch
bei Ihrem Händler. Dieser
spricht dann mit Ihnen das
weitere Vorgehen ab.
• Bei beschädigtem Transport-
karton bitte zusätzlich grö-
ßeren Umkarton verwenden.
Die Schadensbestätigung
des Transportunterneh-
mens unbedingt beifügen!
2) Fehlerhafte Lieferung
• Die gesetzliche Gewährleis-
tungsfrist beträgt 2 Jahre. Ist
der gelieferte Artikel man-
gelhaft, fehlen Zubehörteile
oder wurde der falsche Ar-
tikel oder die falsche Menge
geliefert, setzen Sie sich bitte
mit Ihrem Händler in Verbin-
dung. Dieser spricht mit Ihnen
den Einzelfall ab und bemüht
sich um eine sofortige kun-
denfreundliche Lösung.
• Für kostengünstige Rück-
sendungen innerhalb
Deutschland erhalten Sie vom
Hersteller eine RMA-Nr.
• Jede Artikel-Rücksen-
dung muss in der Origi-
nalverpackung des Ar-
tikels mit vollständigem
Lieferumfang erfolgen.
Bitte verpacken Sie die Ware,
um Beschädigungen zu ver-
hindern. Nehmen Sie bei
Falschlieferung den Artikel
bitte nicht in Gebrauch!
3) Installations- und Funk-
tionsprobleme
• Bitte lesen Sie zunächst die
mitgelieferte Anleitung voll-
ständig durch und beachten
Sie vor allem auch dort ge-
nannte Montage- o d e r
Installationshinweise.
• Der Händler sollte stets Ihr
erster Ansprechpart-
ner sein, denn dort ist man
am besten mit dem „hausei-
genen“ Produkt vertraut
und kennt eventuelle Pro-
blemfälle.
• Bei Funktionsproblemen
mit einem Artikel prüfen Sie
bitte zunächst, ob an der Ware
ein Sachmangel vorliegt. Auf-
grund der werkseitigen Qua-
litätsprüfung sind Defekte bei
Neugeräten sehr selten.

5
GB
Radiator mounting on the stand
Insert the supplied nuts into the closest to
the edge groove on the bottom side of the
radiator (bottom side is where the mains ca-
ble connection is). For details please obser-
ve the pic. 1
The nuts have oval-shaped rear surface
and may be, if necessary, removed from the
groove. For this use a sharp object like a
screwdriver and proceed in the reverse or-
der to pic. 1.
The nuts have attached springs aimed to
facilitate the positioning and securing in the
groove. In order to improve the functionali-
ty of these springs by every new installation
they should be bent slightly away from the
nut.
Pic.2
nuts M6
Now attach the other mounting bracket half
through the central hole to the stand (threa-
ded pin on the upper side). Use the supplied
hexagonal M6 nut (as shown on pic. 3).
Pic.3
Now take the radiator with the attached
mounting bracket and position it over the
stand so that the triangle bracket ends slide
between the corresponding ends of the bra-
cket mounted on the stand.
Move the radiator slightly to line up the side
holes in both brackets and connect them
(from outside to inside) with the two supplied
cylindrical bolts M 6x16 and hexagonal M6
nuts. Refer to pic. 4 for details. Before tighte-
ning the nuts you can adjust the angle of the
radiator to point it to the preferred direction
Pic.4
mains
cable
mains
cable
Now take the mounting bracket half (the
smaller one with triangle ends) and place it
along the bottom side of the radiator. Line up
the nuts in the groove with the correspondi-
ng holes in the bracket. Screw the bracket to
the nuts using 2 cylindrical bolts M 6x10 and
lock washers (as shown on pic. 2).
Pic.1

6GB
Service Address:
EOS Saunatechnik GmbH
Adolf-Weiß-Straße 43
35759 Driedorf-Mademühlen, Germany
Fon: +49 (0)2775 82-514
Fax: +49 (0)2775 82-431
www.eos-sauna.de
Guarantee
The guarantee is taken over according to
the legal regulations at present.
Manufacturer’s warrenty
- The period of warrenty starts from the
date of purchase and lasts up to 2 years
for commercial use and 3 years for priva-
te use.
- Always include the completed warrenty
certificate when returning equipment.
- The warrenty expires for appliances
which have been modified without
manufacturer’s explicit agreement.
- Damages caused by incorrect operation
or handling through non-authorized per-
sons are not covered under the terms of
warranty.
- In the event of a claim, please indicate the
serial number as well as the article code
number and type name with expressive
description of the fault.
- This warrenty covers damaged parts but
no defects due to wear and tear.
In case of complaint please return the
equipment in its original packaging or other
suitable packaging (caution: danger of
transport damage) to our service depart-
ment.
Always include the completed warrenty
certificate when returning equipment.
Possible shipping costs arising from the
transport to and from point of repair cannot
be borne by us.
Outside of Germany please contact your
specialist dealer in case of warranty claims.
Direct warranty processing with our service
department is in this case not possible.
Equipment start-up date:
Stamp and signature of the authorized
electrician:
Please keep this address in a safe place to-
gether with the installation guide.
To help us answer your questions quickly
and competently, please provide data prin-
ted on the ID plate, to include system type,
article no. and serial no., in all inquiries.

7
GB
Handling procedures for return shipments (RMA) - Details for all returns !
Dear customer
we hope that you will rejoice in the ordered articles. Just in case that you are not entirely contented as an
exeption, please follow the procedures specified below.This enabling us to ensure a quick and smooth
handling of the return shipment.
Form of complaint:
Please absolutely respect for all returns!
• Please add the available RMA-voucher always completely filled out together with an
invoice copy to the return shipment! Do not stick it on the goods or on the packaging.
We do not accept the return shipment without these papers.
• Not prepaid parcels will be refused and returned to Sender! Please always ask for the
RMA-No. for the cheapest return.
• Please pay attention that the goods have to be sent back without visible marks of
use in the original scope of delivery and in original packing.
• We recommend to use an additional solid and break-proof covering box which
should be padded out with styrofoam, paper or similar. Transport damages as a result of
faulty packing are for the sender‘s account.
2) Faulty goods
• The implied warrenty pe-
riod is 2 years.Please
contact your dealer in
case of faulty or wrong
articles or missing ac-
cessories. He will discuss
with you the individual
case and try for immediate
and customer-friendly so-
lution.
• For economic returns
within Germany you will
get an RMA-number
from the manufacturer.
• All returns have to be in
the original packing of
the goods with corre-
sponding accessories.
Please repack the goods
to avoid damages. In case
of wrong delivery, please
do not use this article !
3) Problems of installation
and functioning
• Please read the manual
carefully first of all and
pay attention to the indica-
ted assembly or installing
instructions.
• Your dealer should be
the first contact person
because he knows his
products best and also
knows possible problems.
• In case of function
problems with an arti-
cle, please check at first
whether there is an obvi-
ous material defect. The
quality system in our fac-
tory reduces malfunctions
of new appliances to al-
most zero.
.
1) Transport damage
• Please check the content
of your parcel immediately
and advise the forwarding
company of a claim (par-
cel service/ freight forwar-
der)
• Do not use damaged
goods!
• Ask the forwarder for a
written acknowledge-
ment of the damages.
• Report the claim promp-
tly by phone to your
dealer. He will discuss
with you how to act in this
case.
• If the transport box has
been damaged, please
use an additional covering
box. Do not forget to add
the acknowledgement of
the damage of the for-
warding company !

8RU
Монтаж нагревателя на штатив
ложите две специальные крепежные
гайки в нижний крайний продольный
вырез в корпусе нагревателя (нижняя
сторона определяется по креплению
шнура питания) как показано на рис. 1.
Крепежные гайки имеют закругленную
верхнюю сторону и могут быть
впоследствии извлечены при помощи
заостренного инструмента (отвертки).
Пружина, закрепленная на данных гайках,
служит для облегчения позиционирования
и удержания гаек в нужном положении
в вырезе. Для усиления пружинящего
действия перед каждым последующим
монтажом данную пружину следует
слегка отогнуть от гайки.
Рис.2
к р е п еж н ы е
гайки М6
Затем закрепите ответную часть
крепежной рамки через центральное
отверстие на резьбовом выступе в
верхней части штатива с помощью
шестигранной гайки М6 (см. Рис. 3).
Рис.3
озьмите нагреватель и приложите его
свеху к штативу так, чтобы крепежная
рамка нагревателя вошла между
ответной крепежной рамкой на штативе
и боковые отверстия в обеих рамках
были совмещены друг с другом. ставьте
цилиндрические болты М 6х16 в данные
отверстия (снаружи внутрь) и закрепите
их шестигранными гайками М6. Перед
тем, как затянуть гайки, наклоните
нагреватель в необходимое положение.
См. Рис. 4.
Рис.4
крепление
шнура
питания
озьмите крепежную рамку (половинку
меньшего размера с треугольными
концами) и приложите ее вдоль нижней
части нагревателя. Совместите отверстия
в рамке с крепежными гайками и
закрепите рамку двумя цилиндрическими
болтами М 6х10 с пружинными шайбами.
См. Рис. 2.
Рис.1
крепление
шнура
питания

9
RU
дрес сервисного центра:
ООО „Саунамастер“
121471, Москва,Киевское ш,БП
«Румянцево» 928 г
Телефоны: +7 (495) 564-8772, 564-8773,
995-9744, 775-9965
Факс: +7 (495) 564-8773
www.eos-werke.ru
Изготовитель:
EOS Saunatechnik GmbH
35759 Дридорф-Мадемюлен, Германия
Гарантия
Гар а нтийны е обя зател ь с тва с огл а с но
действующим законодательным положениям.
Гарантия изготовителя
- Гарантийный срок начинается с даты чека
и длится, как правило, 2 года (при частном
пользовании 3 года).
- Гарантийные обязательства вступают
в силу только по предъявлении чека об
оплате.
- Гарантия аннулируется при изменениях
в приборе, сделанных без официального
разрешения изготовителя.
- При дефектах, возникших вследствие
ремонта или вмешательства
неуполномоченных лиц или ненадлежащего
использования прибора.
- В гарантийном случае необходимо
указать серийный №, № артикула, а
также обозначение прибора и подробное
описание неполадки.
- Гарантия включает возмещение дефектных
деталей прибора, за исключением
обычного износа.
При неполадках прибор должен быть
отправлен нашему сервисному отделу в
оригинальнойили инойсоответствующей
упаковке (ВНИМАНИЕ: опасность
транспортных повреждений).
Отправляйте прибор всегда с этим
гарантийным талоном, заполнив его.
Транспортные расходы за счет
потребителя. Вне Германии в
гарантийном случае следует
обращаться к дилеру. Непосредственное
гарантийное обслуживание нашим
сервисным центром в этом случае
невозможно.
Дата пуска в эксплуатацию:
Подпись и печать авторизованного
электромонтера:

10 RU
Порядок возврата товара (RMA) - указания для любой обратной
доставки!
Уважаем й клиент,
м желаем Вам получить удовольствие от заказанн х товаров. В случае, если В в порядке
исключения будете не совсем довольн товаром, м просим Вас принять во внимание следующий
порядок возврата. Только в этом случае гарантируется б стр й и беспрепятственн й возврат.
ип рекламации:
При любом возврате следует обязательно учитывать!
• Имеющийся формуляр RMA всегда заполнять полностью и прилагать вместе с копией
чека для отправляемого товара! Пожалуйста, не приклеивать его к товару или его упаковке.
Без этих документов обработка не возможна
• Подлежащие оплате посылки на территории Германии не принимаются и возвращаются
отправителю, котор й обязан оплатить перес лку! Пожалуйста, всегда запрашивайте №
RMA для экономной перес лки.
• Пожалуйста, следите за тем, чтоб товар б л отправлен без видимых следов
использования в неизменном полном объеме и неповрежденной оригинальной
упаковке.
• Пожалуйста, воспользуйтесь дополнительной прочной и неломающейся упаковкой,
можно заполнить ее, например, пенополистиролом, газетами и т. п. Повреждения при
транспортировке по причине недостаточной упаковки оплачиваются отправителем.
3) Проблемы при установке
и работе
• Пожалуйста, прочитайте
сначала полностью ру-
ководство, входящее в
объем поставки, и со-
блюдайте, прежде всего,
содержащиеся в нем ука-
зания по монтажу и уста-
новке.
• Вашим первым контакт-
ным лицом всегда дол-
жен быть продавец, так
как он наилучшим образом
информирован о „своем“
продукте и имеет пред-
ставление о возможн х
трудностях.
• При нарушении работы
товара убедитесь сна-
чала, что товар не имеет
дефектов. Благодаря кон-
тролю качества при произ-
водстве дефект в нов х
приборах в являются
очень редко.
2) Поставка поврежденного
товара
• Обязательн й срок
гарантии составляет 2
года. Если по-ставленн й
товар повреж-ден,
отсутствуют некоторые
принадлежности или
постав
-лен неправильный
товар или неправильн й
объем, свяжитесь с Вашим
продав-цом. Он обсудит
с Вами Ваш отдельн й
случай и постарается найти
удобное для Вас решение.
• Для экономной пересылке
на территории Германии от
производителя В получите
№ RMA.
• Любая отправка товара об-
ратно должна осуществ-
ляться в оригинальной упа-
ковке товара в полном
объеме. Пожалуйста,
упаков вайте товар таким
образом, чтоб он не
повредился. Если Вам
поставлен неправильн й
товар, пожалуйста, не поль-
зуйтесь им!
1) Повреждение при транс-
портировке
• Пожалуйста, незамедли-
тельно проверьте
содер-
жимое Вашей пос лки и
сообщите о каждом повре-
ждении транспортной ком-
пании (служба доставки
пос лок / экспедиторская
компания)
• Не использовать поврежден-
н й товар!
• ранспортная компания
должна в дать Вам пись-
менное подтверждение о
наличии повреждения.
• Затем по телефону немед-
ленно сообщите о повре-
ждении Вашему продавцу.
Последний обсудит с Вами
ход дальнейших действий.
• При поврежденной транс-
портной коробке исполь-
зуйте дополнительную ко-
робку большего размера.
Обязательно приложите
под
тверждение о
наличии
повреждения от транс-
портной компании!
Table of contents
Languages:
Other EOS Heater manuals
Popular Heater manuals by other brands

Cedar Ridge
Cedar Ridge CH10TBU OWNER'S OPERATION AND INSTALLATION MANUAL

Tylo
Tylo Steam Outlet Commercial installation guide

Flagro
Flagro F-400T Operating instructions manual

Draper
Draper 04742 manual

Better Bathrooms
Better Bathrooms Nambi BeBa 26279 user manual

Goldair
Goldair GCT360 operating instructions

BASETech
BASETech 1527437 operating instructions

Adler Europe
Adler Europe AD 7730 user manual

FGE
FGE FARELEK PTC902 manual

Orbegozo
Orbegozo THA 310 instruction manual

Pinnacle Climate Technologies
Pinnacle Climate Technologies REMINGTON REM-16-TTC-B User's manual & operating instructions

Van Isle Water
Van Isle Water PL-OC603-OM owner's manual