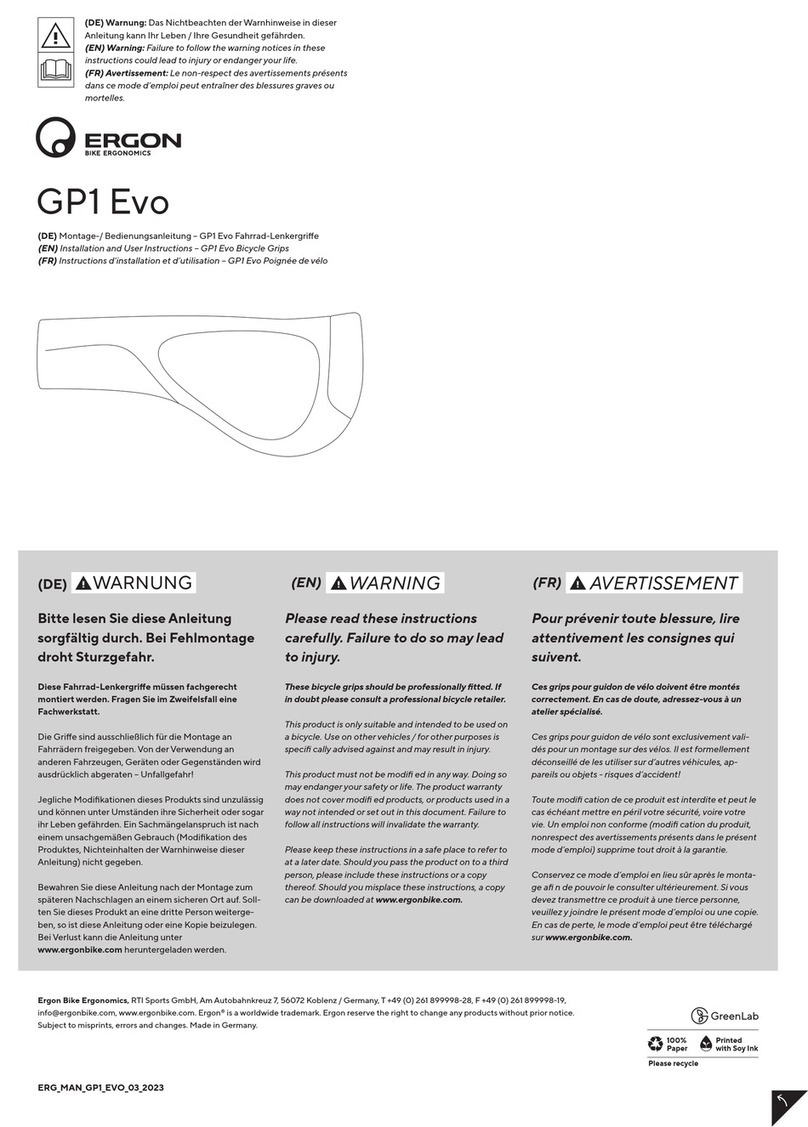
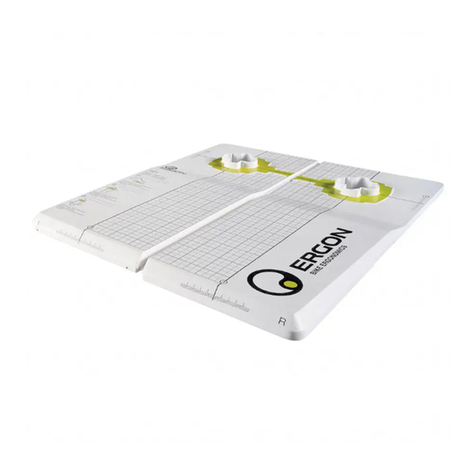
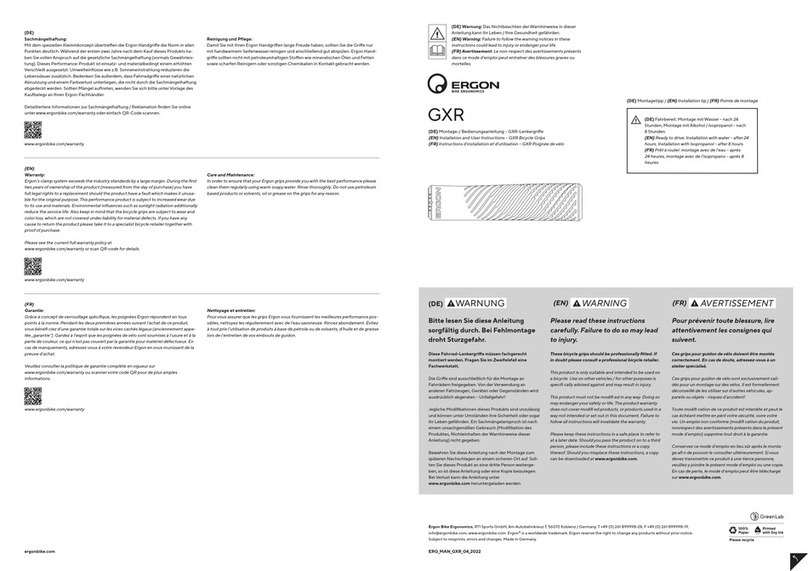
Ergon Performance Comfort Series User manual

GP1
Performance Comfort Series
Montage-/ Bedienungsanleitung
Installation Instructions / Instructions for use
Instructions d’installation / Instructions d’usage
www.ergon-bike.com
Ergon Germany, International:
RTI Sports GmbH
Rudolf-Diesel-Straße 21, 56220 Urmitz/Germany
T +49 (0) 2630 955 20, F +49 (0) 2630 955 230
[email protected], www.ergon-bike.com
Ergon®is a worldwide trademark.
Druckfehler, Irrtümer und Änderungen vorbehalten.
Ergon reserve the right to change any products without prior notice.
GripShift®is a registered trademark of Sram®Inc.
Shimano®Nexus®are registered trademarks of Shimano®Inc.
Rohloff®is a registered trademark of Rohloff AG.

ERGON BIKE ERGONOMICS 3
Montageanleitung Handgriff
Ergon GP1
Achtung: Bitte lesen Sie sich diese Anleitung aufmerksam durch.
Nur eine einwandfreie Montage gewährleistet die optimale Funk-
tion der Ergon Handgriffe. Es eignen sich ausschließlich Lenker
mit einem Durchmesser von 22,2 mm und einem ungekrümmten
Montagebereich von mindestens:
- 132 mm beidseitig für Standard Schaltungen
- 132 mm links und 96,5 mm rechts für Rohloff®/Nexus®
- 94,5 mm beidseitig für GripShift®
Nicht jeder Lenker ist für hohe Klemmkräfte einer Außenklem-
mung ausgelegt. Daher sollten nur Lenker verwendet werden, die
vom Hersteller für Außenklemmungen freigegeben sind und den
angegebenen Drehmomenten standhalten. Freigabe für Carbon-
Lenker. Lenker mit extra dünner Wandstärke (einige Modelle aus
Carbon und Aluminium) können verwendet werden. Achten Sie
bitte darauf, dass der Lenker gründlich mit Alkohol, Isopropanol
o.ä. entfettet ist.

4ERGON BIKE ERGONOMICS
Beachten Sie die korrekte Anordnung von linkem und
rechtem Griff.
5
1. 1.
132 mm 132 mm
94,5 mm 94,5 mm
132 mm 96,5 mm
Montagebereich
Standard
Montagebereich
Rohloff®/Nexus®
Montagebereich
GripShift®

Griff auf Lenker schieben.
Der sichere Halt bzw. die Verdrehsicherheit der Griffe
ist nur unter Verwendung der dazugehörigen Außen-
klemmungen gewährleistet.
Griff soweit auf den Lenker schieben, bis er bündig mit
dem Lenkerende abschließt.
Klemmschraube oben leicht anziehen.
76 ERGON BIKE ERGONOMICS
2.1 2.1
2.2
2.3
2.2
2.3

Drehen Sie die Auflagefläche der Griffe so, dass Ihre Hand-
ballen vollflächig aufliegen. Eine übermäßig abgewinkelte
Position des Handgelenks sollte hierbei vermieden werden.
Durch Ausprobieren können Sie die für Sie komfortabelste
Stellung der Ergon Handgriffe herausfinden.
Ziehen Sie die Klemmschrauben der Klemmen in
jedem Falle vor der ersten Fahrt mit 5 Nm fest.
98 ERGON BIKE ERGONOMICS
3. 3.

Die Grundeinstellung des Flügels sollte waagerecht sein.
Zur fahrerspezifischen Feineinstellung beachten Sie bitte
den Punkt 3 und die folgenden Hinweise dieser Monta-
geanleitung.
1110 ERGON BIKE ERGONOMICS
4.4.
-15° bis +25°

Ziehen Sie die Klemmschrauben der Griffe mit einem 4 mm
Drehmomentschlüssel mit 5 Nm an. Ziehen Sie in jedem
Falle die Klemmschrauben der Barends nach 50 km bzw.
der ersten Fahrt nach.
Stellen Sie sicher, dass die Anordung von linkem und
rechten Griff korrekt ist (1). Vergewissern Sie sich, dass
der Griff mit dem Lenkerende bündig abschließt (2.2). Die
Endstopfen gemäß Abbildung einsetzen.
1312 ERGON BIKE ERGONOMICS
Wichtig:
Empfohlenes Anzugsmoment: 5 Nm
Die Griffe dürfen sich nicht mehr per
Hand verdrehen lassen!
Nach 50 km bzw. nach der ersten Fahrt
die Klemmschrauben nachziehen und
danach regelmäßig prüfen.
Wichtig:
Checkliste!
5.
6.
5.
6.

14 ERGON BIKE ERGONOMICS 15
Achtung:
Überprüfen Sie vor dem Fahrtantritt, ob die Griffe verdrehfest
montiert sind. Lassen sich die Griffe trotz des angegebenen
Anzugsmoments von 5 Nm verdrehen, ist Ihr Lenker nicht für
die Griffe geeignet. Sie sollten in diesem Falle einen Lenker mit
angerauten Lenkerenden einsetzen. Die Klemmschrauben dürfen
nicht überdreht werden.
Um Korrosion vorzubeugen, ist die Oberfläche der Klemme mit
einer resistenten Schutzschicht überzogen. Sollte die Oberfläche,
z.B. durch einen Sturz, beschädigt sein, so sollte die Schutz-
schicht an der jeweiligen Stelle erneuert werden (z.B. Lackstift).
Nach Stürzen sind die Klemmen auf Beschädigungen und
Verdrehsicherheit zu überprüfen und eventuell auszutauschen. Bei
Fragen wenden Sie sich an ihren Fachhändler.
Überprüfen Sie nach der Montage der Griffe, ob die Bremsgriffe
und die Schaltungsbetätigungen ohne Veränderung der Hand-
haltung erreichbar sind und ob Sie alle Funktionen Ihres Fahrrads
weiterhin ohne Einschränkung nutzen können.
!
Hinweis:
Die Ergon Handgriffe bieten Schmerzprävention durch optimale
Druckverteilung, denn sie sorgen für eine 40% größere Kontakt-
fläche. Die gleichmäßige Druckverteilung regt die Durchblutung
an. Dadurch kann sich der Handteller röten.
Durch Ausprobieren können Sie die für Sie komfortabelste Stel-
lung der Ergon Handgriffe herausfinden. Führen Sie nach einigen
kurzen Testfahrten hierzu die Schritte (3) bis (5) erneut aus und
verändern Sie hierbei den Positions-Winkel in kleinen Schritten.
Sollten trotz Verwendung der Ergon Handgriffe während des
Fahrens Schmerzen oder Taubheitsgefühle in Händen und
Unterarmen auftreten, kann es hilfreich sein, den Lenker in seiner
Neigung zu drehen oder ihn evtl. gegen ein anderes Modell
auszutauschen. Zusätzlich ist eine Überprüfung von Sitzposition,
Lenkerhöhe und Rahmengröße sinnvoll – hierzu ist eine Beratung
durch einen Fachhändler empfehlenswert.
Allergiker Info:
Ergon Handgriffe sind latexfrei.

16
Pflege:
Damit Sie mit Ihren Ergon Handgriffen lange Freude haben, sollten
Sie die Griffe nur mit handwarmem Seifenwasser reinigen und
anschließend gut abspülen. Ergon Handgriffe sollten nicht mit
petroleumhaltigen Stoffen wie mineralischen Ölen und Fetten
sowie scharfen Reinigern oder sonstigen Chemikalien in Kontakt
gebracht werden.
Gewährleistung:
Mit dem speziellen Klemmkonzept übertreffen die Ergon Hand-
griffe die in DIN 14766 geforderte Abzugskraft für Lenkergriffe von
70 N deutlich.
Für die Funktion und Formstabilität der Ergon Handgriffe haben
Sie einen Gewährleistungsanspruch von zwei Jahren ab Kauf-
datum. Bedenken Sie jedoch, dass Fahradgriffe einer natürlichen
Abnutzung unterliegen. Bei festgestellten Mängeln reklamieren Sie
die Griffe bitte bei Ihrem Fachhändler. Alle Garantiefristen werden
ungültig, wenn der Artikel auf Grund von Stürzen beschädigt oder
zweckentfremdet wurde, Veränderungen vorgenommen wurden
oder der Artikel anders verwendet wurde als in dieser Montage-
anleitung beschrieben.

ERGON BIKE ERGONOMICS 19
Installation Instructions
Ergon GP1 Grips
Attention: Please read these instructions carefully. Only correctly
installed Ergon grips allow for optimum function. Ergon GP1 grips
require a handlebar with 22.2 mm diameter in the grip area and
uninterrupted bar space of:
- 132 mm each side for standard shifters
- 132 mm left and 96,5 mm right for Rohloff®/Nexus®
- 94,5 mm each side for GripShift®
Only handlebars that have been approved by their manufacturer
for use with clamp on grips should be used and can withstand
the required clamping force. Carbon bar use permitted. Thin wall
handlebars (some carbon and aluminium models) can be used.
Please ensure prior to fitting that the bar is suitably cleaned using
alcohol or other degreasers.

20 ERGON BIKE ERGONOMICS
The grips are left and right specific, please ensure that
they correctly orientated.
21
1. 1.
132 mm 132 mm
94,5 mm 94,5 mm
132 mm 96,5 mm
Assembly area
Standard
Assembly area
Rohloff®/Nexus®
Assembly area
GripShift®

Slide the grip onto the handlebar.
A secure fit can only be guarantied with the use of the
correct Ergon clamp.
Ensure that the grip is fully inserted onto the bar so that
flush with the end of the bar.
Tighten the clamp using the upward facing screws.
2322 ERGON BIKE ERGONOMICS
2.1 2.1
2.2
2.3
2.2
2.3

Turn the grip so that the support platform completely
supports the ball of your hand. The wrist should be in
a neutral position avoiding an exaggerated kink. After a
short period of trial and error a comfortable position can
be found.
Be sure to tighten the clamp with 5 Nm before your
first ride.
2524 ERGON BIKE ERGONOMICS
3. 3.

The default position for the support platform is horizontal.
For fine tuning according to rider and riding style, please
refer to the step 3 an the tips given below.
2726 ERGON BIKE ERGONOMICS
4.4.
-15° to +25°

Tighten to 5 Nm torque using a 4 mm torque wrench.
Re-check the torque setting following the first ride / 50 km
of riding. Check periodically to ensure that the screws are
not loosening.
Please ensure that you have the correct grips mounted left
and right (1). The end of the clamp should be level with the
end of the bar (2.2). Insert the end plugs as shown.
2928 ERGON BIKE ERGONOMICS
Important:
Recommended torque: 5 Nm
The grips should not turn on the bar!
Re-check the torque setting following
the first ride / 50 km of riding. Check
periodically to ensure that the screws
are not loosening.
Important:
Check List!
5.
6.
5.
6.

30
Information:
Ergon grips offer pain prevention through optimized pressure
distribution. This is realised through the 40% larger surface area.
This pressure distribution allows better blood circulation, which
may cause the hands to appear flushed.
The correct position for your Ergon grips is an individual thing.
Repeat steps (3) to (5) adjusting the angle of the grips in small
steps. The angle maybe different for the left and right hand. Ride
a test course to allow good comparison.
Should you suffer from pain or numbness in your hands or
forearms despite use of Ergon grips it may help to try a handlebar
with a different profile, or rotate your existing one. If problems
persist, it is advisable to check your position on the bike including
frame size, handlebar height and saddle position with the help of
a professional.
Allergy information:
All Ergon grips are latex free.
ERGON BIKE ERGONOMICS 31
Attention:
Before riding the bike, please ensure that the grips are properly
tightened. If the quoted 5 Nm torque is not sufficient to prevent
the grips being turned by hand then the handlebar is not
compatible with this product. Please replace the handlebar with
one which is completely round at the end and meets the industry
standard of 22.2 mm in diameter. Do not over-tighten.
To prevent corrosion, the clamp has a protective coating. Should
this coating become damaged, from a crash for example, it is
advisable renew this layer using a paint pen or similar. Following
any accidents, all components of the grips and clamps should be
checked for damage and replaced as necessary. Should you have
any questions, please refer to your retailer.
Before riding for the first time, ensure that the function of the
brakes and gears has not been restricted without having to
change your hand position and that all functions of the bicycle
can be used as normal.
!

32
Maintenance:
In order to ensure that your Ergon grips provide you with the
best performance please clean them regularly using warm soapy
water. Rinse thoroughly. Do not use petroleum based products or
solvents, oil or grease on the grips for any reason.
Warranty:
The clamping system used on these grips exceeds the DIN
standard 14766 for handlegrips of 70 Nm removal force.
The function and construction of Ergon handlebar grips are
covered by a warranty for two years from the date of purchase.
Please be aware that grips do naturally wear out with use. In the
event of a suspected warranty issue, please contact your retailer.
Damage as a result of crashes, misuse, incorrect installation or
modification of the grip is not covered by this warranty.

ERGON BIKE ERGONOMICS 35
Instructions d’installation pour
Ergon GP1 Grips
Attention: lisez ces instructions attentivement, seuls des grips
ergon correctement installés permetront une utilisation optimale.
Les grips Ergon GP1 requierent un guidon de diamètre 22.2mm
au niveau de la poignée et un espace libre et sans courbe de
chaque coté du guidon de:
- 132mm des deux cotés pour les vitesses à gachettes
- 132 mm à gauche et 96,5 mm à droite pour Rohloff®/Nexus®
- 94,5 mm des deux cotés pour GripShift®
Seuls les guidons certifiés par leur fabricant comme étant
utilisables avec des poignées à colliers de serrage et supportant
les contraintes des colliers de serrage doivent être utilisés.
Utilisable avec un guidon en carbone. Les guidons à paroies
fines (en carbone ou en aluminium) peuvent être utilisés. Assurez-
vous avant montage de nettoyer le guidon avec de l’alcool ou un
autre dégraissant adapté.

ERGON BIKE ERGONOMICS
Les grips sont spécifiques droite et gauche, assurez-vous
de leur positionnement correct.
37
1.
36
1.
132 mm 132 mm
94,5 mm 94,5 mm
132 mm 96,5 mm
Zone d’assemblage
Standard
Zone d’assemblage
Rohloff®/Nexus®
Zone d’assemblage
GripShift®

Glissez le grip sur le guidon.
Un blocage suffisant ne peut être garanti qu’avec
l’utilisation du bon collier de serrage Ergon.
Assurez-vous que le grip est completement enfilé sur le
guidon pour que le collier de serrage soit affleurant avec le
bout du guidon.
Serrez le collier en utilisant la vis orientée vers le haut.
39ERGON BIKE ERGONOMICS
2.1
2.2
2.3
38
2.1 2.2
2.3
Other manuals for Performance Comfort Series
1
This manual suits for next models
1
Table of contents
Languages:
Other Ergon Bicycle Accessories manuals
