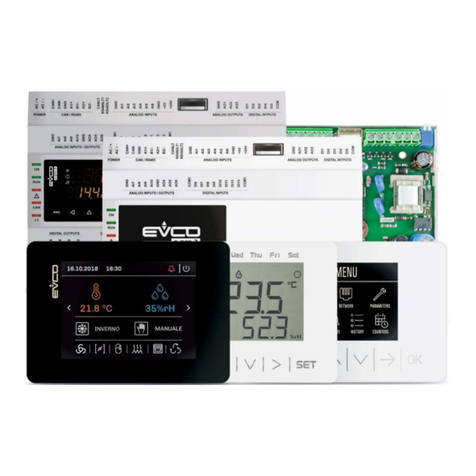
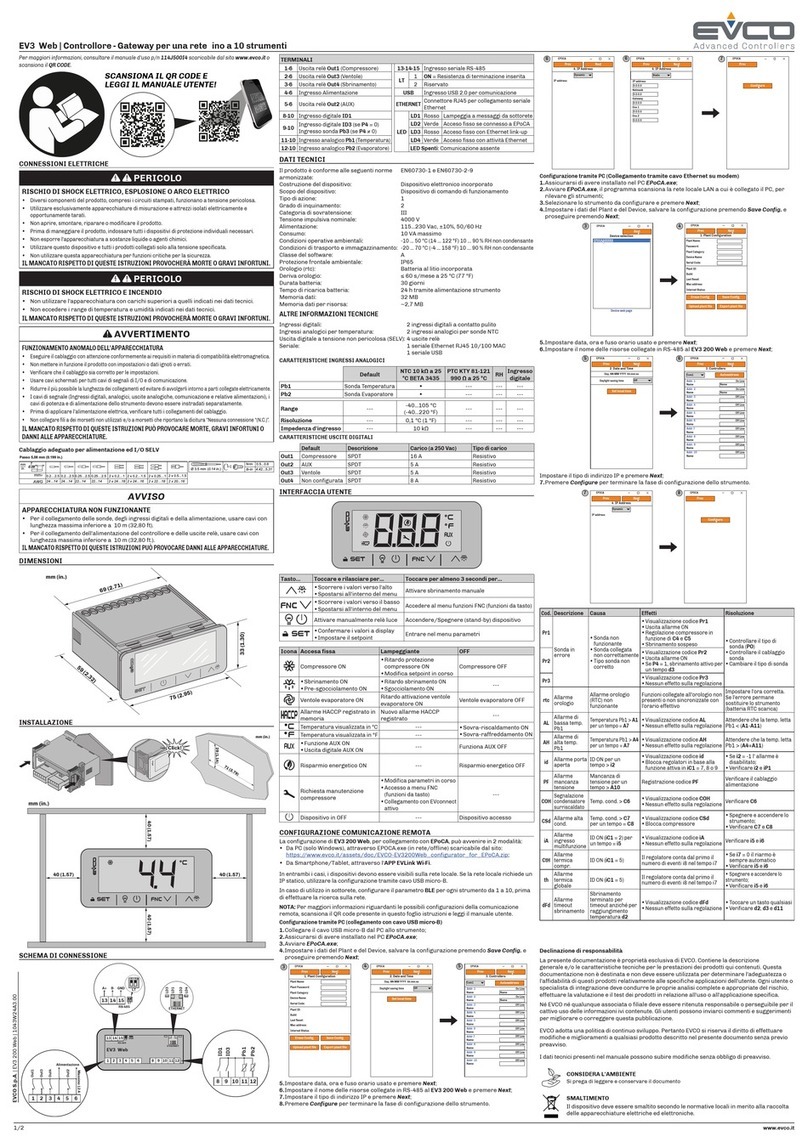
Evco C-PRO CLIMA SYSTEMA User guide

C-PRO CLIMA SISTEMA
INSTALLER MANUAL
CODE 144CLIMA0E02

C-PRO CLIMA SISTEMA INSTALLER MANUAL
Page 2
Important
Read these instructions carefully before installation and use and follow all recommendations regarding installation and
for the electric connection; keep these instructions for future reference.
The instrument must be disposed of according to local Standards regarding the collection of electric and
electronic appliances.

C-PRO CLIMA SISTEMA INSTALLER MANUAL
Page 3
Summary
1 GENERALITIES ......................................................................................................................................................5
1.1 Description ......................................................................................................................................................5
2 APPLICATIONS ......................................................................................................................................................7
2.1 Application layouts..........................................................................................................................................8
3 INSTALLATION......................................................................................................................................................9
3.1 Dimensions......................................................................................................................................................9
3.2 Assembly.......................................................................................................................................................10
3.3 Electric connections.......................................................................................................................................12
3.4 Regulators network configuration .................................................................................................................17
3.5 Displays network configuration.....................................................................................................................21
4 USER INTERFACE................................................................................................................................................25
4.1 Display and keyboard....................................................................................................................................25
4.2 Navigation through the applications making up the system ..........................................................................26
5 C-PRO MEGA MCCT REGULATOR...................................................................................................................27
5.1 List of pages...................................................................................................................................................27
5.2 Alarms/log menu ...........................................................................................................................................28
5.3 Clock menu....................................................................................................................................................29
5.4 Maintenance menu (maintenance technician)................................................................................................29
5.5 Installer menu................................................................................................................................................30
5.6 Main OFF page..............................................................................................................................................31
5.7 Main ON page ...............................................................................................................................................31
5.8 State pages.....................................................................................................................................................32
5.9 Configuration parameters ..............................................................................................................................33
5.10 State of the unit..............................................................................................................................................38
5.11 Summer/winter functioning mode.................................................................................................................39
6 C-PRO MICRO MCZN REGULATOR .................................................................................................................40
6.1 List of pages...................................................................................................................................................40
6.2 Main page......................................................................................................................................................41
6.3 Zones status ...................................................................................................................................................41
6.4 Main menu.....................................................................................................................................................42
6.6 System Network page....................................................................................................................................44
6.7 Configuration parameters ..............................................................................................................................45
6.8 State of the unit..............................................................................................................................................49
6.9 State of Zone A and Zone B..........................................................................................................................49
7 C-PRO MICRO MCDE REGULATOR .................................................................................................................50
7.1 List of pages...................................................................................................................................................50
7.2 Main page......................................................................................................................................................51
7.3 States..............................................................................................................................................................51
7.4 Main menu.....................................................................................................................................................52
7.5 On/Off pages..................................................................................................................................................54
7.6 System Network page....................................................................................................................................54
7.7 Configuration parameters ..............................................................................................................................55
7.8 State of the unit..............................................................................................................................................57
8 C-PRO MICRO MCPS REGULATOR ..................................................................................................................58
8.1 List of pages...................................................................................................................................................58
8.2 Main page......................................................................................................................................................59
8.3 State pages.....................................................................................................................................................59
8.4 Main menu.....................................................................................................................................................61
8.5 System Network page....................................................................................................................................63
8.6 Configuration parameters ..............................................................................................................................64
8.7 State of the unit..............................................................................................................................................67
9 REGULATION.......................................................................................................................................................68
9.1 Regulation of the zone temperature (MCZN, MCCT modules)....................................................................68
9.2 Regulation of the delivery temperature (MCZN, MCCT modules)...............................................................72
9.3 Regulation of the zone humidity (MCZN, MCCT, MCDE modules) ...........................................................77
9.4 Regulation of air quality (recirculation) (MCDE module) ............................................................................79
9.5 Regulation of the DHW tank temperature for the DHW water (MCPS module) ..........................................80
9.6 Management and configuration of the heating solar panel circuits (MCPS module) ....................................83
9.7 Other regulations ...........................................................................................................................................86
C-PRO CLIMA SISTEMA INSTALLER MANUAL
Page 4

C-PRO CLIMA SISTEMA INSTALLER MANUAL
Page 5
1GENERALITIES
1.1 Description
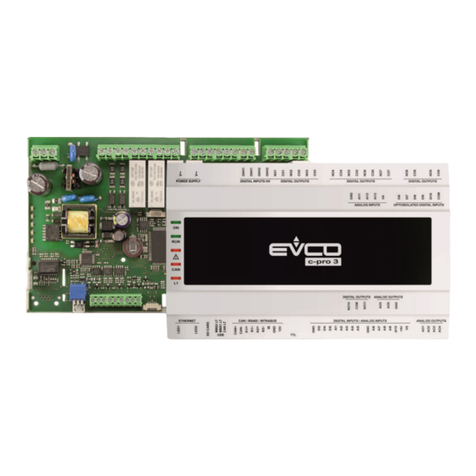
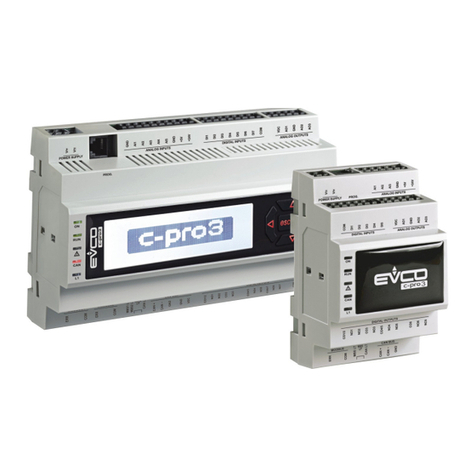
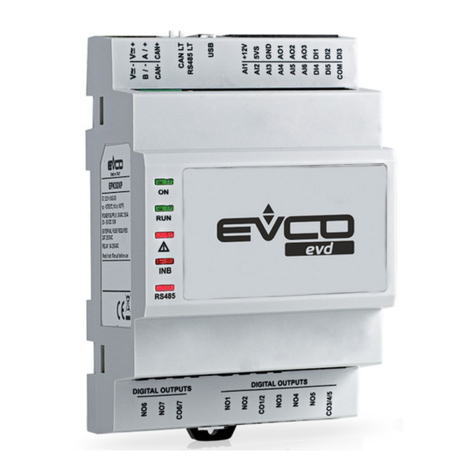
The c-pro CLIMA Climatic Modules allow to realise innovative control and regulation networks in
distributed logic, for air-conditioning and heating systems in residential and commercial buildings,
characterised by the most demanding and modern necessity for environmental comfort, system
performance and energy savings.
The Climatic Modules are programmable controllers dedicated specifically to the regulation of the
different parts of the systems:
• c-pro Mega MCCT, for THERMAL POWER PLANT, where there is a boiler, chiller
and/or heat pump present with relative delivery pumps and safety devices.
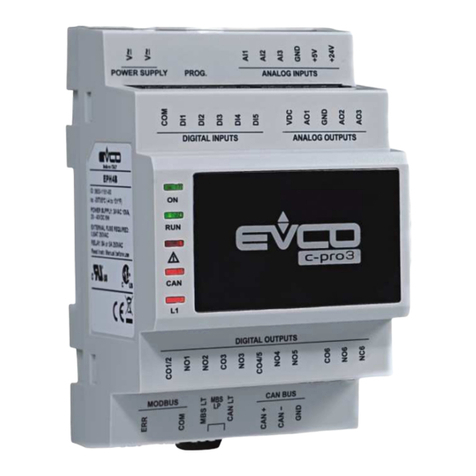
• c-pro Micro MCZN, for the various ZONES, where it is necessary to control the regulation
of the temperature and humidity in the room, via heated or cooled floors and dehumidifiers.
• c-pro Micro MCDE, can manage the most different types of DEHUMIDIFIERS for every
zone, which also have integration and support systems for heating and/or cooling the room.
• c-pro Micro MCPS, dedicated to the management of the glycoled circuit of the SOLAR
HEAT PANELS and for the circuit of the heating and/or domestic hot water with DHW
tank.
Other specific components of the CLIMA system are dedicated for the completion of the
requirements of every conditioning and heating system:
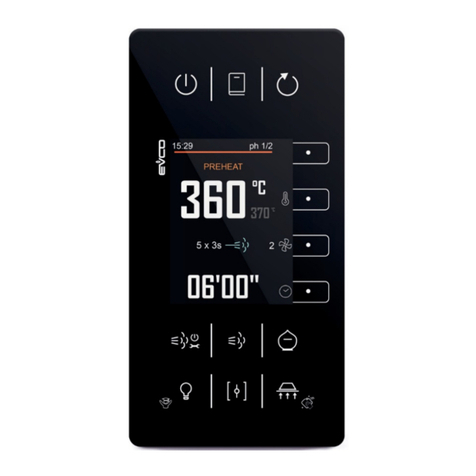
• Vgraph, ZONE TERMINALS for the user, which allow to display and set the temperature
and room humidity values, the alarms and the time band of each zone.
• EVSET, ZONE SET VARIATOR not displayed, with temperature probe on board, able to
modify the room temperature in order to reach maximum well-being.
• Flow switches, air quality probes (and CO2), temperature and immersion humidity probes,
channel or room.
Some features of the Climatic Modules and the components of the c-pro CLIMA system must be
highlighted:
• Flexibility: allows to design and realise the correct and convenient regulation and control
solution for every type of building, thanks to the capacity of the modules to adapt to the
needs of every type of system.
• Modularity: allows to insert the number and type of modules and components necessary to
satisfy the requirements of every user and every different and specific new system to be
realised, obtaining complete stability of the application software, which must not be realised
or modified for very new system that a plant engineer must build (possibility of modifying
or developing software, which being programmable controllers remains in all cases).
• capacity of communication among modules and some components, via the CANbus field,
which makes the realisation of distributed control network possible in the building, instead
of the traditional centralised system. This has the important and fundamental result of
reducing realisation times and costs of the electric wiring of the air conditioning and heating
system.

C-PRO CLIMA SISTEMA INSTALLER MANUAL
Page 6
• Availability of MODBUS communication, from the Modules to a BMS system supervision
system via a serial output, also suitable for the configuration phases or modification of
controller parameters in the system installation or maintenance phases.
All of these features mean an innovative control and regulation system, from high performance
resulting in great system efficiency with consequent maximum energy saving.

C-PRO CLIMA SISTEMA INSTALLER MANUAL
Page 7
2APPLICATIONS
CAN network
CAN network
CAN network
Personal Computer with
supervision software "RICS" installed
CAN network

C-PRO CLIMA SISTEMA INSTALLER MANUAL
Page 8
2.1 Application layouts
Below find the application layouts:
external temperature
circuit 1 discharging temp
circuit 2 discharging temp
alarm boiler
chiller / heat pump
summer / winter
/
c-pro mega MCCT
Vgraph
circuit 1 discharging valve
circuit 2 discharging valve
c-pro micro MCPS
solar panels
circuit 1 pump
solar panels
circuit 2 pump
ACS tank
circuit pump
solar panels
c-pro micro MCZNc-pro micro MCZN
c-pro micro MCZN
c-pro micro MCDEc-pro micro MCDE
room temperature zone D (2)
room temperature zone D (1)room temperature zone C (1)
room temperature zone B (1)room temperature zone A (1)
ACS tank upper
temperature
ACS tank lower
temperature
auxiliary plant
temperature
solar panels circuit
temperature
room temperature zone C (2)
room temperature zone B (2)room temperature zone A (2)
room humidity zone D (2)
room humidity zone D (1)room humidity zone C (1)
room humidity zone B (1)room humidity zone A (1)
room humidity zone C (2)
room humidity zone B (2)room humidity zone A (2)
zone D (1)zone C (1)
zone B (1)
zone D (2)zone C (2)
zone B (2)
zone D (2) alarm
zone D (1) alarmzone C (1) alarm
zone C (2) alarm
zone A (2) alarm
zone A (1) alarm
zone B (2) alarm
zone B (1) alarm
dehumidifier 1 alarm
dehumidifier alarm
heat booster dehumidifier 1
heat booster dehumidifier
dehumidifier 1
dehumidifier
dehumidifier 2
heat booster dehumidifier 2
dehumidifier 2 alarm
CAN network
CAN networkCAN network
CAN network
c-pro micro MCZN Vgraph
zone A (1)
zone A (2)
CAN network
electric valve collector
heating / cooling zone D (1)
electric valve collector
heating / cooling zone C (1)
electr ic valve collector heating / cooling zone A (1) electric valve collector heating / cooling zone B (1)
electric valve collector dehumidifier zone B (1)
electric valve collector dehumidifier zone B (2)
electric valve collector heating / cooling zone D (2)electr ic valve collector heating / cooling zone C (2)
electr ic valve collector heating / cooling zone A (2) electric valve collector heating / cooling zone B (2)
cool booster
dehumidifier
circuit 1 discharging pump
circuit 2 discharging pump
auxiliary circuit pump
alarm
overheating emergency
flow switch
circuit 1
flow switch
circuit 2
thermal power plant

C-PRO CLIMA SISTEMA INSTALLER MANUAL
Page 9
3INSTALLATION
Below we will show the dimensions, assembly and electric connections of the C-PRO CLIMA
SYSTEM, made up from thermal power plant modules (MCCT), Zones (MCZN), Dehumidifiers
(MCDE), solar panels (MCPS) and graphical displays (Vgraph).
3.1 Dimensions
3.1.1 Thermal power plant module dimensional drawing (MCCT).
3.1.2 Zone modules (MCZN), dehumidifier (MCDE) and solar panels (MCPS)
dimensional drawing.

C-PRO CLIMA SISTEMA INSTALLER MANUAL
Page 10
3.1.3 Graphical display dimensional drawing (Vgraph).
3.2 Assembly
3.2.1 Assembly of thermal power plant modules (MCCT), Zone (MCZN),
Dehumidifier (MCDE) and solar panels (MCPS)
To install the thermal power plant, zone, Dehumidifier and solar panels module,
operate as indicated in the diagrams (points 1 and 2).
To remove thermal power plant, zone, dehumidifier and solar panels module, use a screwdriver and
operate as indicated in the diagrams (points 3 and 4).

C-PRO CLIMA SISTEMA INSTALLER MANUAL
Page 11
3.2.2 Display Assembly (Vgraph)
There are three possibilities for assembly of the Vgraph graphical display:
3.2.2.1 Wall recessed in 506E box
3.2.3
3.2.3.1 Wall-installation, on Evco CPVW00 support
3.2.3.2 Panel installation

C-PRO CLIMA SISTEMA INSTALLER MANUAL
Page 12
3.3 Electric connections
3.3.1 Thermal power plant electric connections (MCCT).
C-PRO Mega Thermal power plant controller
I/O Description
Analogue inputs (NTC / 0-5V / 4-20mA)
A/I 1 CT External air temperature – NTC
A/I 2 CT Delivery temperature 1 – NTC
A/I 3 CT Delivery temperature 2 – NTC
Serial ports
Rs485 Rs485 modbus
CANbus At the c-pro CLIMA system modules
Digital inputs (ON-OFF pocoverial-free contact)
D/I 1 CT Alarm (block) Boiler
D/I 2 CT Chiller – Heat pump alarm
D/I 3 CT Delivery pump 1 flow switch (and/or thermal switch)
D/I 4 CT Delivery pump 2 flow switch (and/or thermal switch)
D/I 5 CT Not used
D/I 6 CT ON-OFF remote
D/I 7 CT Summer/Winter
Analogue outputs (PWM / 0-10 V / 4-20mA)
A/O 2 CT Delivery 2 modulating valve control (0-10 V)
A/O 3 CT Delivery 1 modulating valve control (0-10 V)
Digital outputs (Relay)
D/O 1 CT Delivery 1 circulation pump
D/O 2 CT Delivery 2 circulation pump
D/O 3 CT Boiler
D/O 4 CT Chiller/Heat pump
D/O 5 CT Summer/winter
D/O 6 CT Alarm that can be configured

C-PRO CLIMA SISTEMA INSTALLER MANUAL
Page 13
C-PRO Mega Thermal power plant controller
I/O Description
Analogue inputs (NTC / 0-5V / 4-20mA)
A/I 1 CT External air temperature – NTC
A/I 2 CT Delivery temperature 1 – NTC
A/I 3 CT Delivery temperature 2 – NTC
Serial ports
Rs485 Rs485 modbus
CANbus At the c-pro CLIMA system modules
Digital inputs (ON-OFF pocoverial-free contact)
D/I 1 CT Alarm (block) Boiler
D/I 2 CT Chiller – Heat pump alarm
D/I 3 CT Delivery pump 1 flow switch (and/or thermal switch)
D/I 4 CT Delivery pump 2 flow switch (and/or thermal switch)
D/I 5 CT Not used
D/I 6 CT ON-OFF remote
D/I 7 CT Summer/Winter
Analogue outputs (PWM / 0-10 V / 4-20mA)
A/O 2 CT Not used
A/O 3 CT Not used
Digital outputs (Relay)
D/O 1 CT Delivery 1 circulation pump
D/O 2 CT Delivery 2 circulation pump
D/O 3 CT Boiler
D/O 4 CT Chiller/Heat pump
D/O 5 CT Summer/winter
D/O 6 CT Alarm that can be configured
D/O 7 CT Delivery modulating valve 1 open command
D/O 8 CT Delivery modulating valve 1 close command
D/O 9 CT Delivery modulating valve 2 open command
D/O 10 CT Delivery modulating valve 1 close command

C-PRO CLIMA SISTEMA INSTALLER MANUAL
Page 14
3.3.2 Zones electric connections (MCZN).
C-PRO Micro zones controller
I/O Description
Analogue inputs (NTC / 0-5V / 4-20mA)
A/I 1 ZN Zone A room temperature (NTC)
A/I 2 ZN Zone B room temperature (NTC)
Zone A remote set variator (10 K ohm)
A/I 3 ZN
Zone A room humidity (0-5 V or 4-20 mA) (clamps 6 and 10)
Zone A remote set variator (10 KOhm) (clamps 6 and 4)
A/I 4 ZN
Zone B room humidity (0-5 V or 4-20 mA) (clamps 5 and 10)
Zone B remote set variator (10 KOhm) (clamps 5 and 4)
Serial ports
TTL (485) TTL with EVIF external interface becomes RS485 Modbus RTU
CANbus At the c-pro CLIMA system modules
Digital inputs (ON-OFF pocoverial-free contact)
D/I 1 ZN Zone A dehumidifier alarm
D/I 2 ZN Zone B dehumidifier alarm
D/I 3 ZN Zone A ON-OFF
D/I 4 ZN Zone B ON-OFF
Digital outputs (Relay)
D/O 1 ZN Zone A Heating/Cooling manifolds
D/O 2 ZN Zone A dehumidifier manifold
D/O 3 ZN Zone A alarm
D/O 4 ZN Zone B Heating/Cooling manifolds
D/O 5 ZN Zone B dehumidifier manifold
D/O 6 ZN Zone B alarm

C-PRO CLIMA SISTEMA INSTALLER MANUAL
Page 15
3.3.3 Dehumidifier electric connections (MCDE).
C-PRO Micro zones controller
I/O Description
Analogue inputs (NTC / 0-5V / 4-20mA)
A/I 1 DE Zone A dehumidifier input temperature
A/I 2 DE Zone B dehumidifier input temperatures
A/I 3 DE CO2 transducer (0-5 V or 4-20 mA)
Serial ports
TTL (485) TTL with EVIF external interface becomes RS485 Modbus RTU
CANbus At the c-pro CLIMA system modules
Digital inputs (ON-OFF pocoverial-free contact)
D/I 1 DE Zone A dehumidifier alarm
D/I 2 DE Zone B dehumidifier alarm
D/I 3 DE Zone A dehumidifier ON-OFF
D/I 4 DE Zone B dehumidifier ON-OFF
Digital outputs (Relay)
D/O 1 DE Dehumidifier (Type 1)
Zone A dehumidifier (Type 2)
D/O 2 DE Heating integration (Type 1)
Zone A heating/cooling integration (Type 2)
D/O 3 DE Cooling integration (Type 1)
Zone B dehumidifier (Type 2)
D/O 4 DE Renew damper
Zone B heating/cooling integration (Type 2)
D/O 5 DE Zone A dehumidifier alarm
D/O 6 DE Zone B dehumidifier alarm

C-PRO CLIMA SISTEMA INSTALLER MANUAL
Page 16
3.3.4 Solar panels electric connections (MCPS).
C-PRO Micro solar panels controller
I/O Description
Analogue inputs (NTC / 0-5V / 4-20mA)
A/I 1 PS DHW tank temperature (upper) (NTC)
A/I 2 PS DHW tank lower temperature (NTC)
A/I 3 PS Auxiliary temperature 1 (NTC)
Solar panel 2 temperature (4-20 mA).
A/I 4 PS Solar panel 1 temperature (4-20 mA).
Serial ports
TTL (485) TTL with EVIF external interface becomes RS485 Modbus RTU
CANbus At the c-pro CLIMA system modules
Digital inputs (ON-OFF pocoverial-free contact)
D/I 1 PS
Solar panels 1 circuit pump (thermal) flow switch
D/I 2 PS Solar panels 2 circuit pump (thermal) flow switch
D/I 3 PS DHW circuit pump (thermal) flow switch
D/I 4 PS Auxiliary system circuit pump (thermal) flow switch
D/I 5 PS Not used
Digital outputs (Relay)
D/O 1 PS Solar panels 1 circuit pump
D/O 2 PS Solar panels 2 circuit pump
D/O 3 PS DHW circuit pump
D/O 4 PS Alarm (that can be configured)
D/O 5 PS Auxiliary 1 circuit pump
Anti-stagnation emergency (cover opening)
D/O 6 PS Anti-stagnation emergency (heat disposal/cover opening)
Anti-stagnation emergency (cover closing)

C-PRO CLIMA SISTEMA INSTALLER MANUAL
Page 17
3.4 Regulators network configuration
The c-pro CLIMA system is based on the CANbus communication between the various control
modules present in the network, with the following maximum configuration:
•N° 1 c-pro Mega MCCT thermal power plant regulator
•N° 8 c-pro micro MCZN zone regulators
•N° 8 regulators for additional c-pro micro MCDE dehumidifiers
•N° 1 regulator for c-pro micro MCPS solar panels
Every controller present in the network must be assigned with a different and specific CANbus
address, according to the logic position of the controller inside the c-pro CLIMA network,
following the layout given below:
Type of controller Controller code CANbus
address
Thermal power plant regulator c-pro mega MCCT 1 (default)
Zone 1 regulator (zones 1-2) c-pro micro MCZN 2 (default)
Zone 2 regulator (zones 3-4) c-pro micro MCZN 3
Zone 3 regulator (zones 5-6) c-pro micro MCZN 4
Zone 4 regulator (zones 7-8) c-pro micro MCZN 5
Zone 5 regulator (zones 9-10) c-pro micro MCZN 6
Zone 6 regulator (zones 11-12) c-pro micro MCZN 7
Zone 7 regulator (zones 13-14) c-pro micro MCZN 8
Zone 8 regulator (zones 15-16) c-pro micro MCZN 9
Regulator for dehumidif. associated to zone 1 regulator c-pro micro MCDE 22 (default)
Regulator for dehumidif. associated to zone 2 regulator c-pro micro MCDE 23
Regulator for dehumidif. associated to zone 3 regulator c-pro micro MCDE 24
Regulator for dehumidif. associated to zone 4 regulator c-pro micro MCDE 25
Regulator for dehumidif. associated to zone 5 regulator c-pro micro MCDE 26
Regulator for dehumidif. associated to zone 6 regulator c-pro micro MCDE 27
Regulator for dehumidif. associated to zone 7 regulator c-pro micro MCDE 28
Regulator for dehumidif. associated to zone 8 regulator c-pro micro MCDE 29
Regulator for solar panels c-pro micro MCPS 17 (default)
As highlighted in the previous table, the controllers are set by default to be automatically recognised
in network as:
•thermal power plant regulator CANbus 1 address
•zone 1 regulator CANbus 2 address
•regulator for dehumidifiers
added, associated to zone 1 regulator CANbus 22 address
•regulator for solar panels CANbus 17 address

C-PRO CLIMA SISTEMA INSTALLER MANUAL
Page 18
3.4.1 MCCT thermal power plant controller network configuration
As the thermal power plant controller is the logical centre of the system controlled, it is first
necessary to set how many MCZN zone regulators will be present in the system, following the
procedure given below:
1. Enter the Installer General parameters menu of the MCCT regulator
2. Set the total number of zones controlled and the number of MCZN zone regulators present in
the system
3. Set the c-pro mega MCCT J4 jumpers in the position corresponding to the communication
speed of 125Kbyte, as given in the figure below.
3.4.2 MCZN zone controllers network configuration
The zone regulator leaves the factory configured as zone 1 regulator (therefore with CANbus 2
address).
Whenever it is necessary to install more than one zone controller in the system, it will be necessary
to configure the regulators present as zone regulators 2, 3, etc…up to a maximum of 8.
To change the network configuration of the MCZN zone controller network, follow the procedure
below:
1. Connect a zone regulator to the CANbus network (leaving all of the other zone regulators
disconnected from the network);the controller connected will be recognised as zone 1
controller
2. Access the MCZN zone regulator application as shown in chapter 5.2.1
3. Enter the Installer General parameters menu
4. Set the number of local zones managed by the MCZN regulator (1 or 2 local zones)
5. Set the number of the last zone regulator that is to be inserted in the system managed (e.g.
zone 4 regulator).
6. The controller will automatically assume the appropriate CANbus address (address 25 for the
regulator of zone 4)
7. Repeat the operation, connecting the next to last zone controller to the CANbus network and
so on, until the first zone regulator is connected (zone 1 regulator).
Total number of zones controlled
Num
ber of MCZN zone regulators present
Number of zone regulators in the system
Number of local zones managed

C-PRO CLIMA SISTEMA INSTALLER MANUAL
Page 19
3.4.3 Network configuration of controllers for additional MCDE dehumidifiers
Once the MCZN zone regulators have been configured, if present, it is possible to associate the
relative regulators for additional MCDE dehumidifiers to the same.
The regulator for dehumidifiers leaves the factory configured as regulator associated to zone
1(therefore with CANbus 22 address).
Whenever it is necessary to install more than one controller in the system for dehumidifiers and/or
to vary the association of the controller for dehumidifiers at the zone controller it will be necessary
to configure the regulators present appropriately.
Enabling of presence of a MCDE module for additional dehumidifiers associated to the MCZN
regulator
1. Access the MCZN zone regulator to which the regulator for additional dehumidifiers is to be
associated, as shown in chapter 5.2.1
2. Enter the Installer Dehumidifyer menu
3. To enable the control via the appropriate parameter.
The CANBUS address field will automatically show the CANbus address that
the regulator must assume for additional dehumidifiers
To change the network configuration of the MCDE zone controller network, follow the procedure
below:
1. Connect a regulator for dehumidifiers to the CANbus network (leaving all of the other
dehumidifier regulators disconnected from the network);the controller connected will be
recognised by the system as controller for dehumidifier associated to zone 1
2. Access the application of the regulator for MCDE dehumidifiers associated to zone 1, as
shown in chapter 5.2.2
3. Enter the Installer General parameters menu
4. Set the number of the MCZN zone regulator to which to associate the connected regulator for
additional MCDE dehumidifiers
5. Return to the MCCT thermal power plant regulator main menu
6. Repeat the operation connecting the next controlled for additional dehumidifiers to the
CANbus network and so on, until all regulators for envisioned additional dehumidifiers are
connected.
Enabling of regulator for additional dehumidifiers
CANbus address that the regulator must assume for
additional dehumidifiers
Number of MCZN regulator to associate

C-PRO CLIMA SISTEMA INSTALLER MANUAL
Page 20
3.4.4 MCPS solar panels controller network configuration
As the solar panels controller is the only possible controller of this type that can be installed in the
system, in order to configure it just enable the presence of the MCPS regulator from the thermal
power plant application, following the procedure given below:
1. Enter the Installatore Parametri generali (Installer, General parameters) menu of the
MCCT regulator
2. Enable the presence of the MCPS regulator in the system
Enable the prsence of MCPS regulator in the system
Table of contents
Other Evco Controllers manuals
Popular Controllers manuals by other brands

Nordson EFD
Nordson EFD V3 operating manual

Siemens
Siemens RDF310 Series manual

Ingersoll-Rand
Ingersoll-Rand 302 SERIES Installation and operation manual

Klockner Moeller
Klockner Moeller SUCOS PS 316 installation instructions

ero electronic
ero electronic PKC user manual

Circutor
Circutor max 12f quick start guide

Hobym Observatory
Hobym Observatory Titian TCS user manual

Mitsubishi Electric
Mitsubishi Electric MELSEC-L Series Basic user manual

Jeven
Jeven UV TURBO UV-CONTROL G1 installation guide

iPixel LED Light
iPixel LED Light T-780K Operation manual

Amvex
Amvex GR Series Operating and maintenance manual

Graco
Graco 217075 Instructions-parts list