Evolis KC PRIME User manual

1
KC PRIME
USER GUIDE
Evolis © 2021. All rights reserved.
User-Guide_KSKC2_ENG_20210706
FOR SYSTEMS INTEGRATORS

KC PRIME
2
TABLE OF CONTENTS
Trademarks 3
Warranty 3
Environmental Information 3
Recycling End-of-life Products 3
About Your New Printer 4
Icons 5
1 – Getting Started 6
Unpacking 6
Assembling the accessories 7
Printer Options 8
Printer Configurations 9
Printer Functions: external parts 10
Printer Functions: connection ports 11
Printer Functions: internal parts 12
Installation 13
Physical attachment in a kiosk terminal 13
Connecting the printer 14
Installing the driver 15
Ribbons 16
Cards 17
2 - Servicing 19
General Warranty Information 19
Printer Cleaning 20
Printer servicing 20
Servicing the Print Head 24
Maintenance of the dust filter 25
Application development 26
Appendix A 27
Declarations of Conformity KC Prime 27

KC PRIME
3
COPYRIGHT
Evolis © 2021 All rights reserved.
Users must observe the copyright regulations applicable in their country. This manual must not be photocopied, translated, reproduced,
ortransmitted, in whole or in part, for any reason and by any electronic or mechanical means whatsoever without the express written
consentofEvolis.
All the information contained in this document is subject to change without prior notice.
Evolis cannot be held liable for any errors that may be found in this manual, or for any loss or damage arising accidentally or as a result
ofdissemination or use of this manual.
TRADEMARKS
Evolis Premium Suite®and Evolis High Trust®are trademarks of Evolis. All other trademarks belong to their respective holders.
WARRANTY
Please refer to the warranty notice for the terms and conditions and limitations. It is available on www.evolis.com>Drivers&Support>Manuals
and Documents.
Warranty limit is available on www.evolis.com>Products & Services>Card Printers>Printer>Specifications.
Please register online at www.evolis.com to receive our special offers and general information.
Once on the website, click Drivers and Support then Register your printer and fill out all the fields, specifying in particular the model
andserialnumber of your equipment found on your printer.
ENVIRONMENTAL INFORMATION
Evolis is committed to helping the environment by reducing the energy consumption of its products.
RECYCLING END-OF-LIFE PRODUCTS
Manufacturing the equipment that you have purchased required the extraction and use of natural resources. This equipment may contain
materials that are hazardous to health and the environment.
To prevent the dispersal of such materials into our environment and to reduce pressure on our natural resources, we recommend that you use
existing collection facilities. These systems will re-use or recycle most of the materials in your end-of-life equipment in an appropriate way.
For further information on collection, re-use, or recycling systems, please contact your local or regional waste management organization.
Please do not hesitate to contact us to find out more by visiting our website at www.evolis.com or by emailing the following address: inf[email protected]om.
KC PRIME
4
ABOUT YOUR NEW PRINTER
Using your new Evolis printer, you can create a wide variety of high-quality cards and personalized badges that can be printed and laminated
invarious thicknesses, colors, and styles. This printer uses consumables and accessories available from Evolis. For further details,
visitourwebsite at www.evolis.com.
Certifications and declarations of conformity:
• CE, UKCA, ICES, VCCI, BIS, CCC, KC, EAC, RoHS
• FCC (Evolis contact: Evolis, Rising Sun Mills, 188 Valley St., Suite 421, RI 02909 Providence, ev[email protected])
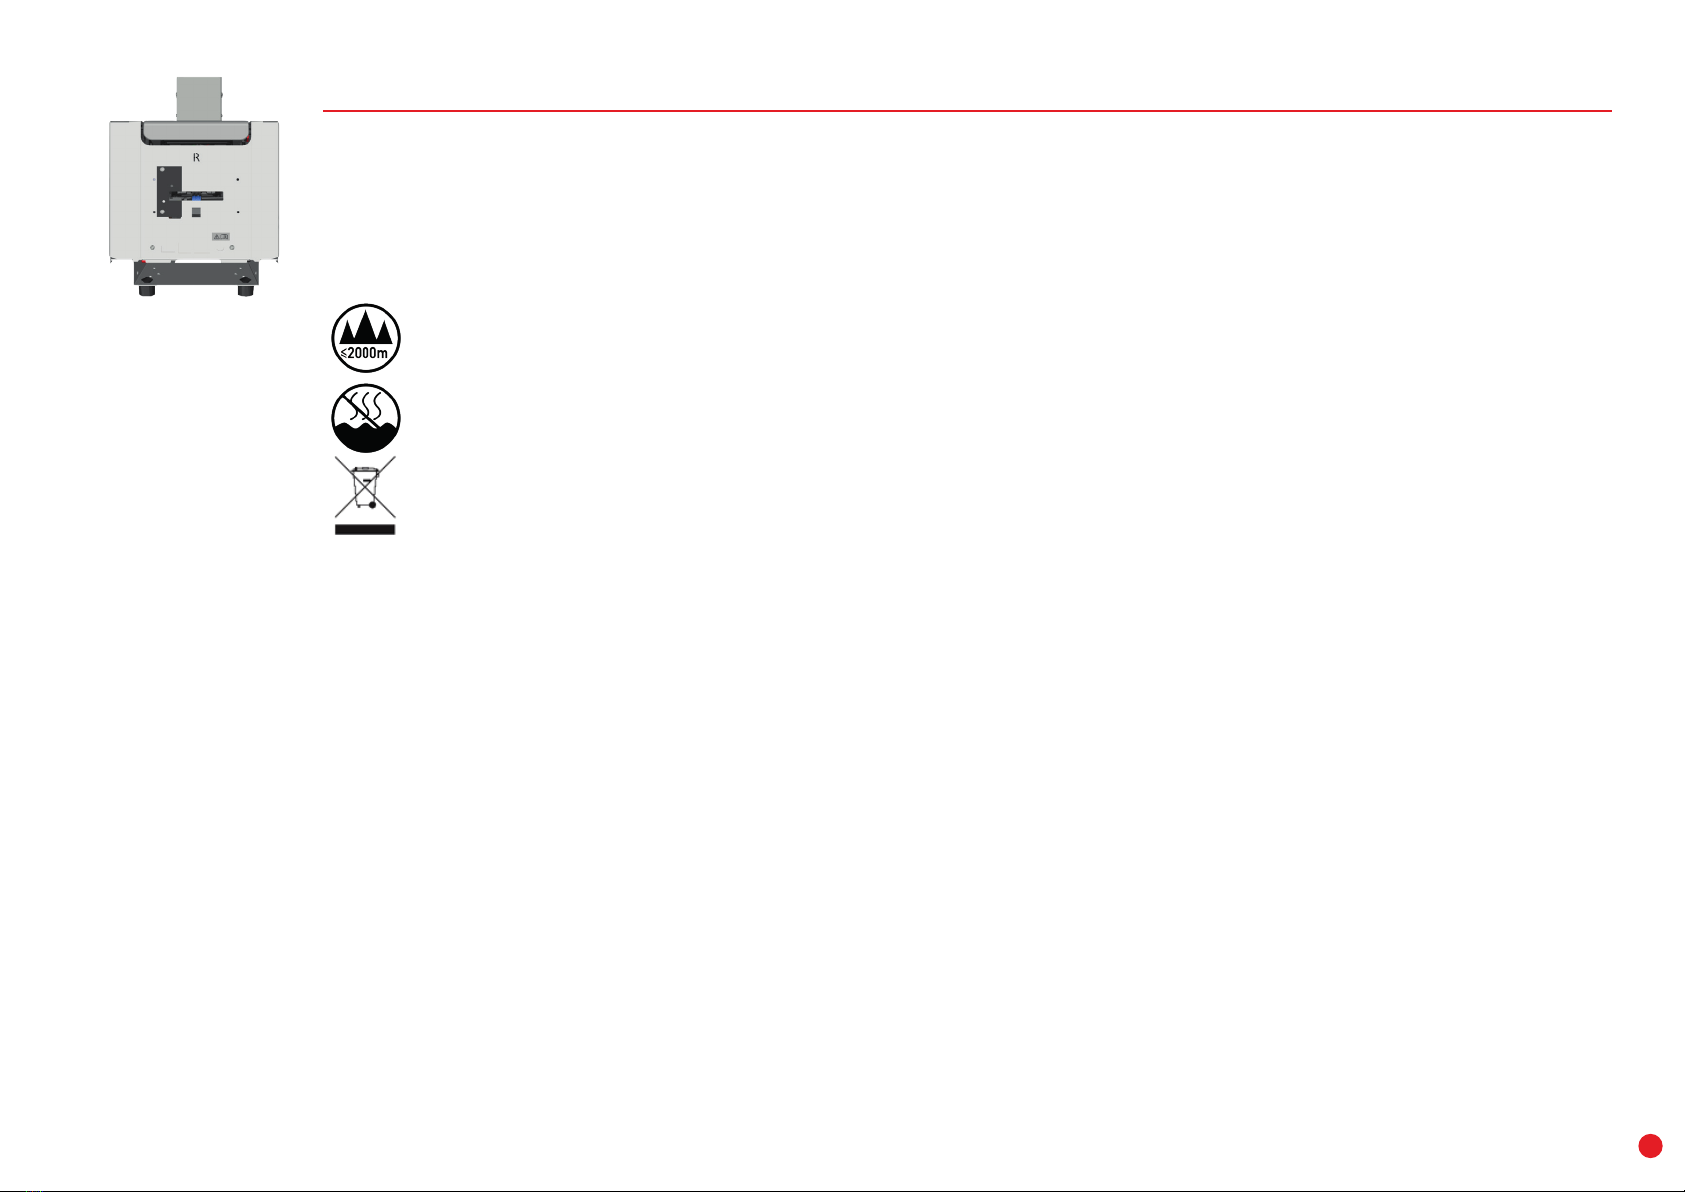
Icons on the printer label:
As evaluation for apparatus is only based on altitude not exceeding 2000m, it is the only operating condition applied for the
equipment. There may be some potential safety hazard if the equipment is used at altitude above 2000m.
Evaluation for apparatus only based on temperate climate condition, therefore it’s the only operating condition applied for the
equipment. There may be some potential safety hazard if the equipment is used in tropical climate region.
The crossed-out dustbin symbol on your device is a reminder to use these facilities.
Dimensions:
• Printer (HxWxD): 307x196x 378 mm
• Feet height: 15 mm
Weight
5.3 kg
Connectivity
USB (1.0, 1.1, 2.0, 3.0), Ethernet, Serial (option), Wi-Fi
Environnement
• Standard operating temperature: 15°C / 30 °C (59° / 86 °F)
• Humidity: 20% to 65% non-condensing
• Min / Max operating temperature and humidity rate: 0° / 40° C (32° / 104° F) and 20% to 65% non-condensing
• Min/max storage temperature: –5°C / +70 °C (23° / 158 °F)
• Storage humidity: 20% to 70% non-condensing
• Operating ventilation: free air
Electrical information
• Power supply unit: 100-240 Volts AC, 50-60 Hz, 1.7A
• Printer: 24 Volts DC, 2.71 A
To view all technical specifications, please refer to www.evolis.com>Products & Services>Card Printers>Printer>Specifications.

KC PRIME
5
Information providing further details about certain points in the main text.
Indicates that failing to take the recommended action is likely to damage your printer.
NOTE
!
ICONS
The following icons are used in this manual to highlight important information:
A video showing the procedure is available on www.evolis.com website.

KC PRIME
6
You will be asked for the full original packaging (outer box, inner wedges, and protective bags) in the event that the printer is returned.
If the printer is returned without its original packaging and the components are damaged in transit, these components will no longer
be covered by the warranty. A charge will be made for new packaging to reship the printer.
If any of these components are missing, please contact your Evolis reseller.
Use only the power supply unit provided with your Evolis printer: CWT type KPL-065M-VI or FSP type FSP060-RAAK3.
Use only the USB cable supplied with your Evolis printer.
The Evolis printer must be placed in a dry location, protected from dust and drafts, but well-ventilated.
Please ensure you keep your printer on a flat, solid surface able to bear its weight.
1 – GETTING STARTED
UNPACKING
Your printer is supplied with several accessories that should be checked on receipt.
The list of accessories may vary depending on your location.
The printer is shipped in special packaging designed to prevent any damage in transit. If you notice any visible damage, please contact
theshipping company and immediately inform your Evolis reseller, who will tell you the procedure to follow.
Evolis takes great care over the quality of its packaging and we ask that you keep this packaging somewhere clean and dry.
Accessories supplied with your printer:
• 1 power supply unit- CWT type KPL-065M-VI or FSP type FSP060-RAAK3
• Mains power cable
• USB cable
• Installation, documentation, and software CD-ROM
• Starter cleaning kit
• Feet kit
• 1 dust cover
!
!
NOTE

KC PRIME
7
ASSEMBLING THE ACCESSORIES
Attaching the dust cover
Attaching the feet
You may use the dust cover in the following cases:
- in dusty, smoky or humid environments
- inside and outside the terminal
- on a running or non-running printer
- in open or semi-open environments
Depending on the use context, you may need to assemble the accessories provided with your printer.
To attach the feet, please refer to the instructions provided with the feet kit.

KC PRIME
8
PRINTER OPTIONS
By default, the bezel emits a flashing light
signal when a card is inserted or a card is
issued.
If the card issued is not taken by the end user,
it remains in the bezel.
It is possible to change default setting through
commands.
Anti-insertion optional feature prohibits the
insertion of the card by a user but allows card
issuance.
LED flashing bezel
(rear side)
Encoding stations
Options are described below. They may be already integrated in the printer or provided separately. In this case, their shipped kits contain all
instructions of installation.
Please refer to the driver User Guides (www.evolis.
com>Drivers&Support>printer>Manual and Documents) for all settings linked to
these options.
Duplex activation

KC PRIME
9
PRINTER CONFIGURATIONS
Configuration #1
Configuration #2
Without bezel
With connection ports
Without output hopper
With 200-cards feeder extension
With output hopper With connection ports With bezel
Without connection ports
Front side Rear side
Front side Lateral side Rear side
KC PRIME
10
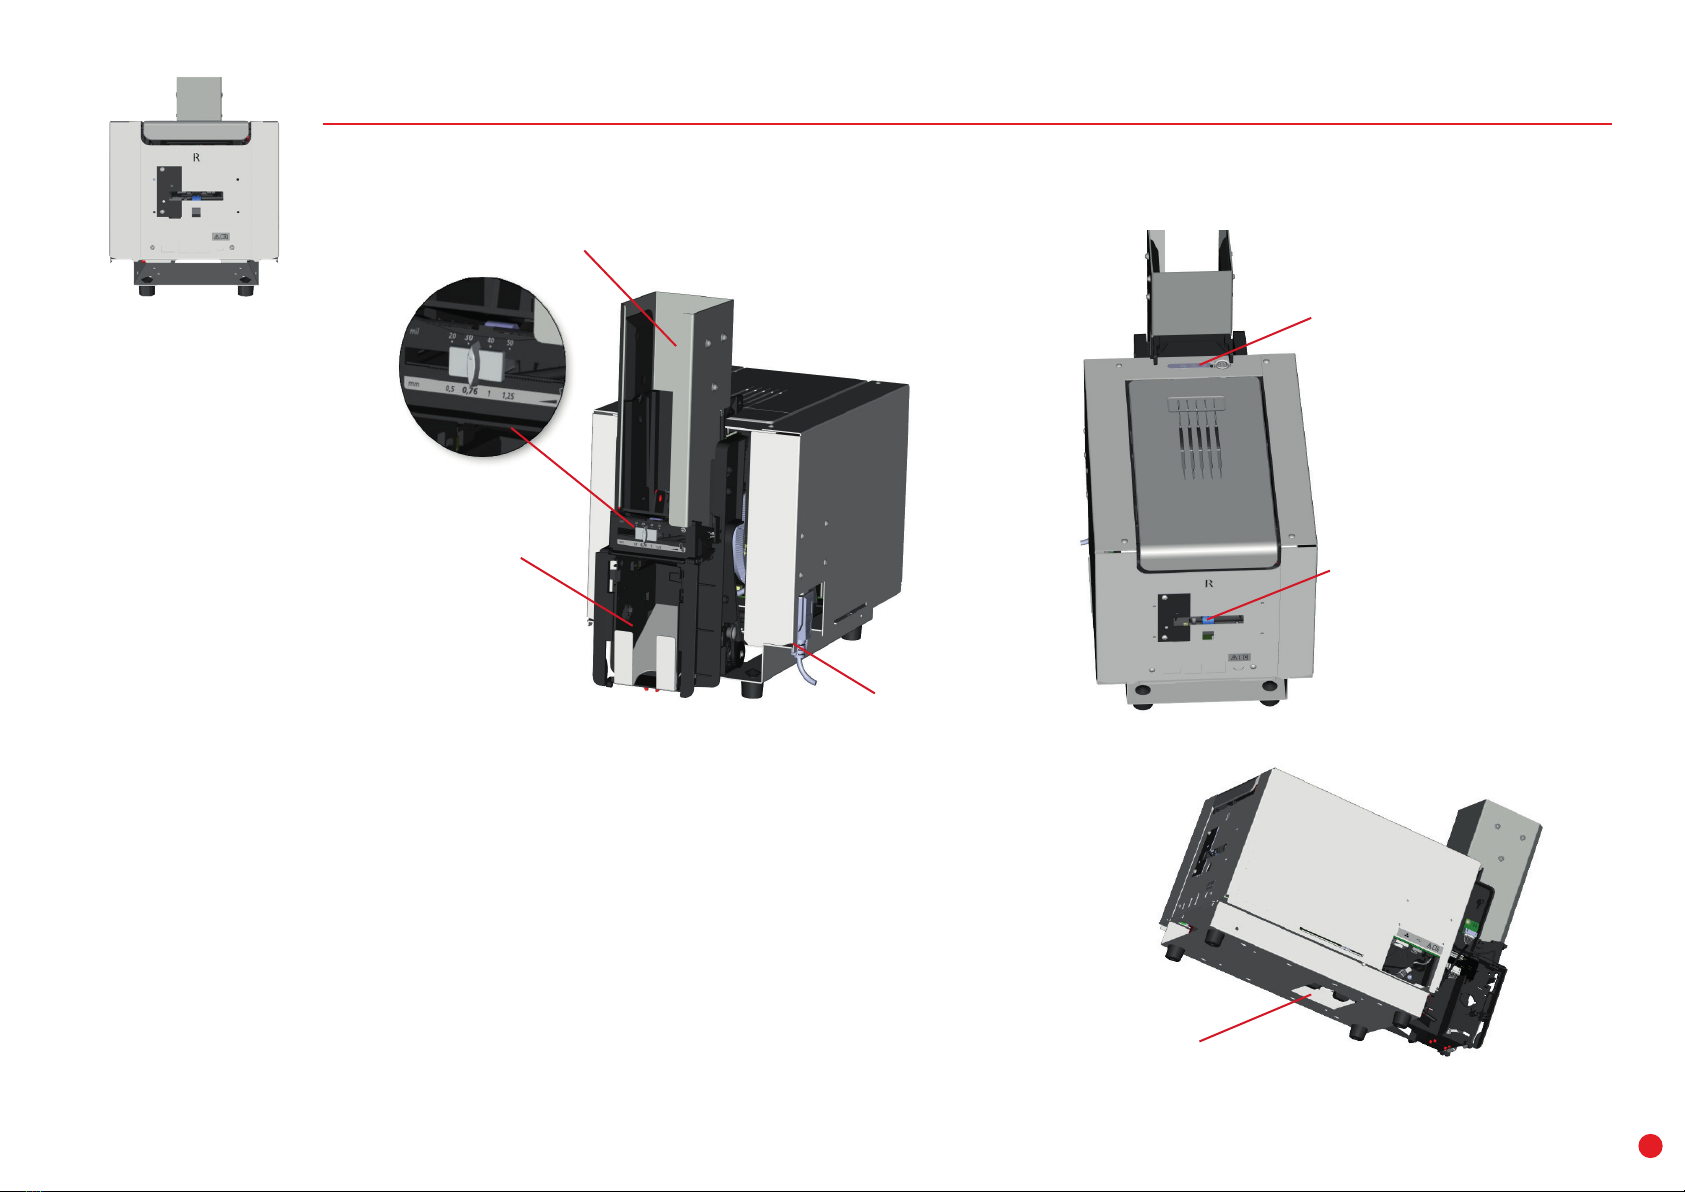
PRINTER FUNCTIONS: EXTERNAL PARTS
A - Card feeder
B - Card thickness adjustment gauge
C - Output hopper/Reject box
D - DB9 port to connect an external encoding station (optional)
E - Control panel
F - Rear input/output slot
G - Lower reject slot
E
F
A
B
D
C
G
Table of contents
Other Evolis Printer manuals

Evolis
Evolis Primacy User manual

Evolis
Evolis AGILIA User manual

Evolis
Evolis Elypso User manual

Evolis
Evolis Pebble User manual

Evolis
Evolis Badgy User manual

Evolis
Evolis Avansia Instruction Manual

Evolis
Evolis A5405 User manual

Evolis
Evolis Avansia User manual

Evolis
Evolis BadgePass NXT5000 User manual

Evolis
Evolis Dualys User manual

Evolis
Evolis Securion User manual

Evolis
Evolis PRIMACY 2 User manual

Evolis
Evolis KC MAX User manual

Evolis
Evolis Dualys User manual

Evolis
Evolis DUPLIPASS User manual

Evolis
Evolis KM500B User manual

Evolis
Evolis KC200 User manual

Evolis
Evolis QUANTUM User manual

Evolis
Evolis Zenius Use and care manual

Evolis
Evolis Badgy User manual


