manuals.online logo
Brands
  1. Home
  2. •
  3. Brands
  4. •
  5. Festo
  6. •
  7. Control Unit
  8. •
  9. Festo VZWF-...-M22C series User manual

Festo VZWF-...-M22C series User manual

Solenoid valve
VZWF-...-M22C
Festo AG & Co. KG
Postfach
73726 Esslingen
Deutschland
+49 711 347-0
www.festo.com
Operating instructions 8065862
1611b
[8065864]
Original: de
Solenoid valve VZWF-...-M22C English...................................
1 Design
3
8
7
6
2
5
4
1
9
aJ
aA
1Port 1: Input
2Valve body
3Electrical plug with seal and
mounting screw
4Solenoid coil mounting with
shaped rubber part, washer and
hex nut1)
5Solenoid coil mounting with
O-ring, aluminium shaped part,
toothed disc and socket head
screw1)
6Solenoid coil
7O-ring
8Armature guiding tube
9Port 2: Output
aJ Arrow for flow direction
aA Thread for mounting bracket
1) Mounting variant dependent on the size
Fig. 1
2 Function
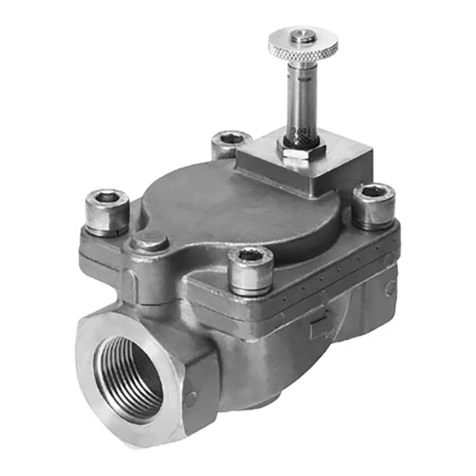
The solenoid valve VZWF–...–M22C is a forced 2/2-way valve
with solenoid coil.
The membrane of the valve is coupled with the magnetic core
of the coil. This allows the forced solenoid valve to switch
between input and output without pressure difference.
The solenoid valve VZWF–...–M22C is closed in the de-ener
gised state (Normally Closed - NC). Fig. 2
When current flows, the armature opens the pilot control hole in the valve seat
seal and lifts the membrane from the valve seal either directly or supported by
differential pressure of the medium pressure. If the power supply is cut off, the
pilot control hole is closed by spring force. The supply pressure affects the mem
brane and supports the sealing of the membrane on the valve seat.
3 Application
Solenoid valves of the VZWF–...–M22C series are intended to be used for con
trolling the flow of gaseous and liquid media in rigid piping systems.
The valve is suitable for vacuum operation with pabs > 100 mbar.
 The product may only be used in its original state without unauthorized modific
ations. Opening the valve body or dismantling the armature guiding tube is not
permitted.
 Take into consideration the operating conditions at the location of use. Provide
sufficient thermal circulation.
 Use the product only in perfect technical condition.
 Only use media in accordance with specification. Before using other media,
please contact our customer support.
 Operation with chemically unstable gases, abrasive media and hard materials is
not permitted.
 Use the solenoid valves only in the flow direction indicated.
 Wear suitable personal protective clothing, e.g. safety shoes and safety gloves.
 Comply with all applicable national and international regulations.
 Dispose of the product in an environmentally friendly manner. When doing this,
also take residual media into account (potential recycling of hazardous waste).
Return to Festo
Hazardous substances can endanger the health and safety of personnel and cause
damage to the environment. To prevent hazards, the product should only be re
turned upon explicit request by Festo.
– Consult your regional Festo contact.
– Complete the declaration of contamination and attach it to the outside of the
packaging.
– Comply with all of the legal requirements for the handling of hazardous sub
stances and the transport of dangerous goods.
4 Product variants
Characteristic Value Description
Type VZWF Solenoid valve, forced
Version –, B Standard, Function-optimised
Valve type LIn-line valve
Valve function M22C 2/2-way valve, normally closed (NC)
Connection to valves
and fittings
G14 bis G2 Pipe thread in accordance with DIN ISO 228
N14 bis N2 NPT standard pipe thread in accordance with
ANSI B 1.20.1
Nominal diameter 135, 275, 400, 500 13,5 mm, 27,5 mm, 40 mm, 50 mm
Sealing materials –, E, V Standard (NBR), EPDM, FPM
Nominal operating
voltage
1, 2A, 3A 24 V DC, 110 V AC (50-60 Hz), 230 V AC (50-60 Hz)
Electrical connection P4 Plug socket, 3-pin
Medium pressure 6, 10 max. 6 bar, max. 10 bar
Corrosion protection –, R1 Standard (brass), Stainless steel
Fig. 3
5 Transport and storage
 When shipping used products: Comply with all legal requirements for handling
hazardous substances and transporting dangerous goods.
For return to Festo èKapitel 3.
 Store the product in a cool, dry, UV- and corrosion-protected environment.
6 Installation
Note
Installation should only be conducted by qualified specialized personnel.
Avoid mechanical stresses, particularly on the solenoid coil and the armature
guiding tube.
Requirements
– The piping system is unpressurized, and no medium flows in it.
– The lines are clean.
– The lines ends are mounted.
– The power supply is switched off.
Note
For fault-free operation, the effective line cross section at the input end should
be at least as large as it is at the output end. Take proper account of the pipeline
cross sections, line lengths and elements that may reduce the flow rate (angle
sections etc.).
Clean valve
Residues of grease may be evident on the product due to the production process
used.
 Clean valve immediately before installation.
Connect lines
1. Bring the solenoid valve into its installation position. Please note the direction of
flow. The permissible flow direction is marked by an arrow on the valve body. In
vacuum mode, connect up vacuum at output end.
2. Screw the valve plugs into the pipeline ends. Comply with the permissible tight
ening torques (èFig. 6).
3. Establish the electrical connection. For this purpose use only the associated
socket type (èFig. 7).
– Connect electrical cables to the socket.
– Attach seal to the electrical contacts.
– Put on plug and lock with fastening screw (tightening torque 0.3…0.5 Nm).
4. Connect the power supply.
7 Commissioning
Note
Commissioning only by qualified specialist personnel.
When incompressible media are used (e.g. neutral water) pressure surges arise
in the piping system because of the switching of the valve. Before commission
ing, check the compatibility of the devices in the system in order to avoid dam
age to them. If necessary adjust your application parameters.
 Note the information on the rating plate.
 Operate the solenoid coils only with upstream fuses.
 Only start up the solenoid valve when it is fully installed and fitted.
 Check the connection points for tightness
 Before commissioning, check that the operating conditions and permissible limit
values have been observed (èTechnical Data).
8 Operation
Warning
Risk of injury due to hot surface!
The valve can become hot while in operation.
 Do not touch the valve during operation or immediately afterward.
 Comply with the operating conditions.
 Always observe the permissible limit values.
9 Maintenance and care
 Every 6 months, check product from the outside for leakage and function.
 Clean product regularly. The permissible cleaning agent is soap suds.
10 Disassembly
Warning
Risk of injury from combustion and chemical burns.
The media in the piping system and the valve can be hot and under pressure.
Medium residues can be in the product and escape when open or dismantled.
 Allow the valve and piping to cool and depressurize them.
 Wear specified protective equipment.
Note
Disassembly of the valve only by qualified specialized personnel.
1. De-pressurize the pipeline.
2. Switch off the power supply.
3. Empty the pipeline and valve completely.
– Ensure that no one is in front of the outlet opening.
– Catch discharging media in a suitable container.
4. Remove the solenoid valve from the pipeline (electrical socket connection,
mounting bracket and screws).
Replacement of the solenoid coil
In the case of repair, the solenoid coil can be replaced.
Dismantling:
1. Switch off the power supply.
2. Disconnect the electrical socket connection.
3. Leave the solenoid valve and solenoid coil to cool.
4. Loosen the retaining nut and take the magnetic coil and the O-ring from the
armature guiding tube.
Mounting:
1. Push the O-ring, the solenoid coil and the elements of the particular mounting
kit above the armature guiding tube.
2. Tighten the retaining nut (tightening torque èTechnical Data).
11 Troubleshooting
Malfunction Possible cause Remedy
Solenoid valve
does not close
Solenoid valve faulty.  Replace solenoid valve.
Wrong mounting position or flow direction.  Correct mounting position.
Nominal voltage still applied.  Check electrical connection.
Solenoid valve
does not open
Solenoid coil or solenoid valve faulty.  Replace solenoid coil.
 Replace solenoid valve.
Nominal voltage is interrupted or
insufficient.
 Check voltage.
Fig. 4
12 Technical data
General VZWF
Valve function 2/2-way valve, single solenoid, closed
Design Diaphragm valve, forced
Actuation type Electrical
Sealing principle Soft
Assembly position Magnet standing
Medium Compressed air in accordance with ISO 8573-1:2010 [7:-:-],
Inert gases, Water, Neutral liquids1)
Direction of flow Non-reversible
Max. viscosity [mm2/s] 22
Grade of filtration [μm] 50
Temperature of medium [°C] –10...+80
Ambient temperature [°C] –10...+35
Protection class IP65
Note on material for housing Brass casting (standard), Stainless steel casting
Note on material for seals NBR, EPDM, FPM
Note on materials for screws High-alloy stainless steel
1) Other media on request
Fig. 5
Connecting thread G¼
N¼
Gy
Ny
G½
N½
G¾
N¾
G1
N1
G1¼
N1¼
G1½
N1½
G2
N2
Nominal diameter [mm] 13.5 27.5 40 50
Flow factor Kv[m3/ h] 1.8 2.2 2.5 7.5 11.0 20.0 22.5 28.0
Standard nominal flow
rate
[l/min] 1920 2350 2660 8020 11750 21370 23500 29900
Medium pressure1) [bar] 0…10 0…6 0…10 0…6
Switching times air on2) [ms] 130 275 620 1220
Switching times air off2) [ms] 180 290 1140 2140
Max. tightening torque
pipe connection
[Nm] 35 60 105 200 350 450 540 620
Max. tightening torque
coil fastening
[Nm] 2.0 4.0
Weight [kg] 1.0 1.5 4.5 6.5
1) Vacuum operation with pabs > 100 mbar possible
2) Longer switching times with liquid media dependent on the viscosity
Fig. 6
Electrical data VZWF-...1 VZWF-...2A VZWF-...3A
Nominal voltage
– Direct current
– Alternating current (50/60 Hz)
[V DC]
[V AC]
24 (_10%)
–
–
110 (_10%)
–
230 (_10%)
Rated output for solenoid coil VACS-H1P [W]
[VA]
11
–
–
19 / 161)
–
18 / 151)
Rated output for solenoid coil VACS-G2P [W] 30 302)
Surge voltage capacity [kV] – 2.5 4.0
Duty cycle [%] 100
Electrical connection Device plug as per EN 175301-803, Form A
Connecting cable cross section [mm2] 0.75…1.5
Connection cable diameter [mm] 5…9
1) Switching power / holding capacity
2) Operation with rectifier plug
Fig. 7
Other Festo Control Unit manuals

Festo FLSM User manual

Festo

Festo FLSM User manual

Festo CAMC-G-S1 User manual

Festo

Festo CAMC-G-S1 User manual

Festo VZQA-C-M22C-6-GG-V2V4E-2 Parts list manual

Festo

Festo VZQA-C-M22C-6-GG-V2V4E-2 Parts list manual

Festo DG Series User manual

Festo

Festo DG Series User manual

Festo SPC200-MMI-DIAG Parts list manual

Festo

Festo SPC200-MMI-DIAG Parts list manual

Festo VUVG 1T1L Series User manual

Festo

Festo VUVG 1T1L Series User manual

Festo CPX-E User manual

Festo

Festo CPX-E User manual

Festo HMP-x-B Series User manual

Festo

Festo HMP-x-B Series User manual

Festo VAPB Series User manual

Festo

Festo VAPB Series User manual

Festo DSM Series User manual

Festo

Festo DSM Series User manual

Festo VZWP-L-M22C-P4 Series User manual

Festo

Festo VZWP-L-M22C-P4 Series User manual

Festo Compact Performance CP-FB6-E User manual

Festo

Festo Compact Performance CP-FB6-E User manual

Festo MSE6-C2M User manual

Festo

Festo MSE6-C2M User manual

Festo CPX-E-PN User manual

Festo

Festo CPX-E-PN User manual

Festo Smart cubic CPV-SC Series User manual

Festo

Festo Smart cubic CPV-SC Series User manual

Festo CPX-AP-I-8DI-M12-5P Parts list manual

Festo

Festo CPX-AP-I-8DI-M12-5P Parts list manual

Festo CPX-M-FB20 Parts list manual

Festo

Festo CPX-M-FB20 Parts list manual

Festo VUVG 1T1L Series User manual

Festo

Festo VUVG 1T1L Series User manual

Festo VAEM-S6-S-FAS-4-4E User manual

Festo

Festo VAEM-S6-S-FAS-4-4E User manual

Festo VZXA-***-M Series User manual

Festo

Festo VZXA-***-M Series User manual

Festo MS6-SV Series User manual

Festo

Festo MS6-SV Series User manual

Festo CPASC-DN Parts list manual

Festo

Festo CPASC-DN Parts list manual

Festo Compact Performance Series Owner's manual

Festo

Festo Compact Performance Series Owner's manual

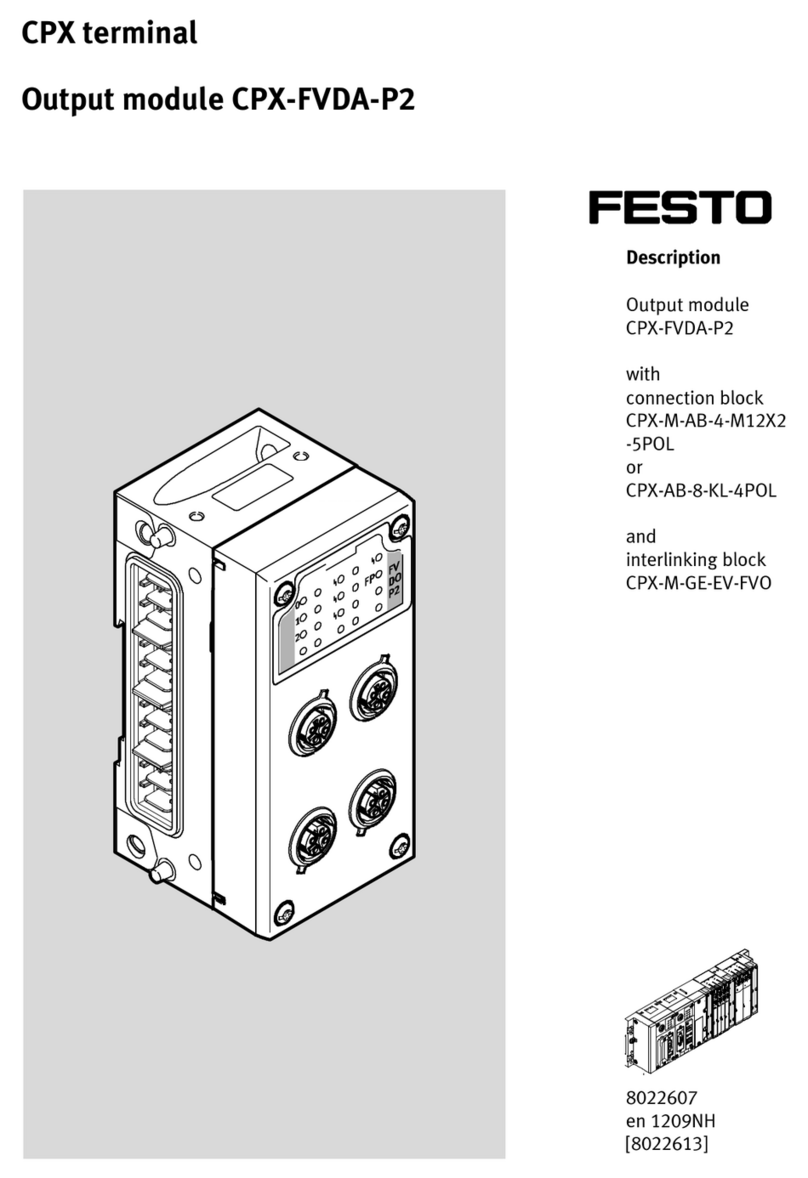
Festo CPX-FVDA-P2 User manual

Festo

Festo CPX-FVDA-P2 User manual

Popular Control Unit manuals by other brands

Lutron Electronics GRAFIK Eye QSGRJ-8E Programming Addendum

Lutron Electronics

Lutron Electronics GRAFIK Eye QSGRJ-8E Programming Addendum

Honeywell R8184M manual

Honeywell

Honeywell R8184M manual

Plura RUBIDIUM Series manual

Plura

Plura RUBIDIUM Series manual

BNC PCO-6131 operating manual

BNC

BNC PCO-6131 operating manual

ARI ELIPTIX  R-30 Series Installation operation & maintenance

ARI

ARI ELIPTIX R-30 Series Installation operation & maintenance

Kunbus cRIO PB installation instructions

Kunbus

Kunbus cRIO PB installation instructions

ABNOX AXDV-P1 operating manual

ABNOX

ABNOX AXDV-P1 operating manual

FAAC E850S instructions

FAAC

FAAC E850S instructions

Feig Electronic cVEND plug Installation

Feig Electronic

Feig Electronic cVEND plug Installation

Minolta Pi1802e user manual

Minolta

Minolta Pi1802e user manual

DMP Electronics RoBoard RM-G145 quick start guide

DMP Electronics

DMP Electronics RoBoard RM-G145 quick start guide

Kessel Comfort PLUS Installation and operating manual

Kessel

Kessel Comfort PLUS Installation and operating manual

V2 EASY-TOP manual

V2

V2 EASY-TOP manual

Franke Protronic A3000 open Installation and operating instructions

Franke

Franke Protronic A3000 open Installation and operating instructions

Midian ID-1 manual

Midian

Midian ID-1 manual

Danfoss SVA-S 6-10 installation guide

Danfoss

Danfoss SVA-S 6-10 installation guide

opti-solar SC Series Installation and operation manual

opti-solar

opti-solar SC Series Installation and operation manual

Stahl ConSig 8453 operating instructions

Stahl

Stahl ConSig 8453 operating instructions

manuals.online logo
manuals.online logoBrands
  • About & Mission
  • Contact us
  • Privacy Policy
  • Terms and Conditions

Copyright 2025 Manuals.Online. All Rights Reserved.