manuals.online logo
Brands
  1. Home
  2. •
  3. Brands
  4. •
  5. Flash Cover
  6. •
  7. Automobile Accessories
  8. •
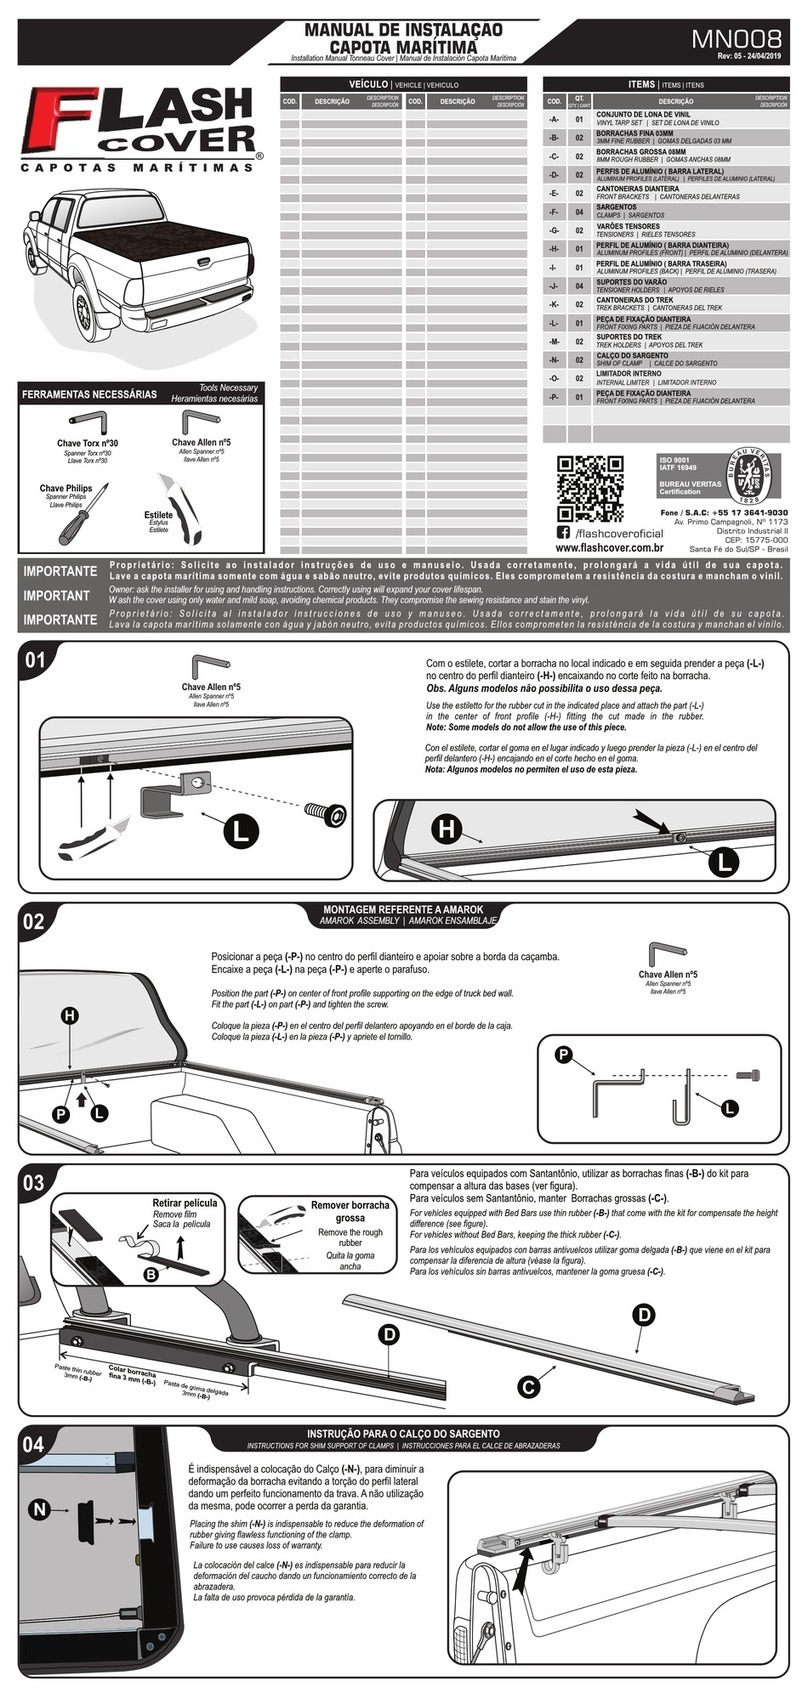
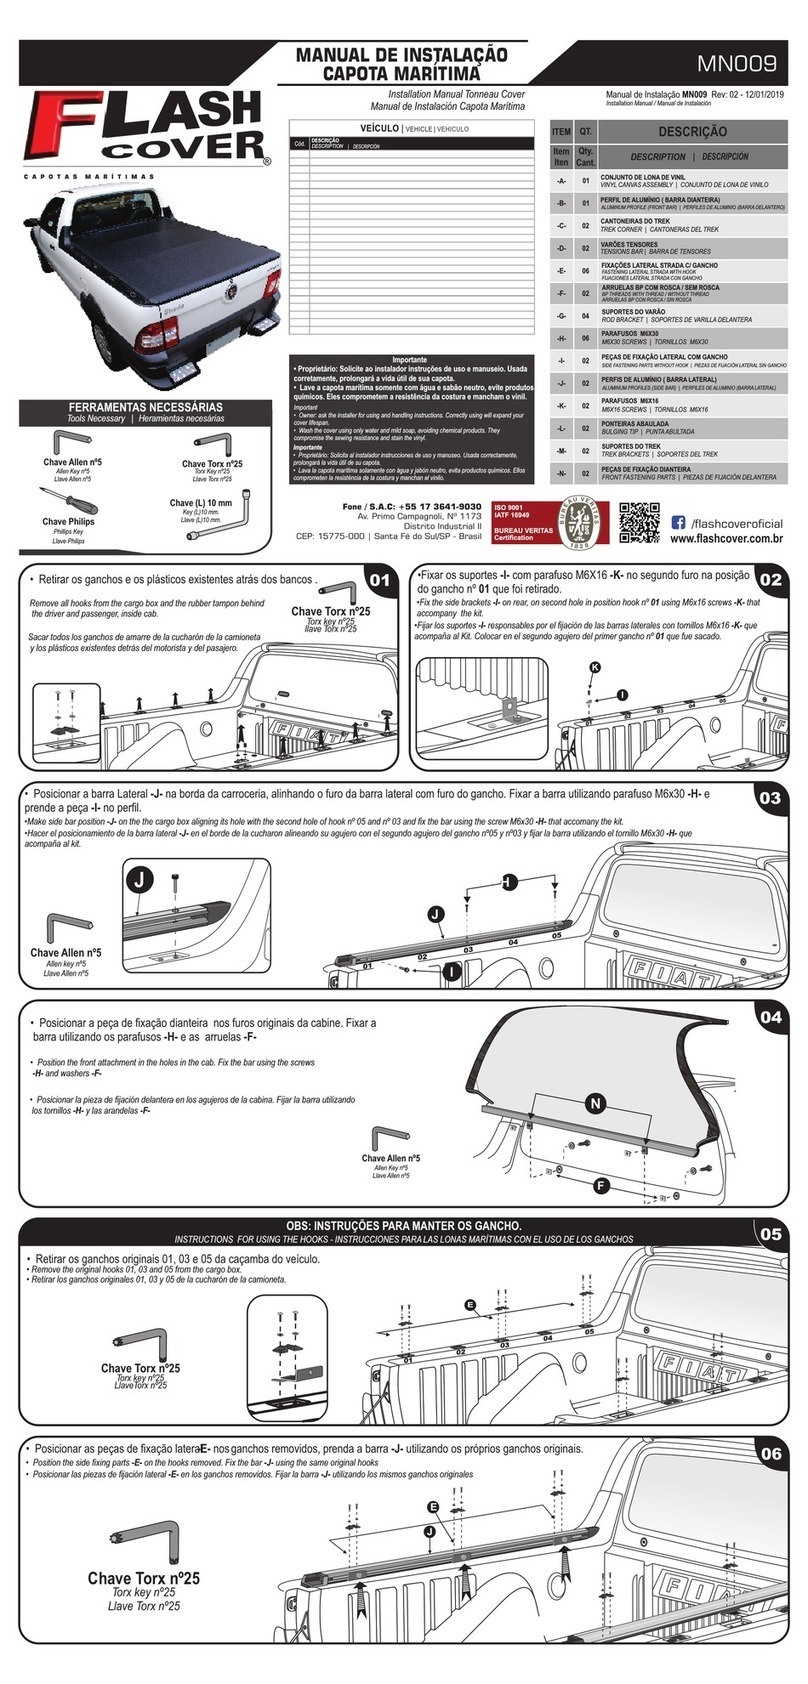
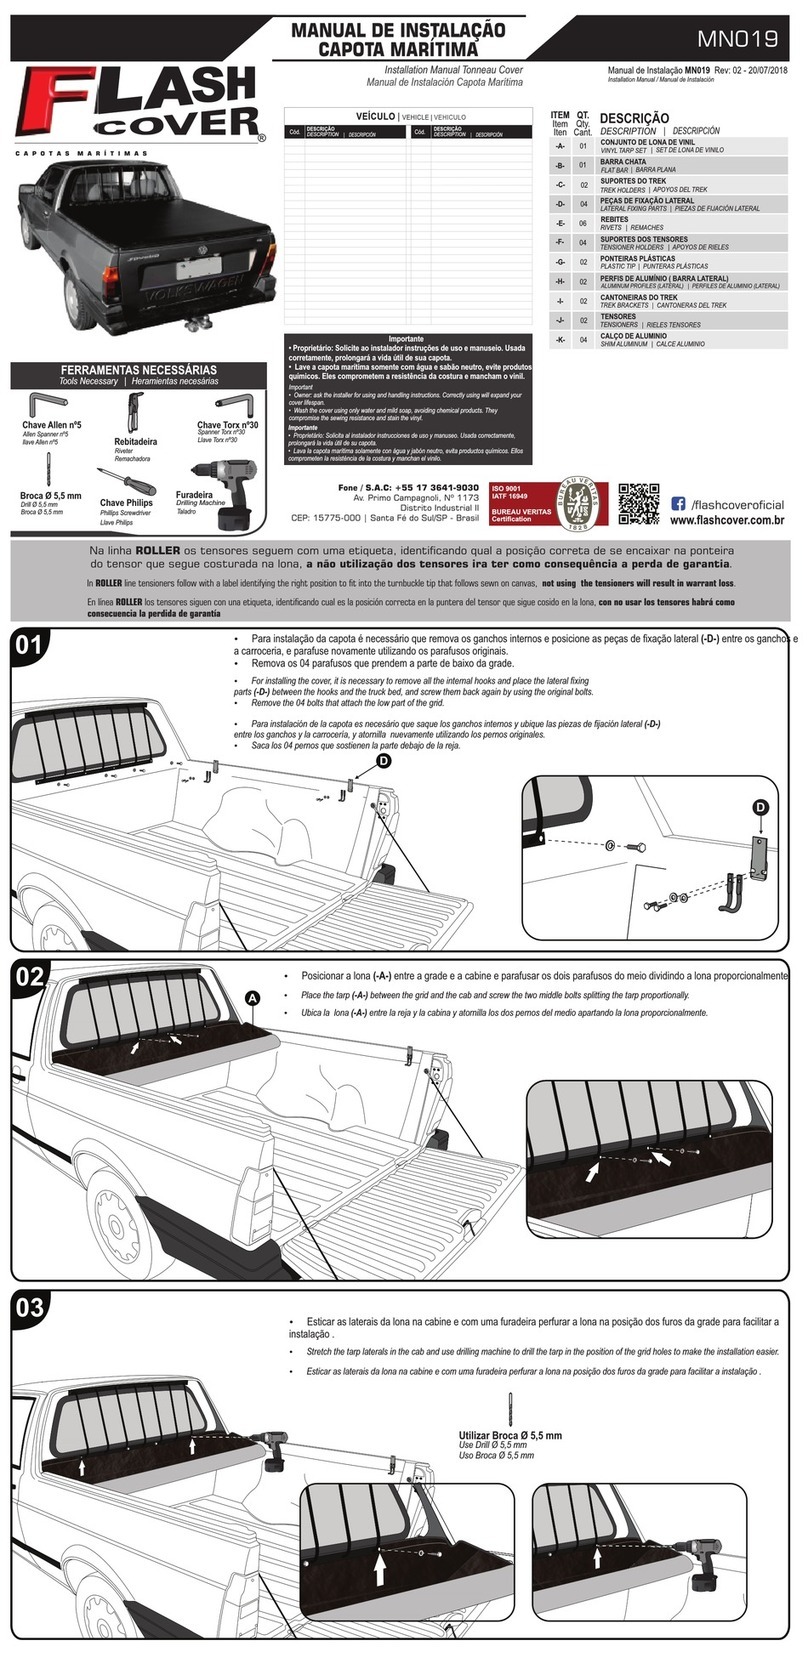
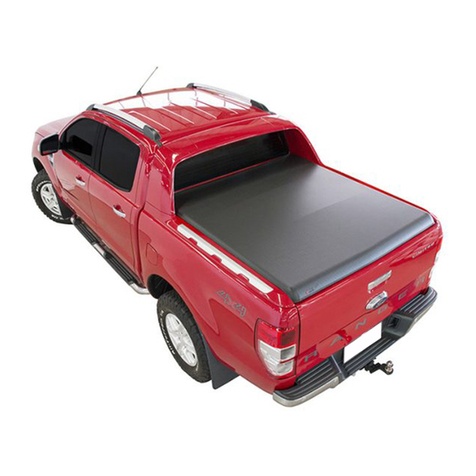
  9. Flash Cover MN026 User manual

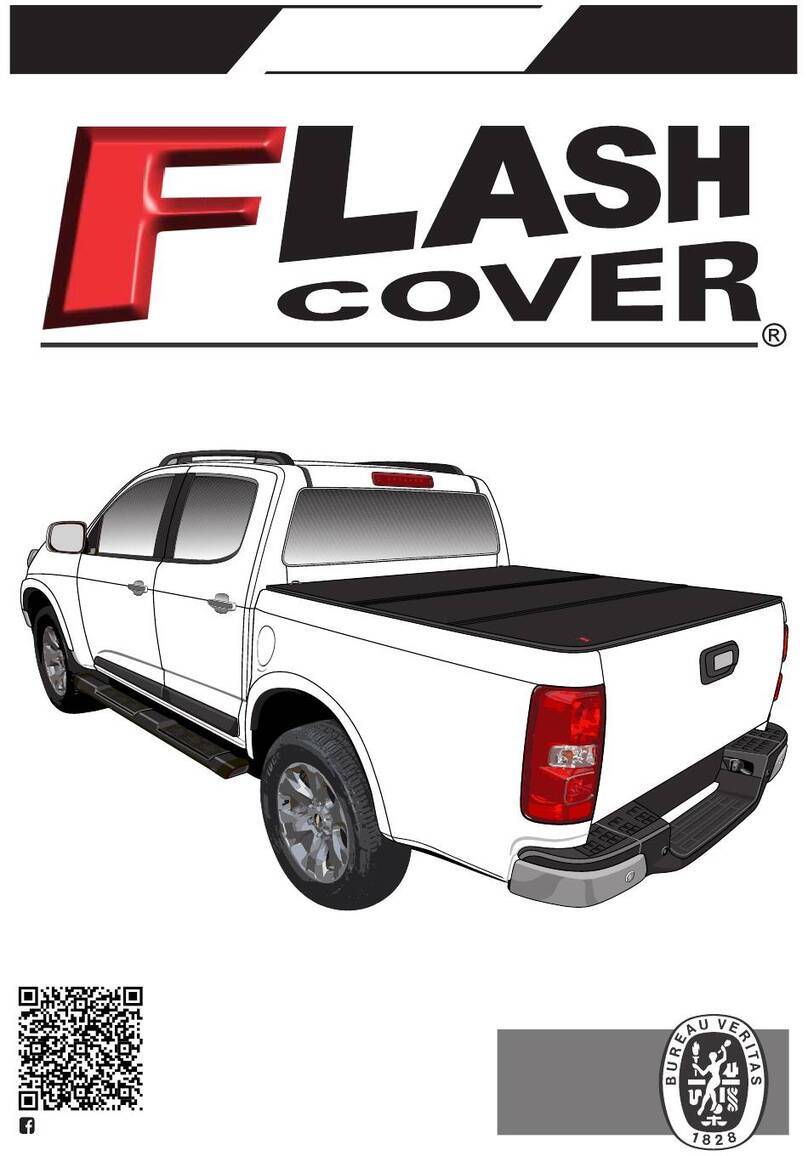
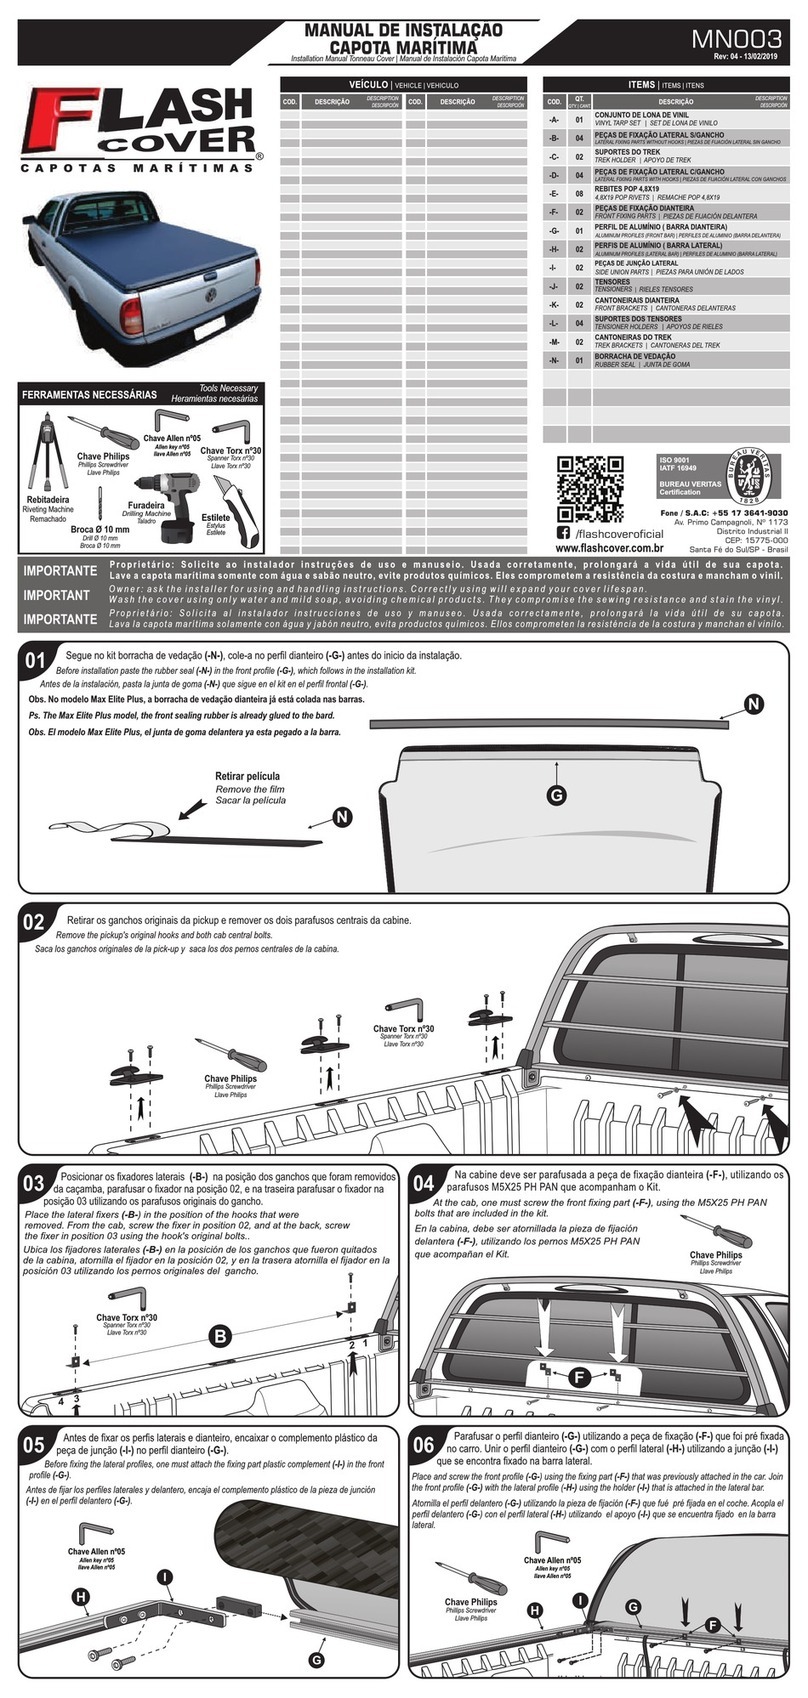
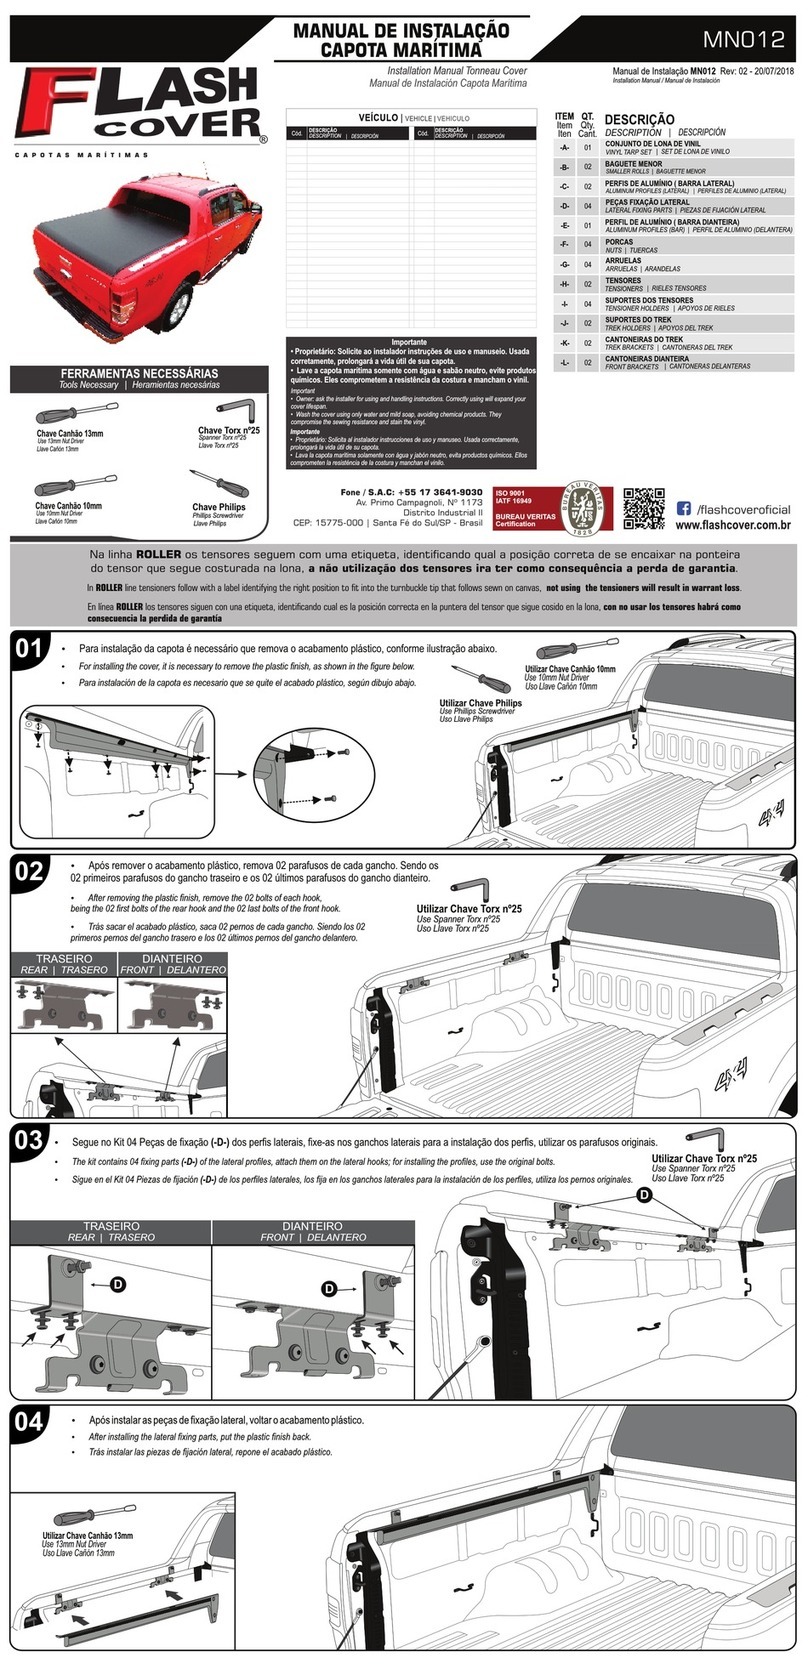
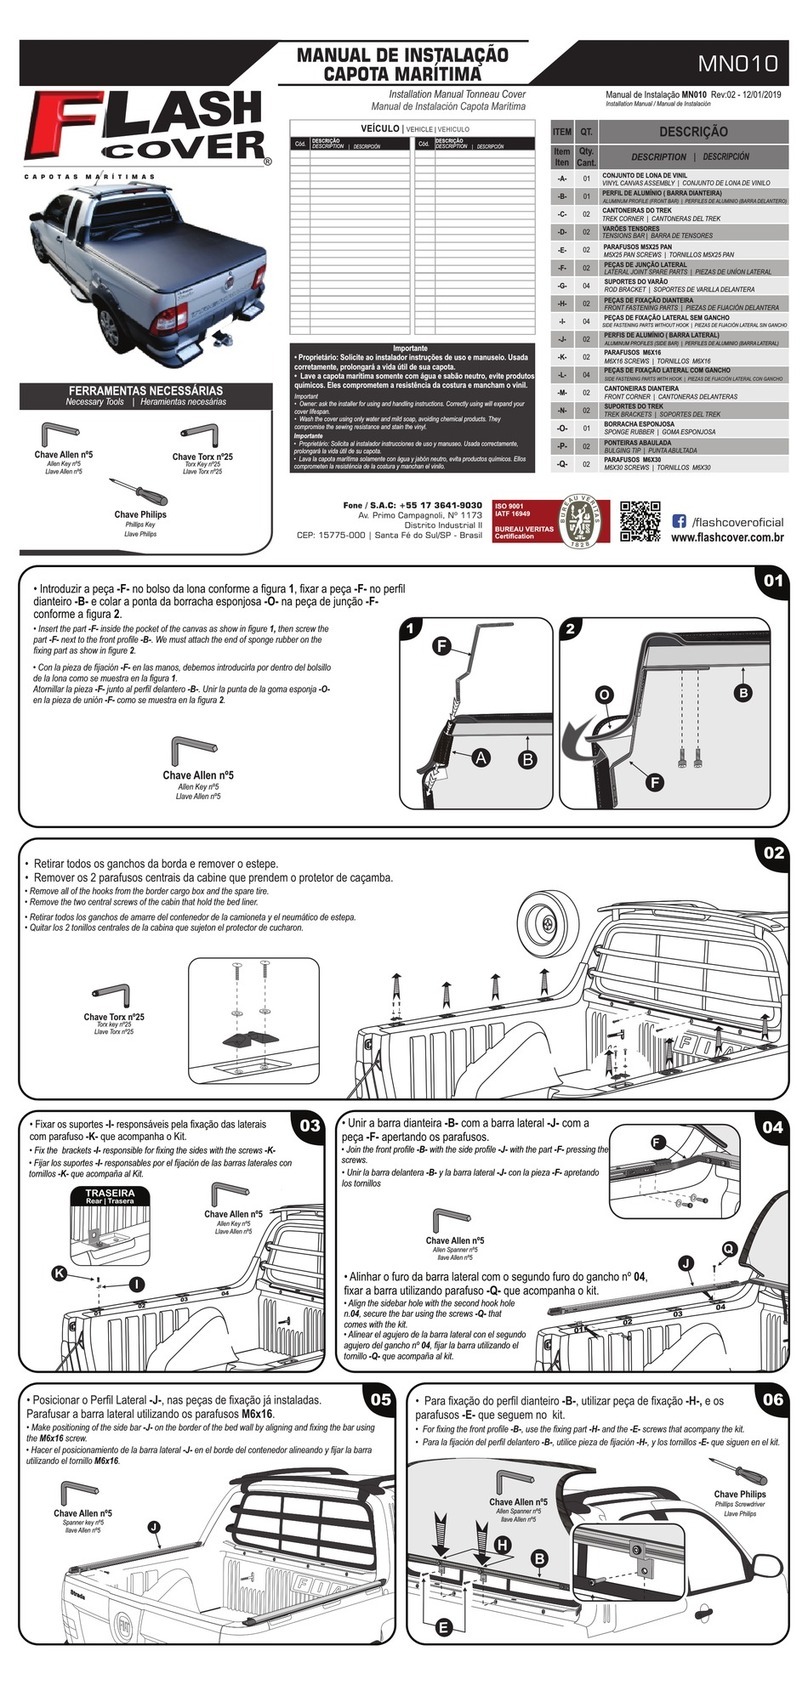
Flash Cover MN026 User manual

Importante
• Proprietário: Solicite ao instalador instruções de uso e manuseio. Usada
corretamente, prolongará a vida útil de sua capota.
• Lave a capota marítima somente com água e sabão neutro, evite produtos
químicos. Eles comprometem a resistência da costura e mancham o vinil.
Installation Manual Tonneau Cover
Manual de Instalación Capota Marítima
• Owner: ask the installer for using and handling instructions. Correctly using will expand your
cover lifespan.
Important
• Wash the cover using only water and mild soap, avoiding chemical products. They
compromise the sewing resistance and stain the vinyl.
Importante
• Lava la capota marítima solamente con água y jabón neutro, evita productos químicos. Ellos
comprometen la resisténcia de la costura y manchan el vinilo.
• Proprietário: Solicita al instalador instrucciones de uso y manuseo. Usada correctamente,
prolongará la vida útil de su capota.
-B-
-D-
-H-
-J-
-C- 02
-E-
-I-
-K-
-F-
-G-
-L-
02
04
02
-A- 01
DESCRIÇÃO
ITEM
Item
Iten
DESCRIPTION
| DESCRIPCIÓN
MN026
Chave Philips
Llave Philips
Phillips Key
Chave Torx nº30
Llave Torx nº30
Torx Key nº30
Tools Necessary |
Heramientas necesárias
Cód.
DESCRIPTION
| DESCRIPCIÓN
Cód.
DESCRIPTION
| DESCRIPCIÓN
01
04
01
Chave Allen nº5
Allen Spanner nº5
Llave Allen nº5
02
01
01
-M-
01
02
02
-N-
Na linha ROLLER os tensores seguem com uma etiqueta, identicando qual a posição correta de se encaixar na ponteira
do tensor que segue costurada na lona, a não utilização dos tensores ira ter como consequência a perda de garantia.
En línea ROLLER los tensores siguen con una etiqueta, identicando cual es la posición correcta en la puntera del tensor que sigue cosido en la lona, con no usar los tensores habrá como
consecuencia la perdida de garantía
In ROLLER line tensioners follow with a label identifying the right position to t into the turnbuckle tip that follows sewn on canvas, not using the tensioners will result in warrant loss.
01
Colar a borracha de vedação -J- que acompanha o
kit por toda a extensão da base da calha dianteira -L-,
conforme a imagem ilustrativa.
Observação: No veículo sem protetor de caçamba
utilizar a borracha -O-
Glue the 8mm rough rubber -J- that comes with the kit
along the entire length of the aluminum front trim -L-,
to according the illustrative image.
Note: Vehicle without bucket protector use the rubber -O-
Colocar el goma grosa 8mm -J- que acompaña el kit
por toda la extensión de la cala delantero -L-, según la
imagen ilustrativa.
Nota: En el vehículo sin protector de cucharón utilizar
el caucho -O-
Encaixar a calha dianteira -L- na barra
dianteira -B- acompanhando
os recortes e apertar os parafusos -P-
alinhando a parte superior para
não ocorrer danos na lona.
Attach the aluminum front trim
-L- to the front bar -B- accompanying
the cutouts and tighten the screws
-P- by aligning the top part to
no canvas damage.
Encajar el cala delantero de
aluminio -L- en la barra
delantero -B- acompañando los recortes
y apretar los tornillos -P- alineando la
parte superior para no se producen daños en la lona.
HA
N
1
2
3
F
DE
H
F
PS. Do not completely screw in the bolts of the brackets, in case there is a fiber protector, one must drill it to attach the bracket.
ŸAttach the brackets -F- in the lateral profiles -H- and tighten the screws.
Use Torx key 30
Uso Llave Torx 30
Utilizar Chave Torx 30
03
01
-O-
FRONT BRACKET CORNER | CANTONERAS DELANTEROS
TENSIONERS | TENSORES
ALUMINUM PROFILES (FRONT BAR) | PERFIL DE ALUMINIO (BARRA DELANTERO)
ALUMINUM PROFILES (LATERAL BAR) | PERFIL DE ALUMINIO (BARRA LATERAL)
SUPPORT TENSION | APOYOS DEL TENSOR
SARGENTOS
BRACKETS | SOPORTE
CALHA DIANTEIRA DE ALUMINIO
ALUMINIUN FRONT TRIM
03
-P- PARAFUSO M6X20 ALLEN
SCREW ALLEN M6x20 | TORNILLO ALLEN M6x20
H
E
02
H
Colar borracha
fina 3 mm (-I-)
I
Retirar película
Remove the protective film
Sacar la película
Remover borracha
grossa
Sacar la goma grosa
Remove the rough
rubber
Paste the 3mm fine
rubber (-I-)
Pasta del goma fina
3mm (-I-)
C A P O T A S M A R Í T I M A S
ISO 9001
BUREAU VERITAS
Certification
/ashcoverocial
• Verificar se o conjunto de trek está encaixado corretamente.
• Fechar de forma simultânea as duas extremidades da capota. ERRADO
Errado
No cierres un lado por vez.
Wrong
Do not close one side at a time
Lubrificar pinos
e mantê-los lubrificados
• Encaixar corretamente o Conjunto do Trek e pressionar
suavemente as duas extremidades até o seu travamento.
• Para cerrar, encaja correctamente el Conjunto de Trek y presiona
suavemente las dos extremidades hasta su trabamiento.
Aceitar pinos y
mantenerlos aceitados.
• To close, correctly attach the Trek Set and softly press both edges until they lock.
Lubricate pins and
keep them lubricated.
C
K
Conjunto de Trek
| Conjunto de Trek
Set Trek
LONA
PERFIL
LATERAL
• Encaixar o Baguete existente na lona (-A-) nos
perfis de alumínio (-H-).
• Encaja el Baguette existente en la lona (-A-) en los perfiles de aluminio (-H-).
• Attach the existing Rolls in the tarp (-A-) in the aluminum profiles (-H-).
E
D
G
06
G
D
Tensor traseiro
Barra tensora trasera
Rear tension bar
ŸOs tensores (-G-) seguem com uma etiqueta de identificação, para sua posição
correta, encaixe totalmente na ponteira do tensor (-D-) costurada na lona marítima (-A-)
em ambos os lados.
ŸLos tensores (-G-) siguen con una etiqueta identificando cuál es la posición correcta, encaje
totalmente en la punta (-D-) de la costura en la lona (-A-) ambos lados
M
L200 2016 COM GRADE
L200 2016 WITH GRID | L200 2016 CON REJILLA
05
L200 2016 WITHOUT GRID | L200 2016 SIN REJILLA
04
M
15mm
HA
N
Utilizar Chave Philips
Uso Llave Philips
Use Phillips Key
Protetor
45 º
A GARANTIA DAS CAPOTAS MARÍTIMAS É DADA AO PRIMEIRO USUÁRIO NO PRAZO DE:
TONNEAU COVER WARRANTY IS GRANTED TO THE FIRST USER WITHIN:
LA GARANTÍA DE LAS LONAS MARÍTIMAS ES DADA AL PRIMER USUÁRIO EN EL PLAZO DE:
ESTA GARANTIA É VÁLIDA QUANDO:
a) O certificado estiver devidamente preenchido e no prazo estabelecido; b) A capota apresentar: defeitos de fabricação ou de matéria-prima mediante análise do Departamento Técnico, e ou não tenha sido submetida a reparos por terceiros;
c) Após análise da Flash Cover, se for identificado problema de fabricação ou de matéria-prima, reserva-se o direito de trocar, ou consertar apenas a parte ou componente específico do problema, sem direito de o consumidor exigir a substituição total
do produto; d) Não terá Garantia se o produto sofrer acidentes, se for alterada sua condição original ou usada de forma indevida (sem os tensores ou demais componentes) ou da montagem inadequada em desacordo com as especificações contidas
no Manual de Montagem; e) se houver utilização de qualquer produto químico em vez de água e sabão neutro; f) Conservação, limpeza e durabilidade: Para limpeza utilizar somente água, sabão neutro, esponja ou flanela. Nunca utilizar produtos
químicos ou abrasivos. Utilizar sempre as travessas centrais que dão sustentação e facilitam o escoamento de água. Lubrificar os pinos e mantê-los lubrificados.
ESTA GARANTÍA ES VÁLIDA CUANDO:
a) El certificado está debidamente cumplimentado y dentro del plazo establecido; b) La lona marinera muestra: defectos de fabricación o materia prima, después del análisis del Departamento Técnico, y si ha sido reparado o no por terceros; c) Después del análisis de Flash Cover, si se identifica un problema de
fabricación o materia prima, se reserva el derecho de intercambiar o reparar solo la parte o componente específico del problema, sin que el consumidor correcto exija el reemplazo total del producto; d) No habrá garantía si el producto sufre accidentes, si su condición original se cambia o se usa de forma
incorrecta (sin tensores u otros componentes), o un ensamblaje incorrecto en desacuerdo con las especificaciones contenidas en el Manual de ensamblaje; e) Si se usa algún químico en lugar de agua y jabón neutro; f) Conservación, limpieza y durabilidad: Para limpieza utiliza solamente água, jabón neutro,
esponja o franela. Jamás utiliza productos químicos o abrasivos. Utiliza siempre las travesas centrales que sostienen y facilitan el desague. Lubrifica los pinos y los manternelos aceitados.
THIS WARRANTY IS VALID WHEN:
a) The certificate is duly completed and within the established period;
b) The tonneau cover shows: manufacture defects or raw material, upon analysis of the Technical Department, and whether or not it has undergone repairs by third parties; c) After Flash Cover analysis, if a manufacturing or raw material problem is identified, reserves the right to exchange, or repair only the
specific part or component of the problem, without the right consumer to demand the total product replacement; d) There will be no Warranty if the product suffers accidents, if its original condition is changed or used in improper form (without tensioners or other components), or improper assembly in disagreement
with the specifications contained in the Assembly Manual; e) If any chemical is used instead of water and neutral soap; f) Maintenance, cleaning and durability: for cleaning, use only water, mild soap, sponge or flannel. Never use chemical or abrasive products. Always use the central crossmember that support
and facilitate the water draining. Lubricate pins and keep them lubricated.
Other Flash Cover Automobile Accessories manuals

Flash Cover MN010 User manual

Flash Cover

Flash Cover MN010 User manual

Flash Cover MN009 User manual

Flash Cover

Flash Cover MN009 User manual

Flash Cover MN008 User manual

Flash Cover

Flash Cover MN008 User manual

Flash Cover MN017 User manual

Flash Cover

Flash Cover MN017 User manual

Flash Cover MN028 User manual

Flash Cover

Flash Cover MN028 User manual

Flash Cover MN008 User manual

Flash Cover

Flash Cover MN008 User manual

Flash Cover MN024 User manual

Flash Cover

Flash Cover MN024 User manual

Flash Cover MN020 User manual

Flash Cover

Flash Cover MN020 User manual

Flash Cover Tonneau Cover User manual

Flash Cover

Flash Cover Tonneau Cover User manual

Flash Cover MN008 User manual

Flash Cover

Flash Cover MN008 User manual

Flash Cover MN012 User manual

Flash Cover

Flash Cover MN012 User manual

Flash Cover MN021 User manual

Flash Cover

Flash Cover MN021 User manual

Flash Cover MN019 User manual

Flash Cover

Flash Cover MN019 User manual

Flash Cover MN003 User manual

Flash Cover

Flash Cover MN003 User manual

Flash Cover MN025 User manual

Flash Cover

Flash Cover MN025 User manual

Flash Cover MN038 User manual

Flash Cover

Flash Cover MN038 User manual

Flash Cover MN001 User manual

Flash Cover

Flash Cover MN001 User manual

Flash Cover MN024 User manual

Flash Cover

Flash Cover MN024 User manual

Flash Cover MN014 User manual

Flash Cover

Flash Cover MN014 User manual

Flash Cover Slim MN009CT User manual

Flash Cover

Flash Cover Slim MN009CT User manual

Flash Cover MN015 User manual

Flash Cover

Flash Cover MN015 User manual

Flash Cover MN006 User manual

Flash Cover

Flash Cover MN006 User manual

Flash Cover MN023 User manual

Flash Cover

Flash Cover MN023 User manual

Flash Cover MN008FD User manual

Flash Cover

Flash Cover MN008FD User manual

Popular Automobile Accessories manuals by other brands

DVB RRBR-01 installation manual

DVB

DVB RRBR-01 installation manual

Bosch SCT 815 S5 Original operating instructions

Bosch

Bosch SCT 815 S5 Original operating instructions

Metra Electronics 99-3304 installation instructions

Metra Electronics

Metra Electronics 99-3304 installation instructions

RADICAL R- C11OP2 Device installation manual

RADICAL

RADICAL R- C11OP2 Device installation manual

Grabars Front JK Handle installation instructions

Grabars

Grabars Front JK Handle installation instructions

Webasto Hollandia 100 operating instructions

Webasto

Webasto Hollandia 100 operating instructions

PowerFleet CELLOCATOR CR-100 manual

PowerFleet

PowerFleet CELLOCATOR CR-100 manual

T.J.M. T13 Outback Frontal Protection System Fitting instructions
T.J.M.

T.J.M. T13 Outback Frontal Protection System Fitting instructions

VDO DLD Wide Range II installation instructions

VDO

VDO DLD Wide Range II installation instructions

weBoost Drive Reach installation guide

weBoost

weBoost Drive Reach installation guide

Brodit ProClip 833995 manual

Brodit

Brodit ProClip 833995 manual

UMBRA RIMORCHI 31101 manual

UMBRA RIMORCHI

UMBRA RIMORCHI 31101 manual

Car-Interface TV-Free CI-TF-PCM30 manual

Car-Interface

Car-Interface TV-Free CI-TF-PCM30 manual

Overdrive SkyShield instructions

Overdrive

Overdrive SkyShield instructions

Prorack K423 Fitting instructions

Prorack

Prorack K423 Fitting instructions

Napier Sportz 57 Series installation instructions

Napier

Napier Sportz 57 Series installation instructions

Metra Electronics ACURA 99-7866 installation instructions

Metra Electronics

Metra Electronics ACURA 99-7866 installation instructions

Thule Kit 1415 instructions

Thule

Thule Kit 1415 instructions

manuals.online logo
manuals.online logoBrands
  • About & Mission
  • Contact us
  • Privacy Policy
  • Terms and Conditions

Copyright 2025 Manuals.Online. All Rights Reserved.