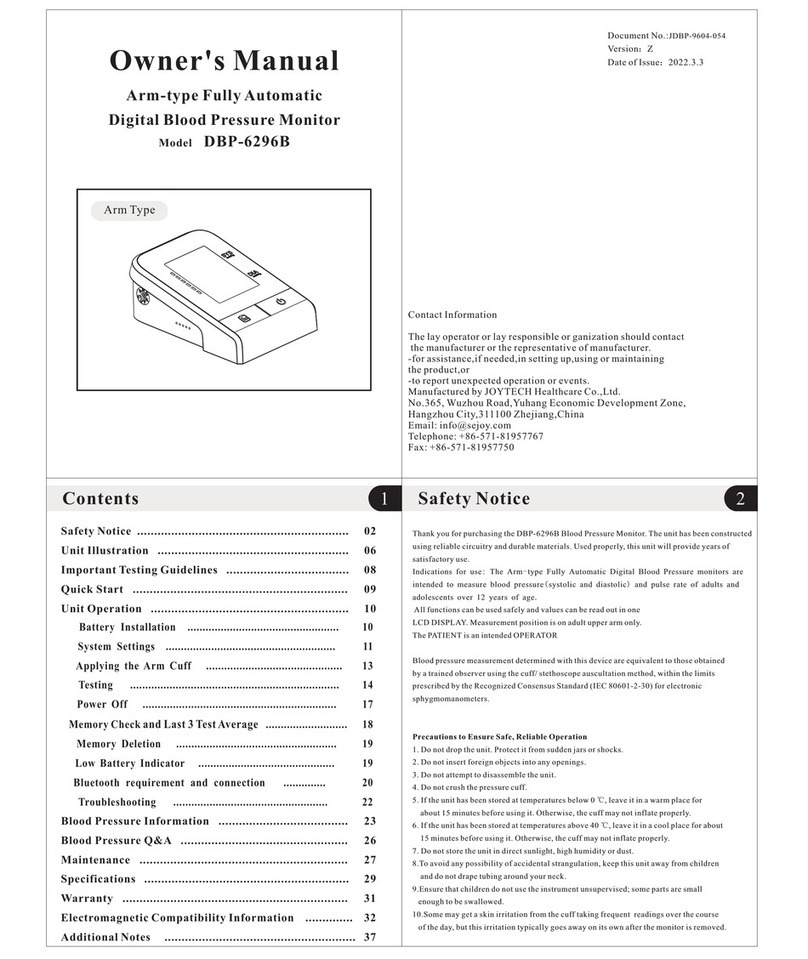
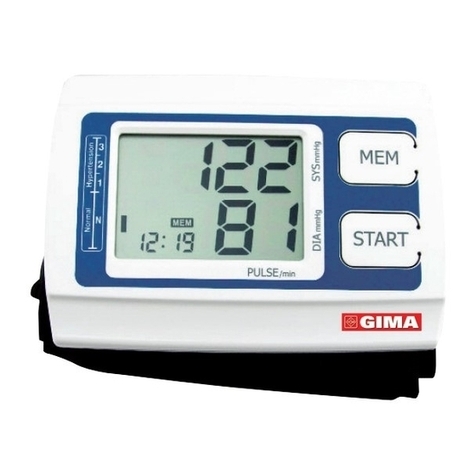
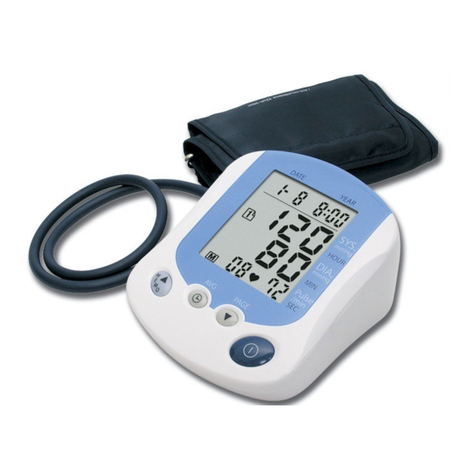
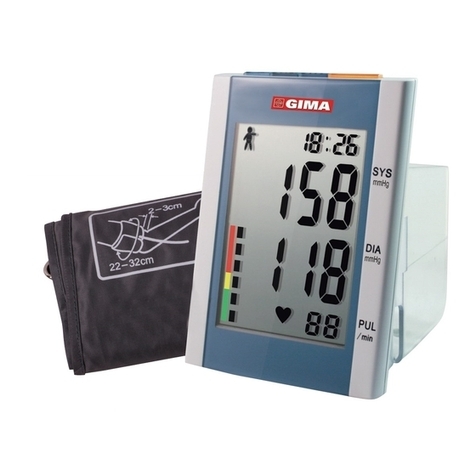
Gima 32797 Parts list manual

M32797-I-G-Rev.3-03.10
Gima S.p.A. - Via Marconi, 1 - 20060 Gessate (MI) Italy
Italia: tel. 199 400 401 - fax 199 400 403
Export: tel. +39 02 953854209/221/225 fax +39 02 95380056
gima@gimaitaly.com - export@gimaitaly.com
www.gimaitaly.com
ATTENZIONE: Gli operatori devono leggere e capire completamente questo manuale
prima di utilizzare il prodotto.
ATTENTION: The operators must carefully read and completely understand the present
manual before using the product.
MANUALE D’USO E MANUTENZIONE
USE AND MAINTENANCE BOOK
SFIGMOMANOMETRO AMBULATORIALE
CLINIC DIGITAL SPHYGMO
0476

9
7. Dal momento che nè il dispositivo nè le batterie sono normali rifiuti casalinghi, seguire per lo smaltimento
le disposizioni locali.
Smaltimento: Il prodotto non deve essere smaltito assieme agli altri rifiuti domestici. Gli
utenti devono provvedere allo smaltimento delle apparecchiature da rottamare portandole al
luogo di raccolta indicato per il riciclaggio delle apparecchiature elettriche ed elettroniche. Per
ulteriori informazioni sui luoghi di raccolta, contattare il proprio comune di residenza, il servizio
di smaltimento dei rifiuti locale o il negozio presso il quale è stato acquistato il prodotto. In
caso di smaltimento errato potrebbero venire applicate delle penali, in base alle leggi nazionali.
CONDIZIONI DI GARANZIA GIMA
Ci congratuliamo con Voi per aver acquistato un nostro prodotto.
Questo prodotto risponde a standard qualitativi elevati sia nel materiale che nella fabbricazione. La garanzia
è valida per il tempo di 12 mesi dalla data di fornitura GIMA.
Durante il periodo di validità della garanzia si provvederà alla riparazione e/o sostituzione gratuita di tutte le
parti difettose per cause di fabbricazione ben accertate, con esclusione delle spese di mano d’opera o
eventuali trasferte, trasporti e imballaggi.
Sono esclusi dalla garanzia tutti i componenti soggetti ad usura. La sostituzione o riparazione effettuata
durante il periodo di garanzia non hanno l’effetto di prolungare la durata della garanzia.
La garanzia non è valida in caso di: riparazione effettuata da personale non autorizzato o con pezzi di
ricambio non originali, avarie o vizi causati da negligenza, urti o uso improprio.
GIMA non risponde di malfunzionamenti su apparecchiature elettroniche o software derivati da agenti esterni
quali: sbalzi di tensione, campi elettromagnetici, interferenze radio, ecc.
La garanzia decade se non viene rispettato quanto sopra e se il numero di matricola (se presente) risulti
asportato, cancellato o alterato. I prodotti ritenuti difettosi devono essere resi solo e soltanto al rivenditore
presso il quale è avvenuto l’acquisto. Spedizioni inviate direttamente a GIMA verranno respinte.
SAFETY PRECAUTIONS
Babies, young children or individuals who cannot express their consent are not suitable to take blood
pressure measurement.
Individuals with serious arteriosclerosis are not suitable to take blood pressure measurement.
Blood pressure readings may change in case of pregnancy. Pregnant women can consult their doctor
before taking measurement.
Self-measurement is not medical treatment. If there are unusual values, please consult your doctor.
Handling batteries properly:
- As soon as old batteries run out, replace with new batteries.
- Do not use old and new batteries together.
- Align the polarities of batteries correctly.
- When the unit will not be used for more than 3 months, remove the batteries. Otherwise, batteries may
leak and cause damage to the unit.
Handling AC adapter properly:
- Never unplug the power cord with wet hands.
- Use only the original AC adapter designed for this unit.
ITALIANO
ENGLISH

10
QUICK START GUIDE
Avoid smoking, eating or exercising for 30 minutes before taking
measurement
1. Sit upright in a chair with your both feet on the floor.
2. Remove tight fitting clothing from you upper arm and thick clothing.
3. Pull on the end of the cuff until it wraps securely around your upper
arm. Place your arm on a table so that the cuff will be at the same level
as your heart.
4. Press the “ON/OFF” button to turn on the unit. Then
press the “START” button. The cuff will automatically
inflate and the measurement will start.
5. When the measurement is complete, the cuff will
automatically deflate and your systolic and diastolic
pressure values and pulse rate will display.
FEATURES
Irregular Heartbeat Detector
Blood Pressure Mode and Clock Mode
4 User / 396 Total Memory
4 Alarm Clock Settings
5 Mode Averaging Function – Hour, Day,
Week, Month, and Overall
WHO Blood Pressure Indicator
Auto-off Power Saving Feature
Operated by 4 AA batteries (AC Adapter
optional)
PACKAGE CONTENTS
ENGLISH

11
PREPARATION
2.1 Battery Installation
1. Pull and lift on the lock to remove the battery cover.
2. Insert 4 AA batteries with the polarities in correct direction.
3. Replace the battery cover. Press it lightly until the lock securely clicks into
place.
2.2 Connect AC Adaptor (Optional)
If you have the AC 6V adaptor, plug it into the AC adaptor jack at the
top of the device. Remove batteries when using the AC adaptor.
2.3 Date & Time Setting
- Set the correct date and time before taking a measurement.
- Date and time should be reset after replacing new batteries.
1. Press and hold the “ ” button for a few seconds until the Year display flashes.
2. Press the “ ” or “ ” button to select the current year.
3. Press the “ ” button to confirm Year Setting.
4. Follow the same steps to set the Month, Date, Hour and Minute.
5. You can choose Clock Function “ON” or “OFF” while the monitor is not in use. Press “ ” or
“” button to select. Press the “ ” button to confirm.
Noted: If you select Clock Function “ON”, you will continue at the Alarm Setting section. Otherwise, setting
will end.
2.4 Alarm Setting
- You will not be able to set alarm clock if Clock Function is set to “OFF”.
- You can set a maximum of 4 alarms.
6. To disable Alarm, Press the “ ” or “ ” button to select “OFF” and press the “ ” button
to confirm.
7. To set 1st Alarm, Press the “ ” or “ ” button to select “ON”. Press the “ ” button to confirm.
8. When Hour digit flashes, press the “ ” or “ ” button to select Hour. Press the “ ” button
to confirm.
ENGLISH

12
9. When Minute digit flashes, press the “ ” or “ ” button to select Minute. Press the “ ”
button to confirm.
10. Follow the same steps to set the 2nd, 3rd, and 4th Alarm
- Press the “ ” button anytime during clock setting/alarm setting to start over if an error occurs.
- Each alarm clock lasts 45 seconds, or you can turn it off by pressing the “ ” button.
TAKING MEASUREMENT
Note: Avoid smoking, eating or exercising for 30 minutes before taking measurement.
- Do not move or talk during measurement.
- Measurement can be taken on either arm.
3.1 Sitting Correctly
1. Relax
2. Sit upright in a chair with your both feet on the floor.
3. Remove tight fitting clothing from you upper arm and thick clothing. Do not roll up your sleeve if it is too
tight.
4. Place your arm on a table so that the cuff will be at the same level as your heart.
3.2 Applying the Arm Cuff
1. Place your elbow on a table and palm facing upward, and wrap the arm cuff
around the upper left arm.
2. Pull on the end of the cuff until it wraps securely around your upper arm. Do not
over tighten the cuff. Allow 1-2 cm or ½ inch between the bottom of the cuff and
your elbow joint.
3. Make sure the cuff is at the same level as your heart.
3.3 User Setting
This unit allows a maximum of 4 users to store measurement records in different User Pages.
Press “ ” button to switch between User Page 1, 2, 3 and 4.
3.4 Taking Measurement
1. Press the “ ” button to turn on the unit. Then press the “START” button. The cuff will automatically
inflate and the measurement will start.
2. When the measurement is complete, the cuff will automatically deflate and your systolic and diastolic
pressure values and pulse rate will display.
3. Remove the arm cuff and take note of your measurement results.
Note:You can press the “ ” button to stop measurement at any time.
3.5 Heartbeat Readings
Besides Systolic and Diastolic values, Pulse will also be displayed after a measurement
Irregular Heartbeat
This unit has a unique feature that alerts user of irregular heartbeat detection during
measurement.
Note: An irregular heartbeat is defined as a heartbeat rhythm that has a variation of more
than 25% from the average rhythm detected during measurement.
If such irregular rhythm occurs twice or more during the same measurement, the display
screen will show the pulse value and “IH” symbol alternately.
Example: (90 / IH)
Note:Please consult your doctor if irregular heartbeat occurs often.
ENGLISH

13
Regular but Below Normal Heartbeat
If the monitor detects a pulse rate below 60 beats per minute during measurement, the
monitor will display the pulse value and “LO” symbol alternately.
Example: (58 / LO)
Regular but Above Normal Heartbeat
If the monitor detects a pulse rate above 100 beats per minute during measurement, the
monitor will display the pulse value and “HI” symbol alternately.
Example: (102 / HI)
3.6 Retrieving Data via PC (optional)
1. Install PC-link software to your computer. It suits for
window XP or later.
2. Connect USB cable to your computer and blood
pressure monitor.
3. Lauch the PC-link software on your computer.
4. Input New User information like name, sex, date of birth by
pressing “Add User” icon.
5. Double-click the user name.
6. Turn on the blood pressure monitor. Choose Page “1” by press
the “ ” button.
7. Press the “transfer data” button on the
software.
ENGLISH

14
8. On the unit, press “ ” and “ ” two buttons at the
same time without release till “PC” word is shown on the
screen.
9. You could display the data in graphic chart in different
date (morning, daytime, evening, average) and different
time (yearly, monthly, weekly, custom).
10. You could save the data and print the data.
3.7 WHO Light Indicator
This unit features a 6-color LED light indicator to display blood pressure level in accordance with the WHO
(World Health Organization) classification.
Example: If your measurement reading is 122/75, the LED light will display the color in blue.
MEMORY FUNCTIONS
After measurement, the last set of measured values will be saved automatically after measurement when
the unit is turned off by pressing “ ” button or by automatic power-off after 3 minutes.
4.1 View Past Readings
1. Press the “ ” button to enter memory function.
2. If the User Page is not what you want to view, press the “ ” button to select.
3. Press the “ ” button to display the next sets of values. Past readings are displayed from the most
recent to the oldest.
4. This can stored up to 99 sets of past readings for each user (4 x 99).
4.2 View Average Readings
1. Press the “ ” button to enter Average function.
2. If the User Page is not what you want to view, press the “ ” button to select.
3. Press the “ ” button to view different Average Values. 5 different Average Values are available:
WHO Classification Color
Optimal Blue
Normal Sky Blue
High-normal Green
Mild hypertension Purple
Moderate hypertension Yellow
Severe hypertension Red
ENGLISH

15
Symbol on Display Average Values of
1 h One Hour
1 d One Day
7 d One Week
30 d One Month
ALL All Readings
4.3 Delete Past Readings
User can delete all the past readings stored in each User Page.
1. Press the “ ” button to select the User Page you want to delete.
2. Press and hold the “ ” & “ ” button simultaneously for 5 seconds. Symbol of “ALL EE” will
be displayed and all past readings stored in that User Page will be deleted.
TROUBLESHOOTING
SPECIFICATIONS
Model No. 32797
Measurement Method Oscillometric
Measurement Range Pressure: 20 – 280 mmHg
Pulse Rate: 40 – 195 beats/min
Accuracy Pressure: +/- 3 mmHg
Pulse Rate: +/- 5%
Inflation Pump driven
Pressure Detection Semi-conductor
Power Supply 4 x AA batteries or AC/DC adaptor
Auto Power Off 3 minutes after last operation
Storage Environment -20°C to 60°C, 10% to 95% RH
Operation Environment 10°C to 40°C, 30% to 85% RH
External Dimensions 195 (L) x 126(W) x 62 (H) mm
Net Weight 380g (batteries excluded)
Cuff Dimensions For arm circumference of 22-34 cm (Special size to be ordered separately)
Package Content Cuff, Instruction Manual, Battery Set, Warranty Card
Note: Subject to modification without prior notice.
ENGLISH
PROBLEM
No display when you
press the Power/Start
button
“Err P” displayed
“Err 1” displayed
“Err 2” displayed
“Err 3” displayed
CAUSE
Have the batteries run out?
Are the battery polarities wrong?
Fail to inflate
Deflate too rapidly
Movement during measurement
Signal interference
Incorrect results
SOLUTION
Replace new batteries.
Re-align batteries in correct polarities.
Check if the cuff is properly
connected.
Replace the air tube if it is broken.
Return for servicing.
Do not move during measurement.
Remove interfering source e.g. mobile
phones, magnets.
Measure again.

16
STORAGE & MAINTENANCE
Keep away the unit from direct sunlight, extreme temperatures, humidity or moisture.
Use a dry, soft cloth to clean the unit, or if desired, use a cloth lightly dampened with water.
Do not use alcohol, benzene, thinner or other volatile liquids to clean the unit.
Do not wash or expose the arm cuff to liquid.
Remove batteries from the unit when it will not be used for more than 3 months.
Disposal: The product must not be disposed of along with other domestic waste. The users
must dispose of this equipment by bringing it to a specific recycling point for electric and
electronic equipment.
For further information on recycling points contact the local authorities, the local recycling
center or the shop where the product was purchased. If the equipment is not disposed of
correctly, fines or penalties may be applied in accordance with the national legislation and
regulations.
GIMA WARRANTY CONDITIONS
Congratulations for purchasing a GIMA product.
This product meets high qualitative standards both as regards the material and the production. The warranty
is valid for 12 months from the date of supply of GIMA.
During the period of validity of the warranty, GIMA will repair and/or replace free of charge all the defected
parts due to production reasons. Labor costs and personnel traveling expenses and packaging not included.
All components subject to wear are not included in the warranty.
The repair or replacement performed during the warranty period shall not extend the warranty.
The warranty is void in the following cases: repairs performed by unauthorized personnel or with non-original
spare parts, defects caused by negligence or incorrect use.
GIMA cannot be held responsible for malfunctioning on electronic devices or software due to outside agents
such as: voltage changes, electro-magnetic fields, radio interferences, etc.
The warranty is void if the above regulations are not observed and if the serial code (if available) has been
removed, cancelled or changed.
The defected products must be returned only to the dealer the product was purchased from. Products sent
to GIMA will be rejected.
ENGLISH
Table of contents
Other Gima Blood Pressure Monitor manuals