manuals.online logo
Brands
  1. Home
  2. •
  3. Brands
  4. •
  5. Havis
  6. •
  7. Automobile Accessories
  8. •
  9. Havis C-DMM-3014 User manual

Havis C-DMM-3014 User manual

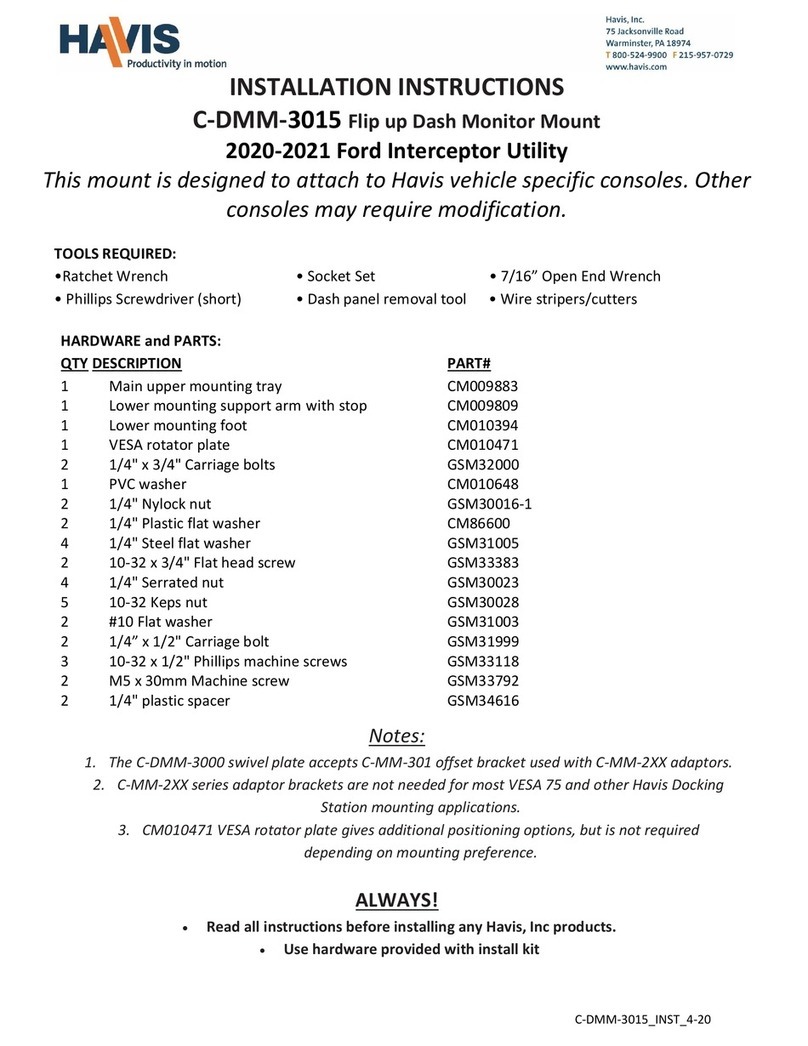
C-DMM-3014_INST_4-20
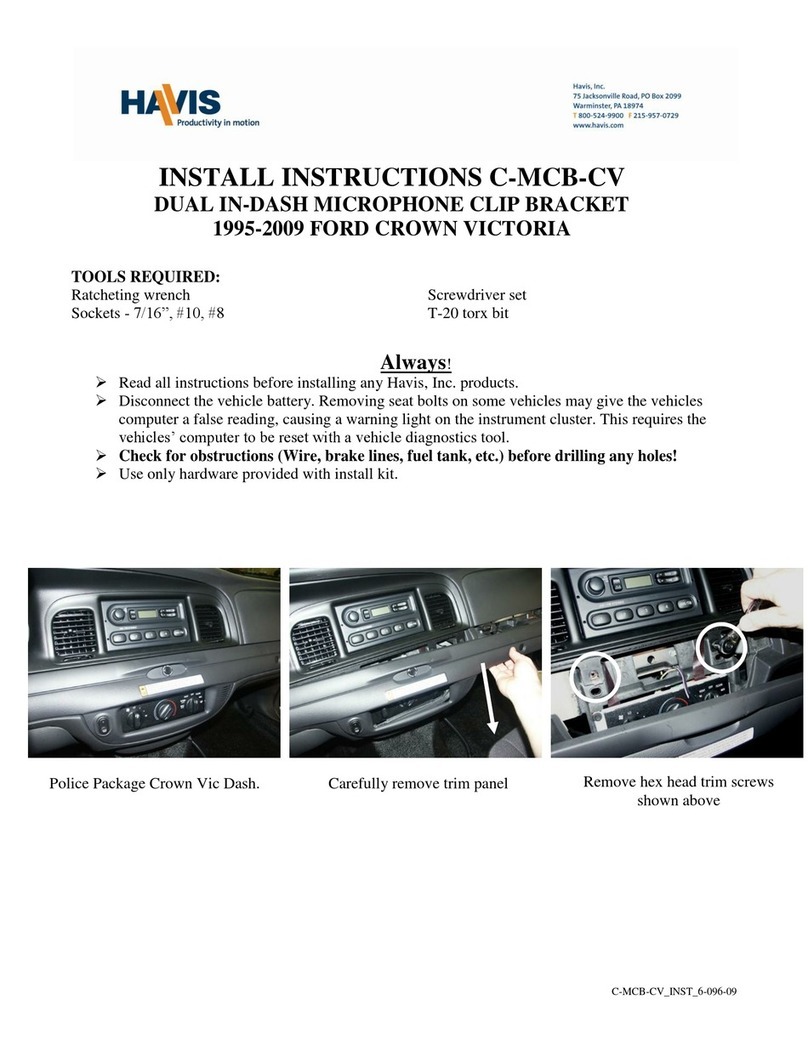
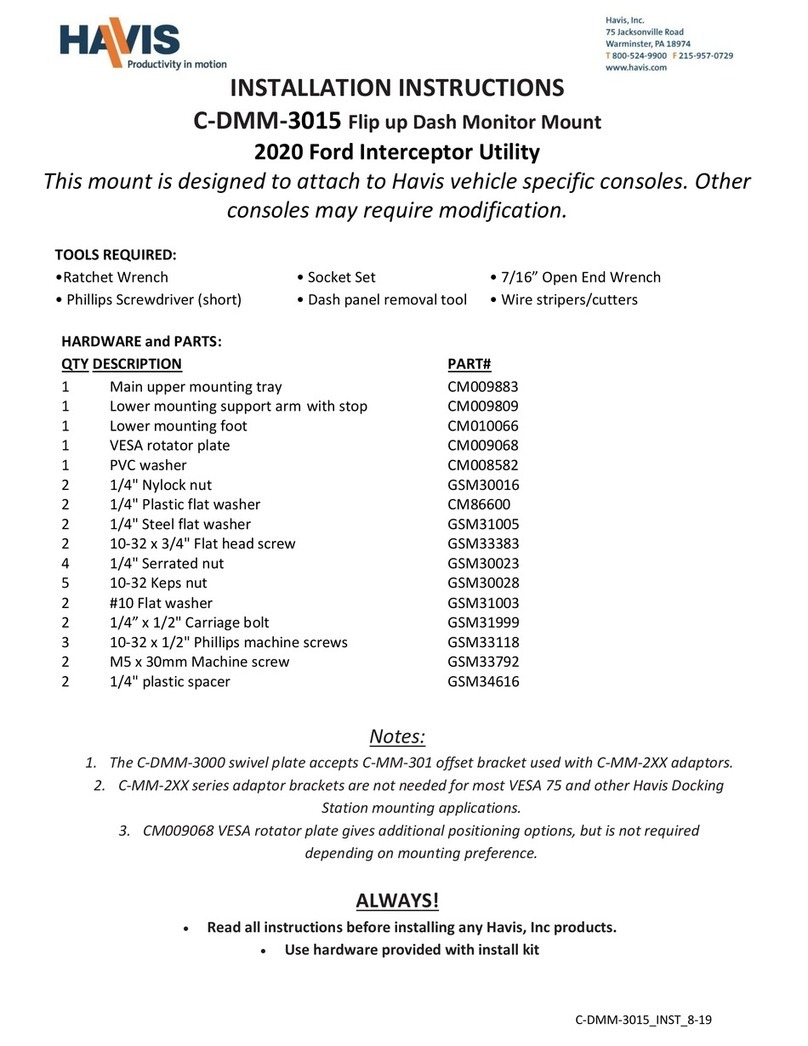
TOOLS REQUIRED:
•Ratchet Wrench • Socket Set • 7/16” Open End Wrench
• Phillips Screwdriver (short) • Dash panel removal tool • Wire stripers/cutters
Notes:
1. The C-DMM-3000 swivel plate accepts C-MM-301 offset bracket used with C-MM-2XX adaptors.
2. C-MM-2XX series adaptor brackets are not needed for most VESA 75 and other Havis Docking
Station mounting applications.
3. CM010471 VESA rotator plate gives additional positioning options, but is not required
depending on mounting preference.
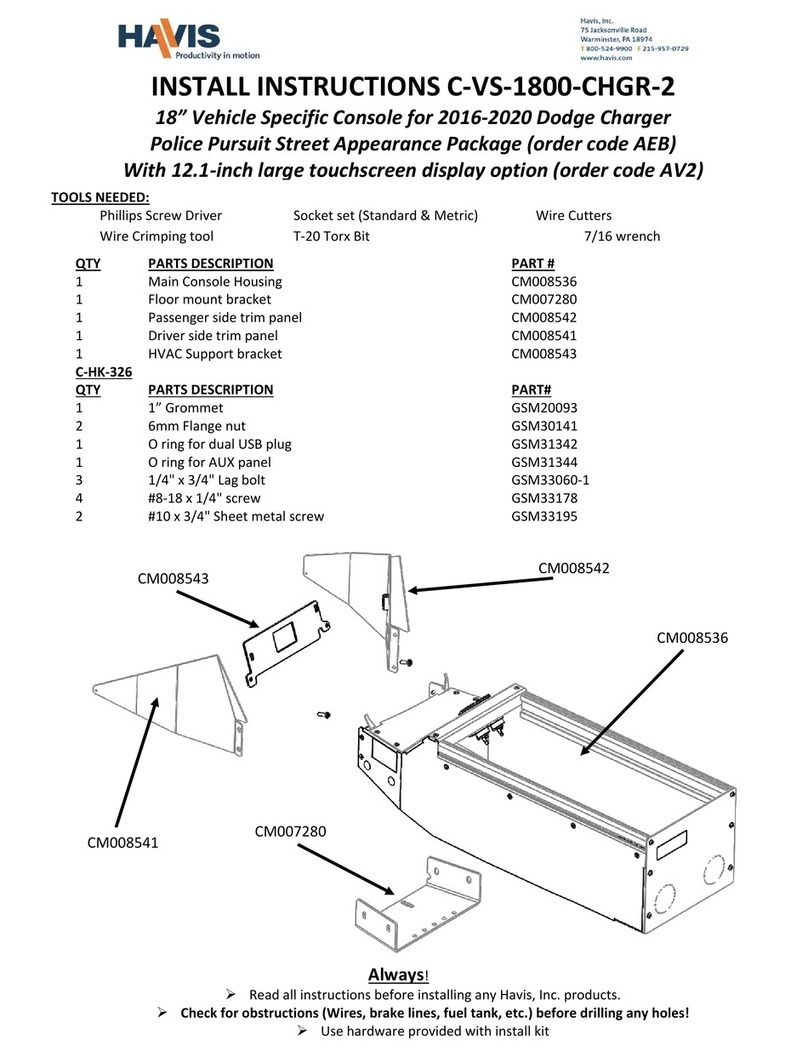
ALWAYS!
 Read all instructions before installing any Havis, Inc products.
 Use hardware provided with install kit
HARDWARE and PARTS:
QTY DESCRIPTION PART#
1 Driver upper mount bracket CM009702
1 Passenger upper mount bracket CM009701
1 Passenger lower mount bracket CM009704
1 Top clamp bracket CM009703
1 VESA rotator plate CM010471
2 1/4" x 3/4" Carriage bolts GSM32000
1 PVC washer CM010648
2 1/4" Nylock nut GSM30016-1
2 1/4" Plastic flat washer CM86600
2 1/4" Steel flat washer GSM31005
6 10-32 x 1/2" Phillips pan head machine screw GSM33118
6 #10 flat washer GSM31003
1 10-32 Keps nut GSM30028
INSTALLATION
INSTRUCTIONS
C-DMM-3014 Flip up Dash Monitor Mount
2019 - 2021 Ford Ranger Pickup Truck (All Models)
C-DMM-3014_INST_4-20
CM009702
Driver side upper
mount bracket
CM009701
Passenger side
upper mount
bracket
CM010471
VESA rotator
plate
CM010648
PVC washer
CM86600
1/4" Plastic washer
GSM31005
1/4" Steel washer
GSM30016-1
1/4" Nylock nut
CM009703
Top clamp
bracket
GSM33118 10-32 x 1/2" screw
GSM31003 # 10 flat washer
GSM30028 10-32 Keps nut
C-DMM-3014
Assembly
CM009704
Passenger side
lower mount
bracket
Frame /Tray and
hinge mount
assembly
GSM33118
10-32 x 1/2" screw
GSM31003 # 10 flat
washer
GSM33118 10-32 x 1/2" screw
GSM31003 # 10 flat washer
GSM32000 – 1/4"x
3/4"Carraige bolt
C-DMM-3014_INST_4-20
Carefully unsnap and remove the center top dash
tray with panel removal tool.
Temporarily remove upper driver side OEM
display mount screw (7mm socket)
Carefully unsnap and remove lower dash trim.
Carefully unsnap and remove passenger side
vent and trim assembly.
2019 Ford Ranger center instrument panel
prior to installation.
Carefully unsnap and remove driver side vent
and trim next to steering column.
C-DMM-3014_INST_4-20
Slide top clamp bracket into the tray opening
underneath the plastic cross support.
NOTE: The bent flange of bracket must be
towards REAR of vehicle.
Temporarily remove upper passenger side OEM
display mount screw (7mm socket)
Reattach OEM display and upper brackets
with previously removed OEM mount screws.
(7mm socket)
The top clamp bracket slotted holes in bent flange
should line up with upper mount bracket threaded
holes. The clamp bracket forward threaded hole should
line up with
the cross support center square hole.
Slide passenger side upper mount bracket (end with
no threaded hole) down from tray opening and
position bracket behind passenger side OEM display
mount. Do the same for driver side.
Attach the top clamp bracket to upper mount
brackets with 10-32 x 1/2" Phillips machine screws
and #10 flat washers.
C-DMM-3014_INST_4-20
View of passenger side lower mount bracket coming
out through small gap underneath vent trim.
Remove lower passenger side OEM display mount
screw and attach passenger side lower mount bracket
with OEM screw. (7mm socket)
Carefully reattach all dash trim panels.
Attach frame / tray assembly to lower bracket
with 10-32 x 1/2" Phillips machine screw #10 flat
washer and 10-32 nut.
Nut goes on the inside of frame.
Place frame / tray and hinge mount assembly
on to dash tray opening and align mount
holes with top clamp bracket holes.
Attach frame / tray assembly to top clamp
bracket with 10-32 x 1/2" Phillips machine
screws and #10 flat washers.
C-DMM-3014_INST_4-20
Main frame assembly is now in place.
Double check all hardware and make sure
trim is properly attached.
Route wiring
along the side of the DMM flip up frame using
existing holes and wire ties.
Test up / down and side to side motion to confirm wires have
adequate slack and strain relief.
Check and adjust positioning as desired.
Test for proper latching in closed position.
Determine desired position for your specific computer
and attach to DMM swivel plate using 1/4"x 3/4” carriage
bolts, PVC spacer, nylon washers, steel washers, and
nylock nuts. Tighten so that the dock rotates smoothly.
Push up latch to
release and lift
Dock the computer and test.
Installation is now complete.
Position VESA plate on back of Device as desired.
Attach VESA plate with carriage bolts to the back
of the dock. The gray PVC washer will go
between this bracket and the DMM swivel plate.

Other Havis Automobile Accessories manuals
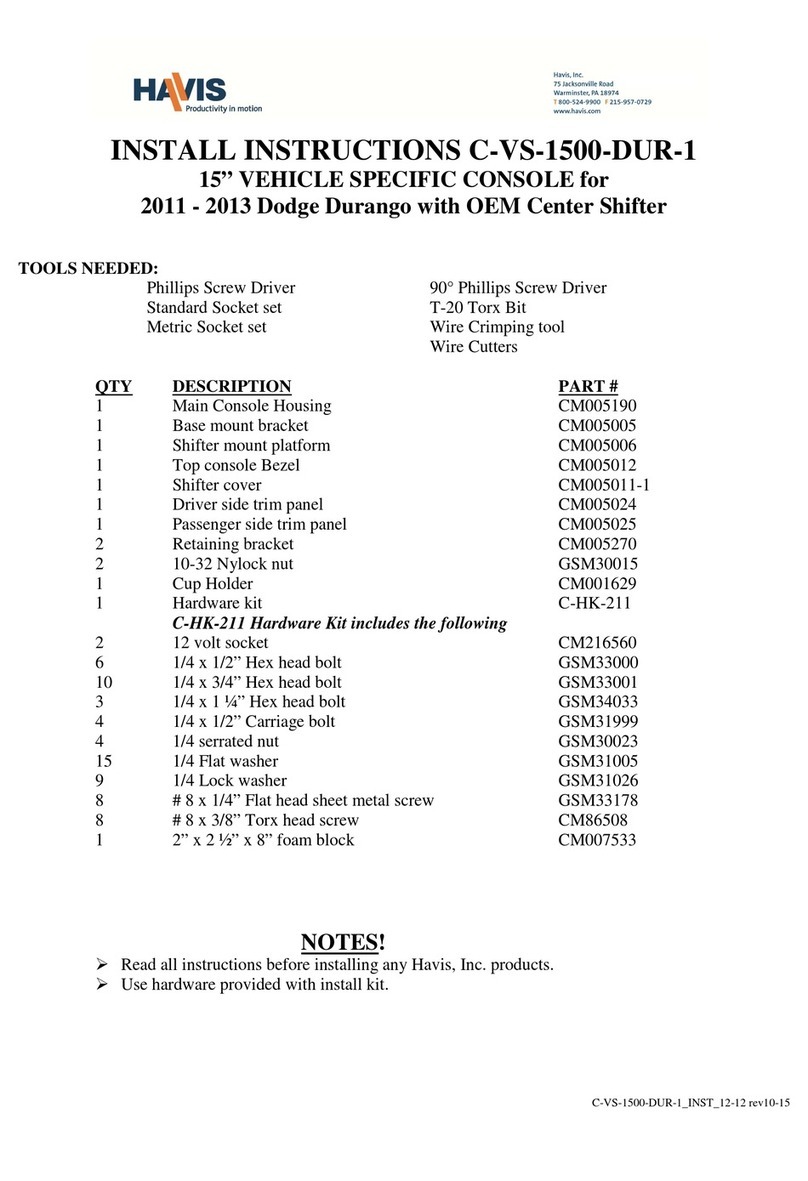
Havis C-VS-1500-DUR-1 Configuration guide

Havis

Havis C-VS-1500-DUR-1 Configuration guide

Havis C-DMM-3015 User manual

Havis

Havis C-DMM-3015 User manual

Havis C-TMW-F250-02 Configuration guide

Havis

Havis C-TMW-F250-02 Configuration guide

Havis C-VS-1800-CHGR-2 Configuration guide

Havis

Havis C-VS-1800-CHGR-2 Configuration guide

Havis C-VS-1508-INUT User manual

Havis

Havis C-VS-1508-INUT User manual

Havis C-VS-1800-ESC-1 Configuration guide

Havis

Havis C-VS-1800-ESC-1 Configuration guide

Havis 1996-2008 Crown Victoria Driver and Passenger - Trunk Side Mounts... Configuration guide

Havis

Havis 1996-2008 Crown Victoria Driver and Passenger - Trunk Side Mounts... Configuration guide

Havis C-TMW-CV-01 Configuration guide

Havis

Havis C-TMW-CV-01 Configuration guide

Havis C-DMM-3004 User manual

Havis

Havis C-DMM-3004 User manual

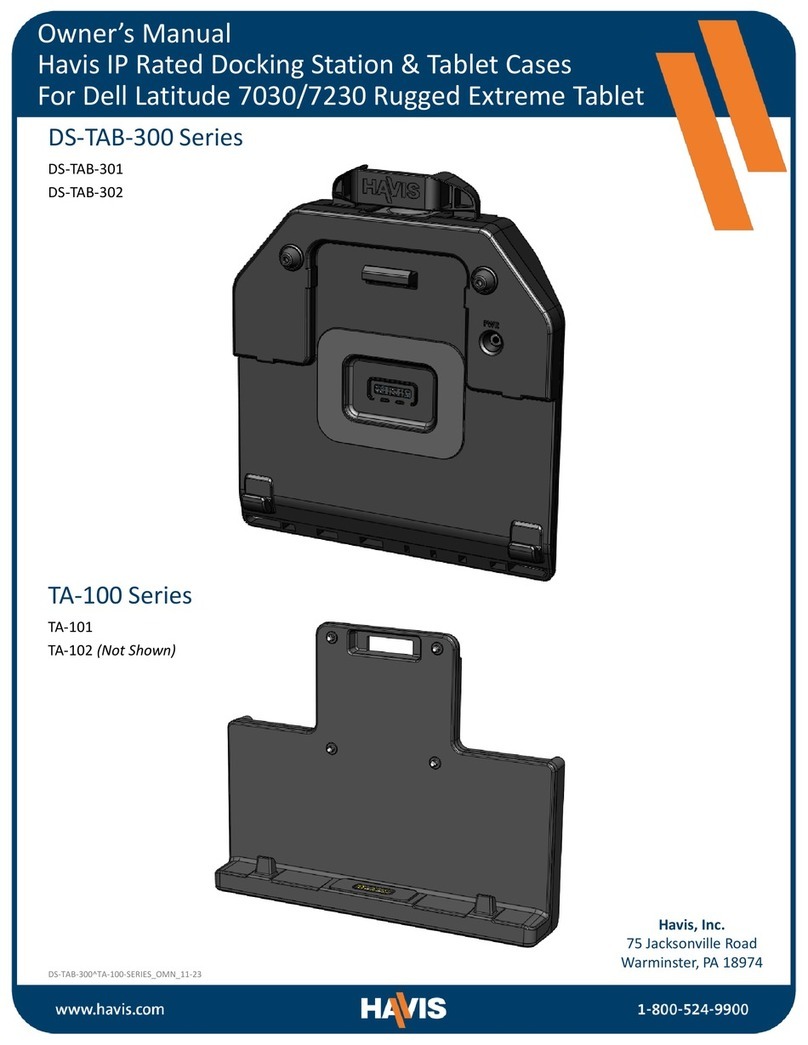
Havis DS-TAB-300 Series User manual

Havis

Havis DS-TAB-300 Series User manual

Havis C-TMW-ECO-01 Configuration guide

Havis

Havis C-TMW-ECO-01 Configuration guide

Havis DS-GTC-210 Series User manual

Havis

Havis DS-GTC-210 Series User manual

Havis PT-A-502 Configuration guide

Havis

Havis PT-A-502 Configuration guide

Havis C-TCB-7 Configuration guide

Havis

Havis C-TCB-7 Configuration guide

Havis C-MCB-CV Configuration guide

Havis

Havis C-MCB-CV Configuration guide
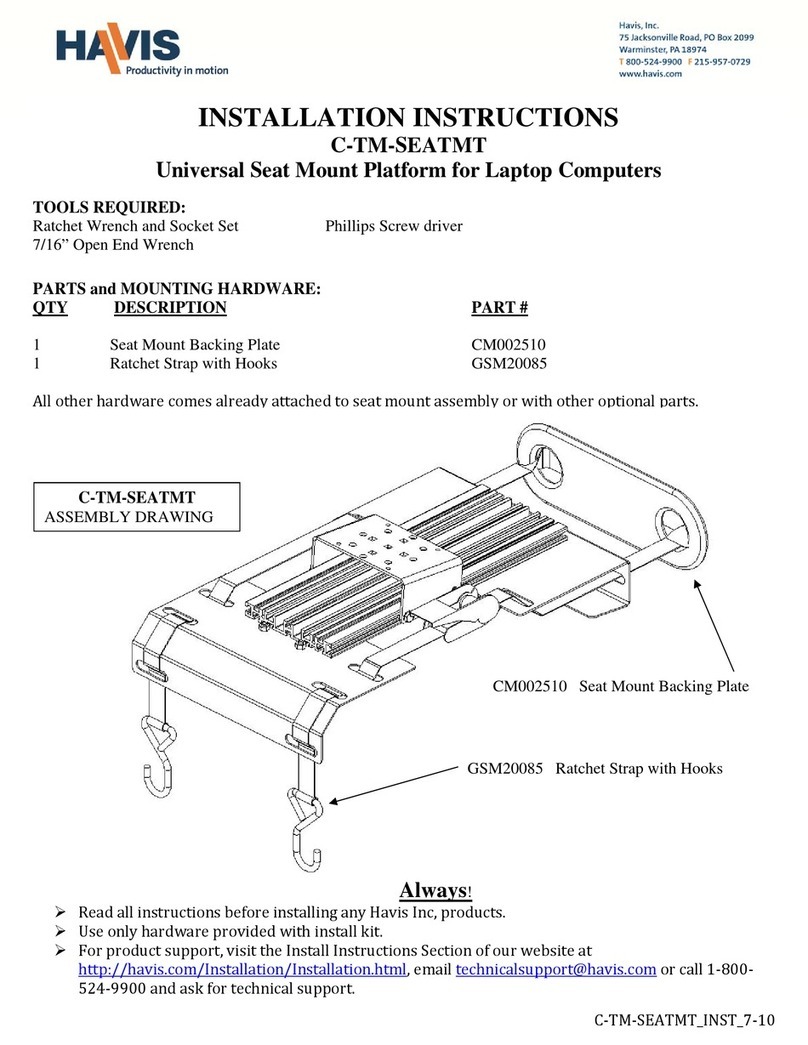
Havis C-DMM-2003 Configuration guide

Havis

Havis C-DMM-2003 Configuration guide

Havis C-VS-1500-TAH-1 Configuration guide

Havis

Havis C-VS-1500-TAH-1 Configuration guide

Havis C-VS-2000-DUR-1 User manual

Havis

Havis C-VS-2000-DUR-1 User manual
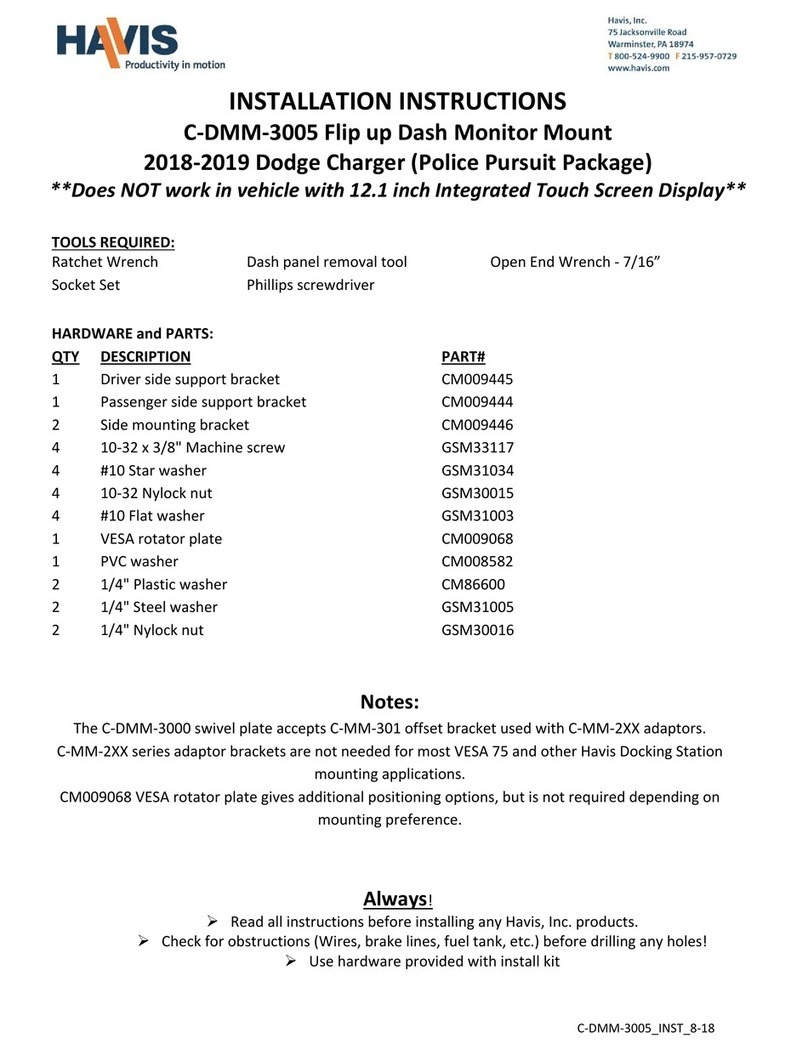
Havis C-DMM-3005 User manual

Havis

Havis C-DMM-3005 User manual

Havis C-DMM-3015 User manual

Havis

Havis C-DMM-3015 User manual

Havis CUP2-1001 User manual

Havis

Havis CUP2-1001 User manual

Havis C-DMM-2005 Configuration guide

Havis

Havis C-DMM-2005 Configuration guide

Havis C-DMM-3006 User manual

Havis

Havis C-DMM-3006 User manual

Havis C-DMM-3008 User manual

Havis

Havis C-DMM-3008 User manual

Popular Automobile Accessories manuals by other brands

Whispbar K481W Fitting instructions

Whispbar

Whispbar K481W Fitting instructions

SpeedTech Lights K-FORCE TOW 55 instruction manual

SpeedTech Lights

SpeedTech Lights K-FORCE TOW 55 instruction manual

Quattro QUATTRO500 Electronics installation guide, user information and troubleshooting

Quattro

Quattro QUATTRO500 Electronics installation guide, user information and troubleshooting

Havis-Shields 2002-2005 Ford Explorer C-VS-700-EXPL Install instructions

Havis-Shields

Havis-Shields 2002-2005 Ford Explorer C-VS-700-EXPL Install instructions

Boyo VTW73M user manual

Boyo

Boyo VTW73M user manual

FVC Safari Rack 148 MR installation guide

FVC

FVC Safari Rack 148 MR installation guide

Directed 403.VW10 installation guide

Directed

Directed 403.VW10 installation guide

Motoalliance MA11765 quick start guide

Motoalliance

Motoalliance MA11765 quick start guide

Whispbar K112W Fitting instructions

Whispbar

Whispbar K112W Fitting instructions

Blue Ox BX2177 installation instructions

Blue Ox

Blue Ox BX2177 installation instructions

Gatorback Mudflaps GCR53F Mounting Diagram & Instructions

Gatorback Mudflaps

Gatorback Mudflaps GCR53F Mounting Diagram & Instructions

Prorack PR3302 manual

Prorack

Prorack PR3302 manual

Luverne 330750 installation instructions

Luverne

Luverne 330750 installation instructions

Cartek Speed Alert installation guide

Cartek

Cartek Speed Alert installation guide

Whispbar K728W Fitting instructions

Whispbar

Whispbar K728W Fitting instructions

Kargo Master 30070 installation guide

Kargo Master

Kargo Master 30070 installation guide

Cruz Alu-Bike Assembly instructions

Cruz

Cruz Alu-Bike Assembly instructions

MTD 490-900-0067 Operator's manual

MTD

MTD 490-900-0067 Operator's manual

manuals.online logo
manuals.online logoBrands
  • About & Mission
  • Contact us
  • Privacy Policy
  • Terms and Conditions

Copyright 2025 Manuals.Online. All Rights Reserved.