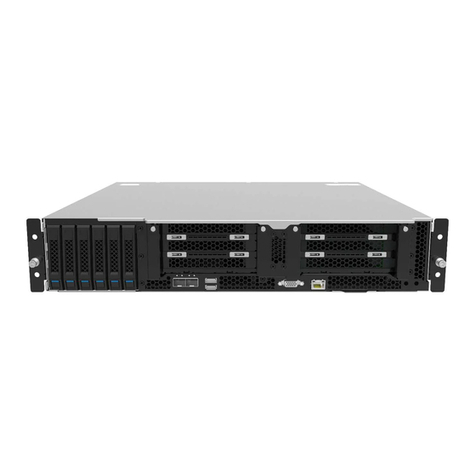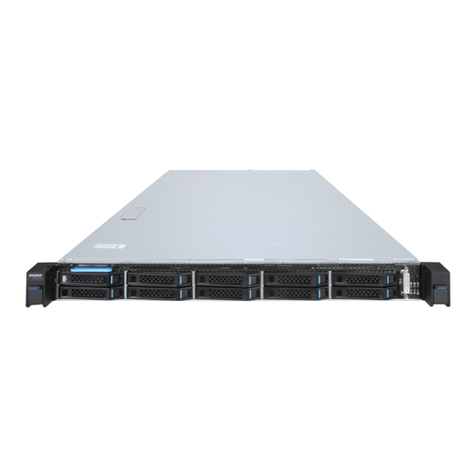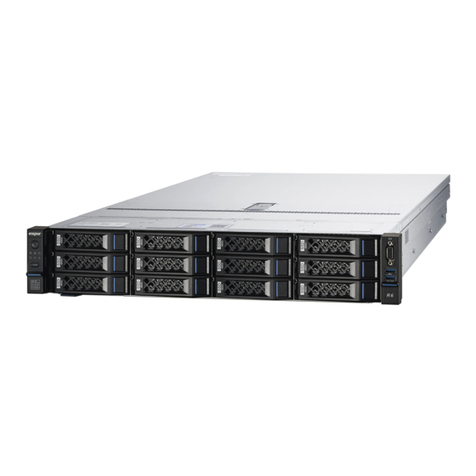
Align the pins on the front bracket to the front of the rack. Press the locking
latch on the front bracket as indicated by arrow , and then insert the pins
as indicated by arrow until the pins are fully engaged.
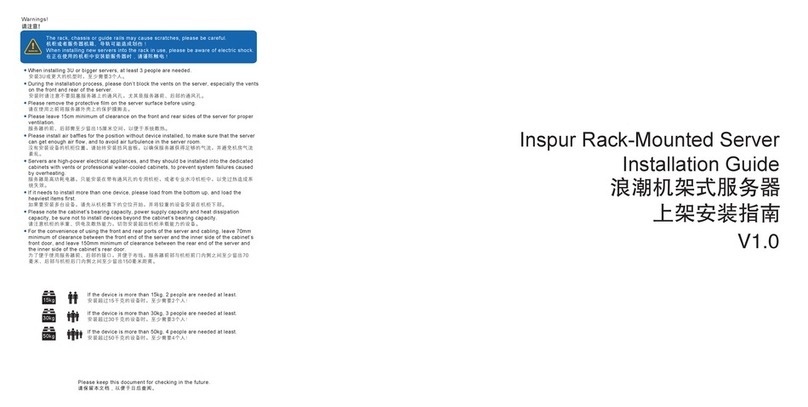
Rack-Mounted Server Installation Guide
V1.0
Rail-Kit Contents
Installing the Rails to the Server
Fully extend the inner rail until it clicks into a locked position. Repeat the
same step to extend the other inner rail.
Locate the front standoffs on
both sides of the server and
lower them into the J-slots on
the inner rails. Gently place the
server downward from the rear
to the front until all the
standoffs are firmly seated in
the J-slots.
Open both handles on the front
of the server, and then tighten
the two thumb screws to secure
the server in place.
Pull up the locking tabs on both
sides of the inner rails
simultaneously, and then slide
the server carefully all the way
into the rack.
Removing the Rails from the Server
Removing the Rails from the Rack
Align the pins on the rear bracket to the desired position of the back of the
rack. Press the locking latch as indicated by arrow , and then insert the
pins as indicated by arrow until the pins are fully engaged.
Repeat Step 1 and Step 2 for the other rail-kit.
NOTE: The front end and rear end of the rail, and the two rails MUST be
installed at the same height.
Open both handles on the front of the server, and then loosen the two
thumb screws.
Carefully slide the server out and pull
the tabs forward simultaneously to
release the server from the rail.
Pull up the locking tabs on both sides of the inner rails simultaneously,
and then slide the rails back.
Follow the preceding steps to remove the rails from the rack.
Middle Rail
Inner Rail
Back-Sliding Rail
Outer Rail
Front Bracket
Rear Bracket
Locking
Latch
Locking
Latch
Gently lift up and remove the server from the front to the rear. Before
removing the server from the rails, make sure that the eight standoffs on
the server are disengaged from the J-slots.
Rail 1
