manuals.online logo
Brands
  1. Home
  2. •
  3. Brands
  4. •
  5. Jacuzzi
  6. •
  7. Bathroom Fixture
  8. •
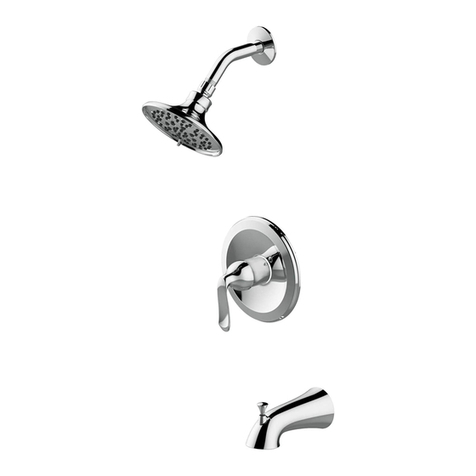
  9. Jacuzzi 67661-W5104 User manual

Jacuzzi 67661-W5104 User manual

1
Questions, problems, missing parts? Before
returning to your retailer, call our customer service
department at 1-800-288-4002, 6 a.m. - 5 p.m.,PT
and 9 a.m. - 8 p.m.,ET, Monday - Friday.
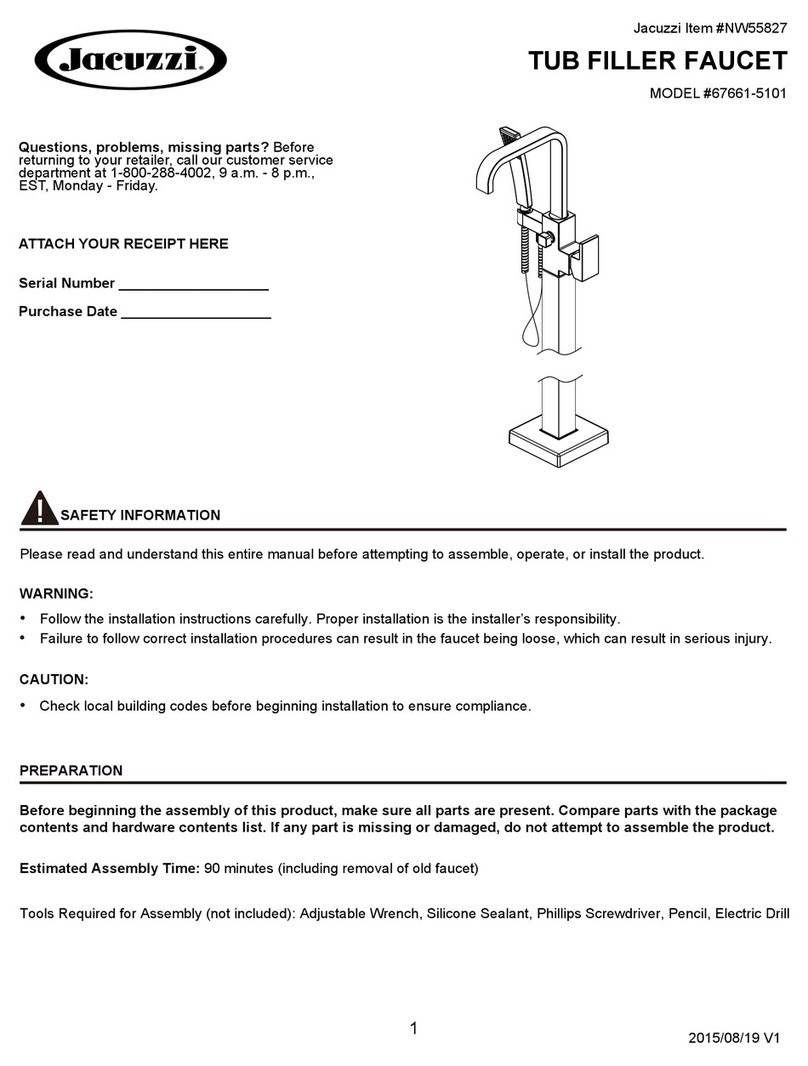
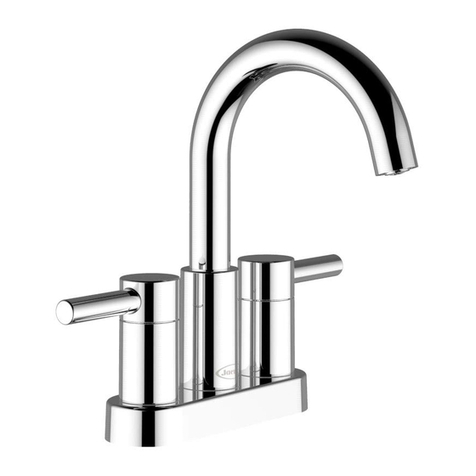
TUB FILLER FAUCET
Jacuzzi Item # NW 55826 / NW 55827
MODEL # 67661-W5104 / 67661-W5101
ATTACH YOUR RECEIPT HERE
Serial Number ___________________
Purchase Date ___________________
2016/05/13 V1
SAFETY INFORMATION
Please read and understand this entire manual before attempting to assemble, operate, or install the product.
WARNING:
• Follow the installation instructions carefully. Proper installation is the installer’s responsibility.
• Failure to follow correct installation procedures can result in the faucet being loose, which can result in serious injury.
CAUTION:
• Check local building codes before beginning installation to ensure compliance.
PREPARATION
Before beginning the assembly of this product, make sure all parts are present. Compare parts with the package
contents and hardware contents list. If any part is missing or damaged, do not attempt to assemble the product.
Estimated Assembly Time: 90 minutes (including removal of old faucet)
Tools Required for Assembly (not included): Adjustable Wrench, Silicone Sealant, Phillips Screwdriver, Pencil, Electric Drill
2
ASSEMBLY INSTRUCTIONS
Loosen the set screw (1) pre-assembled to the
spout (2), rotate the spout (2) about 90° to align
handle (3), then tighten the screw.
Place the escutcheon (1) over the standpipe (2)
and then push it to the base.
23
1
2
Drill a hole min 2 1/4 in. diameter-max 2 9/16 in.
diameter in the floor with an electric drill (1). Mark
the locations for the screws with a pencil (2). Then
drill three holes 1/4 in. diameter for the screws in
the floor with an electric drill (1).
Floor
Floor
1/4 in. dia.
1
1
23
2
2
1
Attach the mixer (1) to the standpipe (2), make sure
the prongs (3) on the standpipe (2) insert into the
hole (4) of the mixer (1). Install the set screw (5) and
tighten into the standpipe (2) with hex wrench.
Note: Do not to reverse the cold and hot supply lines.
Place the assembly with the flexible supply lines (1)
through the prepared hole and then holding the
escutcheon (2), secure the standpipe (3).
Note: If mounting into wooden floor, secure the
standpipe (3) using screws (4) only (wall plugs are
not needed). If mounting into solid floor, mark the
position of holes first and then secure the standpipe
(3) using anchors (5) and screws (4). Where requried
ensure correct anchors for your floor type are used.
4
3
2
Front
Cold inlet supply line Hot inlet supply line
1
3
4
5
5
1
2
5
3
4
6
1
2
4
3
Connect one end of the shower hose (1) to the mixer
(2) and the other end to the hand shower (3). Ensure
the washer (4) is in each end for seal.
4
3
ASSEMBLY INSTRUCTIONS
CARE AND MAINTENANCE
•
and void your warranty.
The manufacturer warrants this faucet to be free from defects in workmanship and material present at time of shipment
from the factory for a limited lifetime from the date of purchase. This warranty applies only to the original purchaser. The
manufacturer agrees to correct such defects at no charge or, at our option, replace the faucet with a comparable or
superior model. To obtain warranty service, call our customer service department at 1-800-288-4002 for return
authorization and shipping instructions. You may be required to present a copy of your sales receipt as proof of purchase.
All cost of removal and reinstallation are the expressed responsibility of the purchaser. Any damage to the faucet by ac-
, are the purchaser’s
responsibility. The manufacturer assumes no responsibility whatsoever for faucet installation during the warranty period.
There is no further expressed warranty. The manufacturer disclaims any and all implied warranties. The manufacturer shall
not be liable for incidental, consequential or special damages arising at or in connection with product use or performance
rights which vary from state to state. This warranty supersedes all prior warranties.
WARRANTY
Connect the flexible supply lines (1) to the water
supplies (2).
7
1
2
Flushing and checking for leaks
Important: After installation is completed, turn on the
hot and cold water supplies. Check for leaks. Flush
the water lines for one minute. Press the pin (1) to the
bottom position, and flush water lines for one minute.
This flushes away any debris that could cause damage
to internal parts. Check for leaks. After flushing, turn
the handles all the way off to shut off the water. The
pin (1) should now be in its normal position. Re-tighten
any connections if necessary, but do not overtighten.
8
1
TROUBLESHOOTING
PROBLEM POSSIBLE CAUSE CORRECTIVE ACTION
There is a leak from under the handle
or there is a leak from aerator when
the faucet is off.
The cartridge is damaged. Remove the handle and replace the
cartridge.
Hand shower leaks or has a low flow
pattern.
Hand shower is dirty or damaged. Remove the hand shower and check
for any debris clogged at the shower
connection, check the hand shower’s
spray nozzle for any build up or debris.

4
For replacement parts, call our customer service department at
1-800-288-4002, 6 a.m. - 5 p.m., PT and 9 a.m. - 8 p.m.,ET,
Monday - Friday.
REPLACEMENT PARTS LIST
Printed in China
15
14
13
3
2
1
5
4
6
6
78910
12
6
11
2
PART DESCRIPTION PART#
1 Hand Shower RP38310*
3 Shower Hose RP38236
4 Spout assembly RP80499*
5 O-Ring RP60107
6 Set Screw RP50002
7 Cartridge RP20063
8 Bonnet RP70015
9 Cap RP80008*
10 Screw RP50049
11 Handle RP13422*
12 Index RP80390*
14 Screw RP50037
13 Escutcheon RP80500*
15 Anchor RP50036
2 Washer RP64219

This manual suits for next models

3

Other Jacuzzi Bathroom Fixture manuals

Jacuzzi PLAY Sphere TB User manual

Jacuzzi

Jacuzzi PLAY Sphere TB User manual

Jacuzzi LINK 160x70 User manual

Jacuzzi

Jacuzzi LINK 160x70 User manual

Jacuzzi SPRAY GUARD User manual

Jacuzzi

Jacuzzi SPRAY GUARD User manual

Jacuzzi flexa therma ST2 User manual

Jacuzzi

Jacuzzi flexa therma ST2 User manual

Jacuzzi SYDNEY 32 User manual

Jacuzzi

Jacuzzi SYDNEY 32 User manual

Jacuzzi Sharp User manual

Jacuzzi

Jacuzzi Sharp User manual

Jacuzzi BY82000 User manual

Jacuzzi

Jacuzzi BY82000 User manual

Jacuzzi FlexaTwin User manual

Jacuzzi

Jacuzzi FlexaTwin User manual

Jacuzzi Moove User manual

Jacuzzi

Jacuzzi Moove User manual

Jacuzzi Moove 90x70 User manual

Jacuzzi

Jacuzzi Moove 90x70 User manual

Jacuzzi JWB User manual

Jacuzzi

Jacuzzi JWB User manual

Jacuzzi THE ESSENTIALS 100x70 User manual

Jacuzzi

Jacuzzi THE ESSENTIALS 100x70 User manual

Jacuzzi 873X-1201 User manual

Jacuzzi

Jacuzzi 873X-1201 User manual

Jacuzzi 3636S User manual

Jacuzzi

Jacuzzi 3636S User manual

Jacuzzi J-Tower User manual

Jacuzzi

Jacuzzi J-Tower User manual

Jacuzzi frame 100 Parts list manual

Jacuzzi

Jacuzzi frame 100 Parts list manual

Jacuzzi BZ00000 User manual

Jacuzzi

Jacuzzi BZ00000 User manual

Jacuzzi The Essentials 100x80 User manual

Jacuzzi

Jacuzzi The Essentials 100x80 User manual

Jacuzzi 873X-5601 User manual

Jacuzzi

Jacuzzi 873X-5601 User manual

Jacuzzi MP44827 User manual

Jacuzzi

Jacuzzi MP44827 User manual

Jacuzzi 67661-X5104 User manual

Jacuzzi

Jacuzzi 67661-X5104 User manual

Jacuzzi J-DREAM II User manual

Jacuzzi

Jacuzzi J-DREAM II User manual

Jacuzzi MORPHOSIS Infinito Guide

Jacuzzi

Jacuzzi MORPHOSIS Infinito Guide

Jacuzzi 65804W-6201 User manual

Jacuzzi

Jacuzzi 65804W-6201 User manual

Popular Bathroom Fixture manuals by other brands

Pearl MADISON Robe Hook introduction

Pearl

Pearl MADISON Robe Hook introduction

Hans Grohe Verso 220 Showerpipe 27237000 Instructions for use/assembly instructions

Hans Grohe

Hans Grohe Verso 220 Showerpipe 27237000 Instructions for use/assembly instructions

newform 29391X instructions

newform

newform 29391X instructions

Glacier bay HD54112-3201 Use and care guide

Glacier bay

Glacier bay HD54112-3201 Use and care guide

Toto TBW0541 manual

Toto

Toto TBW0541 manual

Franke AQUA200P Installation and operating instructions

Franke

Franke AQUA200P Installation and operating instructions

Omnires MANHATTAN Installation and Maintenance

Omnires

Omnires MANHATTAN Installation and Maintenance

OPHARDT HYGIENE SanFER T01 quick start guide

OPHARDT HYGIENE

OPHARDT HYGIENE SanFER T01 quick start guide

KWC AVA 2.0 21.462.460.000 Installation and service manual

KWC

KWC AVA 2.0 21.462.460.000 Installation and service manual

Signature Hardware GUNTHER 953362 manual

Signature Hardware

Signature Hardware GUNTHER 953362 manual

Kohler K-1122P-H Roughing-In Guide

Kohler

Kohler K-1122P-H Roughing-In Guide

Toto YG20012R Installation and owner's manual

Toto

Toto YG20012R Installation and owner's manual

Kohler K-29233T Series installation instructions

Kohler

Kohler K-29233T Series installation instructions

Santec KLASSICA 9565KL quick start guide

Santec

Santec KLASSICA 9565KL quick start guide

HAFA 1509952 manual

HAFA

HAFA 1509952 manual

Moen 8300 Series installation guide

Moen

Moen 8300 Series installation guide

Hans Grohe Showerpipe Croma 100 27154000 Instructions for use/assembly instructions

Hans Grohe

Hans Grohe Showerpipe Croma 100 27154000 Instructions for use/assembly instructions

Danze Versa D461735 Assembly

Danze

Danze Versa D461735 Assembly

manuals.online logo
manuals.online logoBrands
  • About & Mission
  • Contact us
  • Privacy Policy
  • Terms and Conditions

Copyright 2025 Manuals.Online. All Rights Reserved.