manuals.online logo
Brands
  1. Home
  2. •
  3. Brands
  4. •
  5. Lamp
  6. •
  7. Door Opening System
  8. •
  9. Lamp AZ-GD231 User manual

Lamp AZ-GD231 User manual

2015.10  0819-2 
取付手順
上下の確認
製品の上下方向を確認してください。
木口テープの貼り付け
屑入本体の取付穴の木口に
木口テープを貼り付けて
ください。
屑入投入口の固定
〈1〉屑入本体の裏面から、本製品を取付ねじ(現場
手配)で固定してください(計6ケ所)。
〈2〉確実に固定されていることを確認してください。
蓋の開閉確認
蓋を手で奥まで開いて離し、蓋が最後までスムーズに
閉じることを確認してください。
蓋が閉まる際に手を挟まないように注意してくださ
い。蓋はゆっくりと閉まります。
蓋が閉じない場合、蓋がサイドプレートに接触してい
ないか確認してください。
穴埋めキャップの取り付け
本製品の開口部側面の穴に付属の穴埋めキャップをしっ
かりはめてください(左右計4ケ所)。
ステンレス鋼製ダンパー付屑入投入口裏取付タイプ
AZ-GD231 取付説明書
梱包内容
製品寸法図
このたびは、弊社製品をご採用いただきありがとうございます。取付作業前に本説明書をよくお読みのうえ、正しく取り付け
てください。取付後は本書をいつでも取り出せるよう保管してください。
●木口テープ
●取付ねじ
ねじの長さは取付部材に合わせて、しっかりと取り付けられる
長さをお選びください。
 推奨ねじ:なべタッピンねじ(呼び4)6本
品名 個数
屑入投入口 1
注意シール 1
穴埋めキャップ 4
取付穴加工図
本製品について
●内蔵ダンパーにより、手を離すと蓋がゆっくりと閉まる、ソフトダウン機能付屑入投入口です。
●手を挟みにくいように内部の左右にプレートを設けてあります。
穴埋めキャップ
左右4ケ所
注意シールの貼り付け
本製品の蓋前面または、屑入本体の目に付く場所に貼っ
てください。
1
2
3
4
5
6
取付ねじ
(現場手配)
用意していただくもの
安全にお使いいただくために
LAMPロゴ
蓋
上
下
穴加工図 (取付面〈裏〉から見た図)
308
234
160
234
278
102 102
198
1.5
100
230
198
24
102
156
16
24
278
102
6×φ5穴(取付穴) 取付穴位置
4×R6 以下
扉90˚開時(184.7)
扉90˚開時(22.6)
扉90˚開時(249)
0
-1
0
-1
本記号は、してはいけない行為(禁止行為)であることを告げるものです。
本記号は、必ず従っていただく内容(強制・指示)であることを告げるものです。
木口テープ
(現場手配)
注意 軽傷を負うことや、物的損害が発生するおそれがある内容を示しています。
本製品は垂直面に取り付けてご使用ください。これ以外の面に取り付けると、本来の性能が発揮できないばかりでなく、
破損などにより思わぬけがをするおそれがあります。
本製品を取り付ける場所は、十分に強度があることを確認してください。取付箇所が強度不足の場合、本製品が脱落し
てけがをするおそれがあります。
本来の目的とは異なる使用方法や、分解・改造などを行わないでください。本来の性能が発揮できないばかりではなく、
破損などにより思わぬけがをするおそれがあります。
使用温度範囲は0℃〜40℃です。
使用温度により、蓋の閉まる速度が異なります。氷点下で保管していた場合は、製品を0℃以上の室内に数時間放置し
てから使用してください。
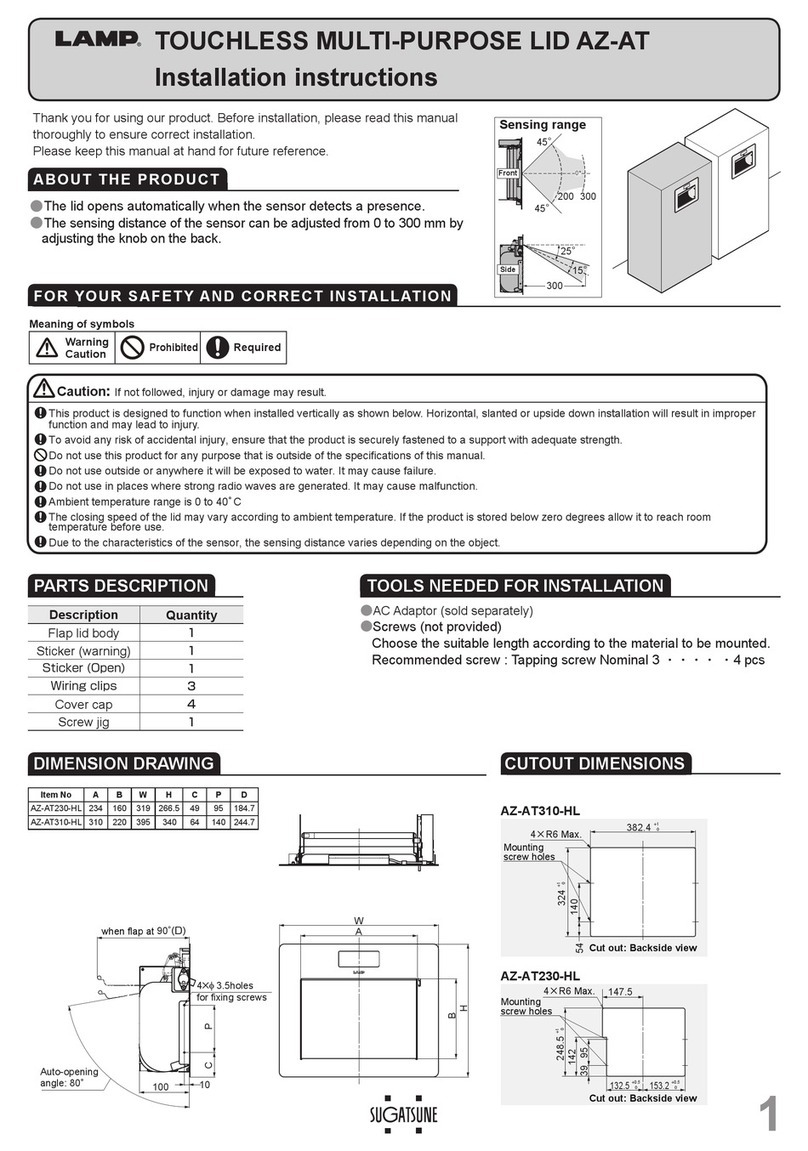
Thank you for selecting our product. Before starting installation, please read this manual thoroughly to ensure
correct installation. Please keep this manual at hand for future reference.
Description Quantity
Flap lid body 1
Warning sticker 1
Cover caps 4
Installation procedure
Make sure that the LAMP logo is at the top.
Stick the edge tape around
the hole.
〈1〉Fix the unit with six screws.
〈2〉0DNHVXUHWKDWWKHÀQDODVVHPEO\LV
securely fastened.
Slowly open and close the lid completely a few
times in order to make sure that there are no
obstacles such as the bottom edge of the cutout
or any item inside.
Cover the holes with the cover caps provided.
Dimension drawing
●Edge tape
●Screws (not provided)
Choose the suitable length according to the material to be mounted.
Recommended screw : Tapping screw Nominal 4 ・・・・・・ 6 pcs
Cutout dimensions
About the product
Damper allows silent closing of lid.
Side plates for anti-pinch function.
Paste the warning sticker in a visible position
to avoid any injury when using the AZ-GD231.
1
2
3
4
5
6
Tools needed for assembly
CAUTIONIf these cautions are not followed, it may result in injury or damage.
The AZ-GD231 is designed to function when installed vertically as shown below. Horizontal, slanted or
upside down installation will result in improper function and may lead to injury.
To avoid any risk of accidental fall and injury, ensure that the AZ-GD231 is securely fastened to the place
which has adequate strength.
Any attempt to dismantle, modify or use in any way other than that indicated below, may result in damage or
injury.
Recommended ambient temperature range is 0 to 40 degrees centigrade.
The closing speed of the lid may change due to ambient temperature .If the product is stored below zero
degree, please use it after several hours of storage in normal room temperature.
This symbol denotes prohibited actions.
This symbol denotes what must be done.
AZ-GD231 STAINLESS STEEL SOFT CLOSING FLAP LID SYSTEM
Installation instructions
Parts description
For your safety work and operation
LAMPlogo TOP
BOTTOM
Lid
Cover caps
Holes
Cut out : Backside view
308
234
160
234
278
102 102
198
1.5
100
230
198
24
102
156
16
24
278
102
6×φ5holes(for fixing)Mounting screw holes
4×R6 Max
0
-1
0
-1
(22.6)
when flap at 90˚
(184.7)
when flap at 90˚
(249) when flap at 90˚
Edge tape
(not provided)
Screws(not provided)
Tapping screw Nominal 4
is recommended.

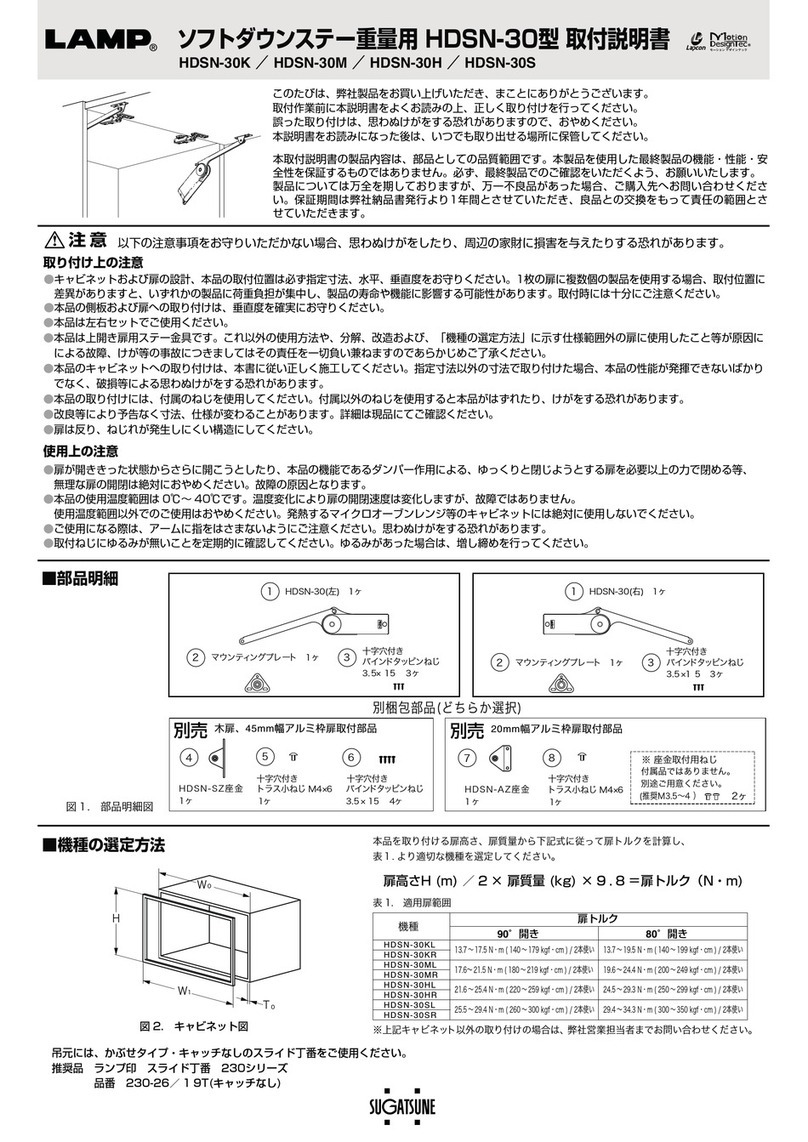
Other Lamp Door Opening System manuals

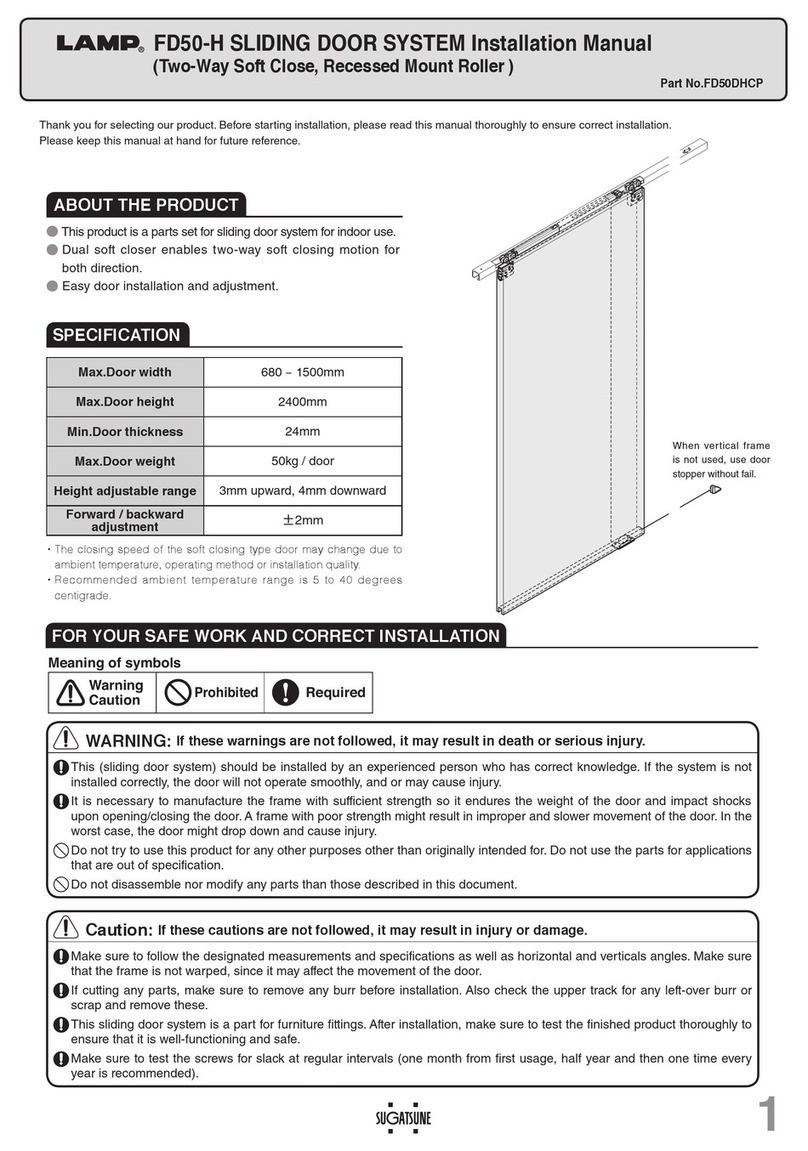
Lamp FD50-H User manual

Lamp

Lamp FD50-H User manual

Lamp HC-70 User manual

Lamp

Lamp HC-70 User manual

Lamp KF111-H User manual

Lamp

Lamp KF111-H User manual

Lamp HC-30L User manual

Lamp

Lamp HC-30L User manual

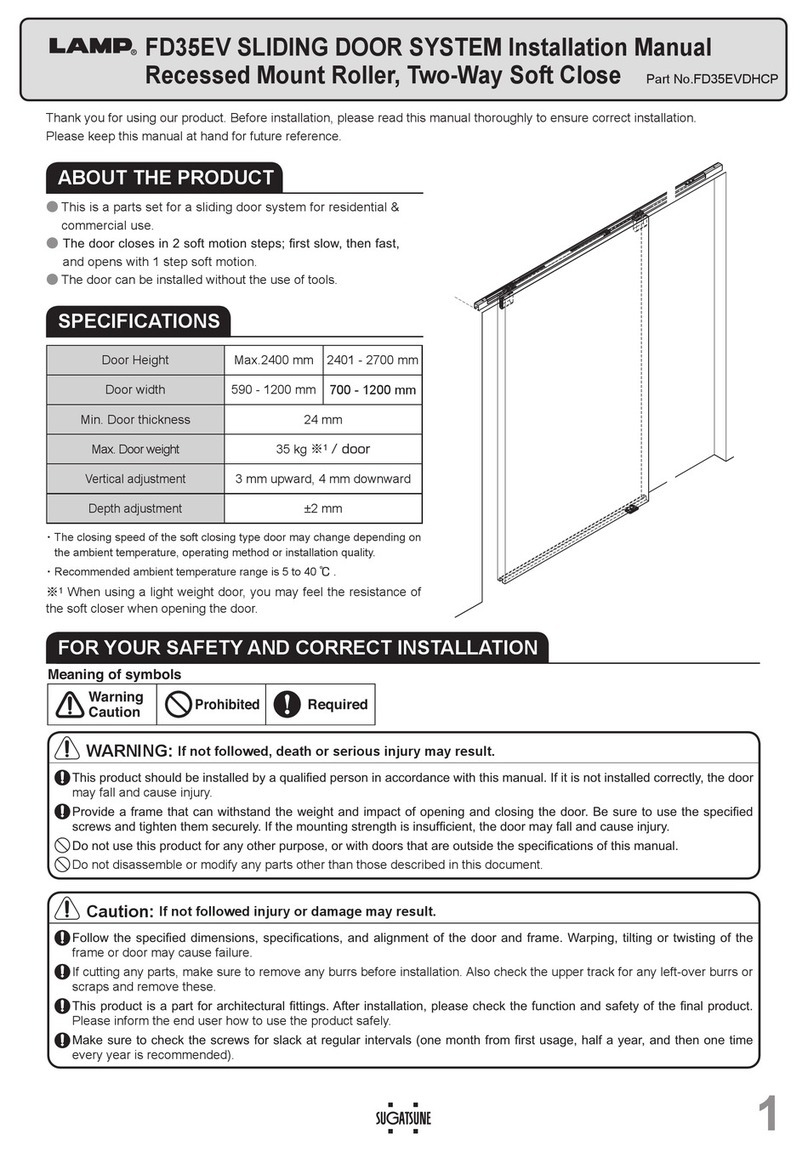
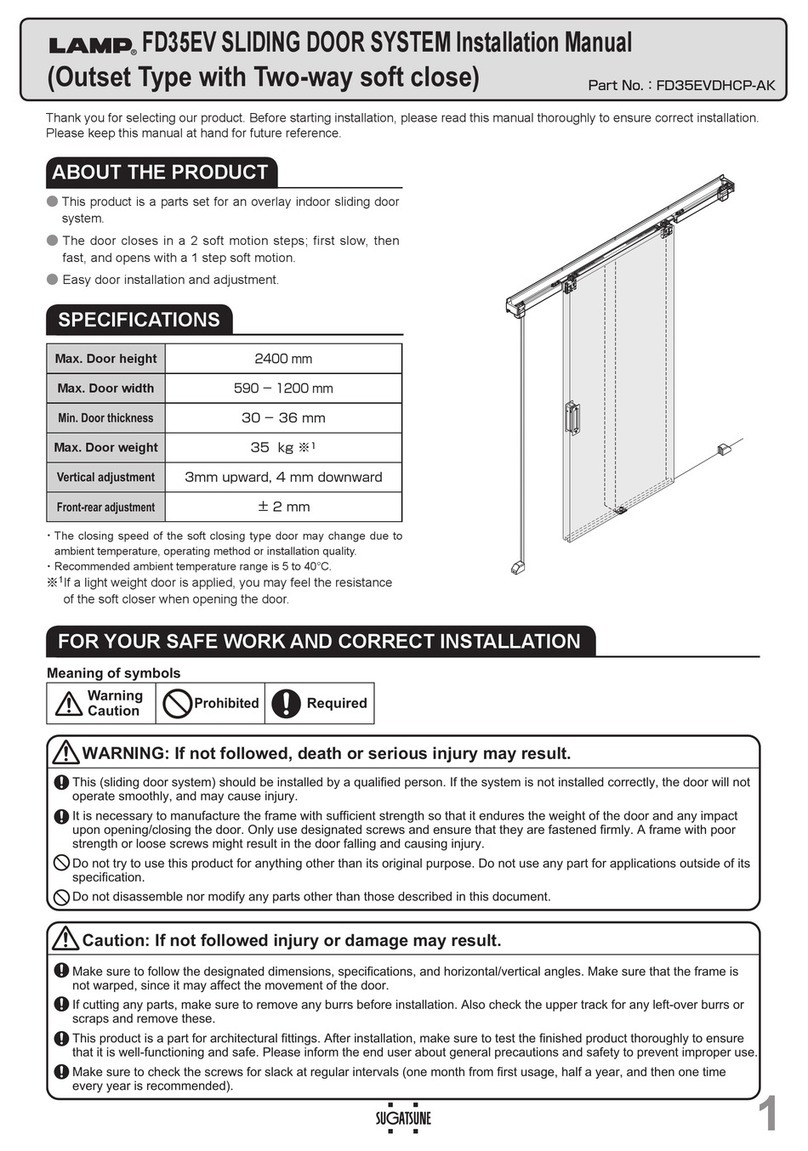
Lamp FD35EV User manual

Lamp

Lamp FD35EV User manual

Lamp XL-GC07D-CR User manual

Lamp

Lamp XL-GC07D-CR User manual

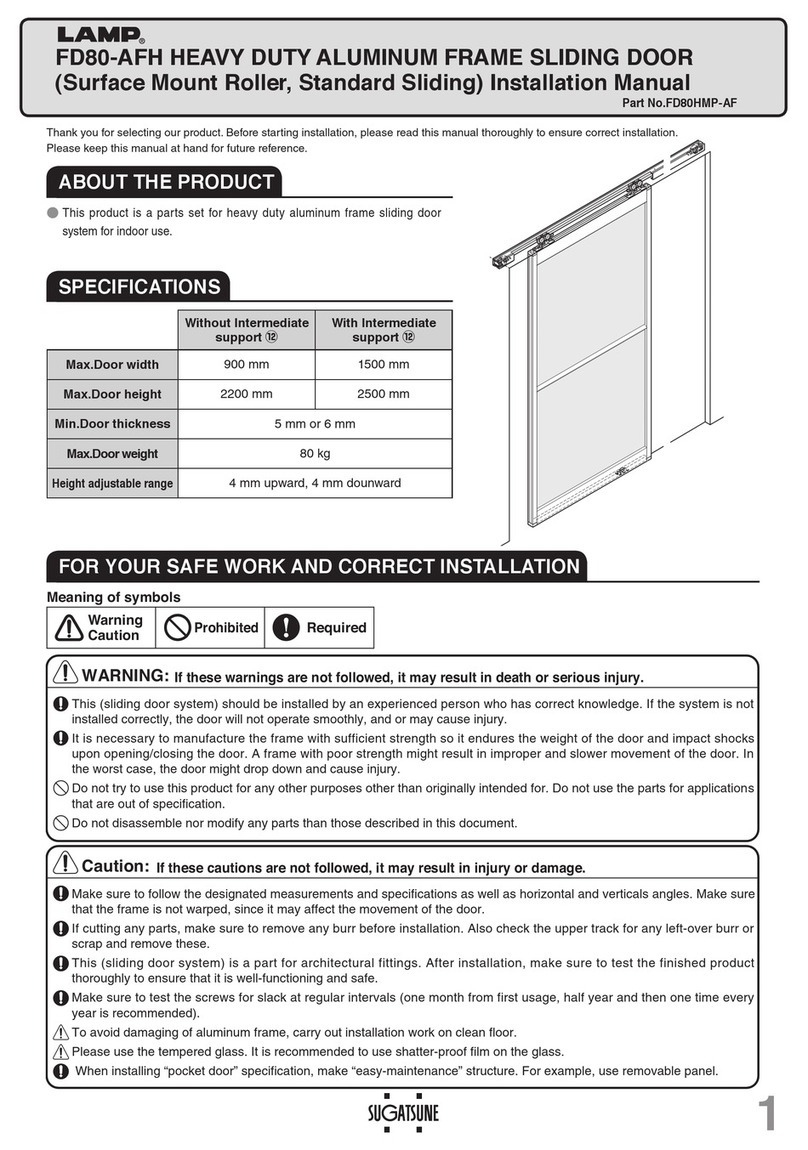
Lamp FD80-AFH User manual

Lamp

Lamp FD80-AFH User manual

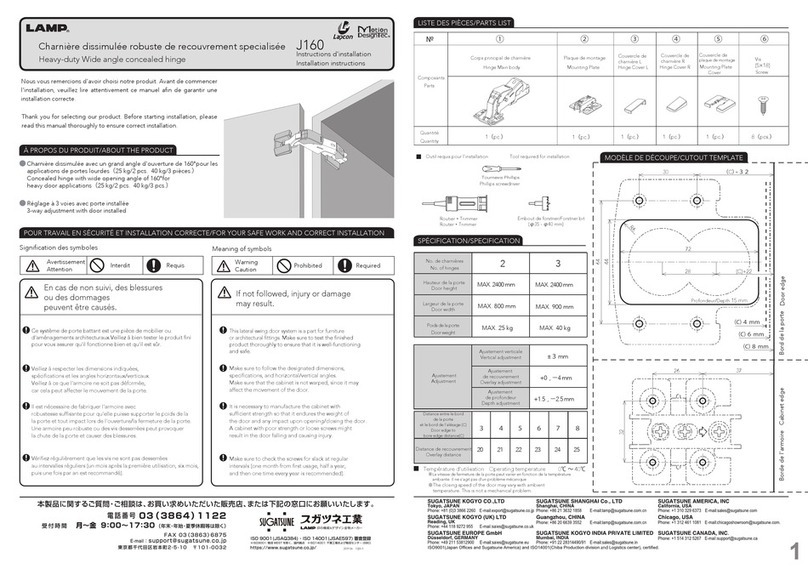
Lamp Lapcon J160 User manual

Lamp

Lamp Lapcon J160 User manual

Lamp FD80-H User manual

Lamp

Lamp FD80-H User manual

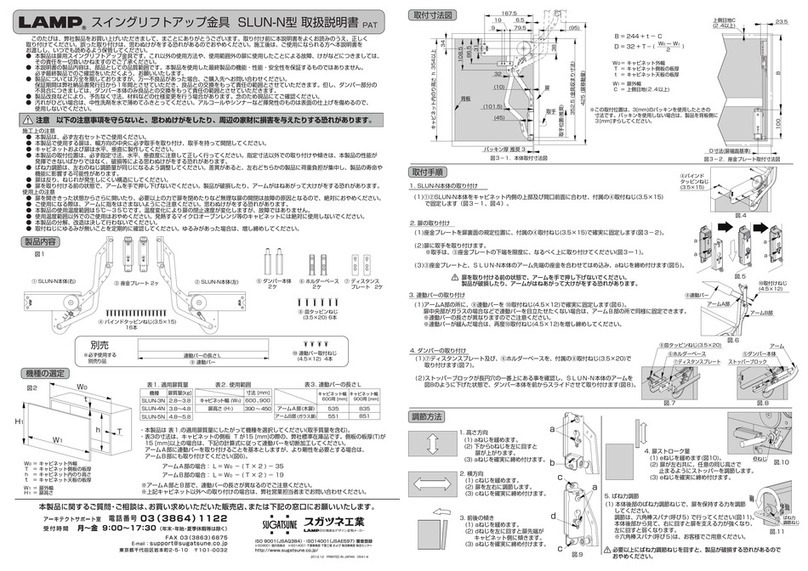
Lamp SLUN-N User manual

Lamp

Lamp SLUN-N User manual

Lamp FD30-F User manual

Lamp

Lamp FD30-F User manual

Lamp FD35EV User manual

Lamp

Lamp FD35EV User manual

Lamp FD35EV User manual

Lamp

Lamp FD35EV User manual

Lamp FD30-F User manual

Lamp

Lamp FD30-F User manual

Lamp MonoFlat FAD-5 User manual

Lamp

Lamp MonoFlat FAD-5 User manual

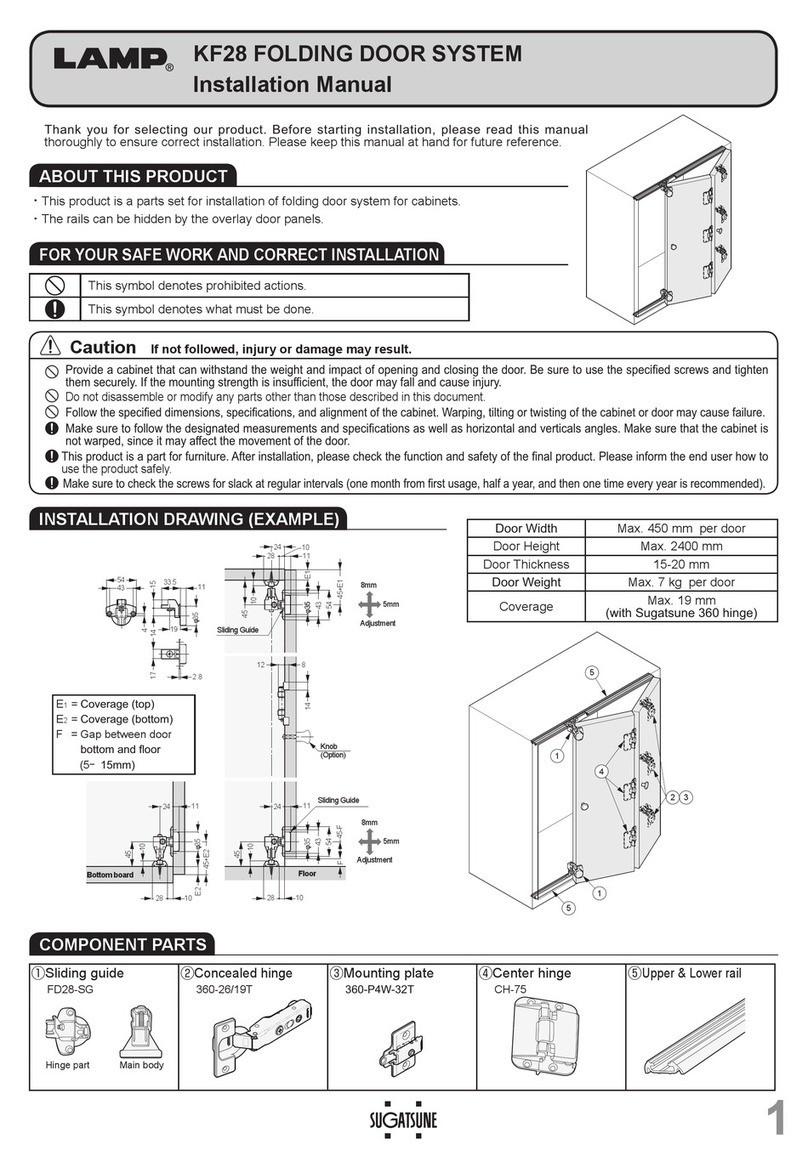
Lamp KF28 User manual

Lamp

Lamp KF28 User manual

Lamp FD35EV User manual

Lamp

Lamp FD35EV User manual

Lamp FD50-H User manual

Lamp

Lamp FD50-H User manual

Lamp FM150PRO User manual

Lamp

Lamp FM150PRO User manual

Lamp LDD-S User manual

Lamp

Lamp LDD-S User manual

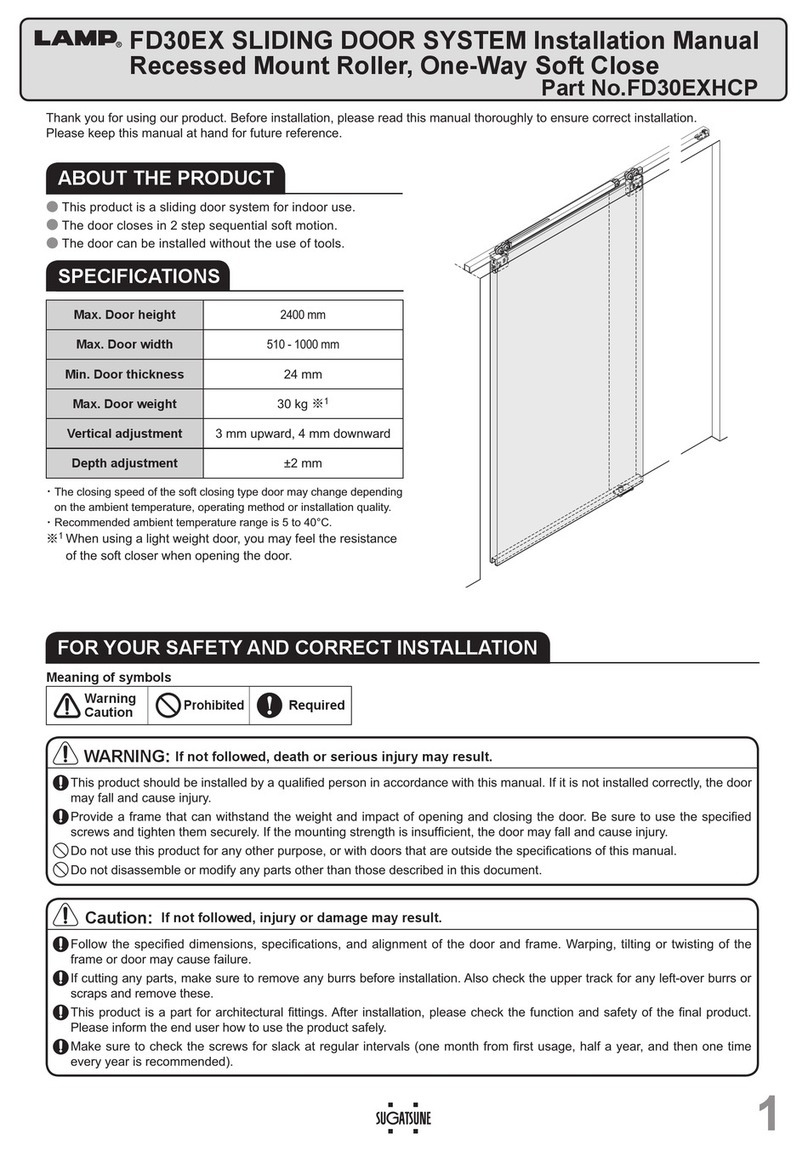
Lamp FD30EX User manual

Lamp

Lamp FD30EX User manual

Lamp FD50-H User manual

Lamp

Lamp FD50-H User manual

Lamp HDSN-30K User manual

Lamp

Lamp HDSN-30K User manual

Lamp FD50-H User manual

Lamp

Lamp FD50-H User manual

Popular Door Opening System manuals by other brands

Global Automatics Premier-Slide 100 Technical manual

Global Automatics

Global Automatics Premier-Slide 100 Technical manual

Assa Abloy Besam SL500 manual

Assa Abloy

Assa Abloy Besam SL500 manual

cinetto PS19 Assembly instructions

cinetto

cinetto PS19 Assembly instructions

CNC Solutions DOOR MATE manual

CNC Solutions

CNC Solutions DOOR MATE manual

Schartec Prime 600 Installation and operating instructions

Schartec

Schartec Prime 600 Installation and operating instructions

GEZE ECturn Original operating instructions

GEZE

GEZE ECturn Original operating instructions

WITTUR WSE 81 PLUS Series Installation sheet

WITTUR

WITTUR WSE 81 PLUS Series Installation sheet

DITEC OLLY C Installation and maintenance manual

DITEC

DITEC OLLY C Installation and maintenance manual

Dormakaba ED250 installation instructions

Dormakaba

Dormakaba ED250 installation instructions

4Ddoors 4DR1 v4 Installation instructions and owner's manual

4Ddoors

4Ddoors 4DR1 v4 Installation instructions and owner's manual

BILOBA UNICA 100E10 Instruction of Assembly

BILOBA

BILOBA UNICA 100E10 Instruction of Assembly

Nice SD-70-20 3 400 Instructions and warnings for installation

Nice

Nice SD-70-20 3 400 Instructions and warnings for installation

Dormakaba Muto Premium XL120 installation instructions

Dormakaba

Dormakaba Muto Premium XL120 installation instructions

SUGATSUNE LAMP MonoFlat FAD Series instruction manual

SUGATSUNE

SUGATSUNE LAMP MonoFlat FAD Series instruction manual

Assa Abloy Norton 7540STH Series installation instructions

Assa Abloy

Assa Abloy Norton 7540STH Series installation instructions

SIMONSWERK Anselmi AN 164 3D FVZ 12/38 manual

SIMONSWERK

SIMONSWERK Anselmi AN 164 3D FVZ 12/38 manual

Dorex 1701 Series installation instructions

Dorex

Dorex 1701 Series installation instructions

Yale 3040 installation instructions

Yale

Yale 3040 installation instructions

manuals.online logo
manuals.online logoBrands
  • About & Mission
  • Contact us
  • Privacy Policy
  • Terms and Conditions

Copyright 2025 Manuals.Online. All Rights Reserved.