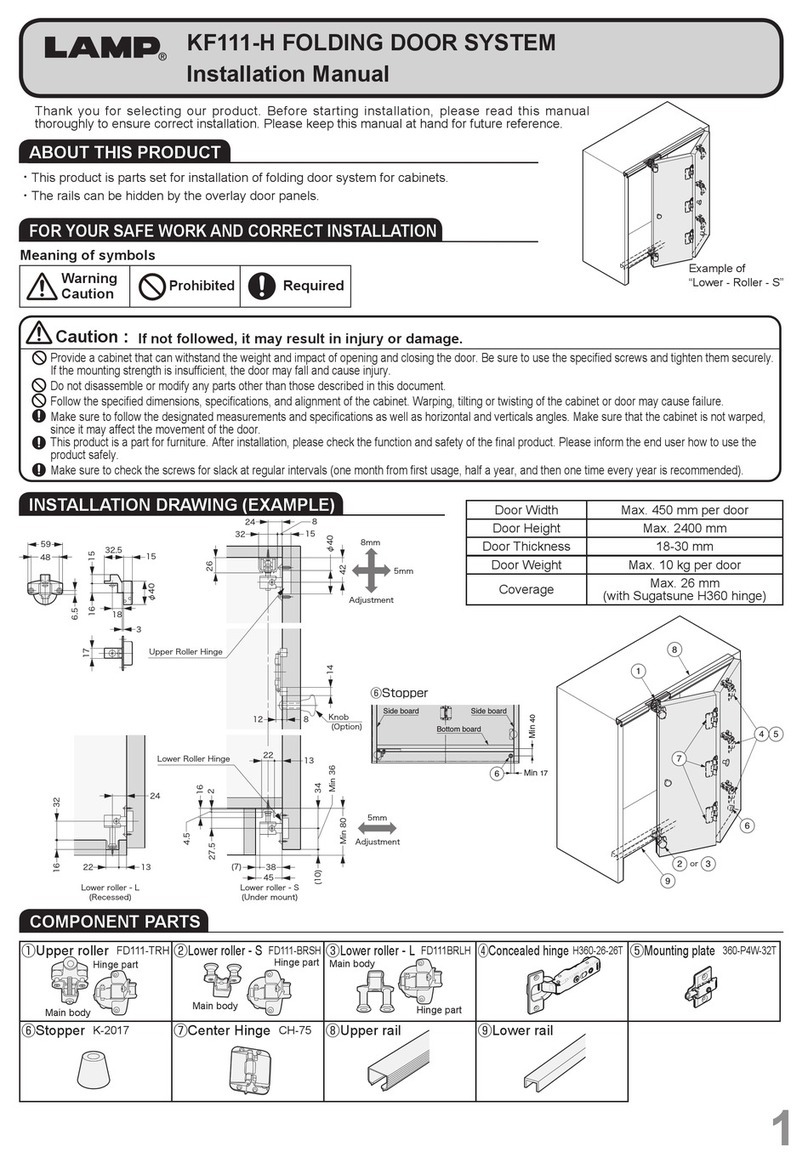
manuals.online logo
Brands
  1. Home
  2. •
  3. Brands
  4. •
  5. Lamp
  6. •
  7. Door Opening System
  8. •
  9. Lamp Lapcon J160 User manual

Lamp Lapcon J160 User manual

(C)4mm
(C)6mm
(C)8mm
30
72
(C)+32
44
64
26
32
37
R6
●Charnière dissimulée avec un grand angle d'ouverture de 160°pour les
applications de portes lourdes(25 kg/2 pcs. 40 kg/3 pièces.)
Concealed hinge with wide opening angle of 160°for
heavy door applications(25 kg/2 pcs. 40 kg/3 pcs.)
●
Réglage à 3 voies avec porte installée
3-way adjustment with door installed
Nous vous remercions d'avoir choisi notre produit. Avant de commencer
l'installation, veuillez lire attentivement ce manuel afin de garantir une
installation correcte.
1
À PROPOS DU PRODUIT/ABOUT THE PRODUCT
POUR TRAVAIL EN SÉCURITÉ ET INSTALLATION CORRECTE/FOR YOUR SAFE WORK AND CORRECT INSTALLATION
SPÉCIFICATION/SPECIFICATION
LISTE DES PIÈCES/PARTS LIST
Tournevis Phillips
Phillips screwdriver
Tool required for installationOutil requis pour l'installation
Routier・Trimmer
Router・Trimmer
MODÈLE DE DÉCOUPE/CUTOUT TEMPLATE
Vérifiez régulièrement que les vis ne sont pas desserrées
au intervalles réguliers (un mois après la première utilisation, six mois,
puis une fois par an est recommandé).
Il est nécessaire de fabriquer l'armoire avec
robustesse suffisante pour qu'elle puisse supporter le poids de la
la porte et tout impact lors de l'ouverture/la fermeture de la porte.
Une armoire peu robuste ou des vis desserrées peut provoquer
la chute de la porte et causer des blessures.
Veillez à respecter les dimensions indiquées,
spécifications et les angles horizontaux/verticaux.
Veillez à ce que l'armoire ne soit pas déformée,
car cela peut affecter le mouvement de la porte.
Ce système de porte battant est une pièce de mobilier ou
d'aménagements architecturaux.Veillez à bien tester le produit fini
pour vous assurer qu'il fonctionne bien et qu'il est sûr.
If not followed, injury or damage
may result.
En cas de non suivi, des blessures
ou des dommages
peuvent être causés.
Signification des symboles Meaning of symbols
This lateral swing door system is a part for furniture
or architectural fittings. Make sure to test the finished
product thoroughly to ensure that it is well-functioning
and safe.
Make sure to follow the designated dimensions,
specifications, and horizontal/vertical angles.
Make sure that the cabinet is not warped, since it may
affect the movement of the door.
It is necessary to manufacture the cabinet with
sufficient strength so that it endures the weight of
the door and any impact upon opening/closing the door.
A cabinet with poor strength or loose screws might
result in the door falling and causing injury.
Make sure to check the screws for slack at regular
intervals (one month from first usage, half a year,
and then one time every year is recommended).
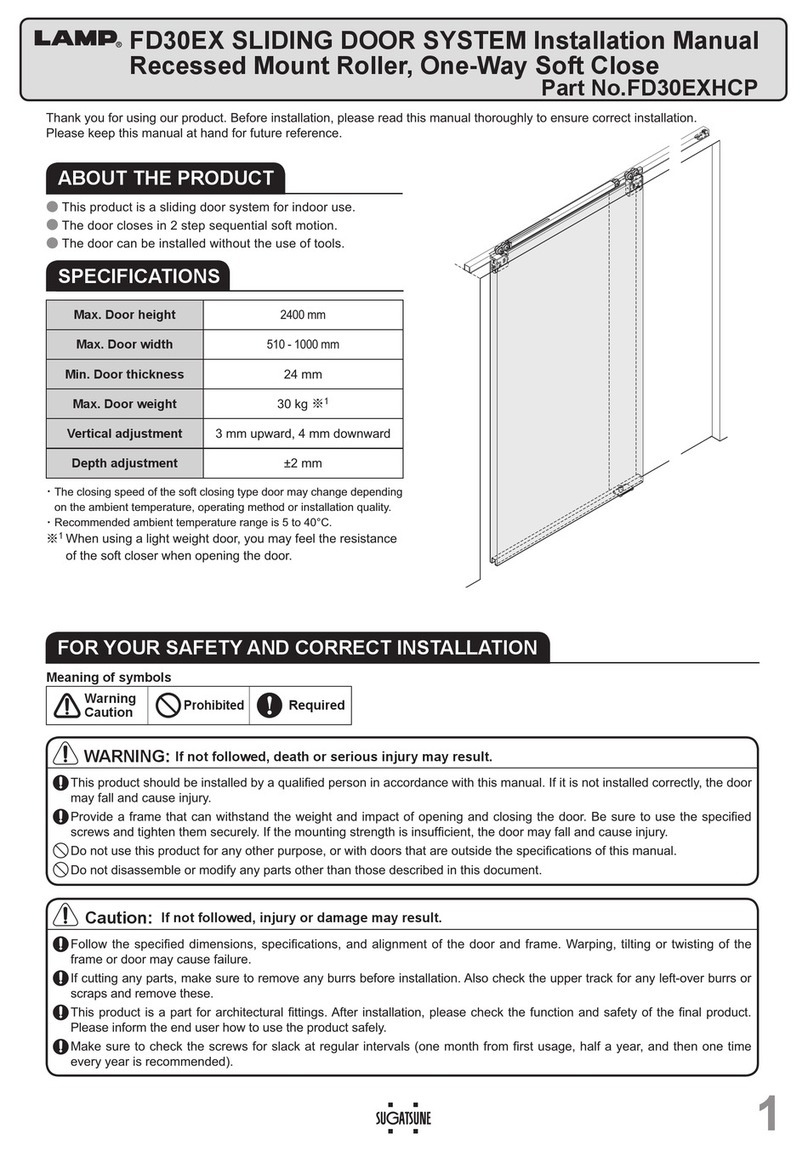
Charnière dissimulée robuste de recouvrement specialisée J160
Instructions d'installation
Installation instructions
Heavy-duty Wide angle concealed hinge
Température d'utilisation Operating temperature 0℃〜40℃
Embout de forstner/Forstner bit
   (φ35 - φ40 mm)
№
Parts
Quantity
Quantité 1(pc.)
Corps principal de charnière
Hinge Main body Hinge Cover LMounting Plate
Plaque de montage Couvercle de
charnière L
1(pc.)1(pc.)1(pc.)1(pc.)
Screw
8(pcs.)
Vis
(5×18)
Hinge Cover R
Couvercle de
charnière R
Mounting Plate
Cover
Couvercle de
plaque de montage
Bord de la porte
Borde de l’armoire
Distance de recouvrement
Overlay distance
Distance entre le bord
de la porte
et le bord de l'alésage (C)
Door edge to
bore edge distance(C)
3
20
4
21
5
22
6
23
7
24
8
25
Door edge
Cabinet edge
① ② ③ ④ ⑤ ⑥
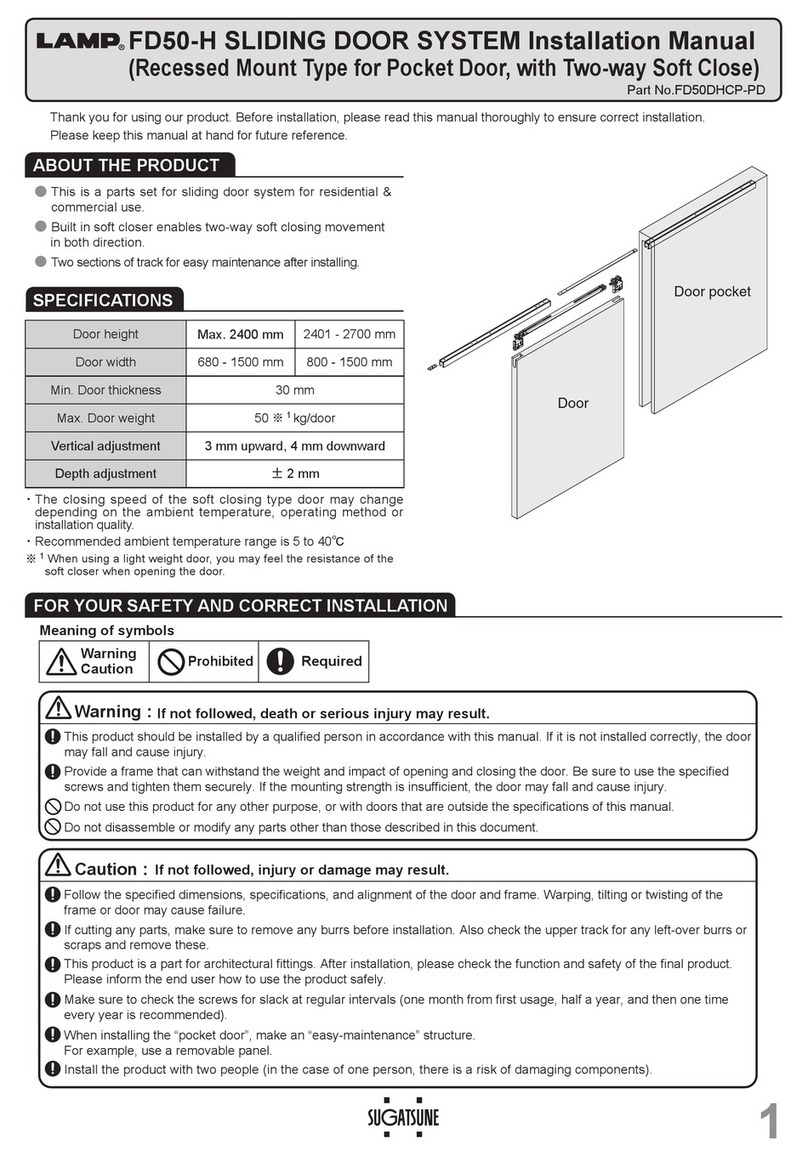
Thank you for selecting our product. Before starting installation, please
read this manual thoroughly to ensure correct installation.
2
Hauteur de la porte
Door height MAX. 2400 mm
Largeur de la porte
Door width MAX. 800 mm
MAX. 2400 mm
MAX. 900 mm
MAX. 25 kg
3
MAX. 40 kg
Poids de la porte
Door weight
No. de charnières
No. of hinges
Ajustement
de profondeur
Depth adjustment
Ajustement
de recouvrement
Overlay adjustment
Ajustement verticale
Vertical adjustment ±3mm
+0 , −4 mm
+1.5 , −2.5 mm
Ajustement
Adjustment
Profondeur/Depth 15 mm
※La vitesse de fermeture de la porte peut varier en fonction de la température
 ambiante. Il ne s'agit pas d'un problème mécanique.
※The closing speed of the door may vary with ambient
 temperature. This is not a mechanical problem.
28 (C)+22
2019.06 1320-1
Composants
Interdit
Avertissement
Attention Requis Prohibited
Warning
Caution Required
Veillez à enclencher complètement la charnière.
Une fixation incomplète peut provoquer un accident de chute de la porte.
Please ensure to snap-on the hinge completely.
Incomplete fixation may cause door falling accident.
CLICK
LIBRE/CLEARANCE
Min. 15 mm
TRAITER LA PARTIE ENTAILLÉE/PROCESS THE NOTCH PART
INSTALLATION
Installation de la charnière sur la porte/Installing hinge to door
1
Mettre porte/Hanging door
3
Installation de la plaque de montage sur le cadre
Installing mounting plate to frame
2
Retirer et jeter la goupille fixe/Remove and discard the fixed pin
4Installation des couvercles/Installing covers
5
AJUSTEMENT/ADJUSTMENT
Ajustement verticale
Vertical adjustment
(±3 mm)
Ajustement de recouvrement
Overlay adjustment
(+0 mm ,−4 mm)
Ajustement de profondeur
Depth adjustment
(+1.5 mm ,−2.5 mm)
COMMENT ENLEVER/HOW TO REMOVE
2
Ne pas opérer avec l'élément
de charnière.
Ne retirez pas la goupille rouge avant
la fin de l'installation.
Do not operate with the hinge element.
Do not remove the red pin, until installation completed.
R
L

Other Lamp Door Opening System manuals

Lamp AZ-GD231 User manual

Lamp

Lamp AZ-GD231 User manual

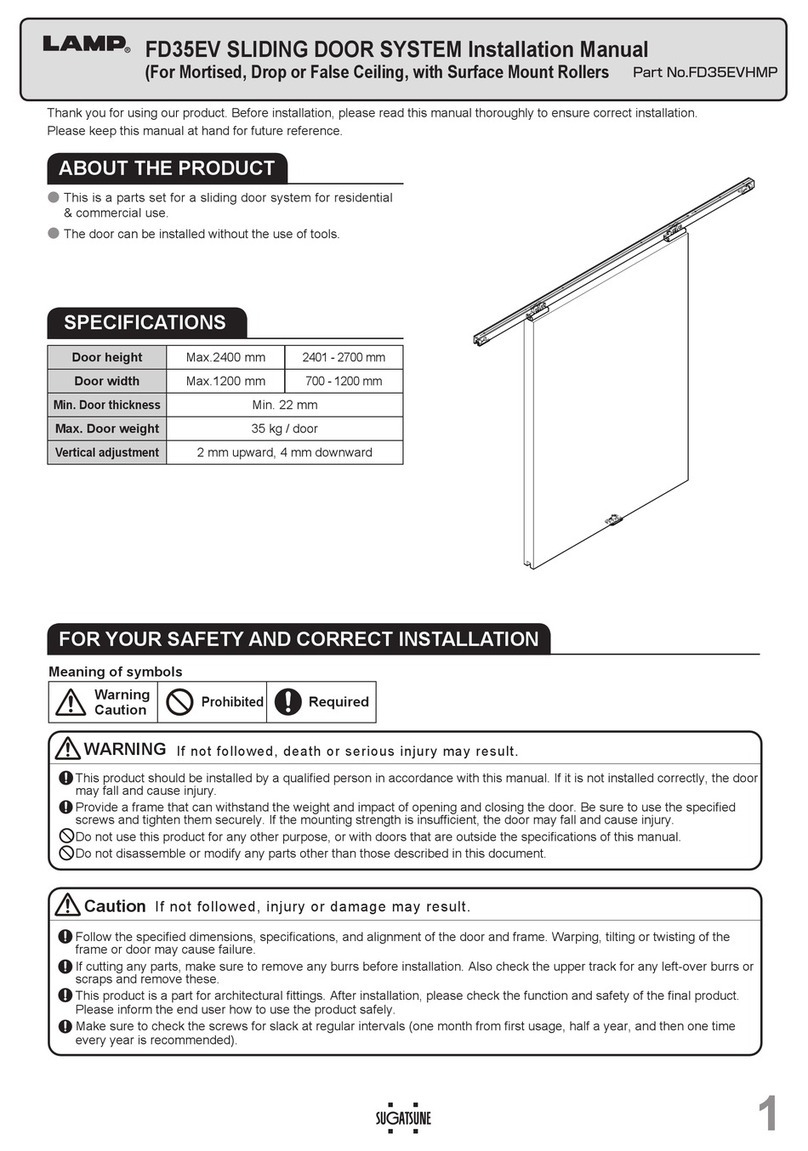
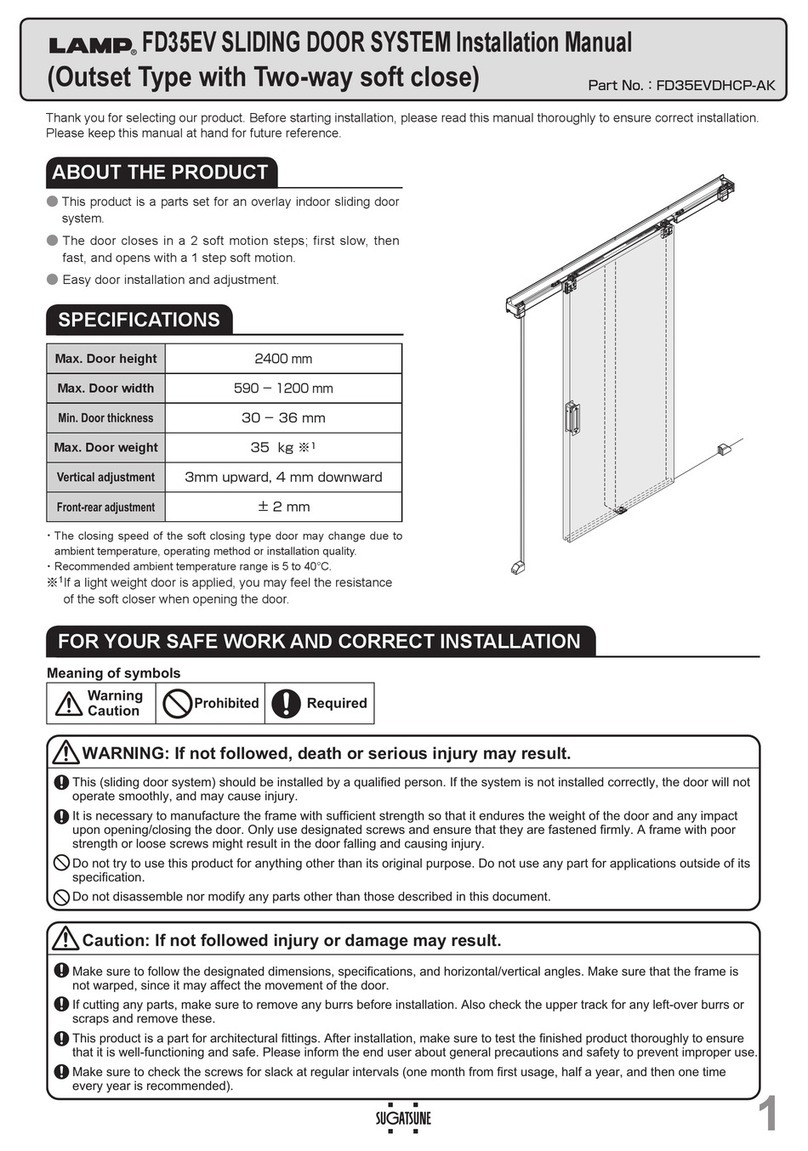
Lamp FD35EV User manual

Lamp

Lamp FD35EV User manual

Lamp FD50-H User manual

Lamp

Lamp FD50-H User manual

Lamp MonoFlat FAD-5 User manual

Lamp

Lamp MonoFlat FAD-5 User manual

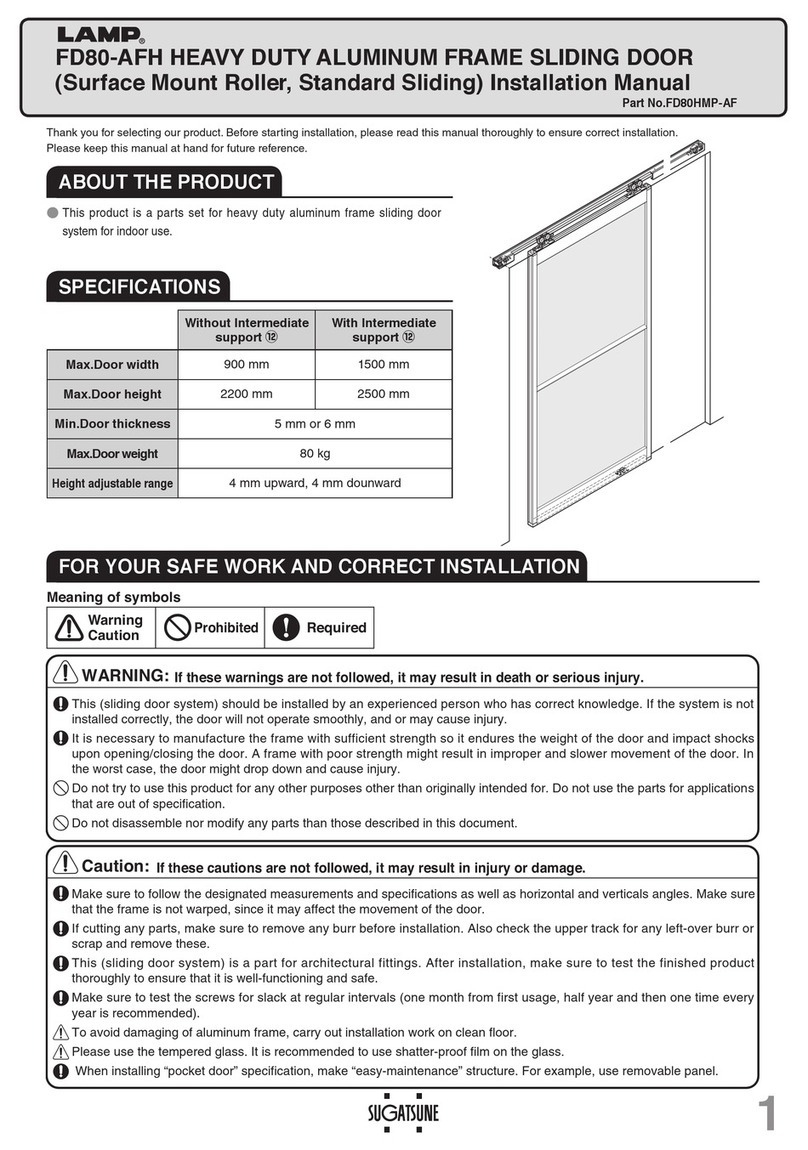
Lamp FD80-AFH User manual

Lamp

Lamp FD80-AFH User manual

Lamp FD35EV User manual

Lamp

Lamp FD35EV User manual

Lamp FD50-H User manual

Lamp

Lamp FD50-H User manual

Lamp FD35EV User manual

Lamp

Lamp FD35EV User manual

Lamp LDD-S User manual

Lamp

Lamp LDD-S User manual

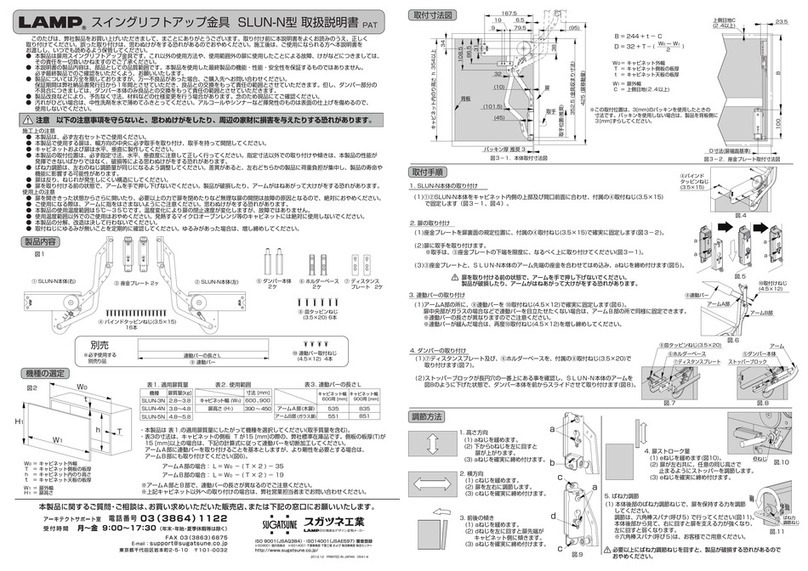
Lamp SLUN-N User manual

Lamp

Lamp SLUN-N User manual

Lamp HC-70 User manual

Lamp

Lamp HC-70 User manual

Lamp FM150PRO User manual

Lamp

Lamp FM150PRO User manual

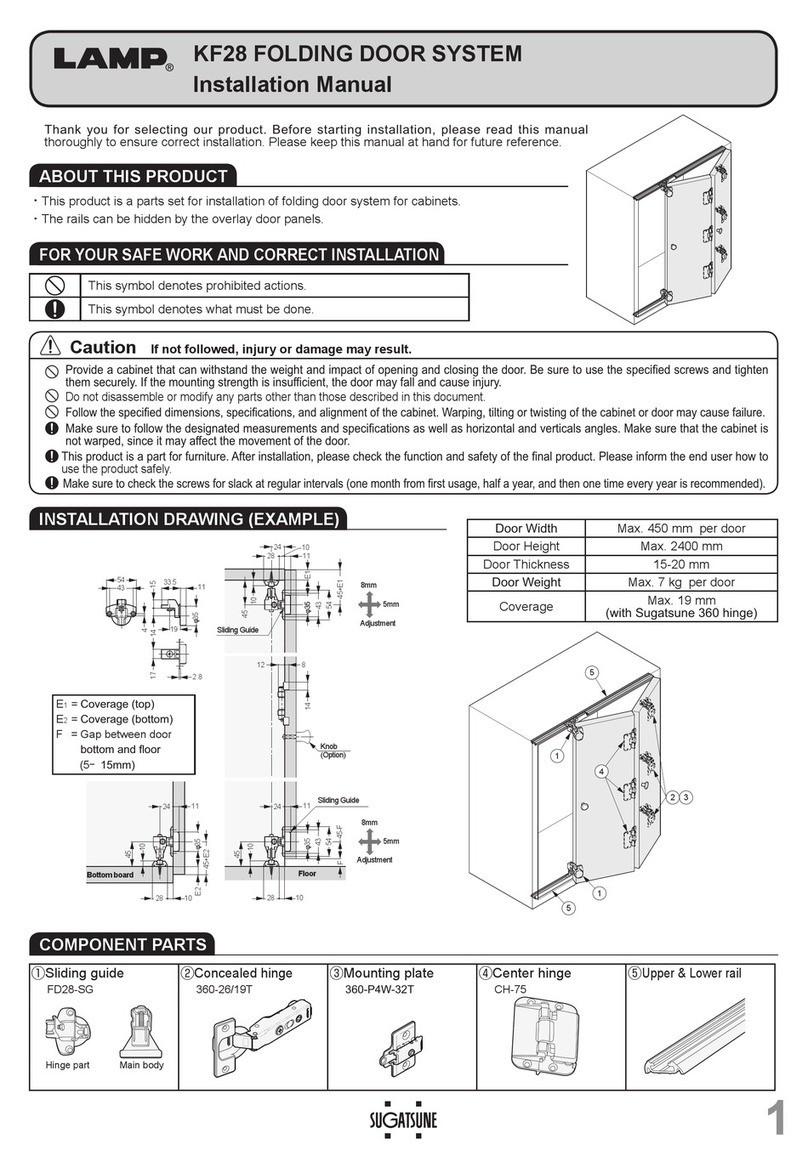
Lamp KF28 User manual

Lamp

Lamp KF28 User manual

Lamp AZ-AT230-HL Instruction Manual

Lamp

Lamp AZ-AT230-HL Instruction Manual

Lamp XL-GC07D-CR User manual

Lamp

Lamp XL-GC07D-CR User manual

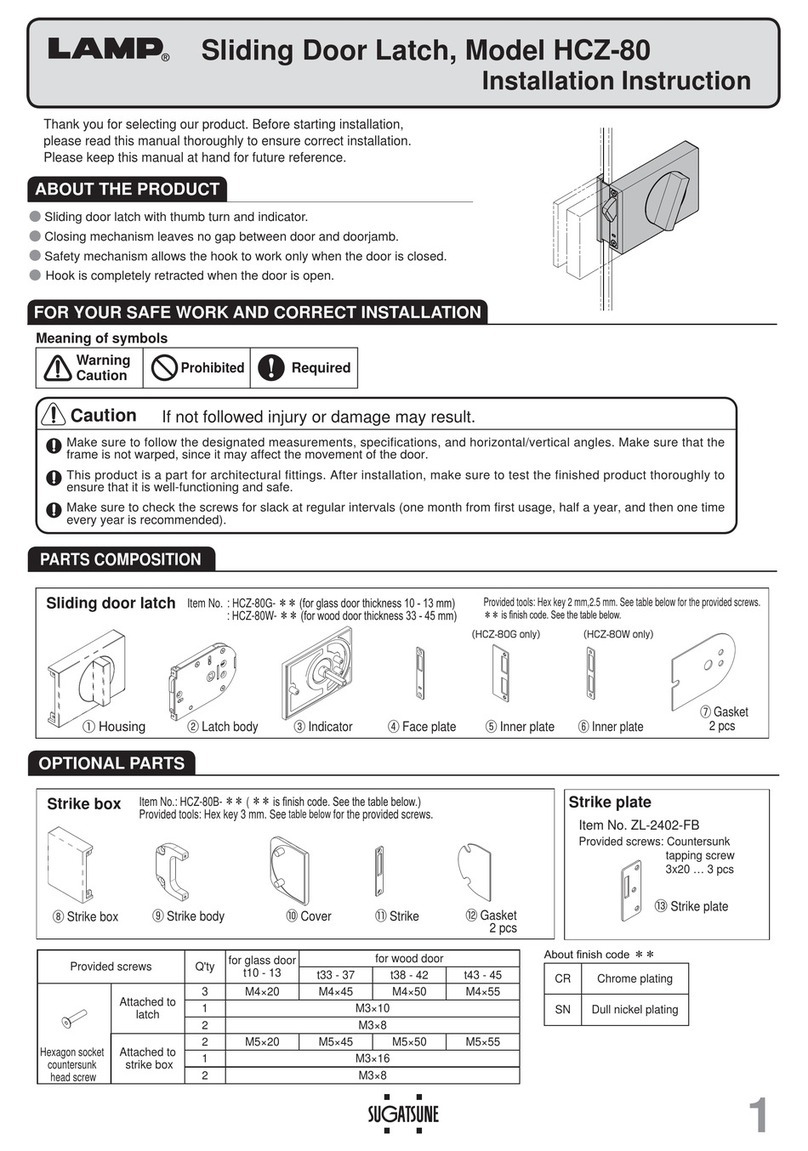
Lamp HCZ-80 User manual

Lamp

Lamp HCZ-80 User manual

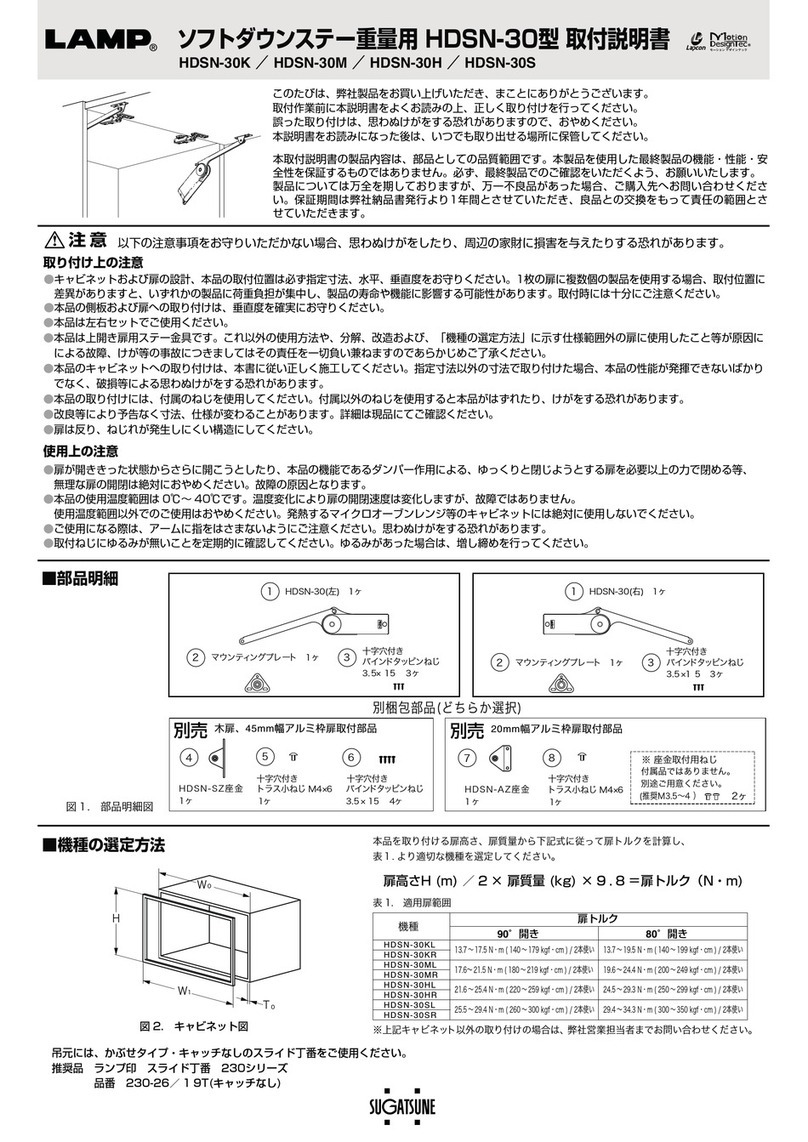
Lamp HDSN-30K User manual

Lamp

Lamp HDSN-30K User manual

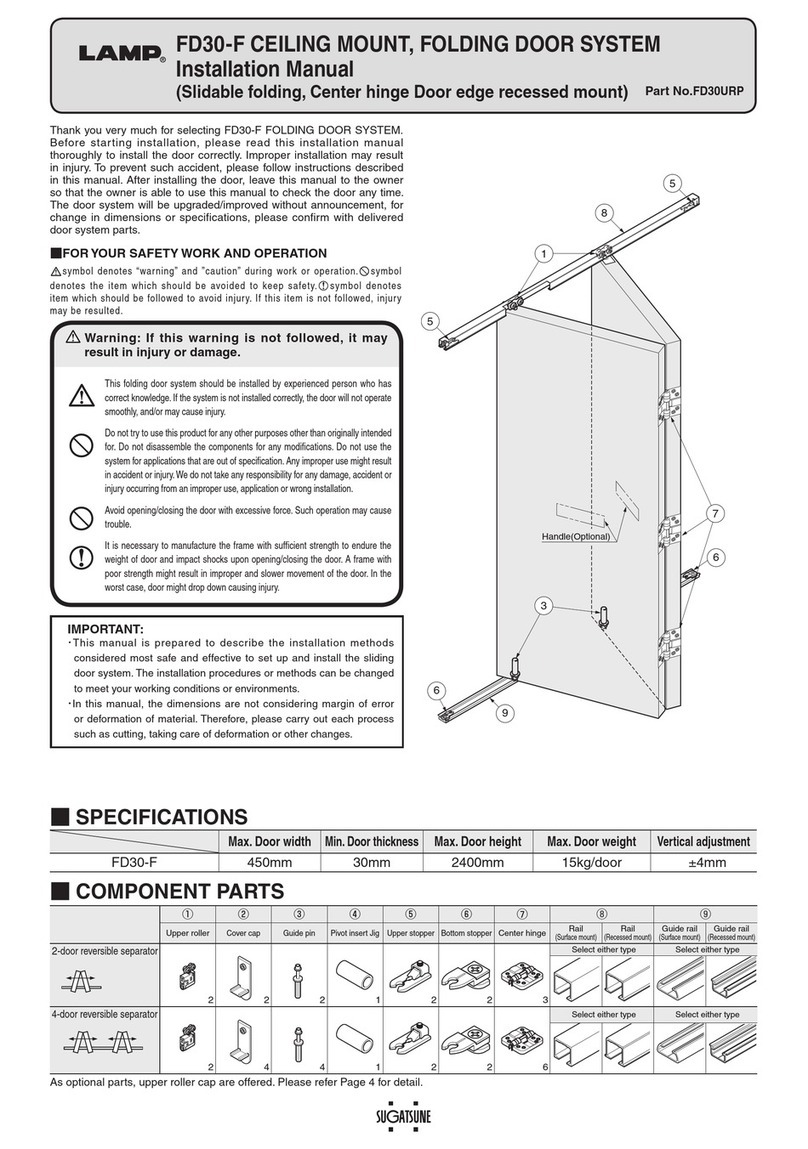
Lamp FD30-F User manual

Lamp

Lamp FD30-F User manual

Lamp FD50-H User manual

Lamp

Lamp FD50-H User manual

Lamp FD30-F User manual

Lamp

Lamp FD30-F User manual

Lamp HC-30L User manual

Lamp

Lamp HC-30L User manual

Lamp FD30EX User manual

Lamp

Lamp FD30EX User manual

Lamp FD50-H User manual

Lamp

Lamp FD50-H User manual

Lamp FD35EV User manual

Lamp

Lamp FD35EV User manual

Popular Door Opening System manuals by other brands

Corbin Russwin DC8200 Series installation instructions

Corbin Russwin

Corbin Russwin DC8200 Series installation instructions

Assa Abloy DC 700G-FT BGS installation instructions

Assa Abloy

Assa Abloy DC 700G-FT BGS installation instructions

Dorma CS 80 MAGNEO installation instructions

Dorma

Dorma CS 80 MAGNEO installation instructions

Yale UniTrol UNI-50BC Series installation instructions

Yale

Yale UniTrol UNI-50BC Series installation instructions

GEZE TS 5000 E-ISM BG manual

GEZE

GEZE TS 5000 E-ISM BG manual

Dynasty DYN-4401 installation instructions

Dynasty

Dynasty DYN-4401 installation instructions

Assa Abloy Norton 7900H-B Series installation instructions

Assa Abloy

Assa Abloy Norton 7900H-B Series installation instructions

FAAC 950 BM manual

FAAC

FAAC 950 BM manual

RITE-HITE FasTrax XL Installation/Service/Owner's Manual

RITE-HITE

RITE-HITE FasTrax XL Installation/Service/Owner's Manual

LCN 8310-2420 installation instructions

LCN

LCN 8310-2420 installation instructions

D+H KA 34-K Original instructions

D+H

D+H KA 34-K Original instructions

Crown 405DC-EC General Installation, Operation and Maintenance Instructions

Crown

Crown 405DC-EC General Installation, Operation and Maintenance Instructions

Schartec Prime 2 Series Installation and operation manual

Schartec

Schartec Prime 2 Series Installation and operation manual

RoHS Compliant START-S12-M Instruction and warnings for the installer

RoHS Compliant

RoHS Compliant START-S12-M Instruction and warnings for the installer

Beninca KMB24 manual

Beninca

Beninca KMB24 manual

CornellCookson FSNX-150EP Series Installation instructions and operation manual

CornellCookson

CornellCookson FSNX-150EP Series Installation instructions and operation manual

D+H KA 34-K-BSY Plus Original instructions

D+H

D+H KA 34-K-BSY Plus Original instructions

Norton 8380 installation instructions

Norton

Norton 8380 installation instructions

manuals.online logo
manuals.online logoBrands
  • About & Mission
  • Contact us
  • Privacy Policy
  • Terms and Conditions

Copyright 2025 Manuals.Online. All Rights Reserved.