manuals.online logo
Brands
  1. Home
  2. •
  3. Brands
  4. •
  5. LEGRAND
  6. •
  7. Security System
  8. •
  9. LEGRAND Tynetec ZXT817 User manual

LEGRAND Tynetec ZXT817 User manual

Tynetec, a business unit of Legrand Electric Ltd
Cowley Road, Blyth Riverside Business Park, Blyth, Northumberland, NE24 5TF.
Tel: +44 (0) 1670 352371 www.tynetec.co.uk
Trusted Technology
Caring for People
Hard of Hearing Smoke
Alarm Kit 869MHz
Caring for People
_________________________________________________________________________
________________________________________________________________
Doc No. FM0849 V1.00 Page 1
•Compatible with Reach IP and Advent XT2
•Complies with EN 14604-2005
•Mains powered with 7 days battery back-up
•Monitored wiring
•Optical smoke alarm with integral sounder
•Alarm sound level: 85dB @ 3m
•Smoke alarm dimensions: 120 x 145 x 45mm (HxWxD)
•Wall mounted control unit with white Xenon strobe light
•Control unit dimensions: 165 x 105 x 50mm (HxWxD)
•100mm diameter under-pillow vibrating pad
•Test button on smoke alarm and control unit
•Operating Temperature: 0oC to +40oC
•Telecare Transceiver: 869.2125MHz Class 1.5
•Low battery warning
•Digital Heartbeat
•Weight: 2048 grams total
•Product Code: ZXT817
The hard of hearing smoke alarm kit is designed for installation in
dwellings occupied by deaf or hard of hearing people. If fire is
detected the smoke alarm will sound a loud audible alert, the
wall mounted control unit will flash a strong white strobe light
(excellent for day and night time alerting) and the under-pillow
pad will vibrate to awake the heaviest sleeper. An alarm call will
also be transmitted to the ARC or the local Manager.
Smoke Alarm Positioning
The smoke alarm should be located between the sleeping area
and the most likely source of fire e.g. the living room or kitchen.
The smoke alarm should be sited at least 300mm from a light
fitting or wall, ideally as centrally as possible in the room.
The smoke alarm should be positioned no more than 600mm
below the highest point in the room. If positioning on the wall,
the top of the smoke alarm must be between 150mm and
300mm below the ceiling and at least 300mm from a wall.
Optical smoke alarms are less prone to false alarms from cooking
fumes and are therefore suitable for locating near kitchens. Like
other smoke alarms they can be susceptible to nuisance alarms
from steam and should not be placed near bathrooms.
Refer to the Manufacturer’s instruction booklet for more
information on positioning.
Control Unit Positioning
The control unit should be fixed to the wall so the strobe light can
be seen from the bed and the vibrating pad can be placed under
the pillow. It also requires connection to the mains supply. The
smoke alarm is hardwired with the 10m cable provided.
Normal Operation
The red light on the smoke alarm will flash once every 40 seconds
to indicate normal operation. The green MAINS light on the
control unit should be on when the mains supply is connected.
Alarm Condition
The smoke alarm will sound, the strobe light will flash and the
pillow pad will vibrate. Check if there is a fire hazard and leave
the building immediately.
DANGER: Never ignore any alarm. If you are not certain of the
cause, leave the building immediately.
Low Battery Condition
The telecare transceiver module battery is self-tested once a day,
if it’s low for 7 consecutive days a low battery condition will be
reported once a week. The transceiver module should be
replaced as soon as possible within 30 days. This module can be
returned to Tynetec for battery replacement.
Fault Conditions
If the smoke alarm chirps every 40 seconds this indicates the
chamber is degraded and it should be replaced immediately.
If the strobe flashes the pillow pad has been disconnected, if the
strobe flashes and the pillow pad vibrates the smoke alarm is
disconnected. If the unit is operating on battery power alone the
red BATTERY light will flash and the green light will be off.
Out of Range Notification (Reach IP)
The Reach IP can monitor all radio peripheral devices to
determine whether they have been damaged or removed from
an installation. Should the Reach IP be unable to detect a device’s
heartbeat it will automatically generate a “radio out of range”
notification. Firstly, investigate if there’s a genuine reason for the
alert, if not, arrange for the peripheral device to be replaced
immediately. The “Radio out of range timer” can be set from 30
hours to 99999 hours in Pulse CMP. “Radio supervision” can be
disabled by unchecking the tick box associated with each
peripheral device in Pulse CMP.
Maintenance
Test the smoke alarm once every month.
Clean once every 3 months using a vacuum cleaner fitted with
the soft brush attachment. Do not use solvents or cleaners on the
smoke alarm as they may cause damage to the sensor, the unit
can be wiped with a damp cloth.
Do not paint the smoke alarm as this may block the vents and
prevent smoke from entering the sensor.
Disposal
Waste electrical products should not be disposed of with normal
household waste. The smoke alarm is ideally suited for disposal
within the waste electronic and electrical equipment (WEEE)
recycling scheme. Please recycle where facilities exist.
Check with your local authority or contact your supplier for
recycling/disposal advice.

Tynetec, a business unit of Legrand Electric Ltd
Cowley Road, Blyth Riverside Business Park, Blyth, Northumberland, NE24 5TF.
Tel: +44 (0) 1670 352371 www.tynetec.co.uk
Trusted Technology
Caring for People
Hard of Hearing Smoke
Alarm Kit 869MHz
Caring for People
_________________________________________________________________________
________________________________________________________________
Doc No. FM0849 V1.00 Page 2
ZXT817
S:081923608
Iss-2
15930800D3
19W8
The Radio ID is a 10-digit code
printed on the radio module
label…
How to install the Smoke Alarm System
The control unit should be permanently fixed to the wall using
the plugs and screws provided. The mains adapter should be
plugged into a wall socket and always left switched on.
Place the vibration pad under the pillow and plug the lead into
the VIBRATION PAD socket on the control unit
Plug the telecare transceiver module into the AUX OUTPUT
socket on the control unit and place safely under the bed.
Make sure you have read and understood the manufacturer’s
instructions on positioning the smoke alarm before starting.
The smoke alarm must be securely fixed to the ceiling or wall.
Use the fixing slots on the base as a guide when marking the
position of the drill holes. Fix with the screws and plugs provided.
Connect the 4 core cable from the control unit to the smoke
alarm using the colour code below;
Note: the smoke alarm cable can be extended to a maximum of
50 metres with suitable 4 core low voltage alarm cable.
How to test the Smoke Alarm System
Make sure the control unit is plugged-in and switched on at the
wall. Move the POWER slide switch on the side of the control
unit to the ON position and the green light should illuminate.
Press and hold the TEST button on the smoke alarm. The smoke
alarm should sound and the red light will flash every second.
After about 4 seconds the control unit strobe should flash and
the pillow pad should vibrate.
Press and hold the TEST button on the side of the control unit.
The strobe should flash and the pillow pad should vibrate.
Both above tests should initiate an alarm call to the ARC or the
local Manager.
Telecare Radio ID
The smoke alarm includes a plug-in radio transceiver module to
communicate with the Reach IP or Advent XT2.
Registering the Smoke Alarm onto a Reach IP
Login to Pulse CMP (www.tynetecpulse.com) and enter the
Reach IP Serial No. in the ALARM UNIT view.
Press the Accessories button and enter the Radio ID code,
Location and Equipment type. Press Save then Synchronize.
IMPORTANT: when the smoke alarm is installed a test call must
be made to check operation and start the digital heartbeat.
Alternatively, with the Reach IP in normal operating mode undo
the fixing screw and remove the stand or connector cover to
access the ⚫Power button.
Press the ⚫Power button to enter Control Mode, then press and
hold the button until the unit announces “add radio device”
then release.
Press the ⚫button to confirm then activate the smoke alarm by
pressing the Test button on the control unit.
The Reach IP unit will sound a high beep if it’s a new device and
announce “range test mode”.
Press ⚫to confirm, or press to step to the next function, or
press to exit the mode.
Registering the Smoke Alarm onto an Advent XT2
Radio device programming can only be performed from the
Advent XT2 Manager’s Panel designated as the Controller.
Login using the Manager or Engineer password and touch the
Programming button.
Select the Program Radio Devices option from the Program
Setting drop-down list.
Enter the Radio ID: this is the 10-digit code taken from the radio
module label.
Enter the Flat ID: this is the flat number the smoke alarm is being
installed in. Enter 4-digits e.g. 0014.
Enter the Location: select where the smoke alarm is located from
the drop-down list e.g. Living Room.
Press the Send button to update the XT2 system.
Press the test button on the control unit to check operation.
⚫Power Button

Other LEGRAND Security System manuals

LEGRAND 625 30 User manual

LEGRAND

LEGRAND 625 30 User manual

LEGRAND 675 20 Quick start guide

LEGRAND

LEGRAND 675 20 Quick start guide

LEGRAND 4073 User manual

LEGRAND

LEGRAND 4073 User manual

LEGRAND Tynetec REACH User manual

LEGRAND

LEGRAND Tynetec REACH User manual

LEGRAND 3486 MyHome User manual

LEGRAND

LEGRAND 3486 MyHome User manual

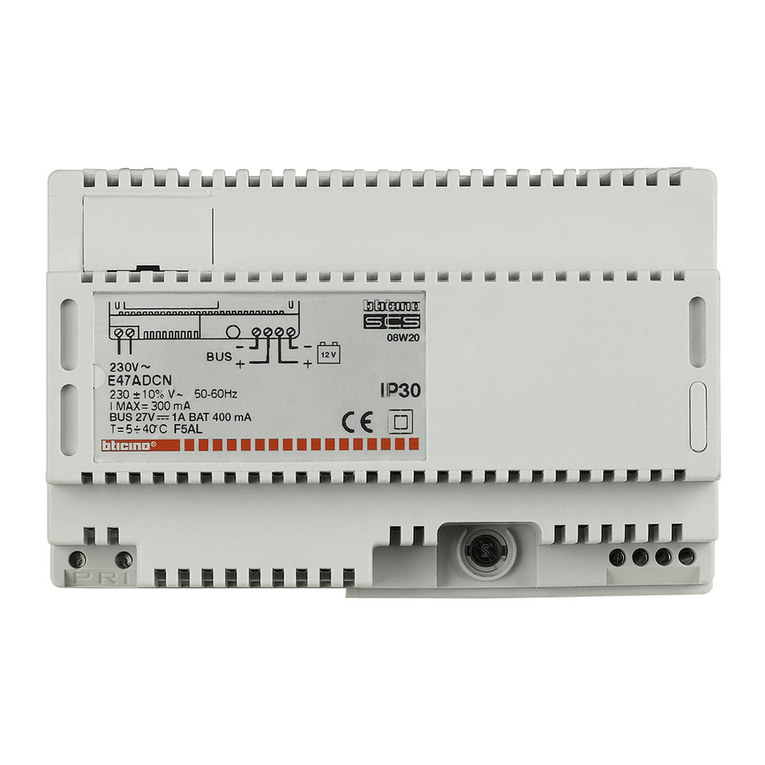
LEGRAND E47ADCN User manual

LEGRAND

LEGRAND E47ADCN User manual

LEGRAND tynetec Advent XT User manual

LEGRAND

LEGRAND tynetec Advent XT User manual

LEGRAND tynetec ZXT830 User manual

LEGRAND

LEGRAND tynetec ZXT830 User manual

LEGRAND 766 21 Setup guide

LEGRAND

LEGRAND 766 21 Setup guide

LEGRAND 5739 34 User manual

LEGRAND

LEGRAND 5739 34 User manual

LEGRAND Tynetec REACH User manual

LEGRAND

LEGRAND Tynetec REACH User manual

LEGRAND tynetec ZXT832 User manual

LEGRAND

LEGRAND tynetec ZXT832 User manual

LEGRAND Unity System User manual

LEGRAND

LEGRAND Unity System User manual

LEGRAND neat SMILE FALL User manual

LEGRAND

LEGRAND neat SMILE FALL User manual

LEGRAND tynetec Aidcall ZXT434 User manual

LEGRAND

LEGRAND tynetec Aidcall ZXT434 User manual

LEGRAND tynetec ZXT833 User manual

LEGRAND

LEGRAND tynetec ZXT833 User manual

LEGRAND tynetec FM0823 User manual

LEGRAND

LEGRAND tynetec FM0823 User manual

LEGRAND 43260 User manual

LEGRAND

LEGRAND 43260 User manual

LEGRAND Tynetec ZXT813 User manual

LEGRAND

LEGRAND Tynetec ZXT813 User manual

LEGRAND tynetec ZXT821 User manual

LEGRAND

LEGRAND tynetec ZXT821 User manual

LEGRAND tynetec ZXT823 User manual

LEGRAND

LEGRAND tynetec ZXT823 User manual

LEGRAND tynetec Reach IP User manual

LEGRAND

LEGRAND tynetec Reach IP User manual

LEGRAND tynetec ZXT832 User manual

LEGRAND

LEGRAND tynetec ZXT832 User manual

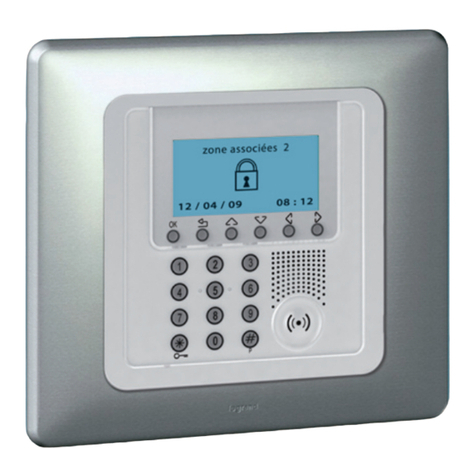
LEGRAND 5739 35 User manual

LEGRAND

LEGRAND 5739 35 User manual

Popular Security System manuals by other brands

Allegion Von Duprin 33/35 Series installation instructions

Allegion

Allegion Von Duprin 33/35 Series installation instructions

Solon Essentials AL00038 quick start guide

Solon

Solon Essentials AL00038 quick start guide

Magellan MG-6060 Reference and installation manual

Magellan

Magellan MG-6060 Reference and installation manual

eTIGER S4 Combo Secual manual

eTIGER

eTIGER S4 Combo Secual manual

Axis Intrusion Switch B installation guide

Axis

Axis Intrusion Switch B installation guide

Nortek Security & Control Linear BluePass 820-00001 installation guide

Nortek Security & Control

Nortek Security & Control Linear BluePass 820-00001 installation guide

Honeywell Home Water Defense RWD41 owner's guide

Honeywell Home

Honeywell Home Water Defense RWD41 owner's guide

ALC Connect Plus AHS616 user guide

ALC

ALC Connect Plus AHS616 user guide

Jaxon AJ-SYB104X Operation manual

Jaxon

Jaxon AJ-SYB104X Operation manual

Uniden wdvr42hdd quick start guide

Uniden

Uniden wdvr42hdd quick start guide

Ocean Signal PLB1 user manual

Ocean Signal

Ocean Signal PLB1 user manual

LEXMAN LDSENK14F instruction manual

LEXMAN

LEXMAN LDSENK14F instruction manual

Innovative Technology ICU quick start guide

Innovative Technology

Innovative Technology ICU quick start guide

Samsung SOD-14C4LN installation manual

Samsung

Samsung SOD-14C4LN installation manual

Monacor SAG-50 quick guide

Monacor

Monacor SAG-50 quick guide

Pyronix Matrix 6/816 Getting started

Pyronix

Pyronix Matrix 6/816 Getting started

Esse-ti HELPY QUICK INTL quick guide

Esse-ti

Esse-ti HELPY QUICK INTL quick guide

Vimar BY-ALARM PLUS quick start guide

Vimar

Vimar BY-ALARM PLUS quick start guide

manuals.online logo
manuals.online logoBrands
  • About & Mission
  • Contact us
  • Privacy Policy
  • Terms and Conditions

Copyright 2025 Manuals.Online. All Rights Reserved.