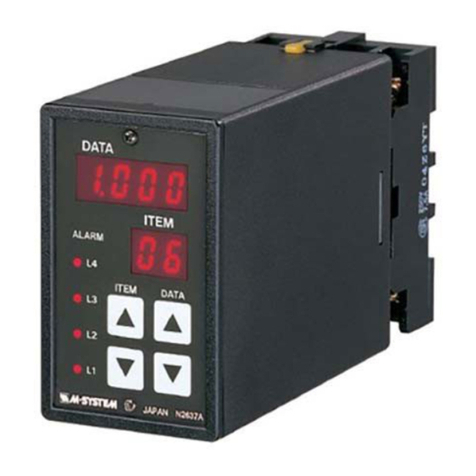
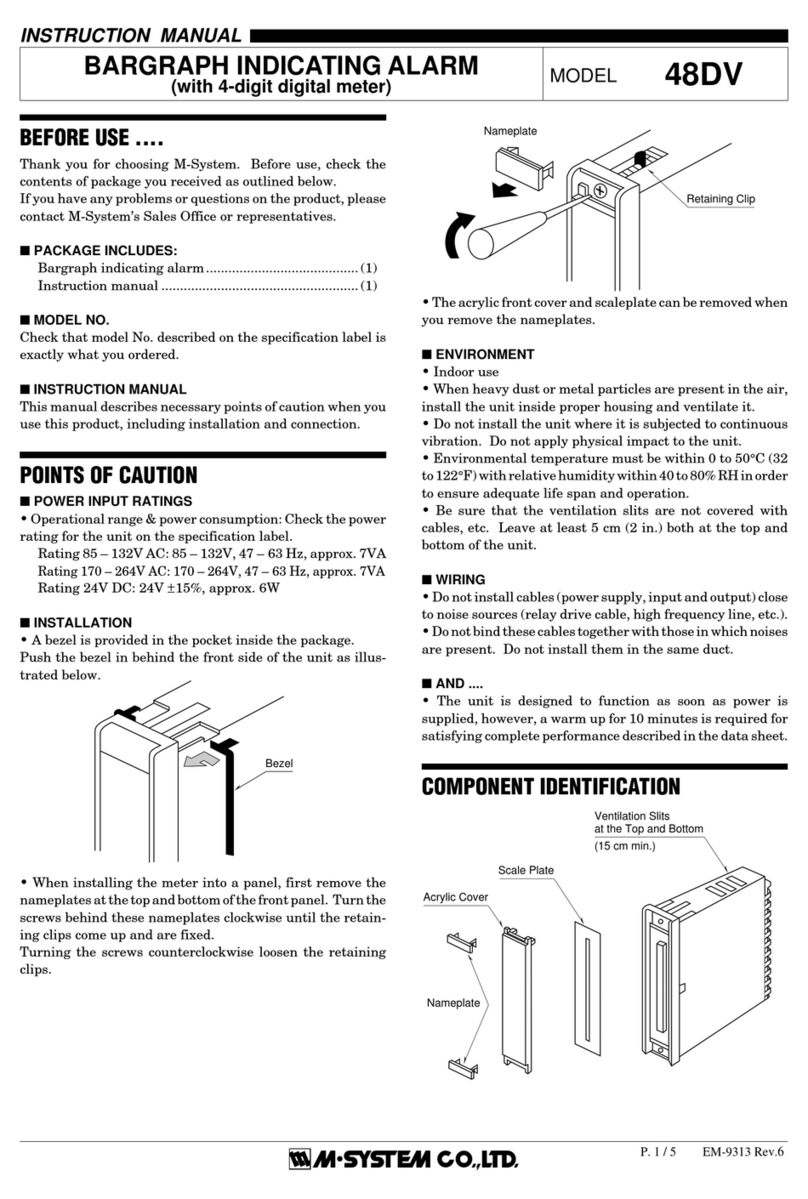
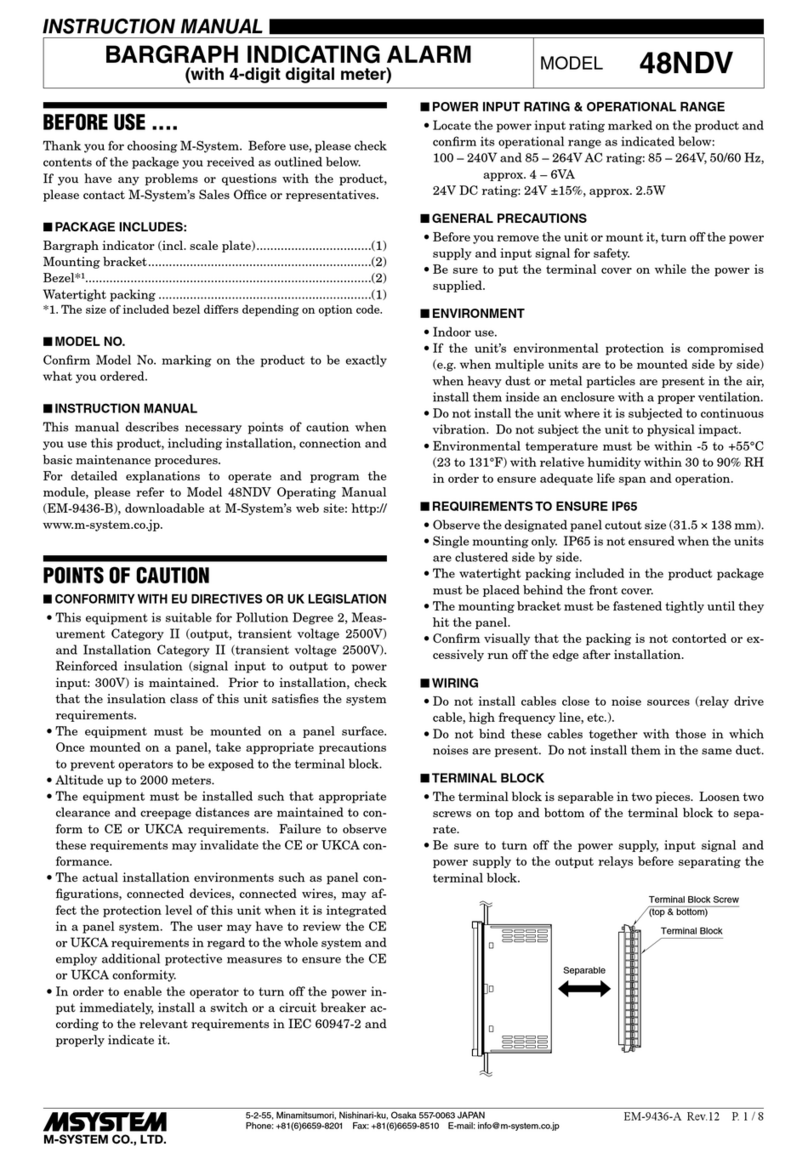
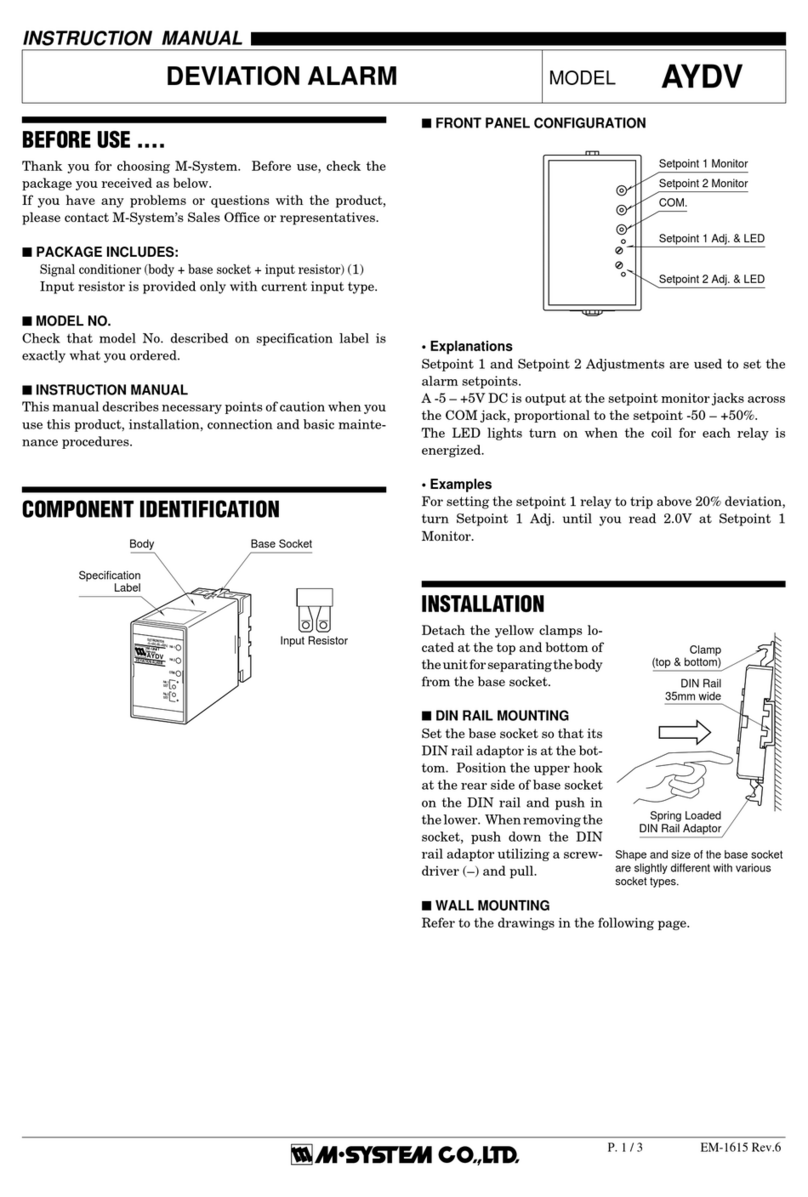
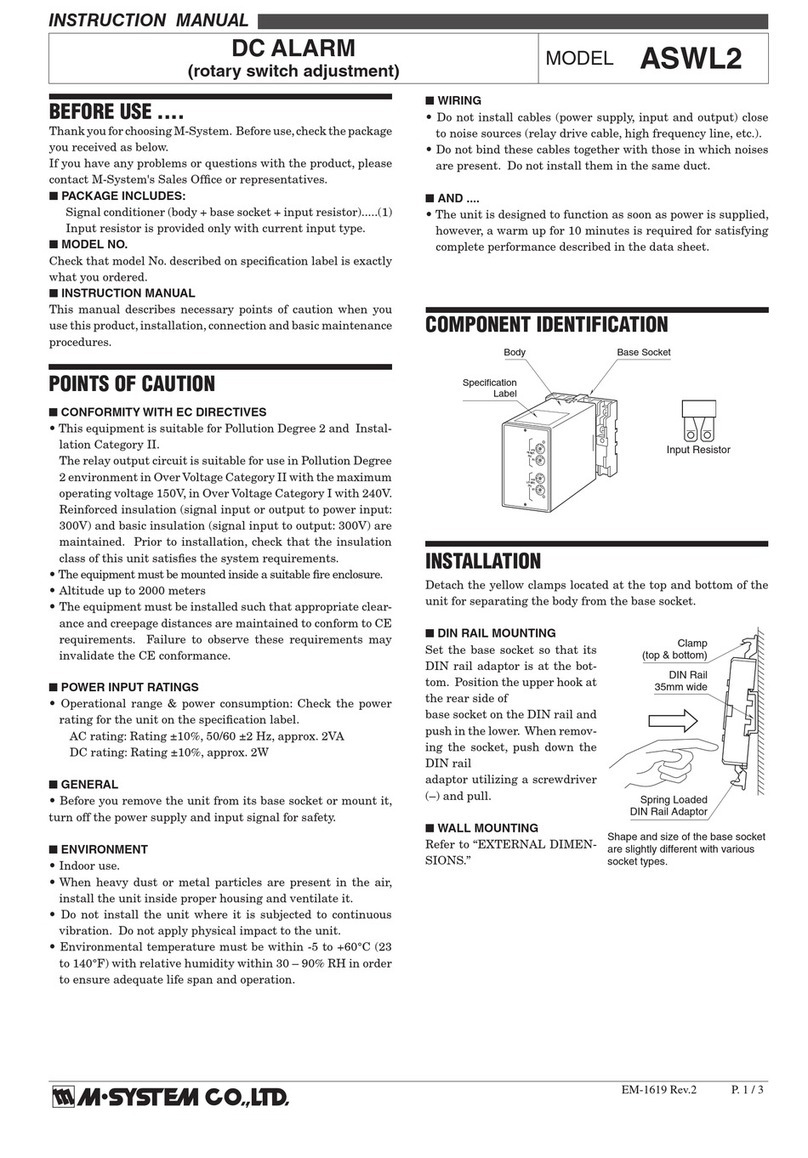
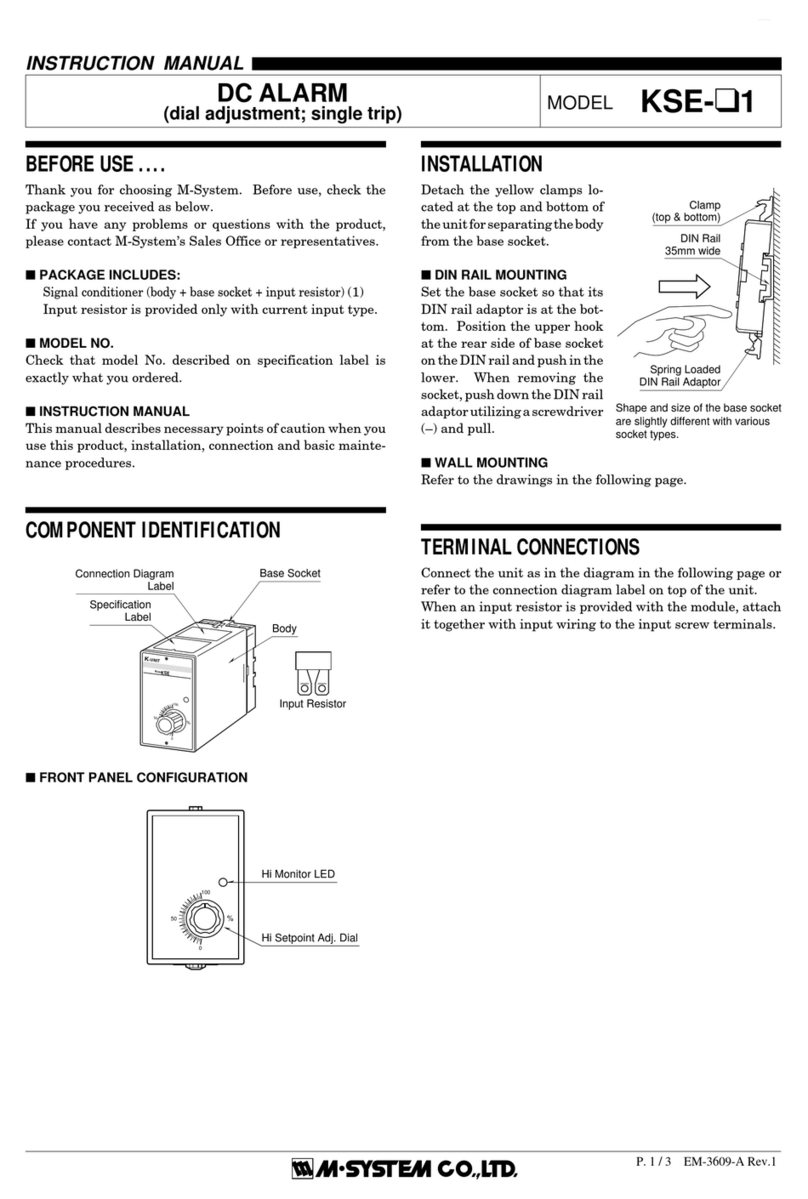
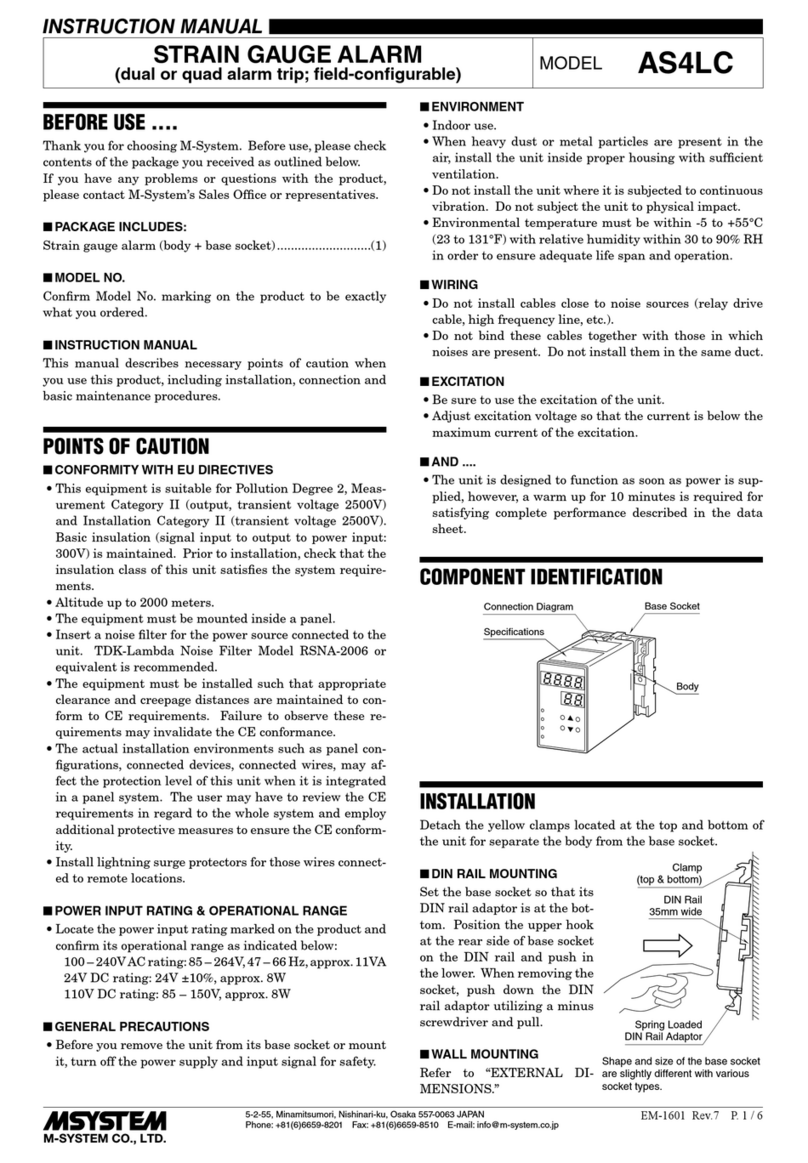
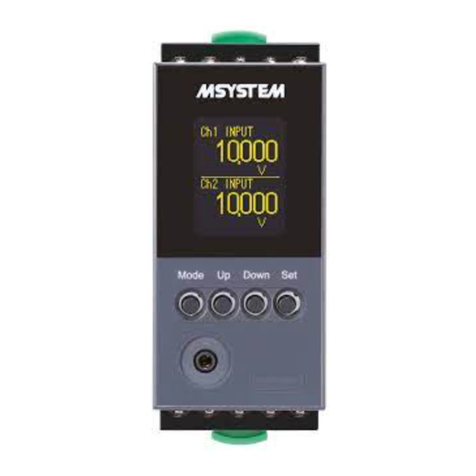
M-system M1EAXV-1 User manual

5-2-55, Minamitsumori, Nishinari-ku, Osaka 557-0063 JAPAN
Phone: +81(6)6659-8201 Fax: +81(6)6659-8510 E-mail: info@m-system.co.jp
EM-6031-A Rev.1 P. 1 / 6
INSTRUCTION MANUAL
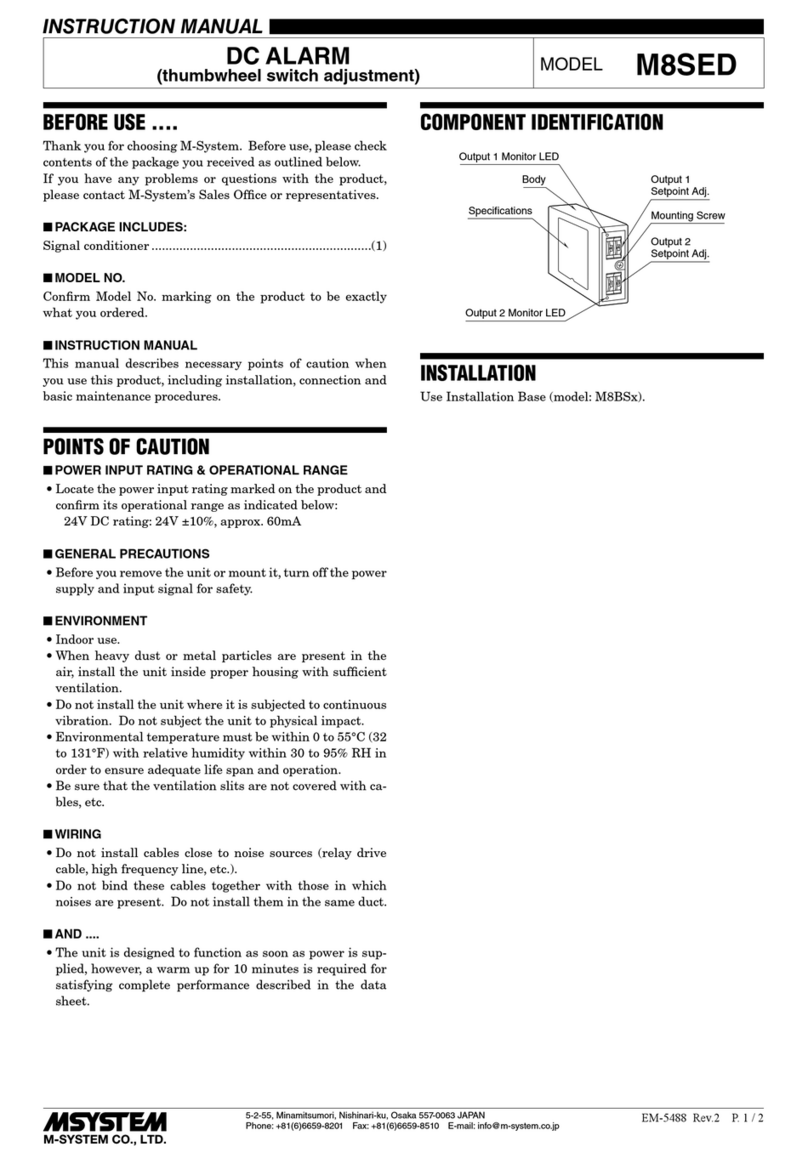
DC ALARM
(PC programmable, quad or octad alarm trip) MODEL M1EAXV-1
BEFORE USE ....
Thank you for choosing M-System. Before use, please check
contents of the package you received as outlined below.
If you have any problems or questions with the product,
please contact M-System’s Sales Office or representatives.
■PACKAGE INCLUDES:
DC alarm (body) ..................................................................(1)
■MODEL NO.
Confirm Model No. marking on the product to be exactly
what you ordered.
■INSTRUCTION MANUAL
This manual describes necessary points of caution when
you use this product, including installation, connection and
detailed operation regarding settings. For detailed expla-
nations, please refer to the Model M1EAXV-1 operating
manual (EM-6031-B).
The M1EAXV-1 is programmable using a PC. For detailed
information on the PC configuration, refer to the M1EACFG
users manual (EM-5994).
The M1EACFG Configurator Software and the operating
manual (EM-6031-B) are downloadable at M-System’s web
site: http://www.m-system.co.jp
POINTS OF CAUTION
■CONFORMITY WITH EU DIRECTIVES
• This equipment is suitable for Pollution Degree 2, Meas-
urement Category II (output, transient voltage 2500V).
Prior to installation, check that the insulation class of
this unit satisfies the system requirements. Insulation
class of this unit is as follows.
Output code: A, B
Input or output to power Reinforced insulation (300V)
Input to output Basic insulation (300V)
L1 or L2 alarm output to
L3 or L4 alarm output to
L5 or L6 alarm output to
L7 or L8 alarm output
Basic insulation (300V)
Output code: C
Input or output to power Reinforced insulation (300V)
Input to output Basic insulation (300V)
L1 alarm output to L2
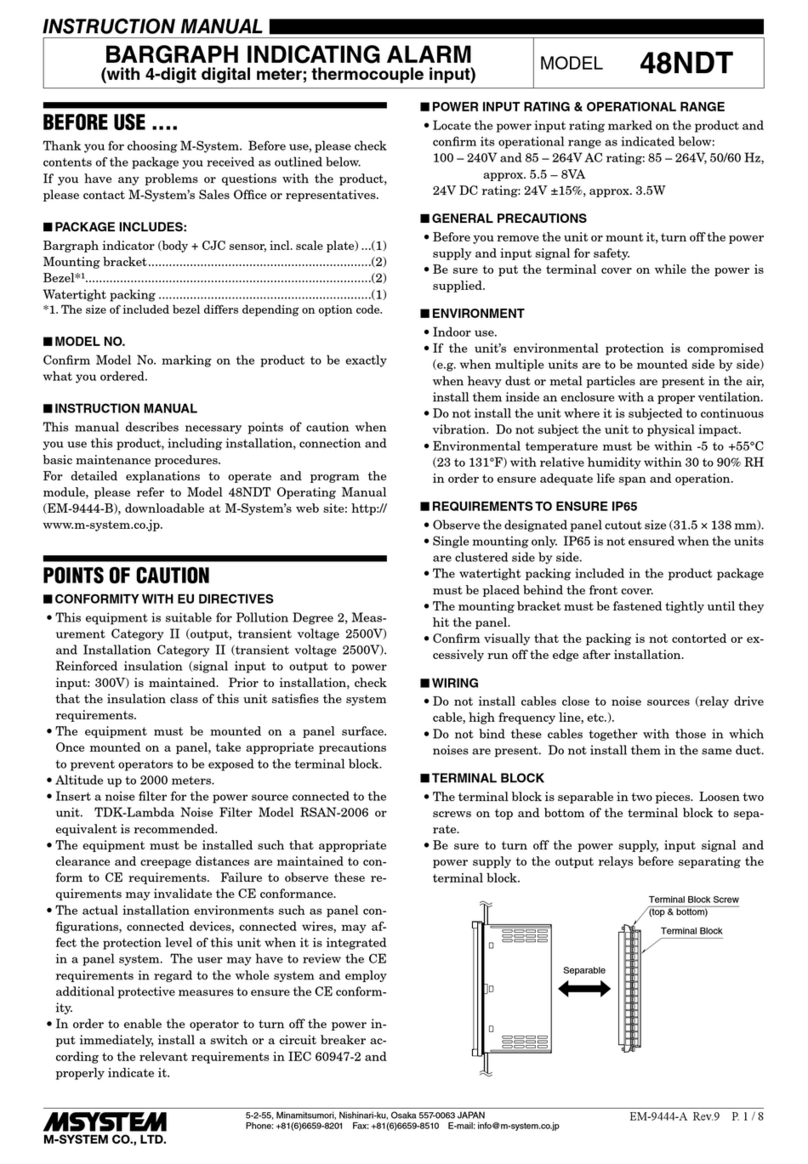
alarm output to L3 alarm
output to L4 alarm output
Basic insulation (300V)
• Altitude up to 2000 meters.
• The equipment must be mounted inside a panel.
• The equipment must be installed such that appropriate
clearance and creepage distances are maintained to con-
form to CE requirements. Failure to observe these re-
quirements may invalidate the CE conformance.
• The actual installation environments such as panel con-
figurations, connected devices, connected wires, may af-
fect the protection level of this unit when it is integrated
in a panel system. The user may have to review the CE
requirements in regard to the whole system and employ
additional protective measures to ensure the CE conform-
ity.
• Install lightning surge protectors for those wires connect-
ed to remote locations.
■POWER INPUT RATING & OPERATIONAL RANGE
• Locate the power input rating marked on the product and
confirm its operational range as indicated below:
24V DC rating: 24V ±10%, ≤ 6W
■GENERAL PRECAUTIONS
• Before you remove the unit from its base socket or mount
it, turn off the power supply and input signal for safety.
■ENVIRONMENT
• Indoor use.
• When heavy dust or metal particles are present in the
air, install the unit inside proper housing with sufficient
ventilation.
• Do not install the unit where it is subjected to continuous
vibration. Do not subject the unit to physical impact.
• Environmental temperature must be within -5 to +55°C
(23 to 131°F) with relative humidity within 10 to 85% RH
in order to ensure adequate life span and operation.
• Be sure that the ventilation slits are not covered with ca-
bles, etc.
■WIRING
• Do not install cables close to noise sources (relay drive
cable, high frequency line, etc.).
• Do not bind these cables together with those in which
noises are present. Do not install them in the same duct.
■AND ....
• The unit is designed to function as soon as power is sup-
plied, however, a warm up for 10 minutes is required for
satisfying complete performance described in the data
sheet.
M1EAXV-1
5-2-55, Minamitsumori, Nishinari-ku, Osaka 557-0063 JAPAN
Phone: +81(6)6659-8201 Fax: +81(6)6659-8510 E-mail: info@m-system.co.jp
EM-6031-A Rev.1 P. 2 / 6
COMPONENT IDENTIFICATION
Body
Lockslider
Connection Diagram
(Side)
Base (M1E-BS2)
Specifications
Display
Front Buttons
*Base is not included in the package.
■TERMINAL ASSIGNMENTS
5
10
1
67
234
89
15
20
11
16 17
12 13 14
18 19
• Output Code: A, B • Output Code: C
No. FUNCTION No. FUNCTION No. FUNCTION No. FUNCTION
1 COM4 (L7, L8) 11 L5 Alarm output 1 COM4 (L4) 11 NO (L3)
2L7 Alarm output 12 L6 Alarm output 2 NO (L4) 12 NC (L3)
3 Input voltage + 13 COM1 (L1, L2) 3 Input voltage + 13 COM1 (L1)
4 Input current + 14 L1 Alarm output 4 Input current + 14 NO (L1)
5 Input – 15 L2 Alarm output 5 Input – 15 NC (L1)
6 COM3 (L5, L6) 16 COM2 (L3, L4) 6 COM3 (L3) 16 COM2 (L2)
7L8 Alarm output 17 L3 Alarm output 7 NC (L4) 17 NO (L2)
8 No connection 18 L4 Alarm output 8 No connection 18 NC (L2)
9 No connection 19 Power + 9 No connection 19 Power +
10 No connection 20 Power – 10 No connection 20 Power –

M1EAXV-1
5-2-55, Minamitsumori, Nishinari-ku, Osaka 557-0063 JAPAN
Phone: +81(6)6659-8201 Fax: +81(6)6659-8510 E-mail: info@m-system.co.jp
EM-6031-A Rev.1 P. 3 / 6
INSTALLATION
Pulling out the base while pushing the lockslider on the top of the unit enables to remove the base from the unit (base is not
included in the package).
■DIN RAIL MOUNTING (SIDE)
• Mounting the unit
A)Hang the upper hook at the rear side of unit on the DIN
rail.
B)Push the lower part of the unit in the direction of the ar-
row until the unit is firmly fixed to the DIN rail.
A
B
• Removing the unit
A)Push down the DIN rail adaptor using a minus screw-
driver.
B)Pull out the lower part of the unit.
C)Remove the upper part from the DIN rail.
A
BC
■WALL MOUNTING
Referring to “MOUNTING REQUIREMENTS unit: mm (inch)” on page 4, pull out the upper and lower sliders of the unit
and fix them with M4 screws (Torque: 1.4 N·m).
TERMINAL CONNECTIONS
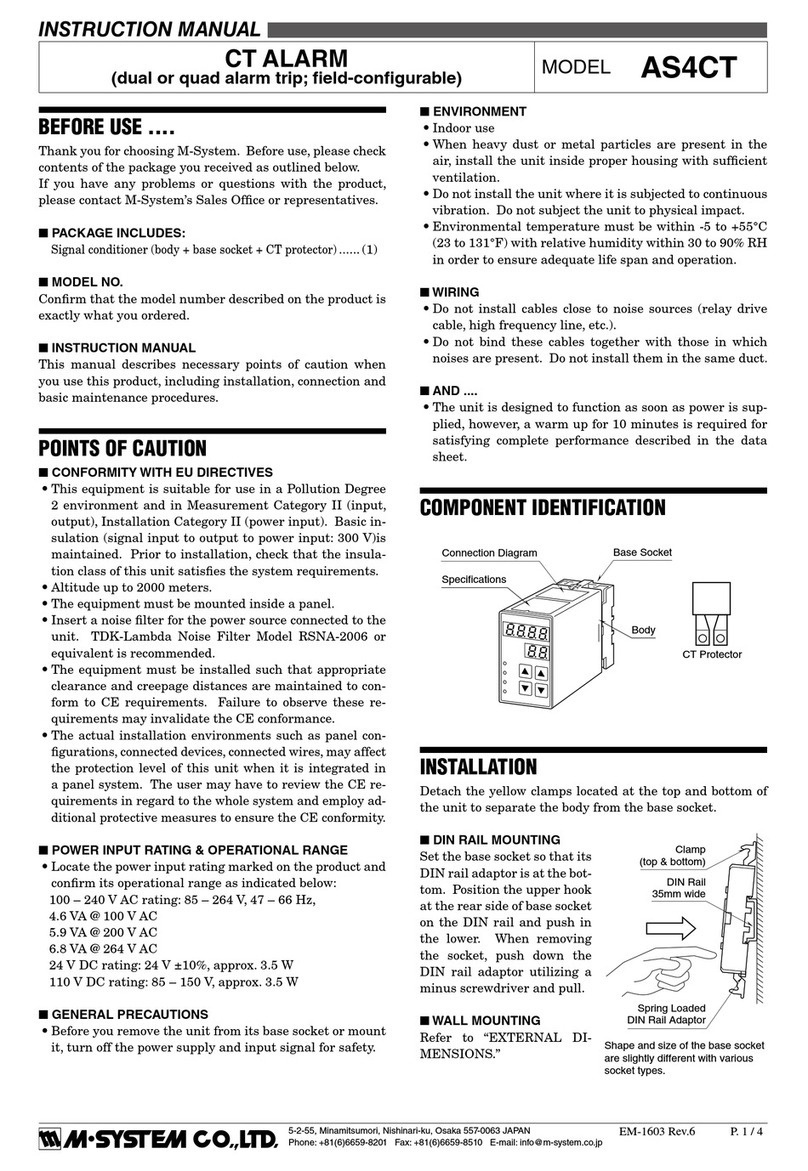
Connect the unit as in the diagram below or refer to the connection diagram on the side of the unit.
■EXTERNAL DIMENSIONS unit: mm (inch)
125 (4.92)
36 (1.42)
89 (3.50)
5(.20) 5(.20)
7 (.28)
7 (.28)
45 (1.77) [4 (.16)]
DIN RAIL
35mm wide
1 2 3 4 5
678 9
10
11 12 13 14 15
16 17 18 19 20
*Base is not included in the package.

M1EAXV-1
5-2-55, Minamitsumori, Nishinari-ku, Osaka 557-0063 JAPAN
Phone: +81(6)6659-8201 Fax: +81(6)6659-8510 E-mail: info@m-system.co.jp
EM-6031-A Rev.1 P. 4 / 6
■MOUNTING REQUIREMENTS unit: mm (inch)
99 (3.90)
2–M4 SCREW
Note: Mounting requirements for base.
■CONNECTION DIAGRAM
+
–
L2 OUTPUT
NC
NO
COM1
NC
NO
COM2
L4 OUTPUT
L3 OUTPUT
NC
NO
COM3
NC
COM4
NO
L1 OUTPUT
15
CONFIGURATOR
14
13
18
17
16
12
11
6
7
2
1
19
20
15
14
13
18
17
16
12
11
6
7
2
1
15
14
13
18
17
16
12
11
6
7
2
1
+
–
–
+
L2 OUTPUT
L1 OUTPUT
L4 OUTPUT
L3 OUTPUT
COM1
COM2
L6 OUTPUT
L5 OUTPUT
L8 OUTPUT
L7 OUTPUT
COM3
COM4
L2 OUTPUT
L1 OUTPUT
L4 OUTPUT
L3 OUTPUT
COM1
COM2
L6 OUTPUT
L5 OUTPUT
L8 OUTPUT
L7 OUTPUT
COM3
COM4
19
20
19
20
• OUTPUT CODE B: N.C. Relay • OUTPUT CODE C: SPDT Relay• OUTPUT CODE A: N.O. Relay
1
4
5
3
INPUT
CURRENT
JACK
POWER
+
–
POWER
+
–
POWER
INPUT
VOLTAGE

M1EAXV-1
5-2-55, Minamitsumori, Nishinari-ku, Osaka 557-0063 JAPAN
Phone: +81(6)6659-8201 Fax: +81(6)6659-8510 E-mail: info@m-system.co.jp
EM-6031-A Rev.1 P. 5 / 6
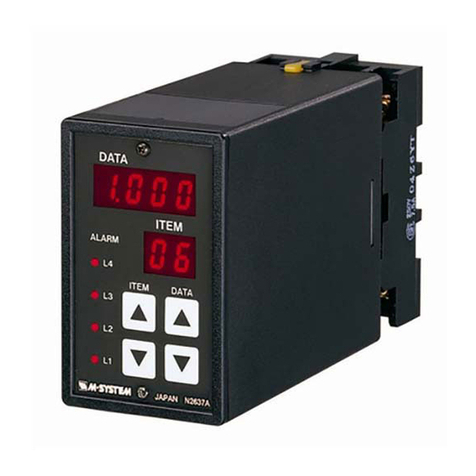
EXTERNAL VIEWS
Mode Button Set Button
Display
Configurator Jack
Up Button Down Button
COMPONENT FUNCTION
Display Indicates present values, setting values and abnormal information. Two types of present values at up-
per and lower are displayed by setting.
Mode button Used to shift from measuring mode to each setting mode. The destination changes depending on how
long the button is held down. Used to return from each setting mode to measuring mode (press and
hold for 2 sec. or more).
Up button Used to shift through setting parameters and to increase or select setting value.
Down button Used to shift through setting parameters and to decrease or select setting value.
Set button Used to change setting value of setting parameter. When at setting changeable state, used to enter
(save) the setting value. Used to move on through digits of setting value at setting changeable state.
Used to release latching alarm in measuring mode (press and hold for 2 sec. or more).
Configurator Jack Used to configure with M1EA configurator software (model: M1EACFG). At the same time, set the
lockout setting of the unit to ‘lock’.

M1EAXV-1
5-2-55, Minamitsumori, Nishinari-ku, Osaka 557-0063 JAPAN
Phone: +81(6)6659-8201 Fax: +81(6)6659-8510 E-mail: info@m-system.co.jp
EM-6031-A Rev.1 P. 6 / 6
WIRING INSTRUCTIONS FOR BASE
■SCREW TERMINAL
Torque: 0.5 N·m
■SOLDERLESS TERMINAL
Refer to the drawing below for recommended ring tongue
terminal size. Spade tongue type is also applicable.
Recommended manufacturer: Japan Solderless Terminal
MFG.Co.Ltd, Nichifu Co.,ltd (Solderless terminals with in-
sulation sleeve do not fit)
Applicable wire size: 0.25 to 1.65 mm2
12max
6max
3max 4min
3.2 dia.
(mm)
CHECKING
1) Terminal wiring: Check that all cables are correctly con-
nected according to the connection diagram.
2) Power input voltage: Check voltage across the terminal
19 – 20 with a multimeter.
3) Input: Check that the input signal is within 0 – 100% of
full-scale.
4) Alarm operations: Check the alarm operations referring
to the figure below.
5) Output load: Check that the output load is 250 V AC/ 120
VA or 125 V DC/30 W at the maximum.
For maximum relay life with inductive load, external pro-
tection is recommended.
LL
LH
HH
Input
%
• Example Quad N.O. contacts (LL, L, H, HH)
Alarm Trip Operation
Trip operation in power failure
Output code A: All relays turn OFF.
Output code B: All relays turn ON.
Output code C: Terminals 13 – 15, 16 – 18, 16 – 12,
1 – 7 turn ON.
050 100▲▲ ▲▲
L2
L3
L4
L1 ON
ON
OFF ON
ON
OFF
OFF
OFF
MAINTENANCE
Regular calibration procedure is explained below:
■CALIBRATION
Warm up the unit for at least 10 minutes.
• H Setpoint
Increase the input signal from a value lower than the set-
point and check that the relay trips at the setting value.
• L Setpoint
Decrease the input signal from a value higher than the
setpoint and check that the relay trips at the setting val-
ue.
• Input Value
Apply 0%, 25%, 50%, 75% and 100% input signal. Per-
form input fine adjustment when input value is out of
accuracy on the display.
Refer to the operating manual (EM-6031-B), when adjust-
ing with front buttons. Refer to the M1EACFG users man-
ual (EM-5994), when adjusting with M1EA Configurator
Software (model: M1EACFG). And then follow the proce-
dure shown below.
• INPUT FINE ADJUSTMENT
1) Set the input signal to 0 %, and adjust the input display
to 0 % by [80] Input Zero fine adjust.
2) Set the input signal to 100 %, and adjust the input dis-
play to 100 % by [81] Input Span fine adjust.
3) Again set the simulated input to 0 %, confirm the input
display.
4) If input display is shifted, repeat the procedure from 1) to
3).
LIGHTNING SURGE PROTECTION
M-System offers a series of lightning surge protector for
protection against induced lightning surges. Please contact
M-System to choose appropriate models.
Table of contents
Other M-system Security System manuals

M-system
M-system KS2V3 User manual

M-system
M-system 48NAM User manual

M-system
M-system 48NDVA User manual

M-system
M-system ANR User manual

M-system
M-system M8SED User manual

M-system
M-system AS4CT User manual

M-system
M-system AS4T User manual

M-system
M-system Mini-M M2SED User manual

M-system
M-system AS4V User manual

M-system
M-system 48NDT User manual

M-system
M-system M1EAXV-2 User manual

M-system
M-system KS2V2 User manual

M-system
M-system ASWL2 User manual

M-system
M-system ASL User manual

M-system
M-system R3-AV8 User manual

M-system
M-system AS4LC User manual

M-system
M-system KS2TR2 User manual

M-system
M-system 10AS User manual

M-system
M-system AYDV User manual

M-system
M-system KSE-x2 User manual