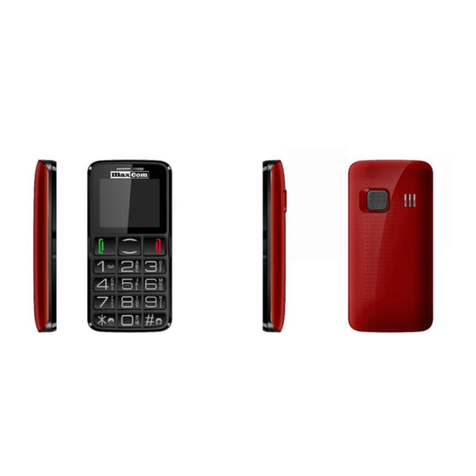
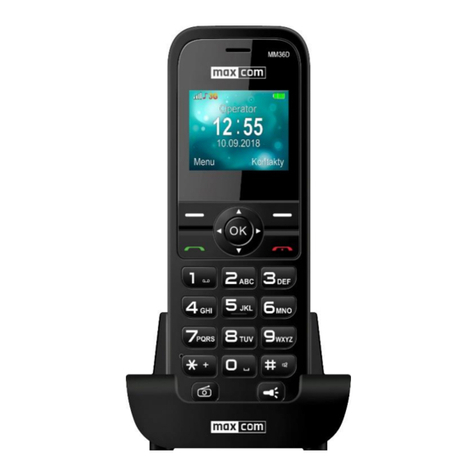
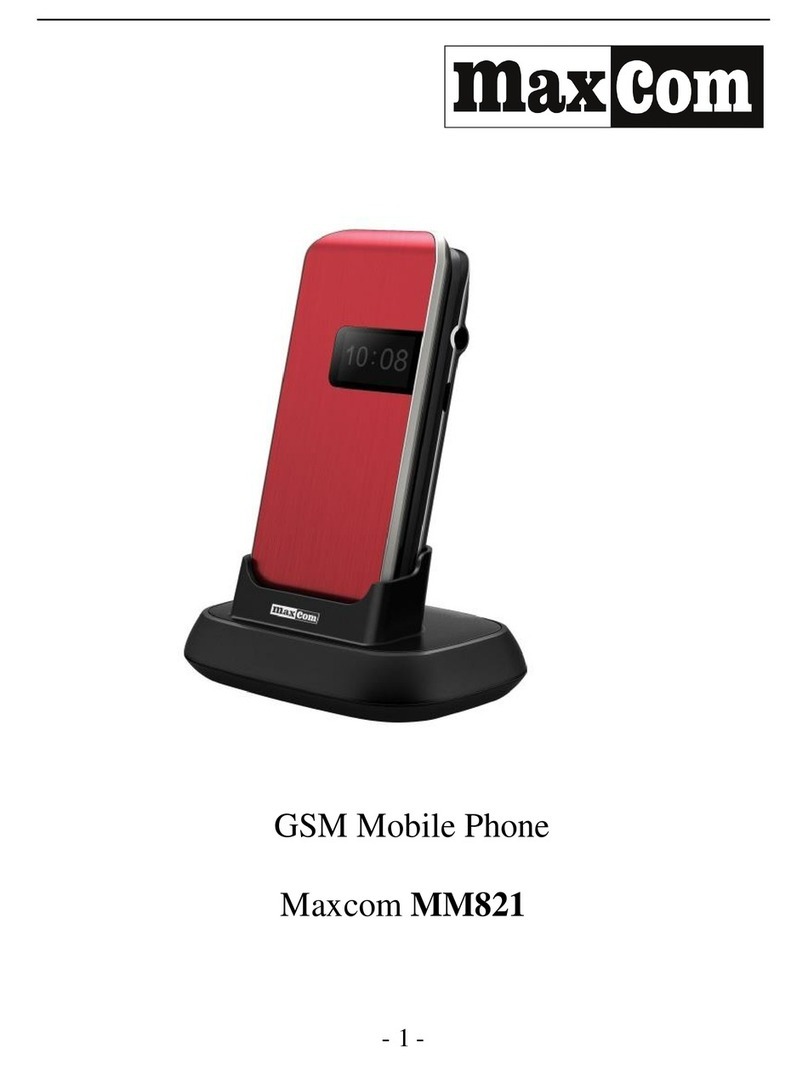
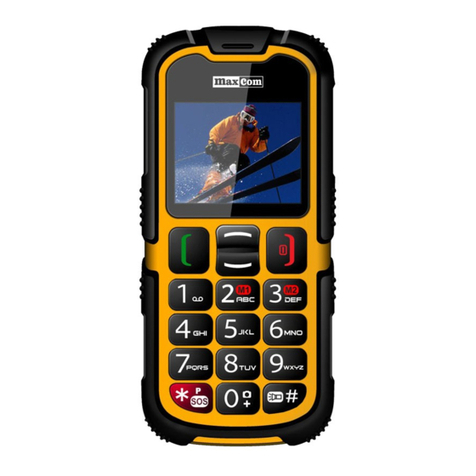
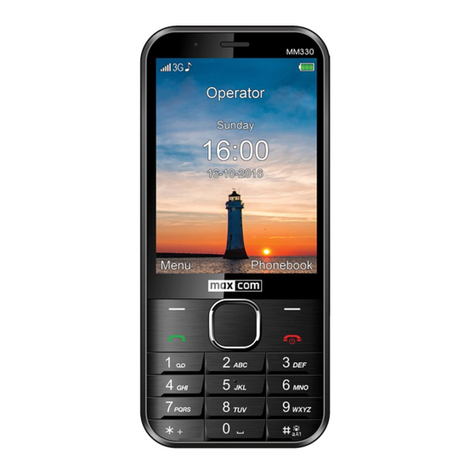
Maxcom MM 819 User manual

- 1 -
3
MaxCom MM 819
4
5
6
7

- 2 -
Installment
3
Safety----- -------------------------------------------------------2
4
Install SIM card and battery-----------------------------------5
5
Charge battery---------------------------------------------------8
6
Basic functions
7
Power on-----------------------------------------------------10
8
Dialing -------------------------------------------------------11
9
Answer/end a call-------------------------------------------12
10
Volume control----------------------------------------------12
11
Menu
12
Phonebook----------- ----------------------------------------12
13
Messaging-----------------------------------------------------14
14
Call center-----------------------------------------------------17
15
Multimedia----------------------------------------------------20
16
Toolbox--------------------------------------------------------22
17
Settings---------------------------------------------------------26
18
FM --------------------------------------------------------------32
19
Maintenance
20
Maintenance---------------------------------------------------33
21
22

- 3 -
Safety precaution
3
Please note the following rules. It may cause
4
dangerous or illegal situation if you don’t obey
5
them. Please refer to complete user manual for more
6
details.
7
Power off your mobile phone if it’s forbidden to
8
use
9
When mobile phone is forbidden to use or
10
may cause interference or danger, please
11
obey all rules of the restricted area.
12
13
Safe driving
14
15
Please obey native related laws and
16
regulations. Please release your both
17
hands from the phone during driving.
18
19
Interference
20
Performance of wireless devices may be
21
affected by interference. Some components
22
of mobile phone are magnetic. Please keep
23
a suitable distance between magnetic
24
objects and your mobile phone; otherwise
25
their storage may be damaged.
26

- 4 -
3
Qualified maintenance service
4
Only qualified serviceman can be allowed
5
to install or mend the phone.
6
7
Battery, charger and other accessories
8
9
Only the battery, charger and other
10
accessories, which are suitable for this
11
model and authorized by EZFONE, can be
12
allowed to replace. Please don’t connect
13
your phone with other incompatible devices.
14
Please charge the battery every three
15
months if it has being idle for long.
16
17
Keep dry
18
19
This model is not the water-proof one,
20
please keep it dry.
21
22
23
Protect your hearing
24
25
If you use headset, please enjoy your music
26

- 5 -
in a moderate volume. Don’t place your
3
device too close to your ear when using
4
loudspeaker.
5
6
Take along
7
Please avoid your device contacting metal, and keep a
8
suitable distance to your body.
9
Medical device
10
Wireless devices may cause interference with non-protected
11
medical devices. If you have any queries, please contact
12
doctors or the manufacturer.
13
Pacemaker
14
Maintain a minimum of 1 cm between mobile phone and
15
pacemaker to avoid potential interference. People with
16
pacemaker please notice these suggestions:
17
• Keep at least 1cm between mobile phone and pacemaker
18
when the mobile phone is turning on.
19
• Don’t put you phone in breast welt pocket
20
• Please use your phone on the contrary side of pacemaker
21
to reduce interference.
22
Please turn off your phone immediately once you doubt
23
there is interference around.
24
25

- 6 -
Emergency dialing
3
Important!
4
The functions used by mobile phone include wireless signal,
5
mobile phone network, ground network and user
6
programming. That means connection can’t be guaranteed in
7
all situation. Hence, please don’t only depend on mobile
8
phone to make important calls like medical emergency.
9
Specific Absorption Rate (SAR)
10
This mobile phone meet international safety
11
requirement about exposure of radio wave.
12
C021 SAR measured value is 1.156 W/kg (GSM 900MHz)/
13
0.251W/kg ( DCS 1800MHz )。According to related
14
regulators, upper limit value is 2 .0 W/kg。
15
C04 head radiation value is 0.573 W /KG,deviation
16
of measured system is 20.5%.
17
18
Installment
19
Install SIM card and battery
20
21
SIM card slot is behind the battery
22
1. Follow the diagram to remove the back cover.
23

- 7 -
3
2. If the battery was installed, please take it out.
4
5
6
3. Insert the SIM card as the following diagram show, and
7
make sure its direction is correct. Please notice not to
8
scratch or bend contactors of SIM card.
9

- 8 -
3
4
4. Install the battery as the following diagram show. Ensure
5
the side with contactors faces down.
6
7
8
9
10

- 9 -
5. Replace back cover.
3
4
5
6
Charging
7
Before the first time using mobile phone, you
8
must charge the battery. You can charge by using
9
travel charger or connecting your phone to computer
10
with data line.
11
12

- 10 -
Please use original charger and data line.
3
None-original charger and data line may cause
4
explode of battery or damage of you device.
5
When the power is low, the screen would display
6
low battery information and battery icon would
7
become empty. If battery is used up, your
8
device would automatically shut down.
9
If the battery is thoroughly empty, the mobile
10
phone would not power on although it
11
successfully connect with charger. To solve
12
this problem, you need to use universal
13
charger to charge once.
14
Please charge battery every three months if it
15
has being idle for long.
16
Attention :Don’t remove the battery during
17
charging; otherwise it would damage your device.
18
19
1) Your phone would be charging after successfully
20
connecting, and battery icon would dynamically display
21
the increase of power level when power on.
22
2) If the phone is power off, the screen would display
23
charging animation during charging.
24
When battery is fully charged, the battery icon would
25
stop moving. Please unplug the charger from power
26

- 11 -
outlet in time. It’s normal that the phone is slightly hot.
3
Attention!
4
1、Battery would reach its maximum capacity after charging
5
2-3 times.
6
2、Keep temperature between 0°C and 40°C during
7
charging
8
3、With time passing by the battery will gradually be worn
9
and thus need longer time to charge. This is normal.
10
4、Long-time continuous charging may damage battery and
11
charger, so please stop charging in time.
12
13
Basic function
14
Turn on the phone
15
Hold the red button to switch the phone on or off.
16
You may see one of the following information after power
17
on:
18
SIM card is lost or insert incorrectly;
19
SIM card is damaged or invalid.
20
If SIM card is available but protected by PIN code, it would
21
display PIN:
22
Input PIN code and enter.
23
Use “erase”to delete.
24

- 12 -
Attention!
3
If your SIM card doesn’t provide PIN and PUK code, please
4
contact with your carrier.
5
Residue time:To mention you how many chances left for
6
you to input the correct PIN. If it is used up, the mobile
7
phone would inform you that SIM card is locked. You
8
should input PUK code to unlock.
9
2. Input new PIN code and enter
10
Change language, time and date
11
Default language is set by SIM card.
12
13
Dialing
14
15
Standby interface dial phone number(press right
16
button to delete wrong number)press green dialing
17
key to make a call option
18
19
Keep single call
Hold current call and make another one
End a single call
End the current single call
End all calls
End all of the current calls
New call
Make a new call
phonebook
Choose to view phonebook
Call record
Choose to view dialing record

- 13 -
Message
Choose to view or edit SMS
Record
Choose to record calls.
mute
Activate/deactivate to select current call is
mute or not.
Volume
Adjust volume
Press right button to use loudspeaker in a call.
3
4
Answer/end a call
5
Answer a call
6
1:Incoming call interface press left button or green
7
dialing key to answer a call
8
9
End a call
10
1:incoming call interface right button(reject to answer)
11
2:Incoming call interface red hang up key(hang up
12
directly)
13
14
Volume control
15
Conversation volume
16
Conversation interface enter setting menu to adjust
17
volume.
18

- 14 -
Phone book
3
Your mobile phone has phonebook function which
4
can store your contacts.
5
View
6
You can view the detail information of entry.
7
Send text message
8
Input the content and choose one or more
9
contacts from phonebook to send.
10
Call
11
Select appointed phone number to make a call.
12
Edit
13
Edit contacts’name and number.
14
Delete
15
Delete contacts’name and number.
16
Copy
17
Copy contacts’information from phone to SIM
18
card.
19
Phonebook setting
20
Preferred storage:Select to change storage
21
path.
22
Speed dial:Set quick dial number and status.
23
My number:Set your mobile phone number.
24

- 15 -
Other phone number:Set other numbers.
3
Memory status:View the status of phonebook,
4
including SIM card and phone memory.
5
Copy contacts:From SIM card to the mobile
6
phone, or from the mobile phone to SIM card.
7
Remove contacts:From SIM card to the mobile
8
phone, or from the mobile phone to SIM card.
9
Delete all contacts :delete contacts in
10
phone or in SIM card
11
12
Messaging
13
SMS is a kind of network service that cannot be
14
used to send and receive short messages until you
15
apply to the network operator.
16
If the message box is full, there would be a
17
flashing message icon informing you. That means you
18
should clean your message box in order to receive
19
message normally.
20
If messages are successfully received by the
21
contact, your phone would inform you by a prompt
22
tone.
23

- 16 -
Voice mailbox is a kind of network service that
3
you can be used after applying to the net work
4
operator. Inquire to your service supplier to gain
5
more detail
6
Link to voice:To dial the numbers stored in
7
voice mailbox. If you have two phone numbers, each
8
of them has its own voice mailbox number.
9
Edit:Edit or delete you voice mailbox number,
10
enter to store present number.
11
Tips: When the phone is stand by, press “1” to dial
12
voice mailbox.
13
14
Write message
15
Every message can contain 609 characters. Press
16
“#”to change input method, and “*”to select
17
symbol. Hold right button to delete all characters
18
input; hang up key return to stand by; up and down
19
key can control the cursor.
20
Before sending out, you can input phone number
21
or select contact’s number from phonebook.
22
Attention: image message function cannot be used
23
unless network operator or service supplier
24
support. Only the mobile phone with image message
25
function can normally receive and display images.
26
27

- 17 -
Inbox
3
You can view SMS in inbox.
4
View:View detail number and content.
5
Reply:Reply to present message.
6
Call sender:Dial to addresser.
7
Forward:transpond this message
8
Delete:Delete present message.
9
Delete all:Delete all messages in inbox.
10
Save to phonebook :Restore contact to
11
phonebook.
12
13
Drafts
14
Messages which haven’t sent yet would be kept
15
here.
16
17
Outbox
18
Message failed to send would kept in outbox.
19
20
Sent messages
21
Sent message would be saved here if you open the
22
function saving sent message in SMS setting.
23
24
SMS settings
25
SIM:Input native SMS center number to activate the
26
function sending message. You can open sending
27

- 18 -
report and reply path,
3
Memory status:View the storage status of both
4
mobile phone and SIM card.
5
Save sent message:Open/close
6
Preferred storage:can select mobile phone or SIM
7
card
8
Voice mailbox
9
You can set voice mailbox number, and press
10
“1”to dial directly after successfully setting.
11
12
Call center
13
Menu call record enter
14
Missed call
Calls you missed
Dialed call
Calls you have dialed
Received call
Calls you answered
Delete call
record
Can select to delete one kind of
records above or all
15
Call settings
16

- 19 -
3
Menu call center call setting call waiting enter
4
5
call waiting:Select to open or close call waiting function
6
which is necessary for call on hold and multi party call. This
7
function must gain support of network.
8
9
Activate
Open call waiting function
Deactivate
Close call waiting function
Query status
Inquire the status of call waiting
10
Menu call center call setting call divert enter
11
12
Divert all voice
call
Divert all incoming calls to the phone
number you set.
Divert if
Unreachable
When the network cannot find your
mobile phone (switched-off or out of
the service area), it will divert the calls.
Divert if no
Answer
When the mobile phone does not
answer the call, the network will
automatically divert to the phone

- 20 -
number you set.
Divert if Busy
When you are on line, the network will
divert the call.
Divert All Data
Calls
Divert all GSM call to the phone
number you set.
Cancel All
Diverts
Cancel all divert functions.
3
Call divert: divert the call meet conditions to another
4
appointed phone number. This service needs support of
5
network operator.
6
7
Menu call center call setting call barring enter
8
9
Menu setting call setting advanced setting
10
Outgoing
calls
Bar all outgoing call/ international call/
international call(without domestic call)
Incoming call
Bar incoming call/Roaming calls
Cancel all
Cancel all call barring
Table of contents
Other Maxcom Cell Phone manuals

Maxcom
Maxcom MM820 Plus User manual

Maxcom
Maxcom MM236 User manual

Maxcom
Maxcom MM831 User manual

Maxcom
Maxcom COMFORT MM715 SOS User manual

Maxcom
Maxcom MM705 User manual

Maxcom
Maxcom MM820 Plus User manual

Maxcom
Maxcom MK241 User manual

Maxcom
Maxcom MM128 Product information sheet

Maxcom
Maxcom MM720BB User manual

Maxcom
Maxcom MM820 Plus User manual

Maxcom
Maxcom MM821BB User manual
Maxcom
Maxcom MM715BB User manual
Maxcom
Maxcom MM721 User manual

Maxcom
Maxcom MM235 User manual

Maxcom
Maxcom MS553 Quick manual

Maxcom
Maxcom MM136 User manual

Maxcom
Maxcom MM910 User manual
Maxcom
Maxcom MM432BB User manual

Maxcom
Maxcom MM460 User manual

Maxcom
Maxcom MM143 3G Product information sheet