4
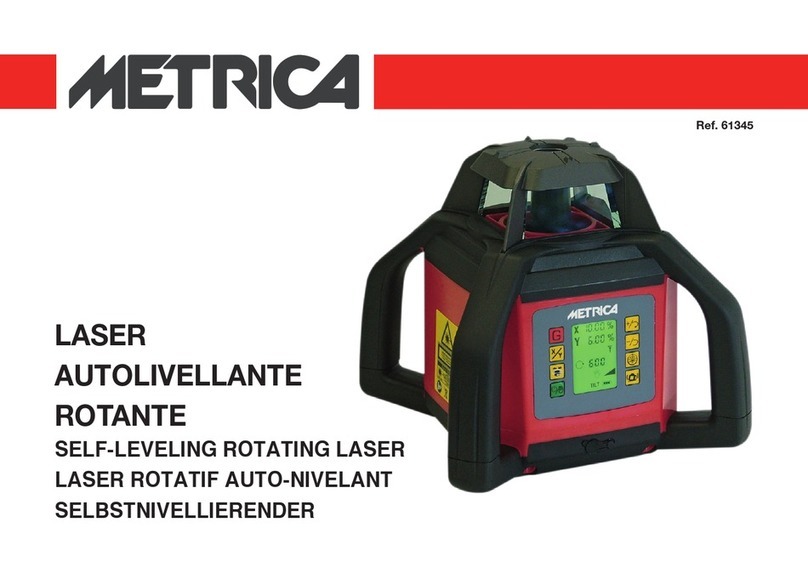
• PANEL OF COMMANDS
• 11) The battery LED: when the battery LED is lit, the battery is low (recharge the battery with the battery charger to the connector on the rear panel
by removing the cover placed at the bottom of the laser)
• 12) The indicator light shows when the unit is turned on
• 13) If the LED is on, it shows that the manual function is selected (i.e. the self-leveling off).
• 14) ON/ OFF-Switch
• 15) Acceleration button (0 - 60 - 120 - 300 - 600 rpm) or stopping the rotation.
• 16) Scan the beam can be adjusted 0 °- 10 °- 45 °- 90 °- 180 °.
• 17) Manual/Automatic leveling function. If the LED is lit, the manual function is selected.
• 18) Move the beam slowly counterclockwise.
• 19) Move the beam slowly clockwise.
• 10) If the unit is in manual function, these buttons are used to adjust the position of the beam
• 11) If the unit is in manual function, these buttons are used to adjust the position of the beam
• 12) Receiving point of the remote control
• OPERATING INSTRUCTIONS
BATTERY:
Use rechargeable batteries: Ni-MH n °04x1.2V DC-4A, or non-rechargeable batteries by removing the cover at the bottom.
THE PLACEMENT OF THE DEVICE:
Horizontally:
Screw the unit to a tripod or place it on a plan or hang it on a wall support. The unit is self-leveling within + /- 5 °.
Vertically:
Place the unit at a 90 °angle to the surface on its special leg. The unit is self-leveling within + /- 5 °.
INITIAL FUNCTIONS:
- Press the 4 button to switch the device on or off.
- The laser beam will blink until the unit has leveled itself. After that the laser beam will rotate and a self leveled plan is projected (if the device is placed
on a surface that exceeds 5 °inclination, the LED will turn on the display: the "rotativo" must be positioned newly. If the unit is not leveling after 5 minutes,
it shuts off automatically.
- Turn on / off: press the button (5) to regulate the rotation speed or stop the beam.
- Use the buttons (8) or (9) to move the beam into the desired position
SCANNER - FUNCTION:
- Press the button (6), after you have stopped the rotating laser with the button (5).
- Press the button (8) or (9) to move the scanning in the desired position.
- Press the button (6), to expand the scanning line.
- Press the button (7) and then use the buttons (10) or (11) to lower, higher or incline the scanning.
- Press the button (7) again to return to the self leveling function.
